

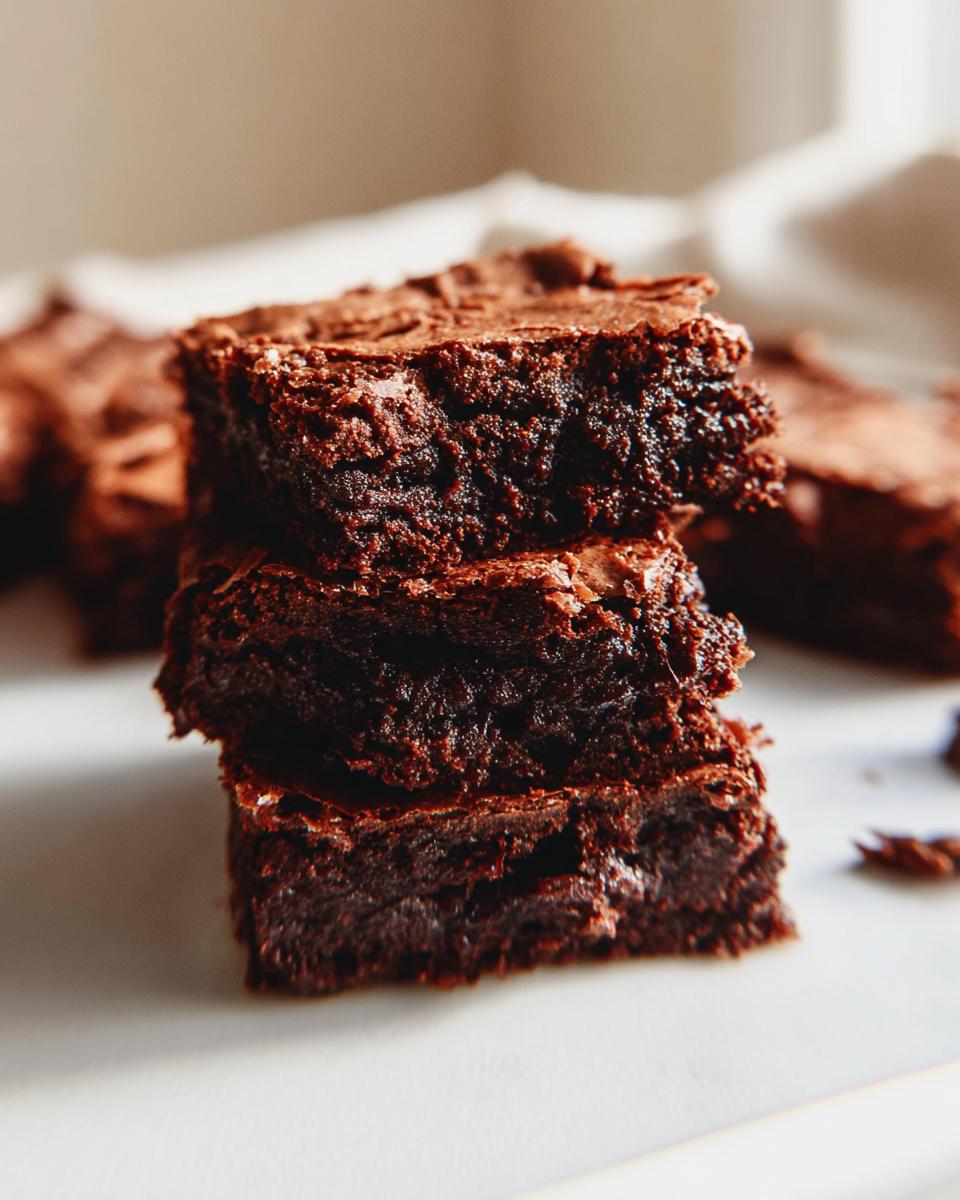
Oh, let me tell you about these brownies. If you’re anything like me, the idea of a truly decadent, fudgy brownie is just pure bliss, right? But then you add ‘gluten-free’ and sometimes it feels like you’re going to end up with something a bit… well, crumbly. That’s exactly why I set out to create these **Gluten-Free Brownies Nigella Inspired**. Honestly, they’re pure magic. I remember a time when GF baking felt like a chore, but these? They’re so ridiculously rich and chocolatey, with that perfect crisp edge and a gooey centre, you’d never guess they’re gluten-free. They’re basically my homage to the queen of home baking herself, Nigella!
Why You’ll Love These Gluten-Free Brownies Nigella Inspired
- They’re incredibly fudgy and rich, just like the classic brownies we all adore.
- Seriously easy to whip up – perfect for those spontaneous chocolate cravings!
- Completely gluten-free, so everyone can enjoy a slice of heaven.
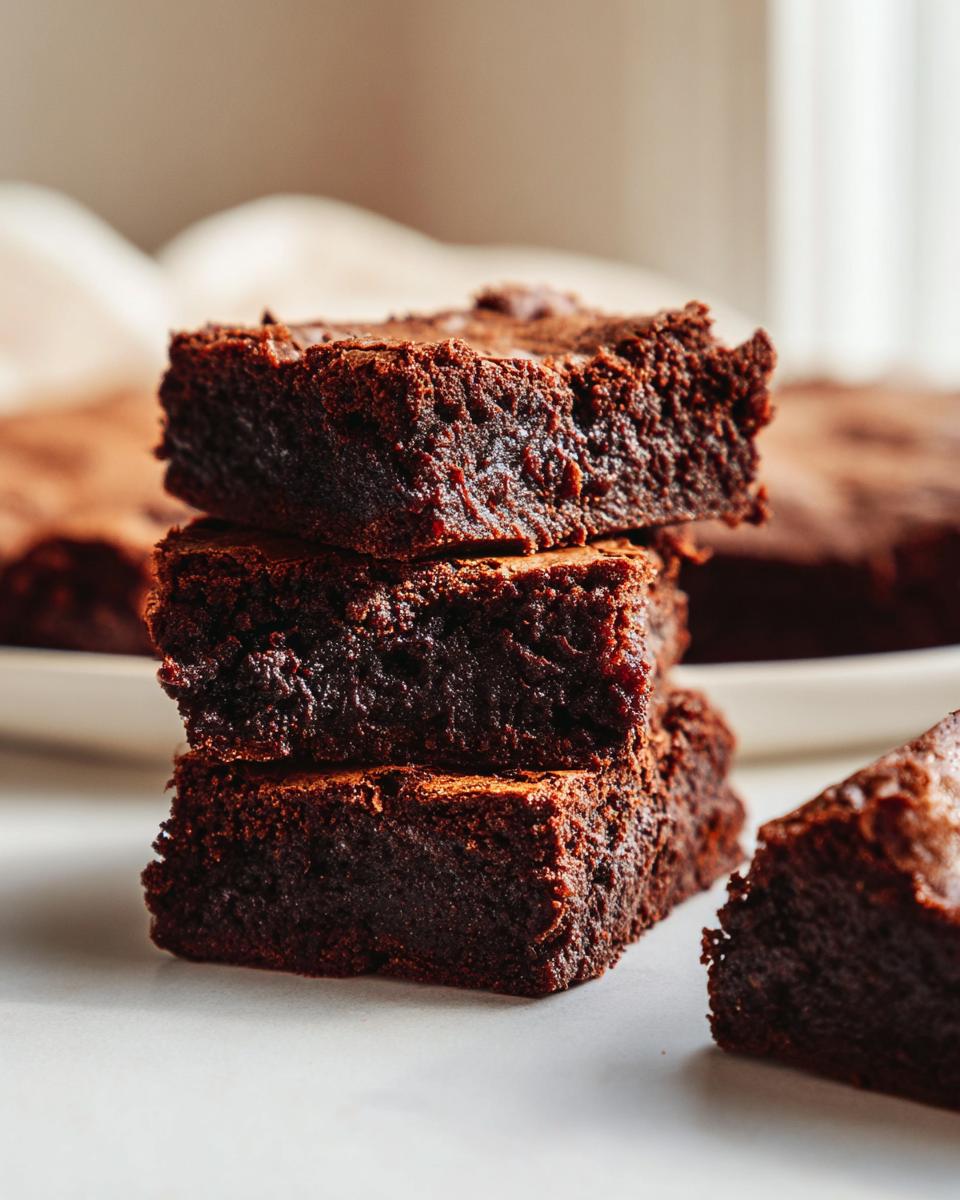
- That gorgeous crisp edge and gooey centre combination is simply irresistible.
- They bake up beautifully, making you look like a total baking pro.
- Perfect for sharing (or not!) at celebrations, bake sales, or just a Tuesday night.
Ingredients for Your Gluten-Free Brownies Nigella Inspired
Right then, let’s talk about what goes into these beauties! It’s pretty straightforward, really. The key is good quality ingredients, and you don’t need anything too fancy. Just make sure your gluten-free flour blend has xanthan gum in it, otherwise, you might need to add a tiny bit yourself. Trust me on this – it makes all the difference for texture!
- ½ cup unsalted butter, melted
- ¾ cup caster sugar
- ½ cup light brown sugar
- 2 large eggs
- 1 tablespoon vanilla bean paste
- ¾ cup gluten-free plain flour blend with xanthan gum
- ½ cup cocoa powder
- ½ teaspoon baking soda
- ½ teaspoon fine sea salt
Step-by-Step Instructions for Fudgy Gluten-Free Brownies
Honestly, making these brownies is a piece of cake, and that’s coming from me! The trick is really in the mixing and not overbaking them. So grab your apron and let’s get going!
Step 1: First things first, get your oven preheated to 350°F (that’s 175°C for the fancy ones!). Then, line an 8-inch square baking tin with baking paper. Make sure you leave a bit of overhang on the sides – it makes it so much easier to lift the brownies out later. This is a little trick I picked up ages ago, and it saves so much hassle! If you’re after more brownie inspiration, you might like to check out these easy chocolate chip brownies.
Step 2: In a nice big mixing bowl, get your melted butter and both the caster and light brown sugars together. Give them a good whisk until they look glossy and smooth. It should feel like silk, almost. That’s when you know you’re on the right track for that lovely texture, much like you’d get with these fudgy vegan brownies too!
Step 3: Now, crack in your eggs, one at a time, whisking well after each addition. You want them to be properly incorporated. Then, stir in that gorgeous vanilla bean paste. The smell already! It’s divine.
Step 4: In a separate bowl, give your dry ingredients a good whisk together – that’s your gluten-free flour blend, cocoa powder, baking soda, and sea salt. Getting them all mixed before they go into the wet stuff stops any lumps or surprises later on.
Step 5: Gently fold the dry ingredients into the wet mixture. Be careful not to go mad with the whisking here; we just want to combine everything until you have a thick, luscious brownie batter. Make sure there are no dry streaks left hiding at the bottom of the bowl. That’s the key to fudgy brownies!
Step 6: Pour all that glorious batter into your prepared tin. Use a spatula to spread it out evenly, making sure it gets right into the corners. You want a nice, even surface so they bake uniformly.
Step 7: Pop them in the oven for about 30 to 34 minutes. Now, this is crucial: you’re looking for the edges to be set, but when you stick a skewer into the centre, it should come out with a few moist crumbs attached. If it comes out clean, they’re probably overbaked! We want fudgy, remember?
Step 8: The hardest part? Letting them cool completely in the tin. I know, I know, the temptation to dive straight in is HUGE! But trust me, this allows them to finish setting and also makes slicing them into those perfectly clean squares so much easier. If you try to cut them too soon, you’ll just end up with a gooey mess – though, admittedly, a delicious one!
Serving Suggestions for Your Gluten-Free Brownies Nigella Inspired
These brownies are quite frankly perfect on their own, but if you’re feeling a bit fancy or want to jazz them up, here are a few ideas:
A Dollop of Cream: A spoonful of whipped cream or even crème fraîche on top adds a lovely lightness to cut through the richness. So simple, yet divine.
Berry Compote: A quick berry compote, all warm and slightly tart, is the perfect counterpoint to the deep chocolate flavour. You could even try a rich chocolate mousse if you’re going all out!
Ice Cream Extravaganza: Of course, a scoop of good quality vanilla or even a coffee ice cream (like this superb easy coffee mousse) is never a bad idea, is it? Just saying.
Storage and Reheating Tips for Gluten-Free Brownies
Now, I know you’re probably eager to stash these away for later, and that’s totally understandable! Storing them properly means you get to enjoy that fudgy goodness for days.
These beauties will keep beautifully in an airtight container at room temperature for up to 4 days. Honestly, I find they’re often even **fudgier** on the second day! If your kitchen is particularly warm, popping them in the fridge might be a good idea, but let them come to room temperature before serving so you can truly appreciate that gooey texture. Reheating isn’t really necessary for these, as they’re best enjoyed at room temp or slightly chilled, but if you absolutely must, a few seconds in the microwave would do it – just don’t overdo it, or you’ll lose that perfect texture. They’re fantastic for making ahead if you’re planning a party or just want a guaranteed treat waiting for you.
Frequently Asked Questions About Gluten-Free Brownies Nigella Inspired
Got a few niggling questions about these glorious gluten-free wonders? I’ve got you covered!
Can I use a different type of gluten-free flour?
While the recipe calls for a good all-purpose gluten-free blend with xanthan gum, which I find works best for that classic brownie texture, you could experiment. However, different blends have different properties, so they might affect the final fudginess. It’s totally worth sticking to a blend designed for baking if you can for these healthy brownie recipes.
How can I make sure my brownies are extra fudgy?
Ah, the secret to fudginess! The key is absolutely NOT overbaking them. You want to pull them out of the oven when a skewer still has a few moist crumbs attached. Seriously, err on the side of underbaking slightly. Also, letting them cool completely in the tin is non-negotiable – it lets them set into that glorious, dense, fudgy consistency we’re all after.
Can I add nuts or chocolate chips to these brownies?
Oh, absolutely! Feel free to stir in about ½ cup of your favourite chopped nuts (walnuts or pecans are divine) or chocolate chips along with the dry ingredients in Step 5. Just be aware that adding extra bits might slightly alter the baking time, so keep a close eye on them!
Before You Go
Right then, I really hope you give these Gluten-Free Brownies Nigella Inspired a go. They’re just divine and so easy! Let me know in the comments if you try them, or better yet, share a pic over on Pinterest – I absolutely love seeing your baking creations!
Print
Gluten-Free Brownies Nigella Inspired
- Total Time: 40 minutes
- Yield: 9 brownies
- Diet: Gluten Free
Description
These Gluten-Free Brownies are rich, fudgy, and deeply chocolatey with crisp edges and a soft centre perfect for easy baking at home.
Ingredients
- ½ cup unsalted butter, melted
- ¾ cup caster sugar
- ½ cup light brown sugar
- 2 large eggs
- 1 tablespoon vanilla bean paste
- ¾ cup gluten-free plain flour blend with xanthan gum
- ½ cup cocoa powder
- ½ teaspoon baking soda
- ½ teaspoon fine sea salt
Instructions
- Preheat your oven to 350°F (175°C). Line an 8-inch square baking tin with baking paper.
- In a large mixing bowl, whisk together the melted butter, caster sugar, and light brown sugar until glossy and smooth.
- Add the eggs one at a time, whisking well after each addition. Stir in the vanilla bean paste.
- In a separate bowl, whisk together the gluten-free flour blend, cocoa powder, baking soda, and sea salt.
- Gradually fold the dry ingredients into the wet mixture until a thick brownie batter forms with no dry streaks remaining.
- Pour the batter into the prepared tin and spread evenly into the corners.
- Bake for 30 to 34 minutes until the edges are set and a skewer inserted into the centre comes out with a few moist crumbs attached.
- Allow the brownies to cool completely in the tin before slicing into squares for the cleanest texture.
Notes
- For extra fudgy brownies, avoid overbaking and allow them to cool fully before cutting.
- Store in an airtight container for up to 4 days.
- Prep Time: 10 minutes
- Cook Time: 30 minutes
- Category: Dessert
- Method: Baking
- Cuisine: British


