

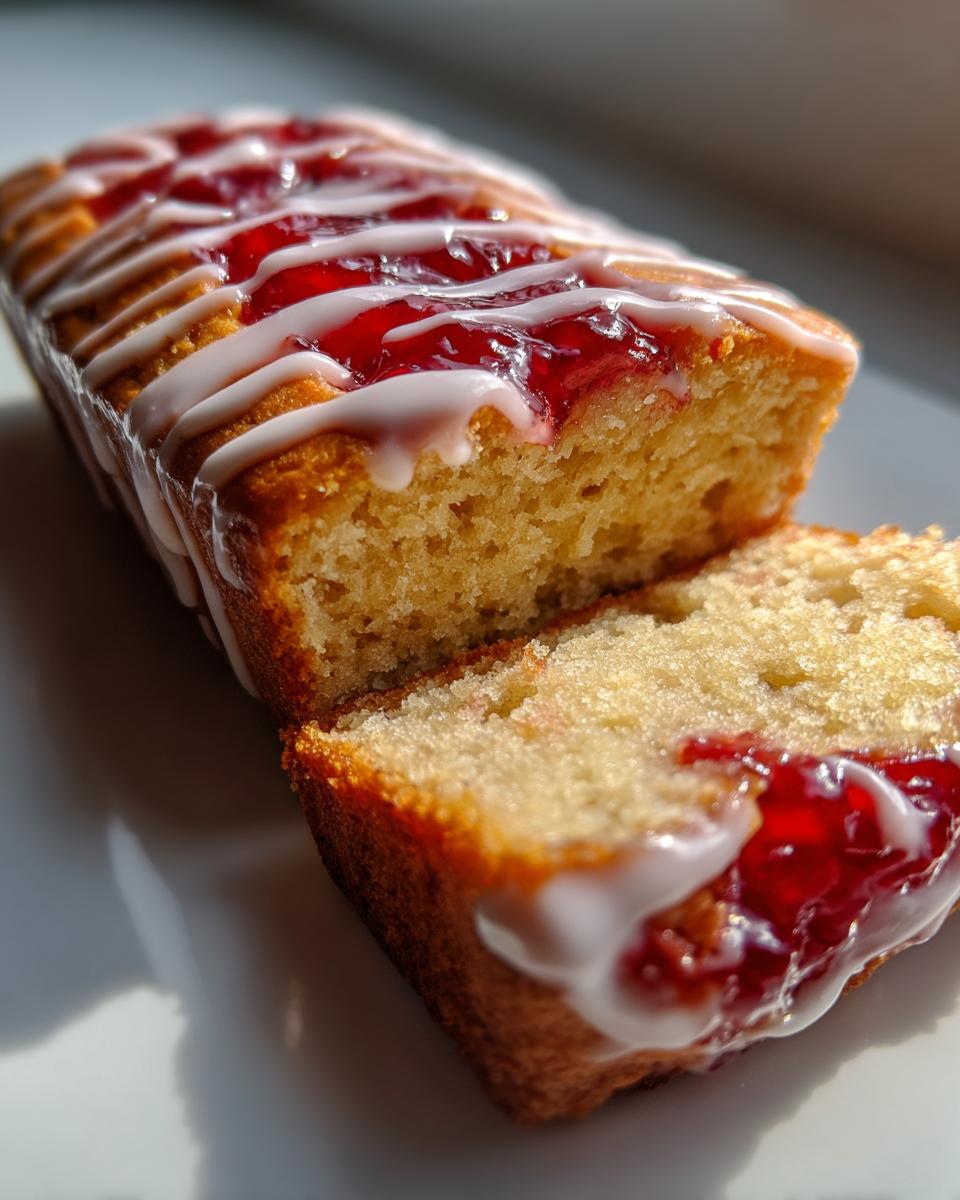
Oh, this easy jam traybake is an absolute lifesaver! Honestly, it’s one of those bakes that never, ever lets you down. I can’t tell you how many times I’ve needed a quick, comforting treat for unexpected visitors or just a little pick-me-up after a long day, and this has saved me. It’s got that wonderfully soft, buttery sponge, a generous layer of sweet strawberry jam, and a gorgeous drizzle of simple icing on top. It just hits all the right spots, doesn’t it? Baking is my happy place, and I love sharing recipes that are genuinely simple and incredibly rewarding, just like this one.
Why You’ll Love This Easy Jam Traybake
It’s incredibly quick to whip up, perfect for those last-minute cravings. Uses just a few basic ingredients you probably already have in your cupboard. That combination of soft sponge, sweet jam, and tangy icing is just divine! Brilliant for afternoon tea, a simple dessert, or just a lovely slice with a cuppa.
Ingredients for Your Easy Jam Traybake
Here’s what you’ll need to make this delightful traybake. I always try to use good quality ingredients where I can, especially the jam – it really does make a difference to the final taste!
- 1 cup unsalted butter, softened (make sure it’s properly soft, not melted!)
- 1 cup granulated sugar
- 4 large eggs (give them a little whisk before you crack them in)
- 1 ¾ cups self-raising flour, sifted (sifting is key for a light sponge!)
- 1 teaspoon baking powder
- 2 tablespoons milk
- 1 teaspoon vanilla flavouring (my absolute favourite for cakes)
- ¾ cup strawberry jam (get the good stuff; it’s worth it!)
- ½ cup icing sugar, sifted
- 2 teaspoons milk (for the drizzle)
Step-by-Step Guide to Making the Easy Jam Traybake
Right then, let’s get baking! This recipe is so straightforward, you’ll be amazed at how quickly you get from bowl to beautiful bake. I always suggest getting your oven on first, just so it’s perfectly ready when your batter is.
Step 1: Get your oven preheated to 180°C (that’s 160°C fan, if you’ve got one) or 350°F. While it’s warming up, line a 23cm x 33cm (that’s a good size, around 9in x 13in) baking tin with some parchment paper. This just makes sure your lovely cake doesn’t stick at all. I find lining it so much easier than trying to grease and flour later!
Step 2: In a big bowl, beat together your softened butter and granulated sugar. You want to get this really light and fluffy – trust me, giving it a good minute or two extra with the electric whisk (or a strong arm!) makes a big difference to the final texture of the cake. It should look pale and creamy.
Step 3: Now, add your large eggs. It’s best to add them one at a time, giving it a good mix after each one. If you chuck them all in at once, the mixture can sometimes look a bit curdled, and nobody wants that!
Step 4: Stir through the vanilla flavouring – oh, the smell already! – and then gently add the milk. Just give it a quick mix until it’s all combined.
Step 5: Time for the dry ingredients! Sift in your self-raising flour and the baking powder. Gently fold it all together until you’ve got a lovely, smooth batter. Don’t overmix at this stage; just fold until you can’t see any dry bits of flour left.
Step 6: Spoon your beautiful batter into the prepared tin. Spread it out evenly so you get a nice, even layer. It’s going to bake up into a gorgeous base for your jam!
Step 7: Slide the tin into the hot oven and bake for about 25 to 30 minutes. You’ll know it’s ready when it’s golden brown and a skewer poked into the centre comes out perfectly clean. If you like, you can have a quick peek at Mary Berry’s baking tips for general guidance!
Step 8: While your cake is still warm in the tin, gently warm up your strawberry jam. You don’t want it boiling, just warm enough to spread easily. Spoon it over the top of the cake and spread it out evenly. This is where that good quality jam really sings!
Step 9: For the drizzle, mix your sifted icing sugar with the couple of teaspoons of milk until you have a smooth, fairly thick consistency. Drizzle this over the jammy top. You can use a spoon or even a piping bag if you’re feeling fancy – I usually just go with a spoon for speed!
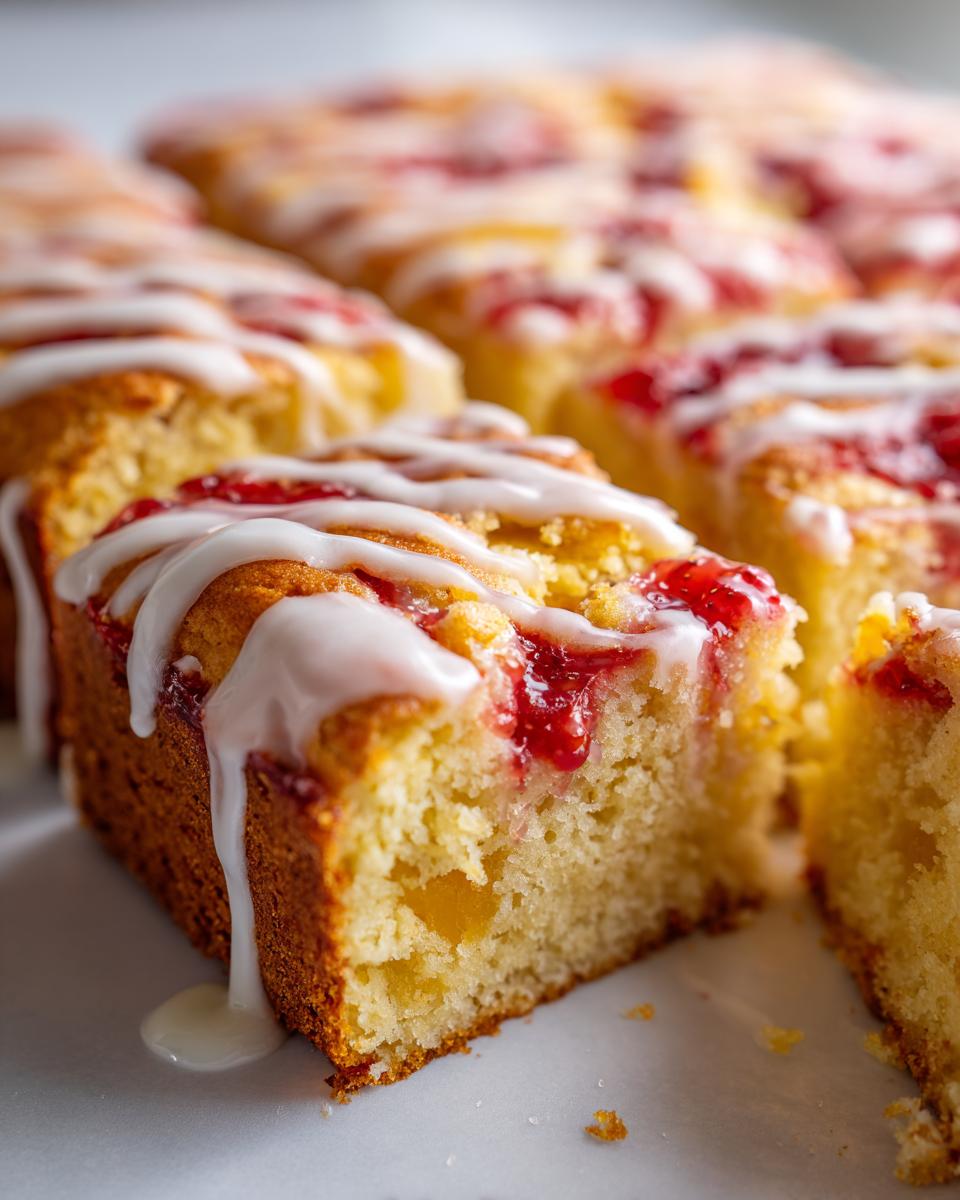
Step 10: Now, the hardest part: the waiting! Let the whole traybake cool completely in the tin before you even think about cutting it. This is crucial to stop it crumbling everywhere. Patience is a virtue, right? Once cooled, cut it into squares. You could even think of it as a simple twist on a Victoria Sponge!
Serving Suggestions for Your Easy Jam Traybake
This traybake is utterly delicious on its own, but here are a few ideas to make it even more special. If you’re a fan of a good breakfast bake, you might even enjoy our American pancakes!
A Dollop of Cream: A spoonful of lightly whipped double cream or even some clotted cream makes this traybake feel like a real treat. It just melts into the sponge and jam beautifully!
Fresh Berries: A small handful of fresh raspberries or strawberries alongside your slice adds a lovely burst of tartness and freshness that cuts through the sweetness.
A Perfect Cuppa: Honestly, this traybake is practically made for dunking! A nice strong cup of tea, maybe even a classic builder’s brew, is the ultimate accompaniment.
Storing and Reheating Your Easy Jam Traybake
Now, you’ll want to let this beauty cool down completely before you even think about putting a lid on it. Once it’s properly cold, pop it into an airtight container. It’ll keep happily at room temperature for about 3-4 days. Honestly, it’s usually gone by then anyway! I find reheating isn’t really necessary; it’s lovely just as it is. But if you fancy it a bit warmer, you could pop a slice in a low oven for a few minutes, just to take the chill off. For meal prep, just make sure it’s fully cooled before sealing it up.
Frequently Asked Questions About This Easy Jam Traybake
Got a baking question buzzing around your head? I’ve tried to cover the main ones here, but if you have another, just pop it in the comments!
Can I use a different jam?
Absolutely! While strawberry jam is traditional and lovely, feel free to use raspberry, apricot, or even a nice Dundee marmalade if you fancy a bit of a twist. Just make sure it’s a good quality one that spreads nicely. It’s a bit like how the classic Victoria sponge uses jam – you can often swap them around!
Can this recipe be made gluten-free?
You know, I haven’t personally tested a gluten-free version yet, but it should be doable! You’ll want to use a good quality gluten-free self-raising flour blend. Sometimes you might need to add a little extra liquid, like milk, to get the right batter consistency, as gluten-free flours can behave a bit differently. Always worth a try, though!
How do I stop the cake from sticking?
The best way is really what I’ve said in the instructions – line your baking tin properly with parchment paper! Make sure the paper goes up the sides a bit too. If you can’t get parchment, make sure you grease the tin generously and then dust it with a little flour, tapping out any excess. That should keep everything nice and neat, much like how you’d prepare for a carrot cake.
Before You Go
I really hope you give this easy jam traybake a go this week! It’s such a simple bake but so rewarding. If you make it, please let me know how you get on in the comments – I’d love to hear from you, and a quick rating helps others find it too! You can also see more of my recipes over on Pinterest!
Print
Easy Jam Traybake
- Total Time: 45 min
- Yield: 12 servings
- Diet: Vegetarian
Description
A soft, buttery sponge cake topped with strawberry jam and a simple icing.
Ingredients
- 1 cup unsalted butter, softened
- 1 cup granulated sugar
- 4 large eggs
- 1 3/4 cups self-raising flour
- 1 teaspoon baking powder
- 2 tablespoons milk
- 1 teaspoon vanilla flavouring
- 3/4 cup strawberry jam
- 1/2 cup icing sugar
- 2 teaspoons milk
Instructions
- Heat your oven to 180°C (160°C fan)/350°F/Gas 4. Line a 23cm x 33cm (9in x 13in) baking tin with parchment paper.
- Beat the butter and sugar in a large bowl until light and fluffy.
- Add the eggs one at a time, mixing well after each.
- Stir in the vanilla flavouring and milk.
- Sift in the flour and baking powder, then fold gently until you have a smooth batter.
- Spread the batter evenly into the prepared tin.
- Bake for 25-30 minutes until golden and a skewer inserted comes out clean.
- Warm the jam slightly and spread it over the warm cake.
- Mix the icing sugar with milk until smooth, then drizzle it over the jam.
- Let the traybake cool completely before cutting into squares.
Notes
- Use good quality strawberry jam for the best flavour and finish.
- Prep Time: 15 min
- Cook Time: 30 min
- Category: Dessert
- Method: Baking
- Cuisine: British


