

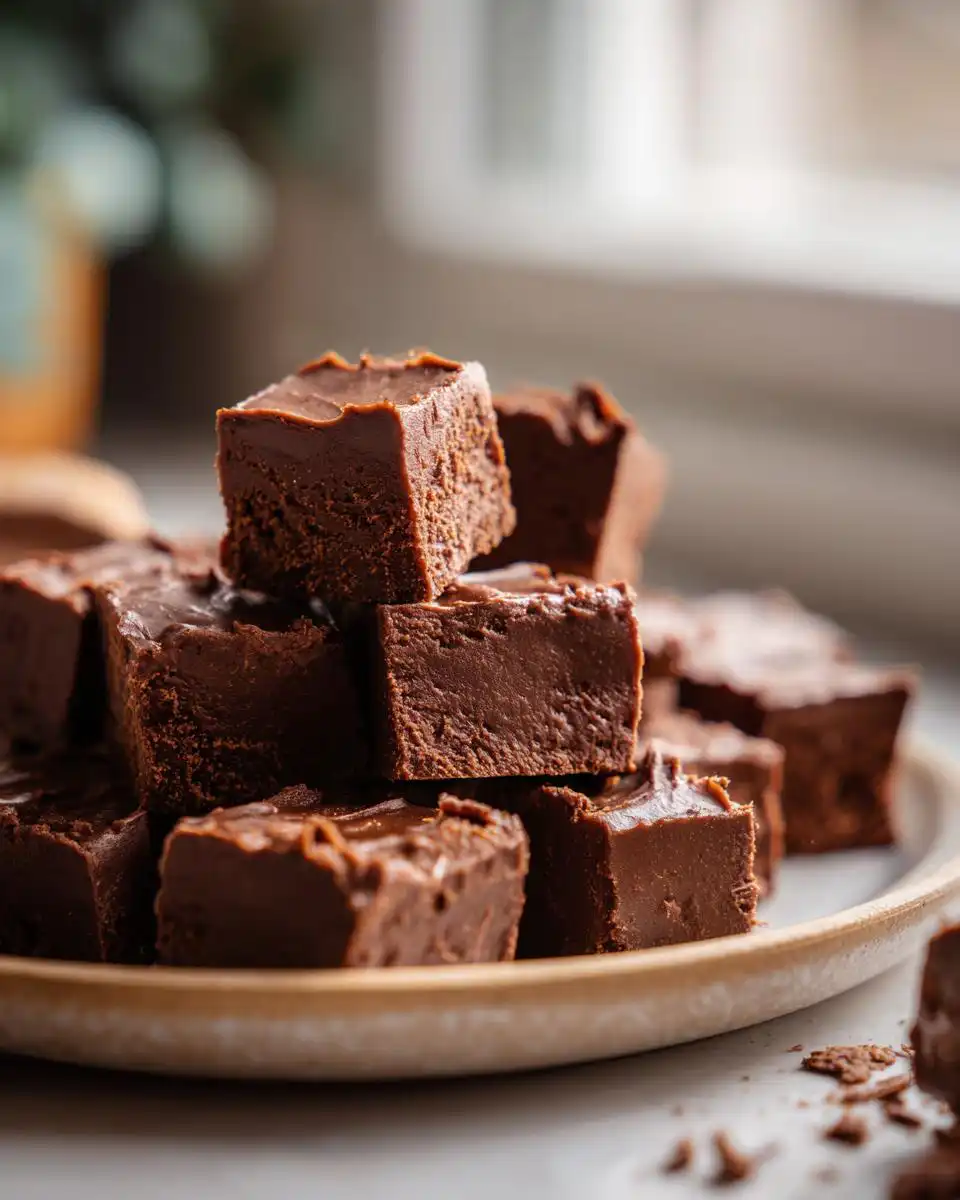
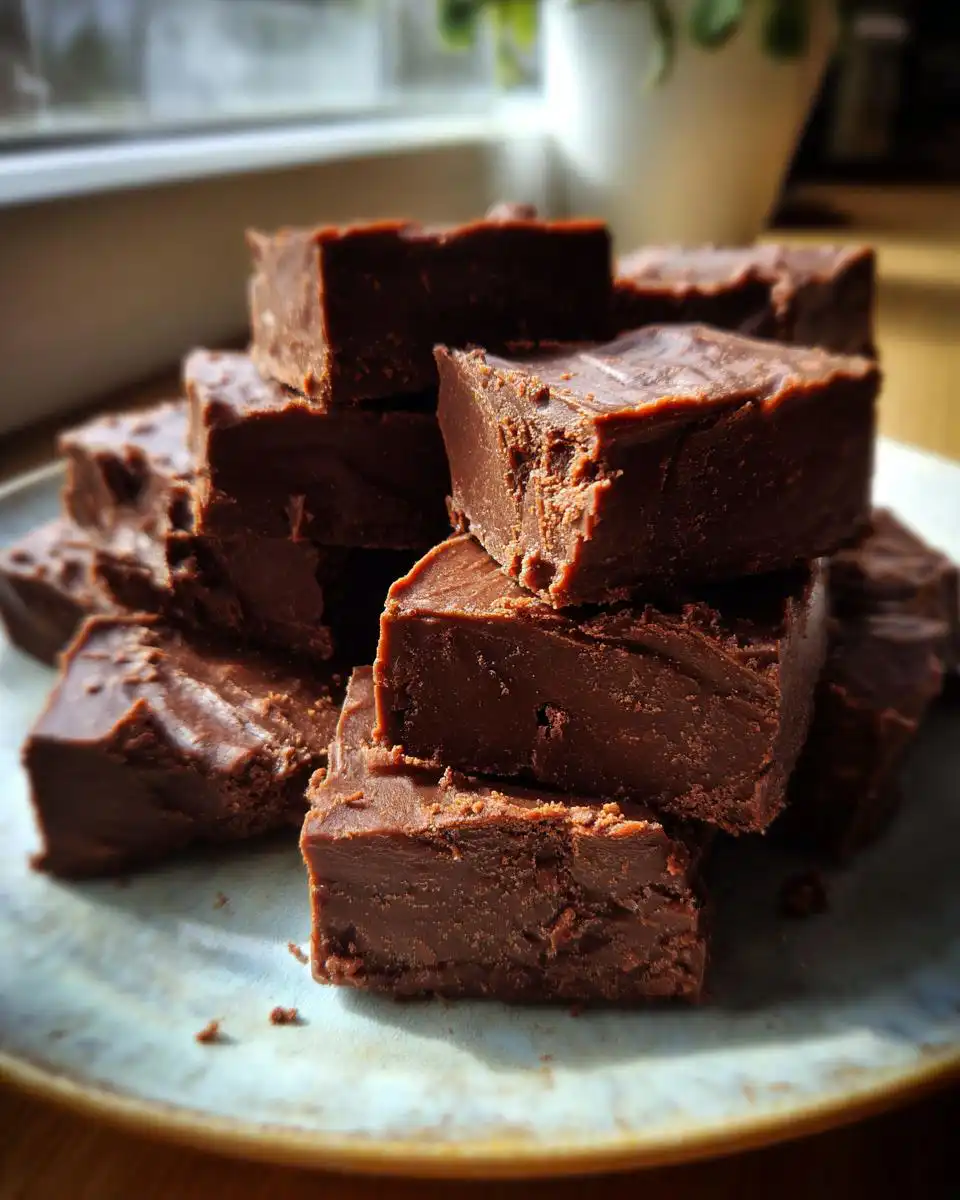
Oh, the smell of homemade chocolate fudge wafting through the kitchen! It’s pure magic, isn’t it? If you’ve ever dreamt of creating that perfect, melt-in-your-mouth chocolate fudge without a fuss, then you’re in the right place. This isn’t just any chocolate fudge recipe; it’s my go-to method for achieving that incredibly creamy, rich texture that I just can’t get enough of. I’ve tinkered with this stovetop wonder for years, tweaking it until it was just right – easy enough for a busy weeknight but special enough for holiday platters. Honestly, seeing those glossy squares come out of the pan makes me happier than finding a forgotten chocolate bar in my pantry!
Why You’ll Love This Chocolate Fudge Recipe
- It’s SO easy! Seriously, you’ll be shocked at how simple this homemade chocolate fudge is to whip up.
- That creamy, dreamy texture? Yep, it’s achievable without fancy equipment, just a stovetop and a little patience.
- It tastes absolutely decadent – rich, chocolaty, and utterly satisfying.
- Perfect for gifting, holiday cookie trays, or just treating yourself any old day.
- Uses ingredients you probably already have in your pantry!
Ingredients for the Perfect Chocolate Fudge Recipe
Alright, let’s talk about what makes this homemade chocolate fudge recipe so special. It’s all about using good quality ingredients that work together beautifully. You don’t need anything super fancy, just the good stuff!
- 1 cup butter (I like to use unsalted, softened to room temp)
- 1 1/4 cups milk chocolate chips (the better the chips, the better the fudge!)
- 1 1/4 cups semi-sweet chocolate chips (a good mix makes it extra yummy)
- 1 teaspoon vanilla extract (pure vanilla, of course!)
- 1 can (12 ounces) evaporated milk (this is key for that smooth texture!)
- 4 cups granulated sugar (don’t skimp here!)
- 2 1/4 cups mini marshmallows (these make it wonderfully creamy)
Step-by-Step Guide to Making Your Chocolate Fudge Recipe
Alright, ready to dive into making some truly amazing homemade chocolate fudge? It’s easier than you think! Just follow these steps, and you’ll have a batch of rich, creamy deliciousness in no time. It’s kind of like magic happening right on your stovetop!
Step 1: First things first, get your 9×13 inch baking dish ready. I like to line mine with parchment paper. This is a game-changer because it makes lifting the fudge out later SO much easier. No sticking, no wrestling matches with the pan – just clean, perfect squares.
Step 2: In a large bowl that can handle heat, toss in your butter, the milk chocolate chips, the semi-sweet chocolate chips, and that lovely teaspoon of vanilla extract. This is where all our chocolatey goodness starts to mingle and get ready to melt.
Step 3: Now, grab a heavy-bottomed saucepan. Pour in the evaporated milk, the sugar, and those mini marshmallows. Pop it over medium heat. Keep stirring constantly! You want everything to start warming up and getting friendly. This part is crucial for a smooth texture, so don’t walk away!
Step 4: Bring that marshmallow-sugar-milk mixture to a steady boil. Keep stirring like crazy for about 10 minutes. You’re looking for it to reach 234°F on your candy thermometer – that’s the soft ball stage. This is the sweet spot, literally, for perfect fudge consistency. If you don’t have a thermometer, a tiny drop in cold water should form a soft, squishy ball.
Step 5: As SOON as it hits that temperature, carefully but quickly, pour that super hot mixture right over the chocolate and butter in your bowl. Grab a sturdy spoon or spatula and mix everything together until it’s all wonderfully smooth and glossy. This happens pretty fast, so just keep stirring until you don’t see any streaks of chocolate or butter!
Step 6: Now for the fun part! Pour your glorious, smooth fudge mixture into that prepared baking dish. Use your spatula to spread it out evenly. Try to get it as smooth as you can on top; it makes for prettier pieces later. Imagine your cookie platters filled with this! It’s almost as exciting as making chocolate chip cookies!
Step 7: Pop the dish into the refrigerator. You’ll want to let it chill completely, which usually takes about 2 hours. This is the hardest part – waiting! But trust me, it’s totally worth it for that perfect firm texture. Think of it as a happy waiting game, much like waiting for no-bake bars to set.
Step 8: Once it’s all set and firm, use the edges of the parchment paper to lift the entire slab of fudge right out of the pan. Place it on a cutting board and cut it into small, bite-sized squares. Enjoy your incredibly delicious, homemade chocolate fudge!
Serving Suggestions for Your Homemade Chocolate Fudge
Perfect with Coffee or Tea: This rich chocolate fudge is absolutely divine alongside a warm cup of coffee or a soothing cup of tea, making it the perfect treat for an afternoon break.
Dessert Topping: Crumble small pieces over ice cream, yogurt, or even a slice of cake (like this lovely Victoria Sponge cupcake!) for an instant chocolatey upgrade.
Gifting Goodness: Package these delightful squares in cute tins or bags to share with friends and family – it’s always a hit!
Storing and Reheating Your Easy Chocolate Fudge
So you’ve made this amazing batch of easy chocolate fudge, and you want it to last, right? No problem! Store your fudge in an airtight container at room temperature. Honestly, it stays yummy for about two weeks like that. If you want it to last even longer, pop it in the fridge – it’ll be good for about a month. Just remember, before you dig in, let it sit out for a few minutes to get that perfect soft texture again. It makes all the difference!
Frequently Asked Questions About This Chocolate Fudge Recipe
Got questions about making this amazing chocolate fudge recipe? You’re not alone! It’s so popular because it’s a genuinely quick easy chocolate fudge recipe, but here are a few things folks often wonder about.
Can I use different types of chocolate chips in this chocolate fudge recipe?
Absolutely! While I love the combo of milk and semi-sweet for that classic chocolate flavor, feel free to experiment. Dark chocolate chips would make it richer, or even butterscotch chips for a twist. Just make sure you’re using good quality chocolate chips for the best results in your homemade chocolate fudge.
How do I ensure my chocolate fudge recipe sets properly?
The key here is the temperature! You really want to hit that soft ball stage (234°F) when boiling the sugar mixture. If it’s not hot enough, your fudge won’t set firmly. If you don’t have a candy thermometer, test it by dropping a little into cold water – it should form a soft, pliable ball. Patience during the chilling time in the fridge is also super important!
Is this a quick easy chocolate fudge recipe I can make with kids?
Yes! This easy 5-minute chocolate fudge recipe is fantastic for little helpers. They’ll love helping measure and stir the initial ingredients, and especially watching the chocolate melt. The boiling part is best left to an adult, of course, but they can definitely help with spreading it in the pan and cutting it once it’s set. It’s a super fun way to get a delicious treat made together!
Before You Go: Enjoy Your Chocolate Fudge!
I really hope you give this creamy chocolate fudge recipe a try! It’s such a joy to make and even better to eat. Let me know in the comments how it turns out for you, or better yet, share a pic on social media and tag me! Happy fudging!
Print
Creamy Homemade Chocolate Fudge
- Total Time: 40 min
- Yield: 50 pieces
Description
A rich, smooth chocolate fudge made with simple ingredients using a stovetop method.
Ingredients
- 1 cup butter
- 1 1/4 cups milk chocolate chips
- 1 1/4 cups semi sweet chocolate chips
- 1 teaspoon vanilla extract
- 1 can (12 ounces) evaporated milk
- 4 cups granulated sugar
- 2 1/4 cups mini marshmallows
Instructions
- Line a 9×13 inch baking dish with parchment paper.
- Place butter, milk chocolate chips, semi sweet chocolate chips, and vanilla extract into a large heatproof bowl.
- In a heavy saucepan over medium heat, combine evaporated milk, sugar, and mini marshmallows. Stir constantly as it heats.
- Bring the mixture to a steady boil and cook for about 10 minutes, stirring continuously, until it reaches 234°F (soft ball stage).
- Immediately pour the hot mixture over the chocolate and butter in the bowl. Mix until fully melted and smooth.
- Pour the fudge mixture into the prepared pan and spread evenly.
- Refrigerate until completely set, about 2 hours.
- Lift the fudge out using the parchment paper and cut into small squares.
Notes
- Store fudge in an airtight container at room temperature for up to 2 weeks.
- Refrigerate for longer freshness.
- For best texture, allow chilled fudge to sit at room temperature for a few minutes before serving.
- Prep Time: 15 min
- Cook Time: 25 min


