Oh, there’s just something utterly magical about a proper British teatime, isn’t there? Especially when the stars of the show are warm, buttery scones. My absolute favourite, and one that always brings a smile to my face, has to be these Cranberry Orange Scones Inspired by Mary Berry. They’re just perfect, with those lovely flaky layers, a zingy citrus glaze, and pops of juicy cranberries. I’ve been making these for years, ever since I first saw Mary herself whip them up – it was a lightbulb moment for my own baking! They instantly transport me to a cosy kitchen, no matter the weather outside.
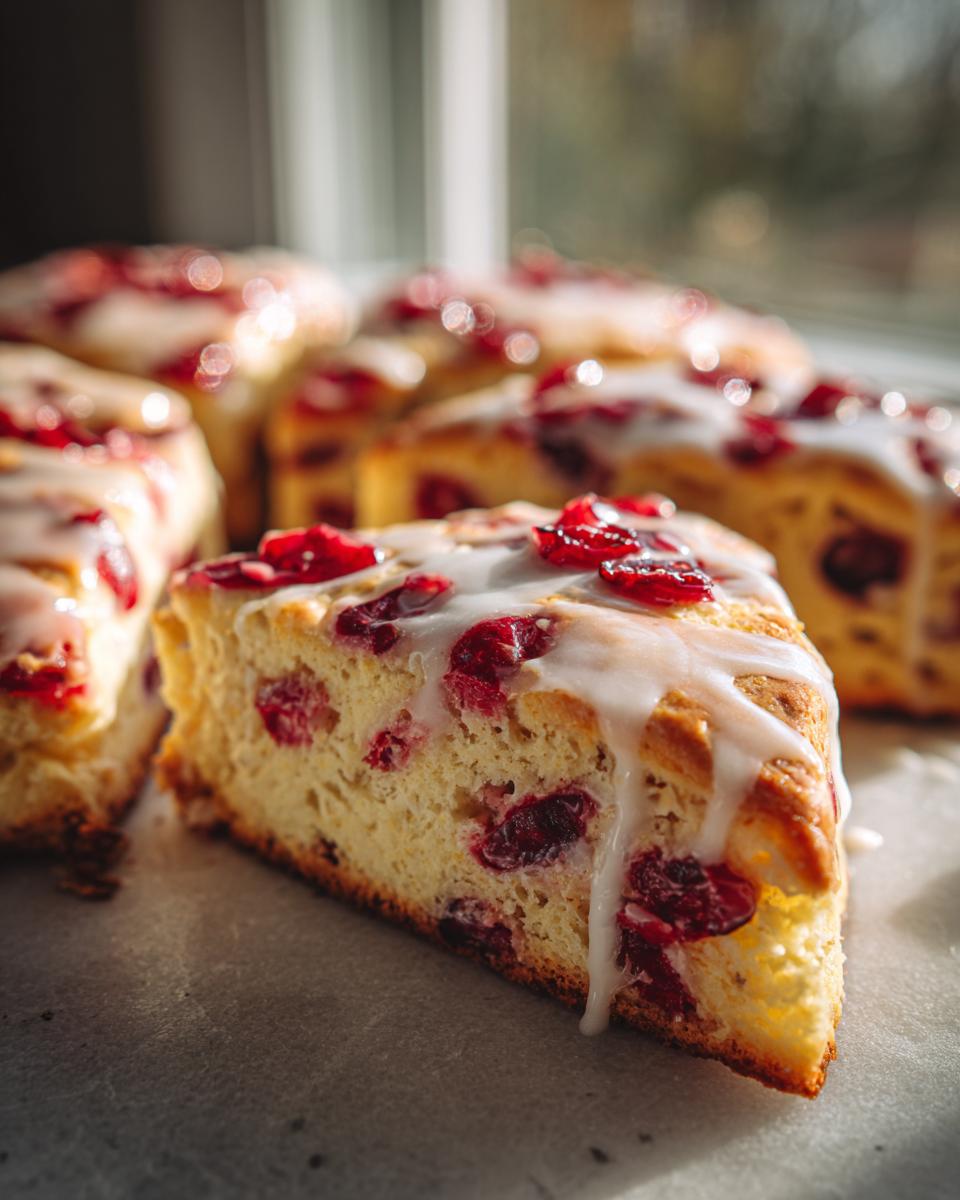
Why You’ll Love These Cranberry Orange Scones Inspired by Mary Berry
- They’re unbelievably easy to whip up, seriously! Even if you’re a baking beginner, you’ll nail these – much like Mary Berry herself makes it look so effortless.
- That flavour combination is just divine: the sweet-tart burst of cranberries playing off the bright, zesty orange is a match made in heaven.
- You get the most wonderful texture – light, tender, and with delightfully flaky layers that practically melt in your mouth.
- They’re the perfect centrepiece for a cosy afternoon tea, a lovely treat with your morning cuppa, or even a delightful light dessert.
- The simple citrus glaze adds that extra touch of sweetness and elegance, making them look as good as they taste!
Ingredients for Your Cranberry Orange Scones Inspired by Mary Berry
Honestly, using chilled and grated butter is the secret weapon here. It really helps create those gorgeous flaky layers that we all love in a good scone. And frozen cranberries? They’re brilliant because they hold their shape so well and don’t bleed all their lovely colour into the dough too soon. Trust me, it makes a difference!
- 250 g plain flour
- 100 g granulated sugar
- 2 1/2 teaspoons baking powder
- 1/2 teaspoon salt
- 2 teaspoons orange zest (from about 1 large orange)
- 113 g unsalted butter, chilled and grated (about 1 cup)
- 120 ml double cream (plus 1 tablespoon for brushing)
- 1 large egg
- 1 teaspoon vanilla bean paste
- 125 g frozen cranberries
- 1 tablespoon coarse sugar (like demerara or turbinado)
- 120 g icing sugar (powdered sugar)
- 2 to 3 tablespoons fresh orange juice (start with 2, add more if needed for glaze consistency)
Step-by-Step Instructions for Cranberry Orange Scones Inspired by Mary Berry
Step 1: Right then, first things first, let’s get your oven ready. Line a baking tray with baking paper – this stops them sticking, which is a nightmare! Then, preheat your oven to a nice hot 200°C. If you’ve got a fan oven, drop it down to 180°C. Getting the temperature just right is key for lovely fluffy scones.
Step 2: Grab a big mixing bowl and chuck in your plain flour, granulated sugar, baking powder, just a pinch of salt, and that lovely orange zest. Give it all a good whisk together. You want it all nicely combined before we move on to the next step.
Step 3: Now for the magic ingredient for flaky layers! Add your chilled, grated butter to the flour mix. Gently rub it in with your fingertips until it looks like coarse breadcrumbs. Don’t overwork it; just get it nicely incorporated. This is where the butter does its work creating those delicious layers.
Step 4: In a separate little bowl, whisk together the double cream, your egg, and that gorgeous vanilla bean paste. This is your wet mixture that’s going to bring everything together beautifully.
Step 5: Pour this wet mixture into your dry ingredients in the big bowl. Now, gently add in your frozen cranberries. Just stir everything together until the dough starts to cling and come together. Be careful not to overmix at this stage; we want it just combined. It’s a bit like coaxing it into a dough!
Step 6: Tip your dough onto a lightly floured surface. Shape it into a lovely thick round, about 20cm wide. Then, using a sharp knife, cut it into 8 neat wedges. Think of it like cutting a pizza!
Step 7: Carefully place your scone wedges onto that prepared baking tray. Give them a little bit of space to spread out. Now, brush the tops with that extra tablespoon of double cream – this gives them a lovely golden sheen. Sprinkle over the coarse sugar for a bit of crunch and sparkle.
Step 8: Pop them in the fridge for about 15 minutes. This might sound a bit odd, but chilling them helps them keep their shape beautifully when they hit the heat of the oven. It’s a little trick that really pays off!
Step 9: Bake for 22 to 25 minutes. You’re looking for them to be golden brown all around the edges and a lovely light colour on top. The smell that fills your kitchen at this point is just amazing!
Step 10: Let the scones cool on the baking tray for about 10 minutes. While they’re having a little rest, you can whip up the glaze. They’re still warm, which is perfect for slightly melting the glaze.
Step 11: For the glaze, just mix the icing sugar and fresh orange juice together until it’s nice and smooth. Start with 2 tablespoons of juice and add a little more if you need it to be a bit runnier. Drizzle this lovely glossy glaze over the warm scones. You can find more scone inspiration here if you fancy trying some other variations.
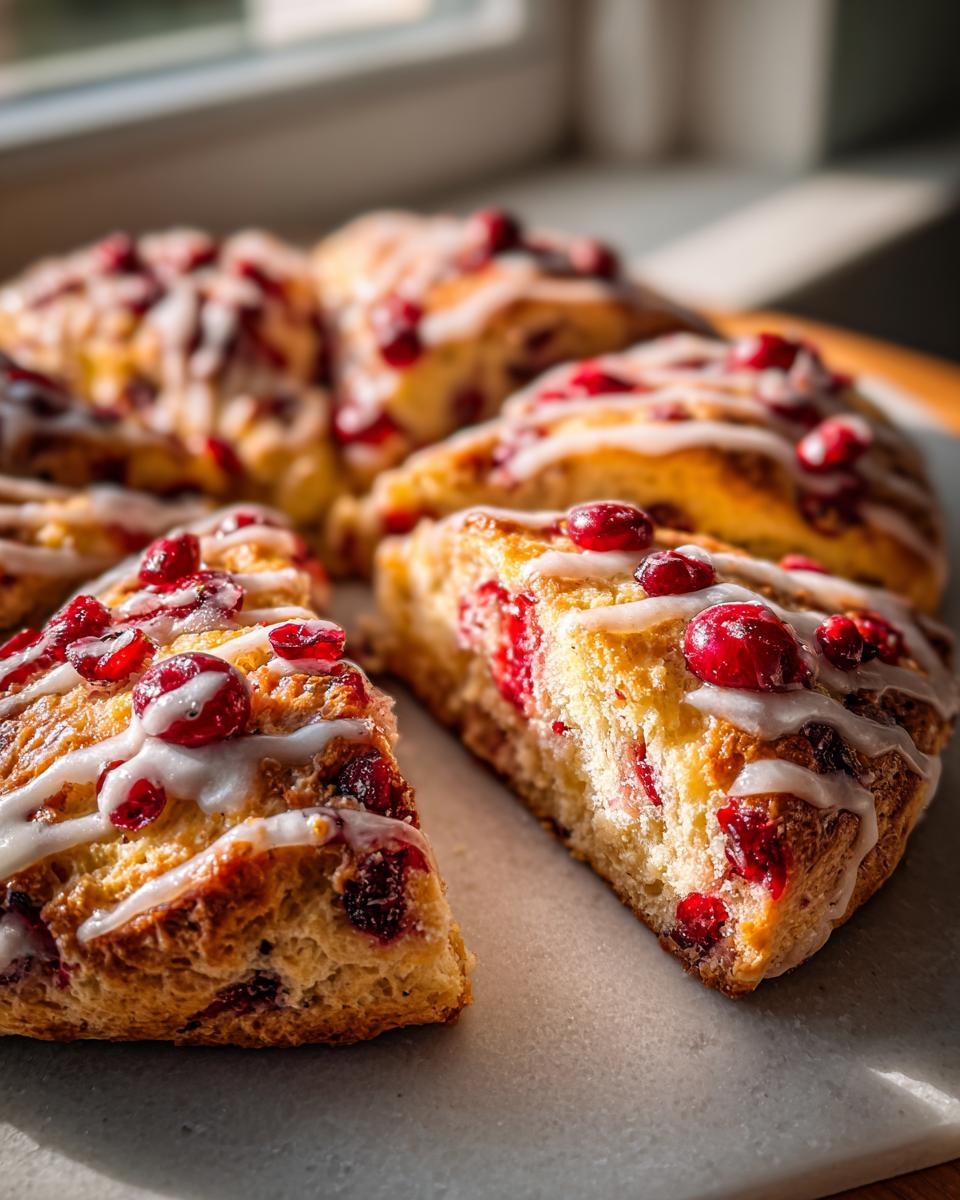
Serving Suggestions for Your Cranberry Orange Scones
These scones are utterly delightful on their own, but here are a few ideas to make your teatime even more special:
Clotted Cream and Jam: You absolutely can’t go wrong with the classic duo! A generous dollop of rich clotted cream and your favourite fruity jam (raspberry or strawberry are lovely) is always a winner.
Fresh Berries: A small bowl of mixed fresh berries, perhaps with a light dusting of icing sugar, adds a lovely freshness that complements the cranberries beautifully.
Extra Orange Curd: If you really love that citrus kick, a little pot of homemade or good-quality store-bought orange curd is a fantastic addition for spreading or dipping.
Storage and Reheating: Keeping Your Cranberry Orange Scones Fresh
These gorgeous scones really are best enjoyed on the day they’re baked, still a little warm from the oven with that lovely glaze. But, if you do happen to have any left (which is rare in my house!), store them in an airtight container at room temperature. They’ll keep nicely for about 1-2 days, though they might lose a tiny bit of their initial crispness.
To bring them back to life, a quick 5-10 minutes in a moderate oven (around 150°C) is perfect. Just enough to warm them through and make them delightfully cosy again. I wouldn’t recommend microwaving them, as they can get a bit tough. They’re also pretty fantastic just as they are the next day, though!
Frequently Asked Questions About Cranberry Orange Scones
Can I use fresh cranberries instead of frozen for my Cranberry Orange Scones?
Oh yes, absolutely! You can definitely use fresh cranberries. If you do, just give them a quick rinse and pat them dry. You might find they bleed a little more colour into the dough compared to frozen ones, but they’ll still be delicious. Just toss them in with the other wet ingredients as you would the frozen ones!
What is the best way to get flaky layers in my Cranberry Orange Scones?
The secret really is keeping things cold! Make sure your butter is well chilled and grated, and don’t overwork the dough. Rubbing the butter into the flour until it looks like breadcrumbs and then just gently bringing the dough together means those little pockets of butter stay intact. When they bake, they turn into steam and create those lovely flaky layers!
How long do Cranberry Orange Scones Inspired by Mary Berry stay fresh?
These Cranberry Orange Scones Inspired by Mary Berry are at their absolute best on the day you bake them, honestly. But if you have some left over, they’ll keep nicely in an airtight container at room temperature for about a day or two. They might not be quite as crisp, but they’re still super yummy!
Before You Go
Right then, I do hope you give these Cranberry Orange Scones a try! They’re such a joy to bake and even better to eat. Let me know how you get on in the comments below, or even better, give them a little star rating. Happy baking! You can find loads more inspiration over on Pinterest.
Print
Cranberry Orange Scones
- Total Time: 1 hour
- Yield: 8 servings
- Diet: Vegetarian
Description
Bake these cranberry orange scones with buttery layers, fresh citrus glaze, and juicy cranberries for a cosy British-style teatime treat.
Ingredients
- 250 g plain flour
- 100 g granulated sugar
- 2 1/2 teaspoons baking powder
- 1/2 teaspoon salt
- 2 teaspoons orange zest
- 113 g unsalted butter chilled and grated
- 120 ml double cream
- 1 large egg
- 1 teaspoon vanilla bean paste
- 125 g frozen cranberries
- 1 tablespoon double cream for brushing
- 1 tablespoon coarse sugar
- 120 g icing sugar
- 2 to 3 tablespoons fresh orange juice
Instructions
- Line a baking tray with baking paper and preheat the oven to 200 C or 180 C fan.
- In a large mixing bowl, whisk together the plain flour, granulated sugar, baking powder, salt, and orange zest.
- Add the chilled grated butter and rub lightly into the flour mixture until it resembles coarse crumbs.
- In a separate bowl, whisk together the double cream, egg, and vanilla bean paste.
- Pour the wet mixture into the dry ingredients and add the frozen cranberries. Stir gently until the dough starts to come together.
- Turn the dough onto a lightly floured surface and shape into a thick round about 20 cm wide. Cut into 8 wedges.
- Place the scones onto the prepared baking tray, leaving space between each one. Brush the tops with double cream and sprinkle with coarse sugar.
- Chill the scones in the fridge for 15 minutes to help keep their shape while baking.
- Bake for 22 to 25 minutes until golden brown around the edges and lightly coloured on top.
- Leave the scones to cool for 10 minutes while making the glaze.
- Mix the icing sugar and fresh orange juice together until smooth. Drizzle over the warm scones before serving.
Notes
- Keeping the butter and dough cold helps create flaky layers and prevents the scones from spreading too much during baking.
- Best enjoyed fresh on the day of baking.
- Prep Time: 35 minutes
- Cook Time: 25 minutes
- Category: Baking
- Method: Baking
- Cuisine: British