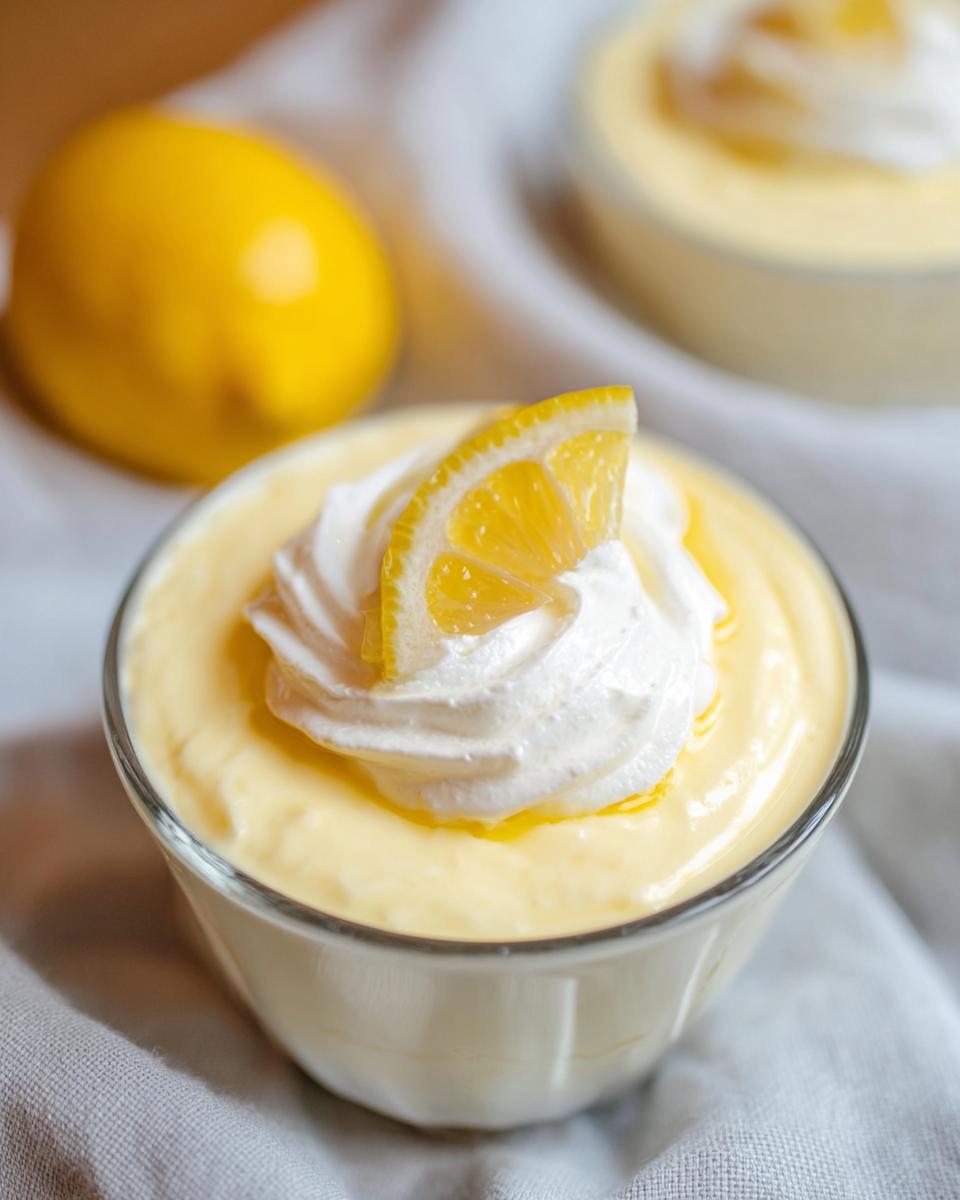
There’s just something magical about a dessert that’s both incredibly light and bursting with flavour, isn’t there? That’s exactly what you get with this Lemon Mousse Inspired by Mary Berry. I remember first trying a version of this years ago and being completely smitten – it’s that perfect balance of creamy and zesty that just melts in your mouth. Honestly, it feels fancy enough for a dinner party, but it’s so wonderfully simple to whip up, making it my go-to when I fancy something a bit special without all the fuss.
Why You’ll Love This Lemon Mousse Inspired by Mary Berry
- It’s ridiculously easy to make – seriously, no complications!
- That refreshing, zesty lemon flavour is just divine and feels so sophisticated.
- Perfect for any occasion, whether it’s a weeknight treat or a special gathering.
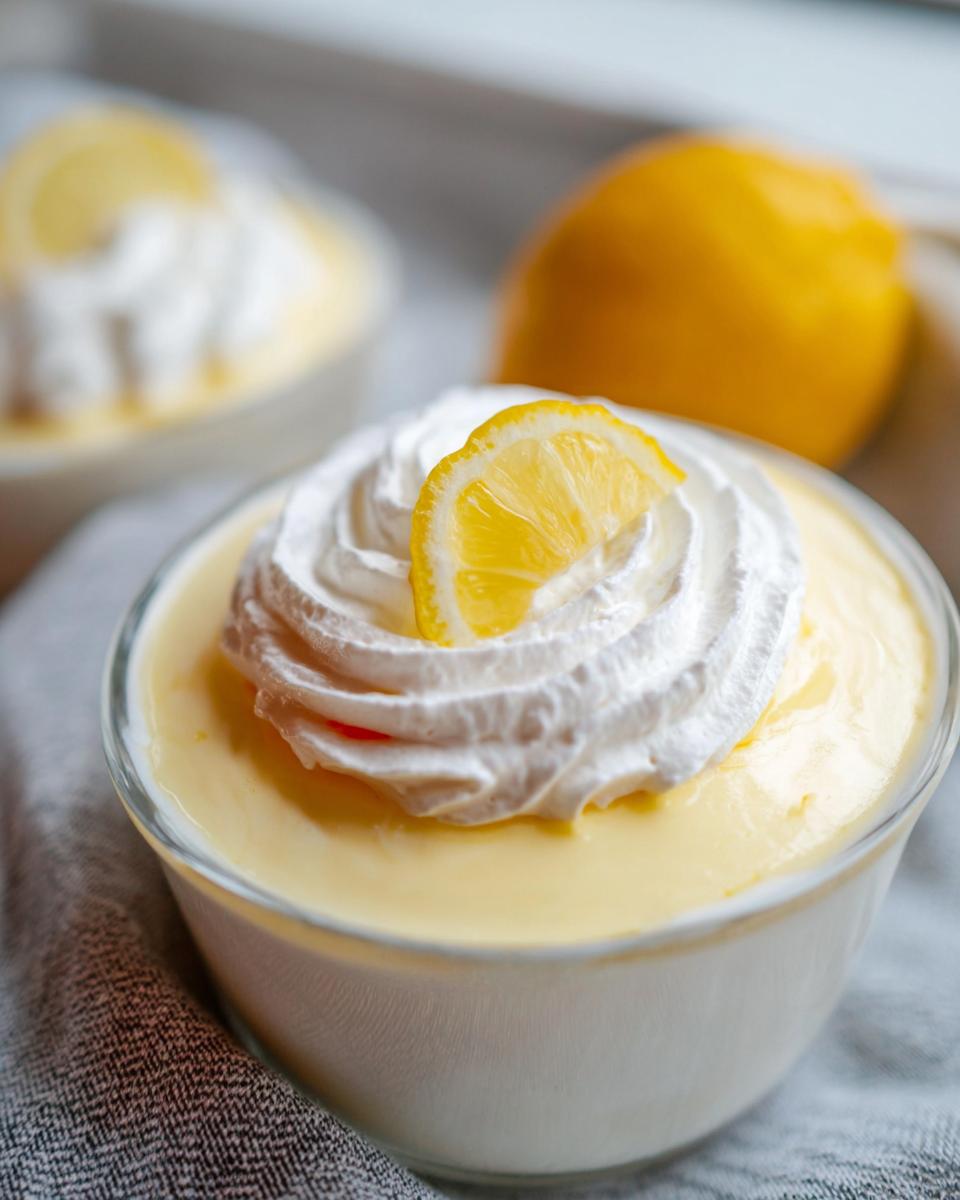
- Looks absolutely beautiful in serving glasses, making it feel extra special.
Ingredients for Your Lemon Mousse Inspired by Mary Berry
Right then, for this little beauty, you’ll need a few bits for the gorgeous lemon curd base, and then just cream to make it wonderfully light and airy. Don’t worry if you haven’t made curd before, it’s much simpler than it sounds and Mary Berry would approve of the straightforward approach!
- For the Lemon Curd:
- 1 large egg
- 1 egg yolk
- Zest of 1 lemon (I always use a microplane for this, gets all the lovely oils out!)
- 1/4 cup fresh lemon juice (about 1 juicy lemon)
- 3 tablespoons caster sugar (this makes it nice and smooth, not too coarse)
- 3 tablespoons unsalted butter, cubed (make sure it’s cold when you add it!)
- For the Mousse:
- 1/2 cup cold double cream (make sure it’s properly chilled for the best whip)
- For Serving (Optional but lovely!):
- Extra whipped cream
- Thin lemon slices
Step-by-Step Guide to Making Lemon Mousse Inspired by Mary Berry
Okay, let’s get this delicious dessert made! It’s really quite straightforward, and the key is just being patient with the lemon curd and making sure everything is lovely and chilled. Don’t rush those chilling stages – they’re crucial for the perfect texture!
Step 1: Get a small saucepan with a few centimetres of water on the go and bring it to a gentle simmer – not a rolling boil, mind! We want gentle warmth.
Step 2: In a heatproof bowl, whisk together your egg, the extra egg yolk, all that zesty lemon peel, the fresh lemon juice, and the caster sugar. Give it a good whisk until it’s all smooth and lovely.
Step 3: Now, pop the cubes of lovely cold butter into the egg mixture. Carefully place this bowl over the simmering water. Make sure the bottom of the bowl isn’t actually touching the water, otherwise, you’ll scramble your eggs!
Step 4: Here’s where the magic happens! Stir continuously. You’ll see the butter melt and then, almost like magic, the mixture will start to thicken. Keep stirring for about 5 minutes. You’re looking for it to coat the back of a spoon nicely. If it’s too thin, give it another minute or two.
Step 5: Once it’s thickened, carefully take the bowl off the heat. Strain that gorgeous lemon curd into a clean bowl. This gets rid of any bits of zest that might have clumped and ensures a super smooth finish.
Step 6: Now, this is important for a silky texture! Press some cling film directly onto the surface of the lemon curd. This stops a skin from forming. Pop it in the fridge for at least 30 minutes, or until it’s completely cold and set. Trust me, this step is a game-changer.
Step 7: While your curd is chilling, get another mixing bowl and pop that in the fridge too. A nice cold bowl helps the cream whip up better. Pour your cold double cream into it.
Step 8: Whip that cream! Start on a low speed and gradually increase. You’re looking for firm peaks – you know, when you lift the whisk, the cream stays up and doesn’t flop over. Don’t over-whip it into butter!
Step 9: Right, take your chilled lemon curd out. Spoon about 2 tablespoons of the whipped cream into the curd and gently stir it in. This just loosens the curd a bit, making it easier to fold.
Step 10: This is the ‘folding’ bit! Add the rest of the whipped cream to the loosened lemon curd. Use a large spatula and gently fold it all together. Imagine you’re cutting through the middle and folding the mixture over. You want to keep all that lovely air in, so be gentle! Keep folding until it’s just combined and looks like a beautiful, airy mousse.
Step 11: Spoon your fabulous mousse into your serving glasses or ramekins. Smooth the tops a little with your spoon or a small spatula.
Step 12: Now, for the final chill! Pop them back in the fridge for at least an hour. This allows the flavours to meld and the mousse to set up perfectly. If you’re short on time, you can sneak them into the freezer for about 15-20 minutes, but watch them carefully!
Step 13: Just before serving, add a little extra swirl of whipped cream and a thin slice of lemon on top if you fancy. It looks so pretty and adds that extra zing!
For more simple citrus delights, have a peek at my easy lemon posset or perhaps this lime and lemon posset recipe – they’re lovely too!
Serving Suggestions for Your Lemon Mousse
This lovely lemon mousse is gorgeous on its own, but here are a few ideas to make it even more special:
Fresh Berries: A little handful of fresh raspberries or blueberries scattered on top adds a lovely pop of colour and a tangy contrast to the creamy lemon. Perfection!
Shortbread Biscuits: A crisp, buttery shortbread on the side is just divine. It gives you something lovely to dunk and adds a wonderful texture.
Candied Lemon Peel: If you’re feeling ambitious, a little bit of homemade candied lemon peel looks ever so elegant and adds an extra zing for true lemon lovers.
Storing and Reheating Your Lemon Mousse
This lemon mousse is best enjoyed fresh, but it keeps beautifully in the fridge for up to 2 days. Just pop a bit of cling film over the top to stop it from picking up any stray fridge smells. Honestly, the flavours get even better as it sits for a bit! I haven’t found a way to reheat it, as it’s meant to be served chilled, but if you’re planning ahead for a party, you can absolutely make the lemon curd a day or two in advance and then just whip the cream and fold it all together on the day you want to serve it. That way, it feels less like a rush!
Frequently Asked Questions About Lemon Mousse
Can I make this Lemon Mousse without eggs?
Ah, a classic question for mousse lovers! While this recipe is inspired by Mary Berry’s approach and uses eggs for that silky lemon curd base, you could try a version using agar-agar or gelatin if you’re avoiding eggs entirely. However, it will change the texture slightly. For a simpler, egg-free citrus treat, have you considered my easy lemon cupcakes? They’re also fabulously zesty!
My lemon curd split, what did I do wrong?
Oh no, that’s frustrating! Usually, if the lemon curd splits, it’s because it got a bit too hot, too fast, or was cooked unevenly. My top tip is to keep that heat gentle and stir *constantly* when it’s over the simmering water. If it does split a little, don’t despair! Sometimes whisking it vigorously off the heat, or even giving it a quick blitz with a hand blender, can bring it back together. If not, strain it really well to get the smoothest base possible.
Can I make this Lemon Mousse ahead of time?
Absolutely! This is one of the best things about this dessert. You can make the lemon curd base a day or two in advance and keep it chilled. Then, on the day you want to serve it, just whip your cream and fold it all together. It really does need that chilling time (at least an hour) for the flavours to meld and for the mousse to set up perfectly, so making it ahead is ideal. It’s a bit like my easy lemon traybake, which is even better the next day!
Before You Go: Enjoy Your Lemon Mousse!
I really hope you give this delightful Lemon Mousse a go! It’s such a lovely treat that’s simple to make and always impresses. Let me know in the comments below if you try it, or even better, pop over to Pinterest and share a photo of your creation! Happy baking!
Print
Lemon Mousse
- Total Time: 1 hour 20 min
- Yield: 2 servings
- Diet: Vegetarian
Description
A light, creamy lemon mousse with a fresh citrus flavour, perfect for any occasion.
Ingredients
- For the Lemon Curd: 1 large egg
- 1 egg yolk
- Zest of 1 lemon
- 1/4 cup fresh lemon juice
- 3 tablespoons caster sugar
- 3 tablespoons unsalted butter, cubed
- For the Mousse: 1/2 cup cold double cream
- For Serving: Extra whipped cream
- Thin lemon slices
Instructions
- Fill a small saucepan with a few centimetres of water and bring to a gentle simmer.
- In a heatproof bowl, whisk together the egg, egg yolk, lemon zest, lemon juice, and caster sugar until smooth.
- Add the cubed butter to the bowl and place the bowl over the saucepan, ensuring the base does not touch the water.
- Stir continuously as the butter melts and the mixture thickens. Cook for about 5 minutes until the curd coats the back of a spoon.
- Remove the bowl from the heat and strain the lemon curd into a clean bowl.
- Press cling film directly onto the surface of the curd and chill in the fridge for at least 30 minutes until completely cold.
- Chill a mixing bowl before whipping the cream for the lightest texture.
- Pour the cold double cream into the chilled bowl and whip until firm peaks form.
- Add 2 tablespoons of whipped cream into the cooled lemon curd and stir gently to loosen the mixture.
- Fold the remaining whipped cream carefully into the lemon curd until smooth and airy with no streaks remaining.
- Spoon the mousse into serving glasses or ramekins and smooth the tops.
- Chill for at least 1 hour before serving.
- Top with extra whipped cream and thin lemon slices before serving if desired.
Notes
- For a sweeter mousse, add an extra tablespoon of caster sugar to the lemon curd.
- Chill the serving glasses beforehand to keep the mousse colder for longer.
- Prep Time: 10 min
- Cook Time: 10 min
- Category: Dessert
- Method: No-Bake
- Cuisine: British