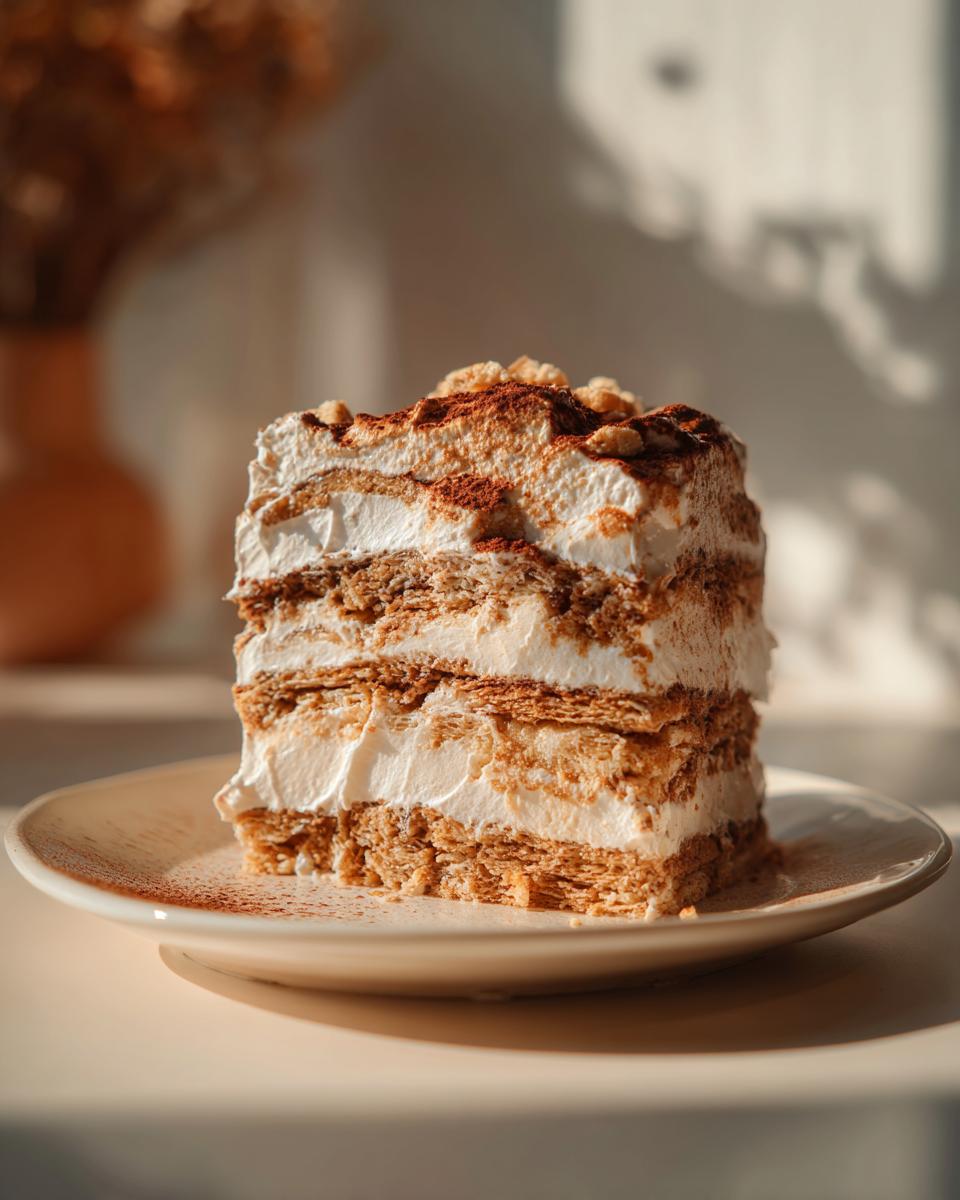
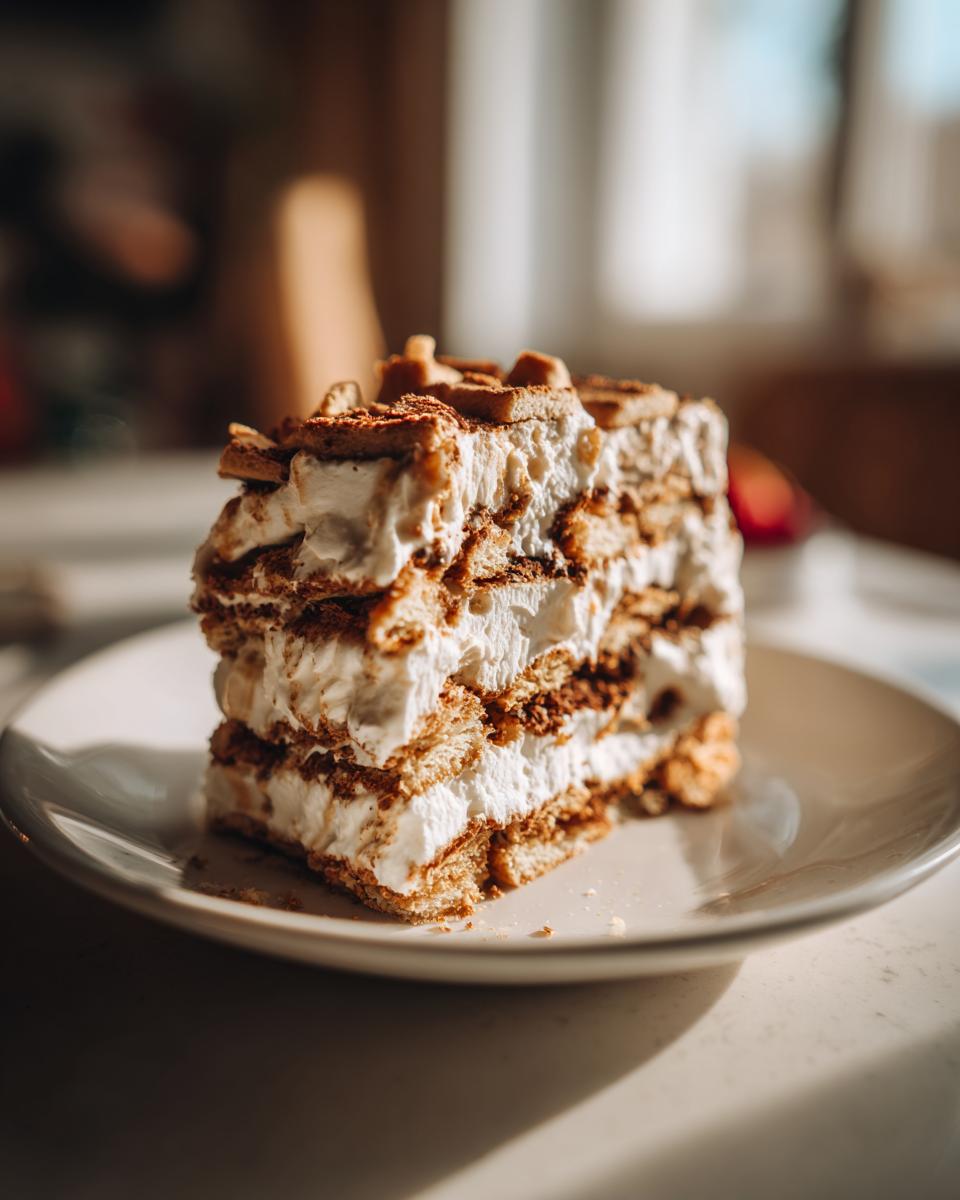
Oh, you are going to LOVE this easy coffee icebox cake! Seriously, forget the faff and the oven; this is my go-to when I need a showstopper that tastes incredible but takes zero effort. I first whipped this up for my mum’s birthday a few years back, and honestly, it disappeared in about ten minutes flat. The magic is in how the digestive biscuits soften up into these lovely, cake-like layers, all soaked in this dreamy, creamy coffee goodness. It’s the perfect no-bake treat, especially when you fancy something a bit special without the stress.
Why You’ll Love This Easy Coffee Icebox Cake
- It’s ridiculously easy – seriously, stir and chill!
- That creamy, coffee-infused flavour is just divine.
- No oven needed, making it perfect for summer or when your oven’s full.
- Uses simple ingredients you probably already have.
Ingredients for Your Easy Coffee Icebox Cake
This is where the magic happens with minimal fuss! You only need a few brilliant bits to make this easy coffee icebox cake sing. For the coffee cream, I like to use strong instant coffee so you get a real punch of flavour, but you can always dial it back if you prefer something milder. And digestive biscuits are key – they’re the perfect texture for soaking up all that lovely creaminess.
- 2 cups heavy cream
- ½ cup powdered sugar, sifted (this stops any lumps!)
- 1 teaspoon vanilla extract
- 1 tablespoon instant coffee granules
- 2 tablespoons warm water
- 24 digestive biscuits (you might need a few extra just in case!)
Crafting Your Easy Coffee Icebox Cake: Step-by-Step
Step 1: First things first, let’s get that lovely coffee flavour going. In a small bowl, mix the instant coffee granules with the warm water. Give it a good stir until all the coffee has dissolved – no grumpy lumps allowed! Then, just pop it aside to cool down a bit while we get on with the next bit. You don’t want it too hot when it goes in the cream. If you’ve ever made no-bake chocolate coconut energy bars, you’ll know how important it is to let things cool!
Step 2: Now for the dreamy part! Grab a large bowl and pour in your heavy cream. Add the sifted powdered sugar and that splash of vanilla extract. Get your electric whisk out (or a good old-fashioned balloon whisk if you’re feeling strong!) and whip it all up. You’re looking for soft peaks – that’s when the cream holds its shape a little but the tips gently curl over. Don’t go too wild and make butter, just lovely, airy cream.
Step 3: Gently, gently! Pour that slightly cooled coffee mixture into your whipped cream. Now, using a spatula, fold it in really carefully. You want to swirl it through until you get those gorgeous coffee-coloured streaks, but don’t overmix it. A few swirls are perfect – it looks so pretty and means you’ll get little pockets of pure coffee flavour in every bite of your easy coffee icebox cake.
Step 4: Time to build our cake! Grab an 8-inch square dish. Spread just a thin layer of your coffee cream on the very bottom. This is just to give the first layer of biscuits something nice to sit on and stop them from sliding about.
Step 5: Arrange a single layer of digestive biscuits over that cream. Don’t worry if you have to break a few to fill in the gaps – that’s exactly what we want! A snug fit means a more solid cake later on, and honestly, the bits that *don’t* fit are a chef’s treat, right?
Step 6: Spoon another generous layer of your coffee cream over those biscuits. Spread it out evenly with your spatula, making sure it reaches all the corners. Try to get it as smooth as you can, but don’t fret about perfection; this is meant to be rustic and delicious.
Step 7: Now, just keep repeating those layers – biscuits, then cream, biscuits, then cream – until you’ve used up all your ingredients. Make sure you finish with a lovely, smooth layer of cream right on top. It looks so much prettier that way, doesn’t it?
Step 8: This is the hardest part: waiting! Cover the dish tightly with cling film or a lid. Pop it in the fridge for at least 6 hours, but honestly, overnight is best. This gives the biscuits time to properly soften and soak up all that creamy coffee goodness, turning into a cake-like texture. It’s worth the patience, I promise!
Serving Suggestions for Your Coffee Icebox Cake
This lovely cake is pretty perfect on its own, but if you fancy jazzing it up a bit, here are a few ideas that I absolutely adore:
Whipped Cream with a Coffee Kiss: Just a little extra whipped cream on top, maybe with a tiny pinch of instant coffee mixed in, adds a lovely visual flourish and extra creaminess.
Chocolate Shavings: A sprinkle of dark chocolate shavings or even a few curls from a good quality chocolate bar looks gorgeous and adds a little hint of mocha wonderfulness.
Fresh Berries: A small handful of fresh raspberries or some halved strawberries can add a lovely pop of colour and a slight tartness that’s a brilliant contrast to the sweet, coffee-flavoured cake. It’s also a great way to make it feel a bit Lighter. You know, if you’re after something like these easy banana pudding recipes and want to add a fresh element.
Storing and Reheating Your Easy Coffee Icebox Cake
Right, so you’ve made this absolute beaut of an easy coffee icebox cake, and you’ve got some left over (which is rare in my house, by the way!). The best way to keep it is to pop it back in its dish, covered tightly with cling film or a lid, straight into the fridge. It’ll be lovely for about 3-4 days. Honestly, the longer it sits in there, the softer and more ‘cake-like’ those biscuits get, which is just divine! I never really reheat it, as it’s meant to be a lovely chilled treat, but if you wanted it *really* cold, a few extra minutes in the fridge wouldn’t hurt.
Frequently Asked Questions about Easy Coffee Icebox Cake
Can I use other biscuits instead of digestives?
You absolutely can! While digestives are amazing because they soften up so beautifully, you could try graham crackers or even shortbread. Just bear in mind that the texture might be a little different – digestives give it that lovely, almost cakey feel, which is exactly what we want for this easy coffee icebox cake. If you’re a fan of no-bake treats, you might also love these no-bake strawberry cheesecake bars!
How do I get the coffee flavour stronger?
If you’re a massive coffee fiend like me, you can definitely amp up the coffee flavour! You could try dissolving an extra half teaspoon of instant coffee granules in the warm water, or even use a teaspoon of coffee extract instead of the granules and water mixture. Just be mindful not to make it too potent, or it might overpower the creamy sweetness. We want a lovely balance, after all!
Can I make this ahead of time for a party?
Oh yes, this is the perfect make-ahead dessert! In fact, I actually prefer it when it’s had a good long chill in the fridge overnight. It gives the biscuits ages to soften into that glorious cake-like texture and allows all those lovely coffee and cream flavours to really meld together. It’s honestly even better the next day, just like these easy key lime pie bars!
Before You Go
Right then, give this easy coffee icebox cake a whirl this week! I’d absolutely love to hear what you think, so please do leave a comment below and let me know how you get on. Don’t forget to rate it if you enjoyed it!
Print
Easy Coffee Icebox Cake
- Total Time: 15 min
- Yield: 8 servings
- Diet: Vegetarian
Description
A no-bake dessert with creamy layers and a rich coffee flavour, perfect for entertaining.
Ingredients
- 2 cups heavy cream
- 1/2 cup powdered sugar
- 1 teaspoon vanilla flavoring
- 1 tablespoon instant coffee granules
- 2 tablespoons warm water
- 24 digestive biscuits
Instructions
- Dissolve the instant coffee granules in warm water in a small bowl. Let cool slightly.
- Whip the heavy cream with powdered sugar and vanilla flavoring in a large bowl until soft peaks form.
- Gently fold the cooled coffee mixture into the whipped cream until evenly combined.
- Spread a thin layer of the coffee cream on the bottom of an 8-inch square dish.
- Arrange a layer of digestive biscuits over the cream, breaking them if needed to fit.
- Spread another layer of coffee cream over the biscuits.
- Repeat layering biscuits and cream until all ingredients are used, finishing with a cream layer on top.
- Cover and refrigerate for at least 6 hours or overnight until the biscuits soften and the cake sets.
- Slice and serve chilled.
Notes
- Chilling overnight gives the best texture as the biscuits fully soften into cake-like layers.
- Prep Time: 15 min
- Cook Time: 0 min
- Category: Dessert
- Method: No Bake
- Cuisine: British