

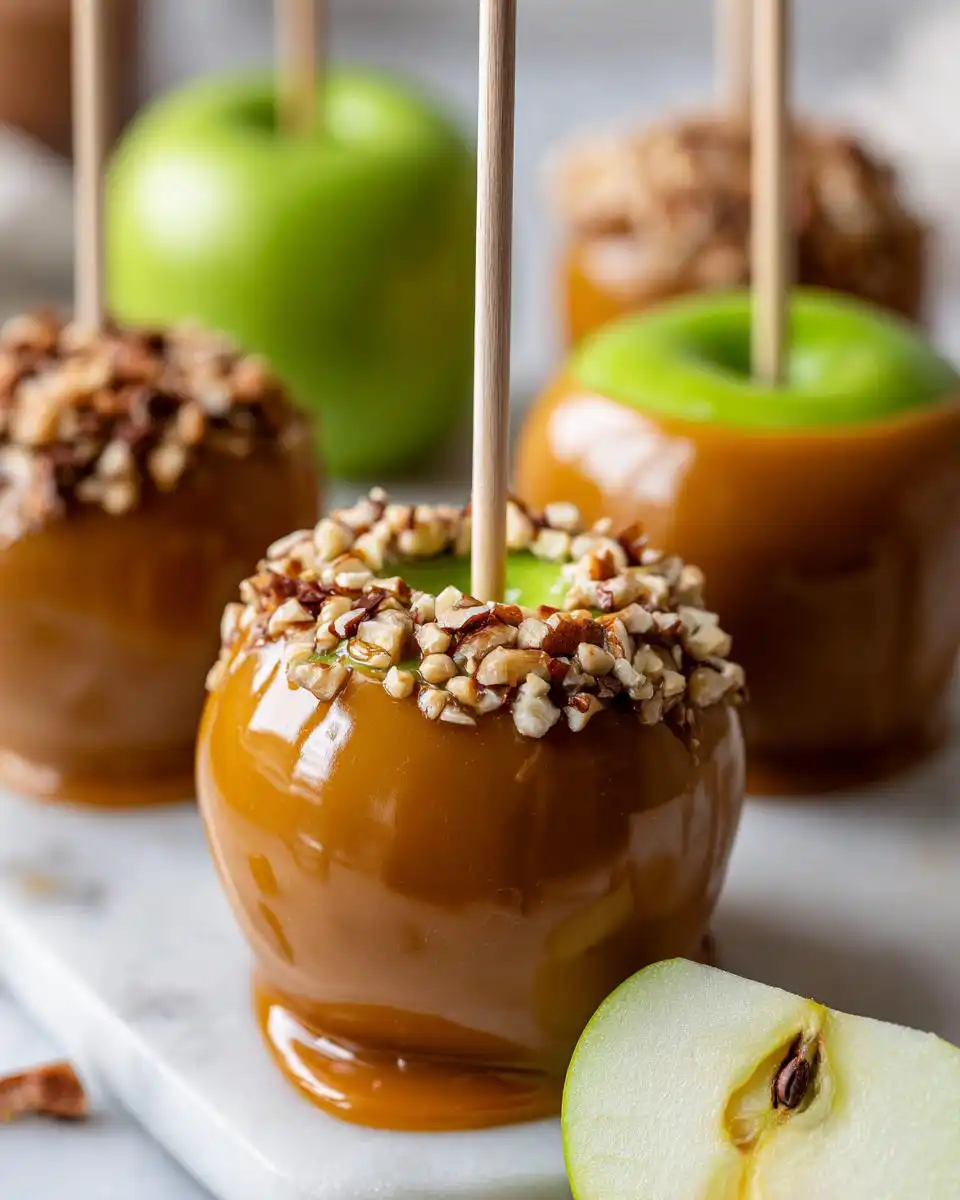
Oh my gosh, is there anything more nostalgic and cozy than a perfectly made Caramel Apple? I swear, just the smell of caramel simmering takes me right back to autumn fairs and apple-picking adventures. I used to think making them at home was some kind of witchcraft, but let me tell you, it’s totally doable! This recipe is my absolute go-to because it’s surprisingly easy and the results? Pure magic! We’re talking crisp, tart apples hugged by this thick, buttery, totally irresistible homemade caramel. It’s seriously the best way to get that classic fall treat without all the fuss. Last fall, I whipped these up and my neighbors were practically banging down the door for more!
Why You’ll Love This Easy Caramel Apple Recipe
This recipe is so simple, you won’t believe it! You’ll get that amazing, rich, buttery caramel with just the right chewy texture. Plus, the tartness of the Granny Smith apples is the perfect contrast to the sweet caramel. They’re absolutely fantastic for fall get-togethers or just a special treat anytime.
Perfect Homemade Caramel Apples Ingredients
Okay, so for the magic caramel, you need some pretty basic stuff you probably already have. The key is really good butter and sweet, creamy evaporated milk – make sure you warm it up first, trust me on this one! And for the apples, Granny Smith are my absolute favorite because they’re so tart and crisp, they hold up perfectly to the rich caramel. You’ll want them chilled, too, which helps the caramel stick like glue!
- 1 cup salted butter
- 2 cups granulated sugar
- 1 cup light corn syrup
- 14 ounces evaporated milk, warmed
- 1 teaspoon vanilla extract
- 10 to 12 small or medium Granny Smith apples
- 10 to 12 craft sticks
- parchment paper
- crushed cookies (optional)
- chopped nuts (optional)
- mini chocolate chips (optional)
How to Make Easy Caramel Apples: Step-by-Step
Alright, let’s get these gorgeous caramel apples made! First things first, we gotta prep those apples. Take out the stems and give them a Rinse under really hot water for a few seconds – this helps get off any waxy coating. Then, and this is super important, dry them off THOROUGHLY with paper towels. Seriously, get every last drop of water off! Pop those dry apples in the fridge for at least 2 hours, or even better, overnight. Trust me, cold, dry apples are the secret to caramel that sticks!
Now, take your chilled apples out and grab those craft sticks. Push one firmly into the top of each apple, right where the stem was. You want it to go in pretty deep so it doesn’t wiggle out later. While those are getting ready, grab a baking sheet and line it with parchment paper. This is where your beautiful creations will chill out. You can lightly grease the parchment paper too, just for extra insurance against sticking!
Time for the star of the show: the caramel! Grab a big, heavy-bottomed saucepan. I’m talking heavy, because this caramel needs even heat. Melt your butter over medium heat, then stir in the granulated sugar and light corn syrup. Cook this, stirring it *just* until it starts to boil. You’ve gotta keep an eye on it and stir, but don’t go crazy with it.
Here comes the trickiest part, and this is where warming your milk really pays off! Gradually, in a slow, steady stream, pour in that warmed evaporated milk while stirring CONSTANTLY. Keep stirring and let it maintain a gentle boil. This step is crucial for smooth, silky caramel. If you dump cold milk in, your caramel might seize up, and nobody wants that!
Now, we cook! Keep this simmering gently, stirring frequently, until your caramel reaches the magic temperature of 235 to 240 degrees F on a candy thermometer. This can take about 20 to 30 minutes, so be patient! I usually start testing around the 20-minute mark. What I love is that perfect chewy texture you get right in that window. If it gets too hot, it’ll be too hard; too cool, and it’ll be too runny. Speaking of delicious apples, have you ever tried an apple cinnamon zucchini bread? It’s amazing for a cozy fall breakfast!
Once it hits that perfect temp, take the pan off the heat immediately. Stir in the vanilla extract – ah, that lovely aroma! Now, here’s a little pro tip: carefully pour the caramel into a smaller, heatproof bowl. This makes dipping the apples SO much easier. Let that beautiful caramel cool down a bit to around 200 degrees F. It’ll still be runny, but not boiling-hot, which is safer for dipping.
Hold each apple by its stick and dip it into the warm caramel. Swirl it around, turning it to coat every nook and cranny. When it looks good and covered, lift it out of the caramel and let any excess drip back into the bowl. You might need to gently scrape the bottom of the apple against the edge of the bowl to stop caramel from pooling underneath. This is how you get that nice, smooth finish without a big gooey puddle.
Carefully place your beautifully dipped caramel apples onto that prepared parchment-lined baking sheet. Work fairly quickly, because the caramel will start to set as it cools.
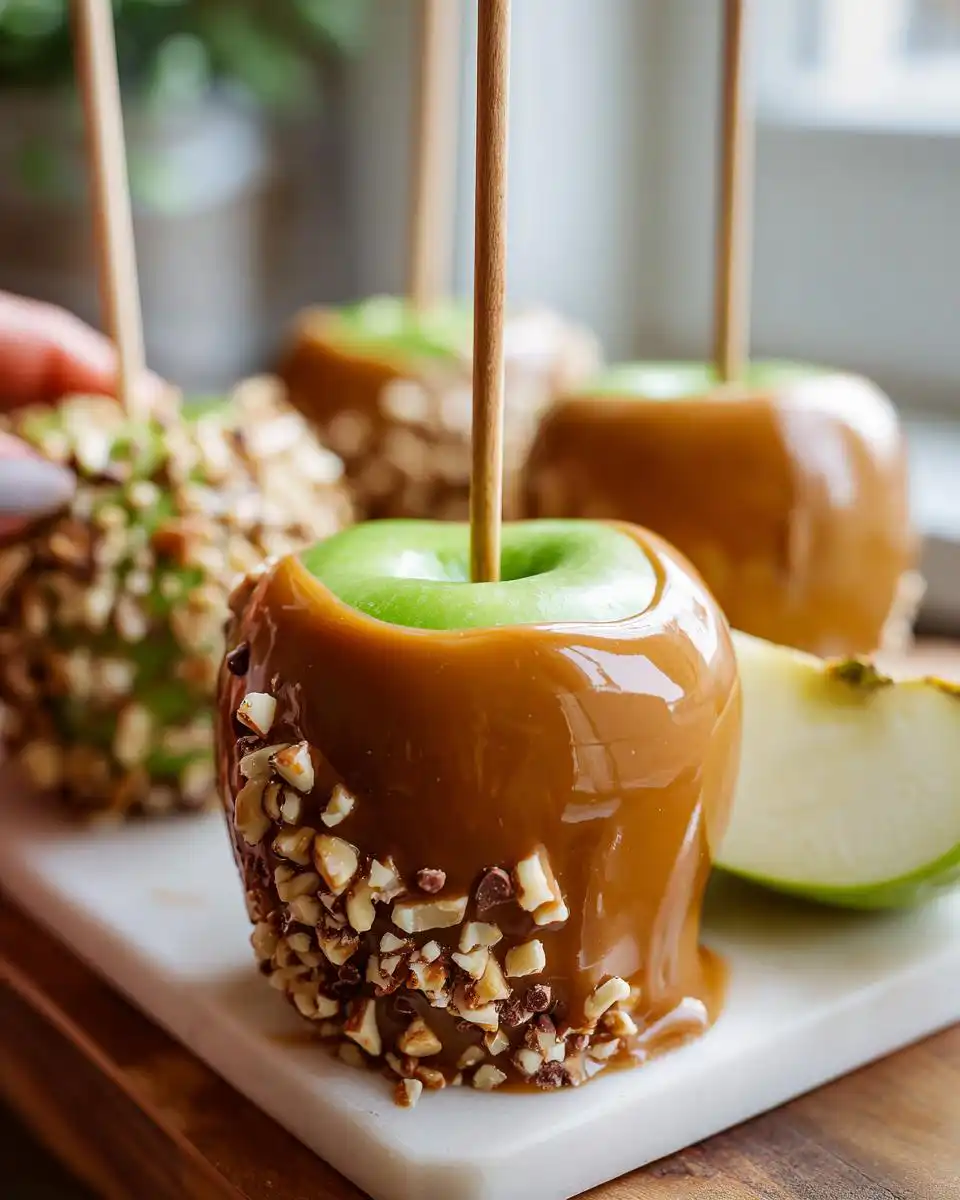
If you’re adding any toppings, now’s the time! While the caramel is still warm and gooey, roll your apples in crushed cookies, chopped nuts, or mini chocolate chips. Get creative! For a fancy chocolate drizzle, let the caramel set first, then melt some chocolate chips and drizzle it over the top. It’s gorgeous!
Once they’re all dipped (and possibly topped!), pop them back into the refrigerator until the caramel is completely set. This usually takes about an hour. Then, your amazing homemade caramel apples are ready to be devoured!
Caramel Apples Recipe: Delicious Topping Ideas
These homemade caramel apples are delicious on their own, but you can totally jazz them up! Try rolling them in crushed cookies or your favorite crumbled homemade cookie for a fun crunch. For a chocolate lover’s dream, drizzle some melted chocolate over the top—it’s so pretty and tasty!
Storing and Reheating Your Homemade Caramel Apples
These beauties are best stored in the fridge! Pop them into an airtight container or cover the baking sheet tightly with plastic wrap. They’ll stay perfectly delicious for up to a week. If you happen to have any leftover caramel sauce in the pan, just let it cool completely, pour it into a jar, and it’ll keep in the fridge for a couple of weeks too. So handy for dipping other things!
Frequently Asked Questions About Caramel Apples
Got questions about making these easy caramel apples? I totally get it! Making candy can feel a little intimidating, but I promise, we’ve got this.
Why won’t my caramel set?
Oh, this is a common one! Usually, it’s because the caramel just didn’t cook long enough to reach the right temperature. You need it to get to at least 235°F – that’s what makes it firm up nicely. Another reason could be too much moisture on the apples or in the pan. Make sure those apples are super dry and chilled, and that your pan is completely dry!
What kind of apples are best for caramel apples?
For the absolute best homemade caramel apples, you really want apples that are tart and crisp. Granny Smith is my number one pick because that tartness cuts through the rich, sweet caramel perfectly. Other good choices would be Honeycrisp or Fuji for a bit more sweetness, but make sure they’re firm and not mealy!
Before You Go
I really hope you give these easy homemade Caramel Apples a try! They’re such a fun treat. If you do make them, please let me know how they turned out in the comments below! I’d love to see your creations and hear all about it. You can also check out more from us over on Medium! Happy dipping!
Print
Easy Homemade Caramel Apples
- Total Time: 1 hour
- Yield: 12 caramel apples
Description
Crisp tart apples coated in thick, buttery homemade caramel that sets for a chewy bite. Includes tips for smooth caramel and topping ideas.
Ingredients
- 1 cup salted butter
- 2 cups granulated sugar
- 1 cup light corn syrup
- 14 ounces evaporated milk, warmed
- 1 teaspoon vanilla extract
- 10 to 12 small or medium Granny Smith apples
- 10 to 12 craft sticks
- parchment paper
- crushed cookies (optional)
- chopped nuts (optional)
- mini chocolate chips (optional)
Instructions
- Remove apple stems. Rinse apples under very hot water for several seconds. Dry thoroughly with paper towels. Chill apples in refrigerator for at least 2 hours or overnight.
- Insert a craft stick firmly into the top of each apple. Line a baking sheet with parchment paper.
- In a large heavy-bottom saucepan over medium heat, melt butter. Stir in sugar and corn syrup. Cook while stirring until mixture begins to boil.
- Gradually pour in warmed evaporated milk in a slow steady stream, stirring constantly and maintaining a gentle boil.
- Continue cooking, stirring frequently, until caramel reaches 235 to 240 degrees F on a candy thermometer. This takes about 20 to 30 minutes.
- Remove from heat and stir in vanilla extract. Transfer caramel to a smaller heatproof bowl for easier dipping. Allow caramel to cool to about 200 degrees F.
- Hold each apple by the stick and dip into caramel, turning to coat evenly. Lift and allow excess caramel to drip off. Gently scrape the bottom if needed to prevent pooling.
- Place dipped apples on the prepared parchment paper.
- If using toppings, roll apples in toppings immediately while caramel is still warm. For chocolate drizzle, allow caramel to set first, then add melted chocolate.
- Refrigerate apples until caramel is fully set. Store in refrigerator for up to 1 week.
Notes
- Chilling apples helps the caramel adhere better and set quickly.
- Warmed milk prevents the caramel from seizing during cooking.
- Prep Time: 20 minutes
- Cook Time: 40 minutes


