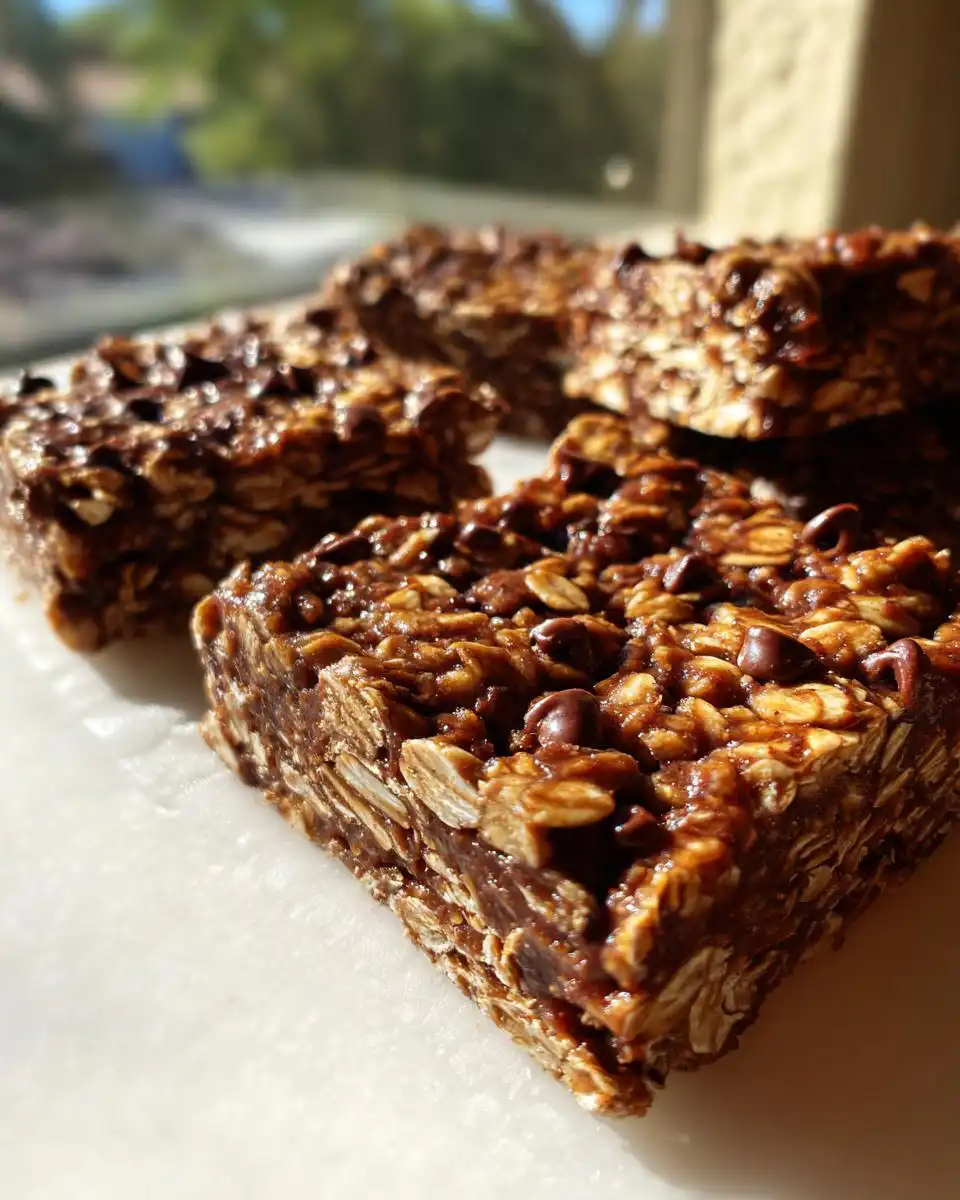
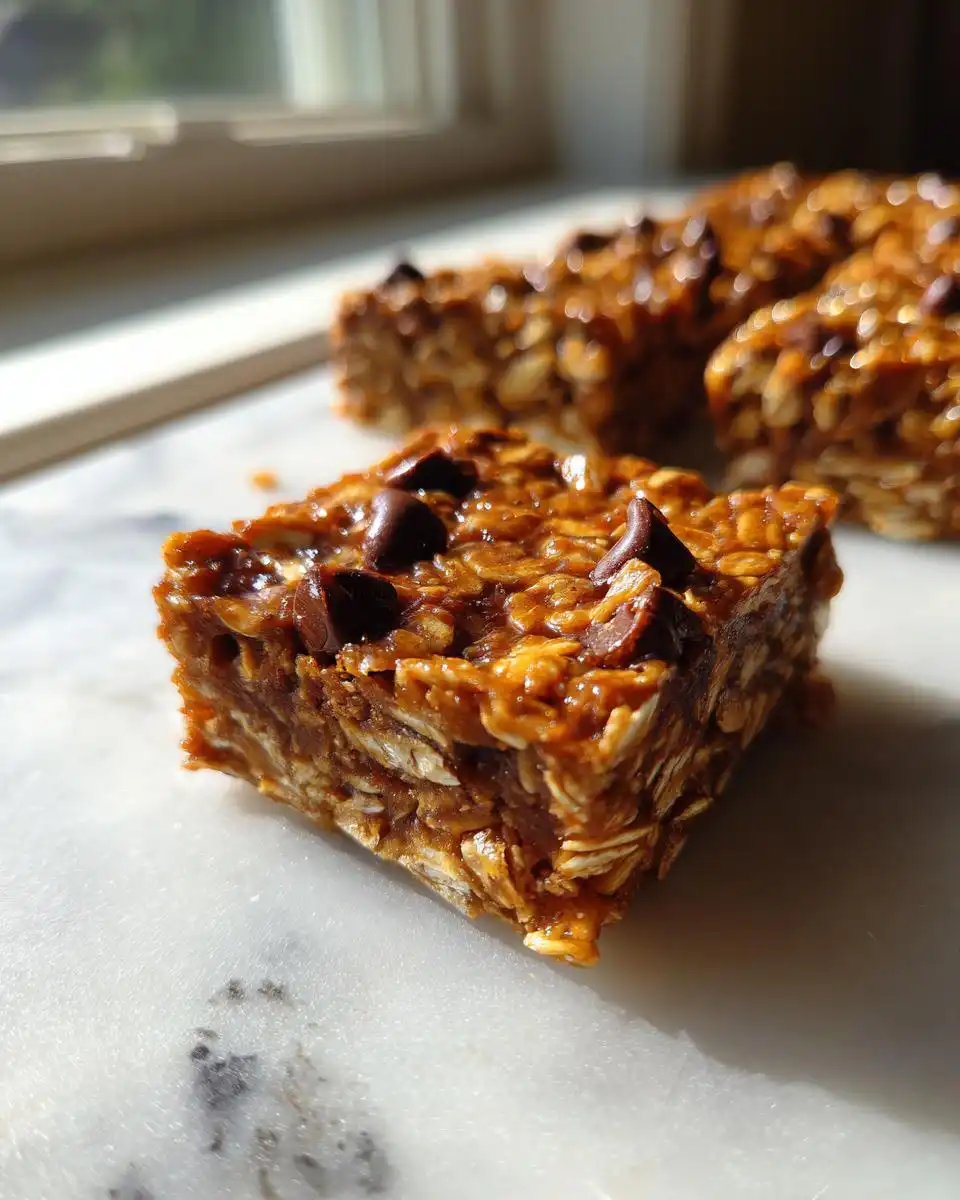
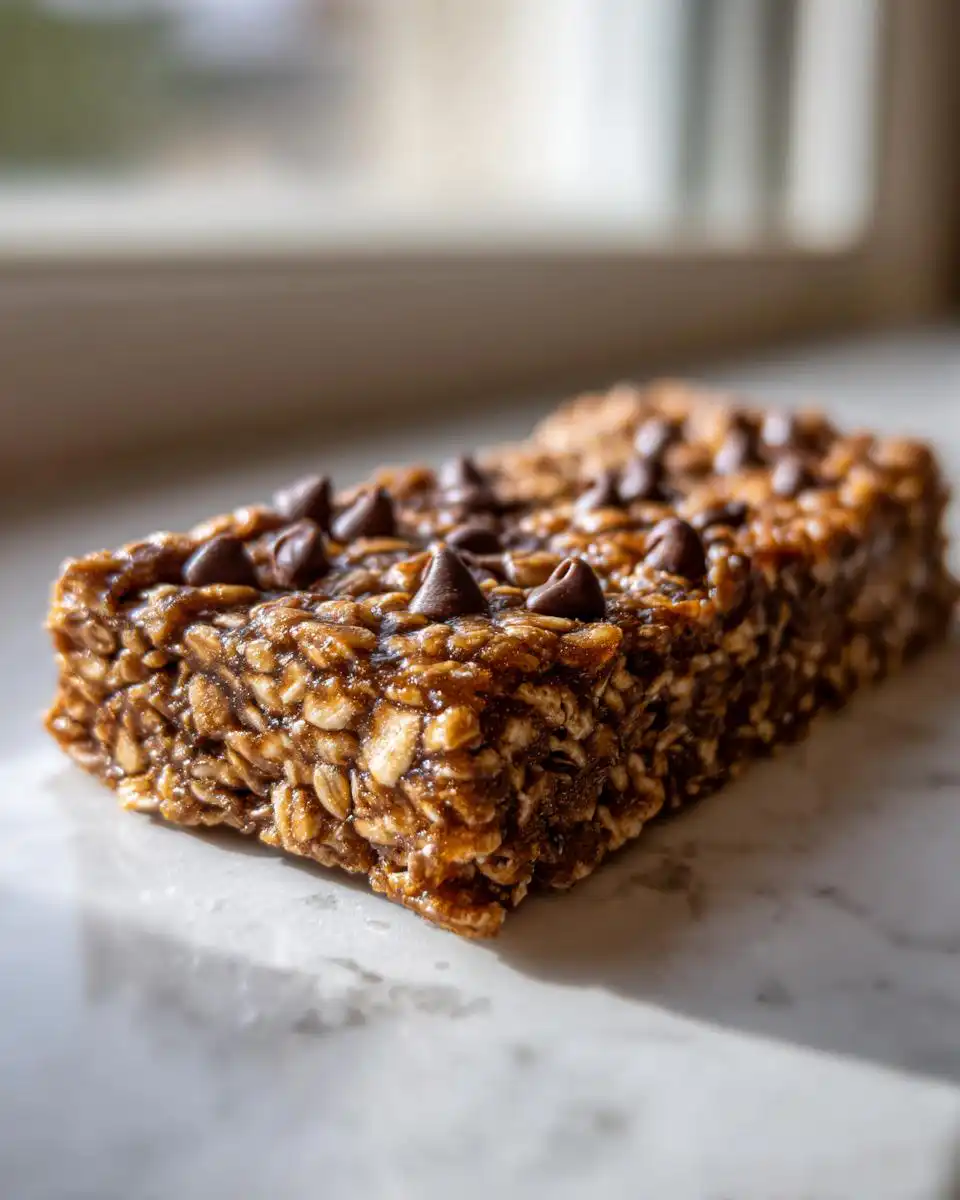
Okay, I have to be totally honest. After years of creating healthy recipes, the biggest kitchen struggle isn’t making the main dish. It’s finding a snack that actually satisfies you. You know what I mean? Something that’s not just a sad handful of nuts, but a real treat that also fuels your body and doesn’t make you feel guilty. That’s exactly where these No-Bake Peanut Butter Chocolate Protein Bars came from. I was running out the door after a morning workout, ravenous, with nothing good to grab. My classic no-bake dessert recipes were a bit too decadent for that moment, and I needed serious protein, fast. So I threw together what I had in the pantry, which is basically the same stuff I use for my favorite no-bake peanut butter oatmeal bars, but with a chocolate protein twist. These bars are the perfect solution: incredibly simple, they don’t require turning on the oven, and they’re packed with 10 grams of protein each. They taste like a candy bar but are made from real ingredients, and now I make a batch every single week.
Why You’ll Love These No-Bake Peanut Butter Chocolate Protein Bars
Honestly, this is one of those recipes that feels too good to be true, but it totally works. I make them so often I practically have the steps memorized.
You don’t need an oven. Seriously, that’s the best part. It’s just mix, press, and chill. No preheating, no baking timer, and your kitchen stays cool.
They’re ready in 15 minutes of hands-on time. I can whip up a batch while my morning coffee is brewing. The hardest part is waiting for them to set in the fridge!
Each bar has a solid 10 grams of protein. That’s what makes them so filling. They’re perfect for post-workout fuel or that 3 p.m. slump when you need real staying power, not just a sugar rush.
They’re a meal prep superstar. I make a batch on Sunday, and my whole family has a healthy snack bar recipe ready to grab all week. No more frantic snack searches.
They taste like a treat but are made from pantry staples. Peanut butter, oats, a little honey… it’s the kind of simple, wholesome stuff I always have on hand. They totally satisfy my chocolate craving without any guilt.
Ingredients for No-Bake Peanut Butter Chocolate Protein Bars
The ingredients are so simple, you probably have most of them right now. Just make sure everything is at room temperature—it makes the mixing so much easier and helps everything bind together perfectly without any weird clumps.
- 1 cup creamy peanut butter (I like the kind with no added sugar for this, but use your favorite)
- 1/3 cup honey or pure maple syrup
- 1 tsp pure vanilla extract
- 1/2 cup chocolate protein powder (whey or plant-based both work great)
- 1 1/2 cups old-fashioned rolled oats
- 1/4 cup mini dark chocolate chips
- A pinch of sea salt (trust me, this makes the peanut butter and chocolate flavors pop)
That’s really it! This is the same base I use for my favorite peanut butter balls no-bake recipe, just scaled up and pressed into bars. Simple, wholesome, and ready to transform into your new favorite snack.
How to Make No-Bake Peanut Butter Chocolate Protein Bars: Step-by-Step
I promise this is the easiest process. Just follow these steps exactly—especially the pressing and chilling parts—and you’ll have perfect, firm bars every time. No oven magic required!
Step 1: First things first, grab an 8×8-inch baking pan and line it with parchment paper. Let the paper hang over the sides a little—this is your magic handle for lifting the whole slab out later. It makes cutting so much cleaner. This is the same trick I use for my no-bake key lime cheesecake recipe, and trust me, you’ll never go back to struggling with a stuck pan.
Step 2: In a big mixing bowl, dump in your peanut butter, honey (or maple syrup), and vanilla. Stir, stir, stir with a sturdy spatula until it’s totally smooth and combined. If your peanut butter is straight from the fridge, pop it in the microwave for 15 seconds to soften it up. This is the glue for everything!
Step 3: Now, sprinkle in your chocolate protein powder and that pinch of salt. Mix it in really well until you have a thick, uniform paste with no dry powder spots. Don’t worry if it seems super thick already; the oats are coming!
Step 4: Time for the oats and mini chocolate chips. Dump them in and fold everything together. It’ll be a very stiff, crumbly dough. This is normal! But here’s the expert tip: if it seems too dry and won’t stick together at all, add a tiny splash of milk (just a teaspoon at a time). If it feels too wet or greasy, mix in another tablespoon of oats.
Step 5: Transfer the mixture to your lined pan. Now, PRESS. I mean really press it down firmly and evenly with your hands or the bottom of a measuring cup. Get into the corners. This is the secret to bars that hold their shape and don’t fall apart when you bite into them.
Step 6: Pop the pan into the fridge for at least 2 hours. I know, waiting is hard, but it’s mandatory for them to set properly. For a super-fast set, you can freeze them for 30 minutes, just like with my no-bake chocolate pecan delight.
Step 7: Once they’re rock-solid, use the parchment paper handles to lift the whole slab onto a cutting board. Slice into squares with a sharp knife. For super clean cuts, wipe the knife clean between slices. Enjoy immediately, or pack them up for the week!
Serving Suggestions and Variations
These bars are so versatile! They’re amazing straight from the fridge, but a couple of little tweaks can make them feel like a whole new treat.
Post-Workout Fuel: I grab one of these and a banana right after a tough workout. The combo of carbs from the fruit and oats with the protein in the bar is perfect for recovery.
Upgraded Dessert: For a fancy touch, melt a little extra dark chocolate and drizzle it over the top before you chill them. It feels so indulgent!
With Your Morning Coffee: Seriously, they’re my favorite quick breakfast with a hot cup of coffee. They’re sweet enough to feel like a treat but substantial enough to keep me full until lunch.
Almond Butter Twist: Not a peanut butter fan? Use creamy almond butter instead. It gives such a lovely, slightly milder flavor that’s just as delicious.
Add Some Crunch: Stir in a handful of chopped pecans or walnuts with the oats. The extra texture is fantastic and adds healthy fats.
Vanilla Berry Version: Swap the chocolate protein powder for vanilla and use dried cranberries or chopped freeze-dried strawberries instead of chocolate chips. It’s a totally different, fruity vibe!
Storage and Meal Prep Tips for No-Bake Peanut Butter Chocolate Protein Bars
Proper storage is the key to keeping these bars tasting fresh and holding their perfect, firm texture. I’ve learned this through a little trial and error, so you don’t have to!
First, always store your No-Bake Peanut Butter Chocolate Protein Bars in an airtight container in the refrigerator. They’ll stay perfect for up to one week. The cold really helps them firm up, so they’re less messy and hold their shape beautifully when you bite into them.
For meal prep, I love to individually wrap each bar in a little piece of parchment paper or plastic wrap. It makes them the ultimate grab-and-go snack for my purse, gym bag, or my kids’ lunchboxes. No fuss, no mess.
If you want to keep them longer, they freeze incredibly well. Just pop the wrapped bars into a freezer bag or container. They’ll keep for up to 3 months. Let one thaw in the fridge for an hour or so, or just eat it a little frozen—it’s like a fudgy ice cream bar!
One last pro tip for the prettiest bars: use a sharp knife to cut them and wipe it clean with a damp cloth between cuts. You’ll get those nice, clean squares every single time.
No-Bake Peanut Butter Chocolate Protein Bars FAQ
I get these questions all the time from friends who try the recipe, so I figured I’d answer them here for you, too. It’s all the little stuff I had to figure out the first time!
Can I use a different nut butter?
Absolutely! I do this all the time based on what’s in my pantry. Creamy almond butter works perfectly and gives a slightly sweeter, milder flavor. Cashew butter is another great option. Just make sure whatever you use is a drippy, natural style so it mixes in well. The texture might vary a tiny bit, but the method is exactly the same.
My mixture is too crumbly/sticky. How do I fix it?
Don’t worry, this is super common and an easy fix! If it’s too dry and crumbly and won’t hold together when you press it, add a teaspoon of milk (any kind) or a little extra honey and mix. Add just a bit at a time until it sticks. If it’s too wet or greasy and feels sloppy, mix in another tablespoon or two of rolled oats. It’s all about finding that perfect, pressable consistency.
Are these bars gluten-free?
Yes, they can be! The main thing to check is your oats. Make sure you buy rolled oats that are specifically labeled “certified gluten-free,” because regular oats are often processed in facilities with wheat. As long as your other ingredients are gluten-free, you’re all set. For more recipe inspiration, you can always check out my Pinterest boards where I save tons of ideas for healthy snacks just like this.
Nutrition Information
I always give this little reminder because I’ve learned firsthand that brands can make a big difference! What’s in my jar isn’t always the same as what’s in yours.
The nutritional values for these bars are estimates only and will vary based on the specific brands of ingredients you use. This is especially true for the peanut butter, protein powder, and sweetener, which can have different sugar, fat, and protein contents. If you’re tracking macros or have specific dietary needs, the best move is to quickly calculate the nutrition using your exact products for the most accurate info.
Before You Go
I really hope you give these a try. They’ve honestly become a non-negotiable staple in my fridge, and I have a feeling they’ll become your new favorite grab-and-go snack, too.
If you make a batch, I’d love to hear how they turn out for you! Snap a photo or leave a quick rating to let me know. Happy no-baking!
Print
No-Bake Peanut Butter Chocolate Protein Bars
- Total Time: 2 hours 15 min
- Yield: 12 bars
Description
A simple, high-protein snack bar made with peanut butter, chocolate, and oats. No baking required.
Ingredients
- 1 cup creamy peanut butter
- 1/3 cup honey or maple syrup
- 1 tsp vanilla extract
- 1/2 cup chocolate protein powder
- 1 1/2 cups rolled oats
- 1/4 cup mini chocolate chips
- Pinch of salt
Instructions
- Line an 8×8 inch baking pan with parchment paper.
- In a large bowl, mix the peanut butter, honey, and vanilla until smooth.
- Add the protein powder and salt. Stir until fully combined.
- Mix in the rolled oats and chocolate chips. The mixture will be thick.
- Press the mixture firmly into the prepared pan.
- Refrigerate for at least 2 hours, or until set.
- Lift the bars out using the parchment paper and cut into squares.
Notes
- Store bars in an airtight container in the refrigerator for up to a week.
- For a firmer bar, freeze for 30 minutes before cutting.
- You can use almond butter or another nut butter as a substitute.
- Prep Time: 15 min
- Cook Time: 0 min