You know that craving, right? The one where you desperately want the sticky, glossy sweetness and just a little kick of heat from a takeaway, but you also don’t fancy waiting an hour or spending a fortune. That’s exactly where I was last Tuesday, staring into the fridge with two lonely chicken fillets and a serious hankering for something more exciting. So, I did what I always do and turned to the queen of no-fuss, brilliant flavour: Mary Berry. Her approach to home cooking is my absolute favourite, and this mary berry sticky honey chilli chicken is my little homage to that style. It’s the perfect fakeaway. The first time I made it, my partner took one bite of that crispy chicken smothered in the sweet and spicy sauce and declared it better than our usual order. Now, it’s our go-to weeknight rescue. The best part? It’s genuinely ready in about 30 minutes from start to finish, uses ingredients you probably already have, and that sauce… oh, that sauce. It’s so glossy and clings to every piece of chicken in the most satisfying way. You’ve got to try it.
Why You’ll Love This Mary Berry Sticky Honey Chilli Chicken
Honestly, this recipe is a total game-changer for busy nights. It ticks every single box for me, and I think it will for you, too. Here’s why it’s become such a staple in my kitchen:
- It’s shockingly quick. From chopping board to plate in about half an hour. Perfect for when the ‘hangry’ moods strike.
- The process is foolproof. No fancy techniques here. It’s just a simple marinade, a quick fry, and a glossy sauce. My teenage niece managed it on her first try!
- The sweet-spicy balance is just right. It’s not mouth-searingly hot, just a lovely warm kick from the sweet chilli that plays beautifully with the honey’s sweetness. Trust me, it’s addictive.
- That crispy texture is everything. The cornflour coating and double-fry method gives you these incredible, shatteringly crisp little nuggets that hold up beautifully against the sticky sauce.
- You control the ingredients. It’s a healthier, tastier homemade fakeaway. You know exactly what’s in it, and you can tweak it to your heart’s content.
Ingredients for Mary Berry Sticky Honey Chilli Chicken
Don’t be put off by the list, I promise it’s mostly things you’ll have in the cupboard! The real secret here is the cornflour for that incredible crispy shell, and using a good, runny honey. I always grab a squeezy bottle of honey for this as it makes the whole thing less messy. You can find a similar concept in my hot honey chicken bowl recipe if you fancy a less saucy version another night.
For the Chicken:
- 2 medium chicken breast fillets (about 500g total), cut into 2cm pieces
- 1 large egg white
- 1 tablespoon light soy sauce
- 1 teaspoon garlic paste (or 2 cloves, finely minced)
- 1 teaspoon sesame oil
- 1 teaspoon ground white pepper (black pepper works in a pinch)
- ¾ cup cornflour (this is key for the crunch!)
- Vegetable oil, for deep frying (enough to come about 2-3cm up your pan)
For the Sticky Sauce:
- 1 tablespoon vegetable oil
- 1 tablespoon garlic paste (yes, more garlic! It’s essential)
- 2 tablespoons runny honey
- 2 tablespoons dark soy sauce (it’s richer and less salty than light)
- 2 tablespoons sweet chilli sauce
- 3 tablespoons tomato ketchup
- 1 tablespoon rice vinegar (or white wine vinegar works too)
How to Make Mary Berry Sticky Honey Chilli Chicken: Step-by-Step
This is where the magic happens. It might seem like a few steps, but it’s honestly so straightforward. My biggest tip? Get everything prepped and in little bowls before you start – the Chinese cooking way, ‘mise en place’. It makes the whole process feel like a fun, speedy TV cooking show. For more crispy chicken ideas, my crispy chicken tenders recipe uses a similar coating trick.
Step 1: First, get your chicken marinating. Pop your 2cm chicken pieces into a large bowl. Add the light soy sauce, that first teaspoon of garlic paste, the sesame oil, and the white pepper. Give it a really good mix with your hands so every piece is coated. Set it aside for at least 10 minutes. Don’t skip this! It’s the flavour foundation.
Step 2: After the 10 minutes are up, crack your egg and separate the white into the bowl with the chicken. You don’t need the yolk for this. Stir it through really well. You’ll see it gets a bit sticky and gloopy – that’s perfect, it’s going to help the cornflour cling on for dear life.
Step 3: Time for the crispy shell! Spread your cornflour out on a big plate. Take each piece of chicken, letting any excess egg white drip off, and roll it in the cornflour. Press it in gently to make sure it’s got a really good, even coat. I do them all at once and lay them out on a clean plate.
Step 4: Now, heat your vegetable oil for frying. You want enough to come about 2-3cm up the side of a deep frying pan or wok. Get it nice and hot over a medium-high heat – a good test is to drop in a tiny pinch of cornflour; if it sizzles straight away, you’re ready. Carefully add your chicken in batches. Don’t crowd the pan! Fry for about 2 minutes until they’re a light, pale gold, then scoop them out onto a plate lined with kitchen paper.
Step 5: This is the double-fry secret for ultimate crispiness! Crank the heat up just a tiny bit. Once the oil is hot again, pop the chicken back in for a second fry, another 2-3 minutes. This time, you want them a deep, glorious golden brown and super crispy. Drain them on fresh paper towel. The texture at this stage is honestly incredible.
Step 6: Pour out your frying oil (save it for another day if you like!) and give the pan a quick wipe. Heat the fresh tablespoon of vegetable oil over a medium heat. Add your second lot of garlic paste and cook it for just 15-20 seconds until it smells amazing – careful not to let it burn!
Step 7: Time for the sticky glaze. Pour in the honey, dark soy sauce, sweet chilli sauce, ketchup, and rice vinegar. Give it a good stir and let it bubble away. It’ll look a bit thin at first, but let it simmer for 2-3 minutes. You’ll know it’s ready when it reduces, thickens up beautifully, and becomes lovely and glossy. It’s very similar to the sauce in my honey garlic chicken recipe, just with a chilli kick!
Step 8: The grand finale! Tip all your gorgeous crispy chicken back into the pan with the sauce. Working quickly, toss and stir until every single piece is completely coated in that glossy, sticky goodness. Serve it immediately while it’s still piping hot and fantastically crisp. Honestly, it’s a showstopper.

Perfect Sides for Your Sticky Honey Chilli Chicken
This dish is so good on its own, but the right sides turn it into a proper feast. My rule of thumb is something plain to soak up the sauce, something fresh for crunch, and a little extra flourish on top. You really can’t go wrong.
Steamed Jasmine Rice: This is non-negotiable in my house. You need that soft, fluffy base to pile the chicken onto and to catch every last drop of that glossy sauce. I make a big batch using my simple brown rice guide for a nuttier, more filling option if I’m feeling virtuous.
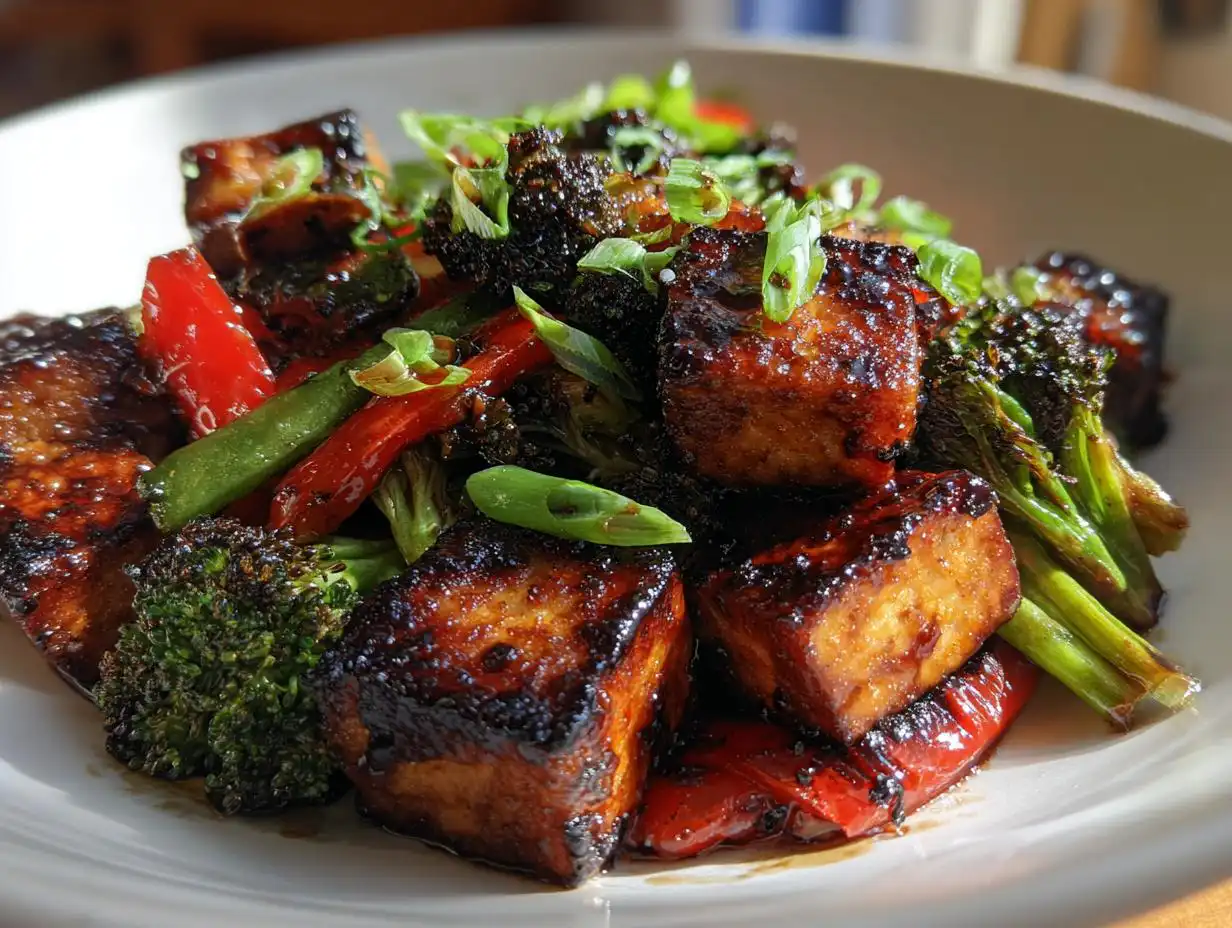
Quick Stir-Fried Greens: A handful of pak choi or tenderstem broccoli, stir-fried with a splash of garlic and soy sauce, adds a brilliant fresh crunch and makes the whole meal feel wonderfully balanced. It cuts through the richness perfectly.
Sesame Seed & Spring Onion Garnish: Don’t skip this! A generous sprinkle of toasted sesame seeds and finely sliced spring onions right at the end adds a nutty aroma, a pop of colour, and a lovely little oniony bite that lifts everything up.
Quick-Pickled Cucumber Ribbons: If I have five extra minutes, I’ll use a peeler on a cucumber, toss the ribbons with a little rice vinegar, sugar and salt. The sharp, cool crunch is the absolute best contrast to the warm, sticky chicken.
Storing and Reheating Your Mary Berry Sticky Honey Chilli Chicken
I hate wasting a single bite of this, and thankfully, it keeps pretty well! The trick is all in how you reheat it to bring back that brilliant texture.
Store any leftovers in an airtight container in the fridge for up to 3 days. Honestly, for the best results, I keep the sauce and the crispy chicken in separate little containers. It’s a fantastic meal prep trick for chicken bowls.
When you’re ready to eat, never, ever just microwave it – you’ll be left with sad, soft chicken. To reheat, pop the chicken pieces on a baking tray in a 200°C oven for 5-8 minutes until hot and crisp again. Warm the sauce separately in a small pan, then toss everything together. If you’re in a rush, a quick flash in a hot non-stick skillet works wonders too.
Mary Berry Sticky Honey Chilli Chicken FAQs
I get asked these questions all the time, so I thought I’d pop the answers here in one handy spot. No query is too silly – I’ve wondered all these things myself!
Can I bake this instead of frying?
You can absolutely bake it, but I have to be honest, the texture won’t be the same shatteringly crisp magic you get from frying. For baking, coat the marinated chicken as usual, spray well with oil, and bake at 200°C for 20-25 minutes, flipping halfway. They’ll be more like crunchy baked nuggets. For a fantastic crispy-but-healthier result, your air fryer is your best friend! I use it all the time for recipes like my healthy air fryer chicken recipes.
Can I use chicken thighs?
Oh, 100% yes, and they’re delicious! Thighs are more forgiving and stay super juicy. Just trim any excess fat and cut them into similar 2cm pieces. The cooking time might be a minute or two longer because they’re a bit richer, but that double-fry method still works a treat. Honestly, sometimes I prefer thighs for their flavour.
How can I adjust the spice level?
This is the fun part – make it your own! For milder, just use less sweet chilli sauce. For more heat, add a finely chopped fresh red chilli to the sauce when you cook the garlic, or a big pinch of dried chilli flakes. If you love experimenting with flavours, I save loads of spicy-sweet inspiration over on my Pinterest board for ideas!
Nutritional Information for Mary Berry Sticky Honey Chilli Chicken
I always think it’s helpful to have a rough idea of what you’re eating, so here’s a little note on the nutrition. The values for this sticky honey chilli chicken are just estimates. Things can change quite a bit depending on the specific brands of sauce you use, how much oil is absorbed during frying, and of course, your exact portion size. I haven’t provided precise data, as everyone’s kitchen scales and ingredients are a bit different. Just know it’s a good source of protein from the chicken, and you can tweak things like the honey or oil if you’re keeping a close eye on your macros.
Before You Go
Right, that’s it from me! Honestly, this recipe is such a winner for shaking up a boring weeknight. Give this mary berry sticky honey chilli chicken a go this week and please tell me how it turns out for you. There’s nothing I love more than hearing when one of my kitchen experiments becomes a favourite in someone else’s home too. Happy cooking!
Print
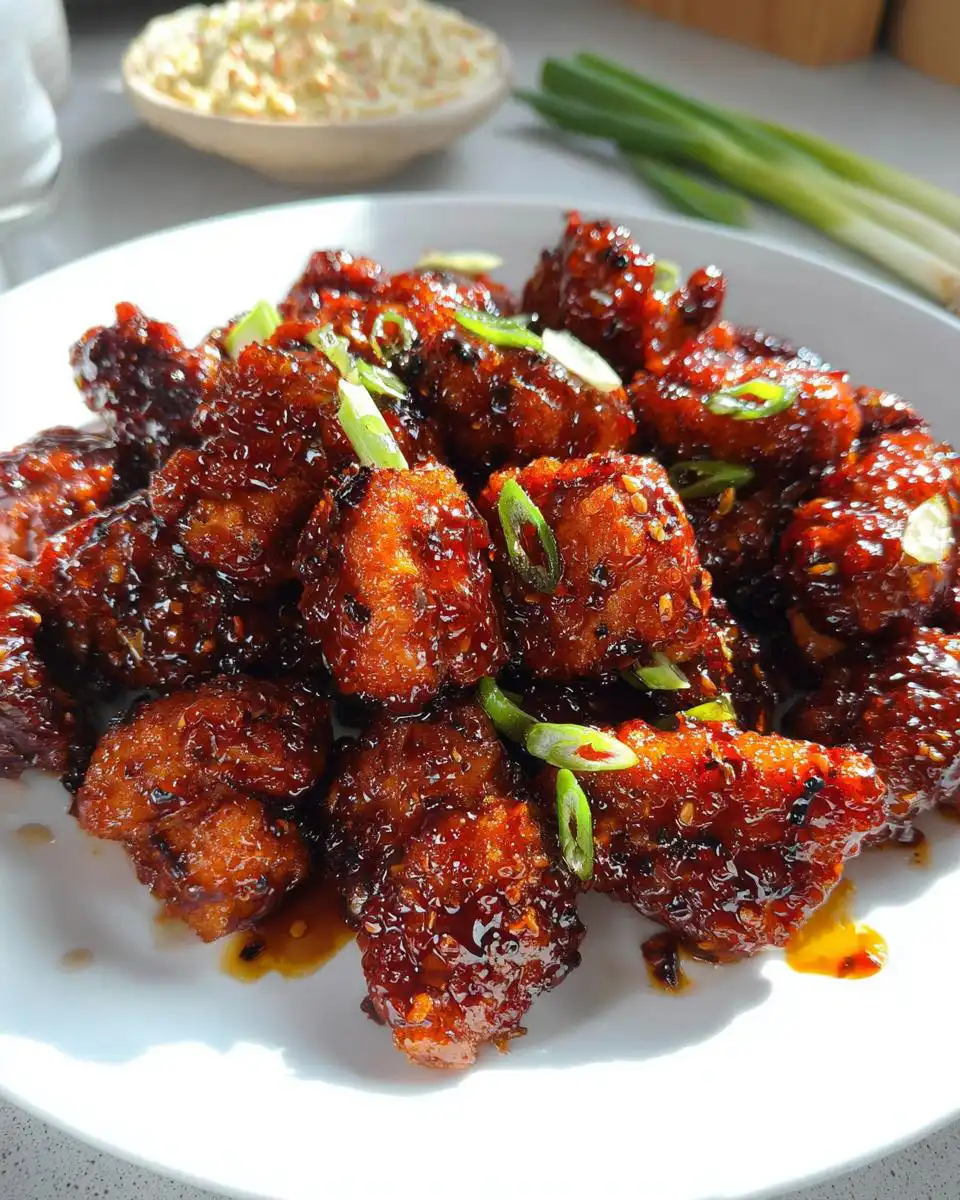
Mary Berry Sticky Honey Chilli Chicken
- Total Time: 30 min
- Yield: 4 servings
- Diet: Low Lactose
Description
Crispy chicken pieces coated in a glossy sweet and spicy honey chilli sauce.
Ingredients
- 2 medium chicken fillets (about 500 g total), cut into 2 cm pieces
- 1 egg white
- 1 tablespoon light soy sauce
- 1 teaspoon garlic paste
- 1 teaspoon sesame oil
- 1 teaspoon ground white pepper
- 3/4 cup cornflour
- vegetable oil for frying
- 1 tablespoon vegetable oil
- 1 tablespoon garlic paste
- 2 tablespoons honey
- 2 tablespoons dark soy sauce
- 2 tablespoons sweet chilli sauce
- 3 tablespoons ketchup
- 1 tablespoon rice vinegar
Instructions
- Place the chicken pieces in a bowl. Add light soy sauce, garlic paste, sesame oil, and white pepper. Mix well and let it sit for 10 minutes.
- Add the egg white to the marinated chicken. Stir until each piece is lightly coated.
- Spread the cornflour onto a plate. Coat each chicken piece evenly, pressing lightly so the coating sticks.
- Heat vegetable oil in a deep frying pan over medium-high heat to about 180°C. Fry the chicken in batches for 2 minutes until lightly golden, then remove.
- Increase the heat slightly. Fry the chicken again for another 2 to 3 minutes until deeply golden and crisp. Transfer to a plate lined with paper towel.
- In a clean pan, heat 1 tablespoon oil over medium heat. Cook the garlic paste for about 15 seconds until fragrant.
- Add honey, dark soy sauce, sweet chilli sauce, ketchup, and rice vinegar. Stir and let it simmer for 2 to 3 minutes until thick and glossy.
- Add the crispy chicken to the sauce. Toss quickly until all pieces are evenly coated. Serve immediately while hot.
Notes
- Serve with steamed rice or noodles.
- Sprinkle with sliced spring onions for extra freshness and colour.
- Ensure the chicken reaches an internal temperature of 75°C before serving.
- Prep Time: 10 min
- Cook Time: 20 min
- Category: Dinner
- Method: Frying
- Cuisine: British