Oh, the taste of spring! There’s something utterly magical about wild garlic popping up, isn’t there? Its vibrant, fresh flavour is just unbeatable. I found some a few weeks back on a little woodland wander, and it immediately got me thinking about this absolutely delicious and super-easy Wild Garlic Hummus Inspired by Jamie Oliver. We’re talking creamy, dreamy hummus with a gorgeous garlicky punch – perfect for dipping, spreading, or just shoving a spoon into when nobody’s looking! I remember my first taste of fresh wild garlic, it felt like nature’s own seasoning, and this hummus is a brilliant way to capture that fleeting seasonal magic.
Why You’ll Love This Wild Garlic Hummus
- It’s incredibly quick and easy to whip up – ready in under 10 minutes!
- Packed with that wonderful, fresh zing of seasonal wild garlic.
- Super versatile: perfect for a quick snack, party dip, or healthy spread.
- Healthier than many shop-bought dips, full of good stuff!
- Absolutely delicious, with a creamy texture and vibrant flavour.
Ingredients for Wild Garlic Hummus
Honestly, the beauty of this hummus is its simplicity. You probably have most of these bits in your cupboards already! The star, of course, is the wild garlic – I just give it a rough chop because the food processor does the hard work of getting it all blended in nicely.
- 250g cooked chickpeas (that’s about one standard can, drained)
- 3 tablespoons of tahini (don’t skip this, it’s key for creaminess!)
- Juice of 1 juicy lemon (freshly squeezed is always best)
- 50g fresh wild garlic leaves, roughly torn
- 60ml good quality olive oil, plus extra for drizzling
- 1/2 teaspoon salt (or to your taste, really)
- 2 to 4 tablespoons of water or a little of the reserved chickpea liquid
- A few extra fresh wild garlic leaves for garnishing
- Your favourite flatbreads or crackers for serving
How to Make Jamie Oliver-Inspired Wild Garlic Hummus
Right then, let’s get this done! It’s so simple, honestly. No fancy chef skills needed here, just stick everything in the food processor and let it do its thing. My tip for the absolute silkiest hummus? Just let that machine whirr for a minute or two longer than you think you need to. Trust me, you’ll get that beautifully smooth texture that’s just a dream.
Step 1: First things first, drain your cooked chickpeas. If you’re using a can, definitely save a few tablespoons of that chickpea water – it’s brilliant for getting the perfect hummus consistency later on.
Step 2: Chuck everything into your food processor: the drained chickpeas, the tahini, that lovely fresh lemon juice, your roughly torn wild garlic leaves, the olive oil, and the salt. Get it all in there!
Step 3: Now, whizz it up! Blitz for a solid minute or two. You want to see it start to get nice and creamy. Scrape down the sides of the food processor with a spatula if you need to, to make sure everything’s getting properly mixed.
Step 4: Time to get it to the right texture. Add about 2 tablespoons of the reserved chickpea liquid or plain water. Give it another good blend. If you fancy it a bit looser, just add another tablespoon of liquid at a time and blend until it’s just how you like it.
Step 5: Now, the taste test! Always have a little nibble. Does it need more salt? A bit more zing from the lemon? Nudge the seasonings until it sings for you. You know your taste buds best!
Step 6: Spoon your gorgeous, vibrant green hummus into a nice serving bowl. Make sure you get every last bit out of the food processor – no point wasting that lovely stuff!
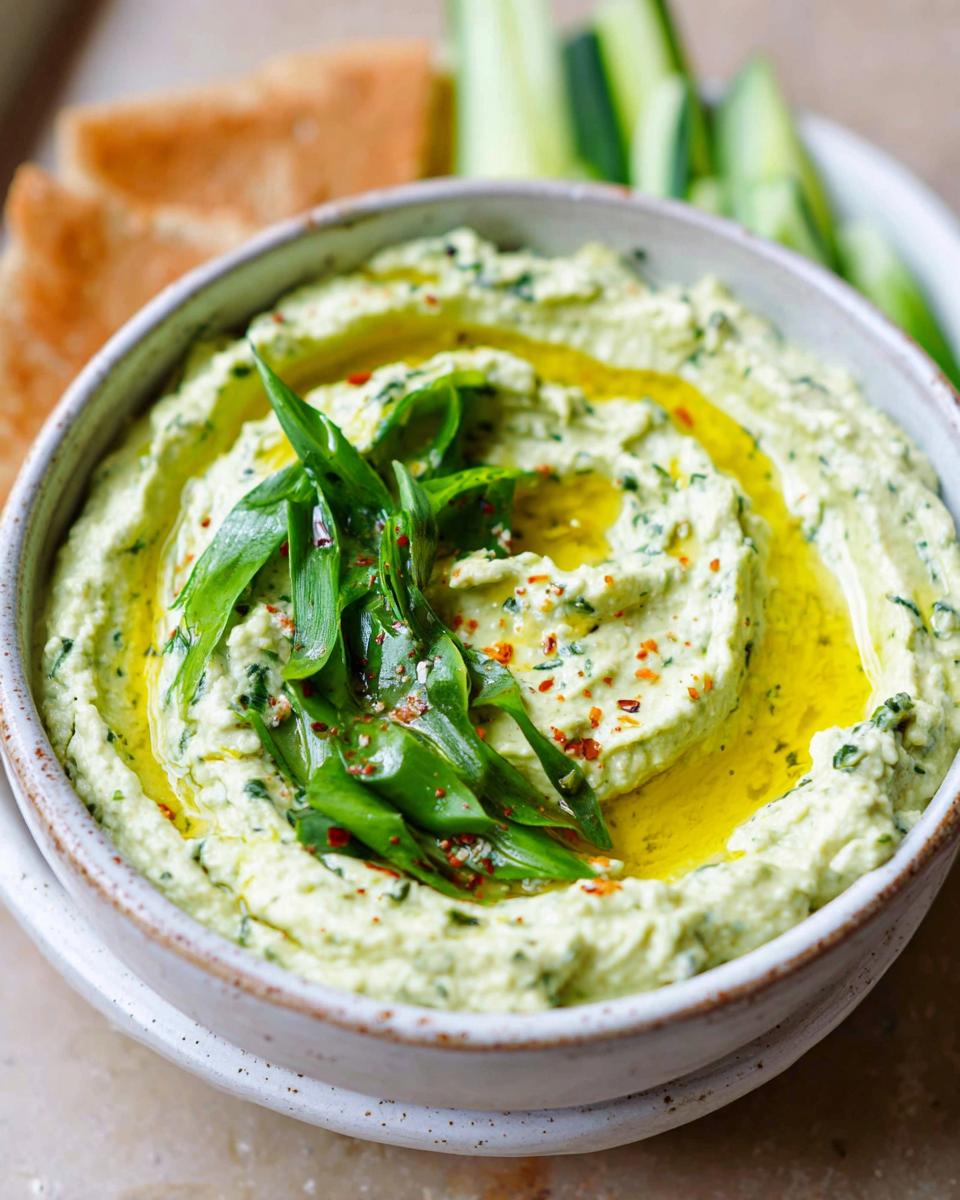
Step 7: Finish it off with a generous drizzle of good quality olive oil. This just adds another layer of flavour and makes it look so inviting. Sprinkle over those few extra fresh wild garlic leaves for a pop of colour and freshness.
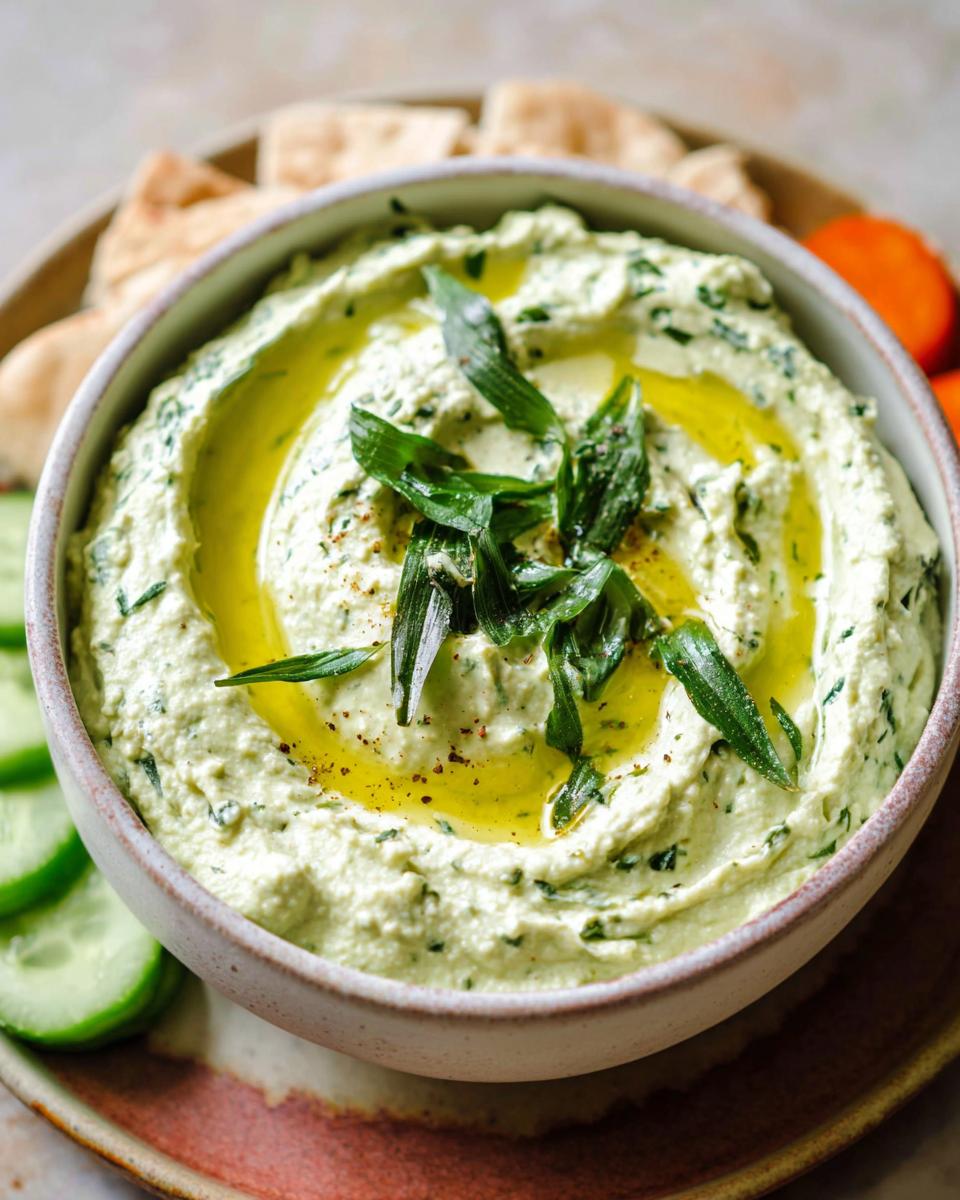
Step 8: Serve it up immediately with warm homemade pita bread, your favourite crackers, or even some crunchy crudités. Enjoy!
Serving Suggestions for Your Wild Garlic Hummus
This hummus is fantastic on its own, but it’s even better with a few pals! Try it with some crispy veggie spring rolls – the crunch is just lovely. Or, for something super fresh, serve it alongside some vibrant vegetable spring rolls. It also makes a brilliant spread for sandwiches or wraps, giving them a lovely herby kick.
Storing and Meal Prepping Your Wild Garlic Hummus
I find this hummus keeps really well in the fridge! It’s one of those brilliant make-ahead dips that actually tastes better the next day, I think. I usually make a batch on Sunday and it’s still lovely and fresh for lunches throughout the week. Just pop it in an airtight container and it should be good for about 3 days.
To keep it super fresh, always store your Wild Garlic Hummus in a sealed container in the fridge. It’ll usually last you a good 3 days. For meal prepping, I just do exactly that – make it, stick it in a container, and it’s ready to go whenever you fancy a healthy snack or need to jazz up some sandwiches. No need to store components separately here; it all stays wonderfully together in the pot!
Frequently Asked Questions About Wild Garlic Hummus
Got a few burning questions about whipping up this gorgeous dip? I’ve got you covered!
Can I make this Wild Garlic Hummus without a food processor?
You can give it a go! It’ll be a bit more effort, but you could try mashing the chickpeas really well with a fork first, then finely chopping the wild garlic and blending it into the tahini and lemon juice with a whisk and lots of vigour. It won’t be as smooth, but it’ll still be delicious!
What if I can’t find fresh wild garlic for this hummus recipe?
No wild garlic? No problem! You can absolutely still make a fantastic hummus. Swap the wild garlic for about 2-3 cloves of finely minced fresh garlic, or even a tablespoon of garlic powder. The flavour will be more of a traditional garlic hummus, but it’ll still be wonderful – a great alternative if you can’t forage for the fresh stuff. You’ll still have a delicious Jamie Oliver-inspired hummus!
How long does this Jamie Oliver-inspired hummus last?
This fabulous hummus will keep beautifully in an airtight container in the fridge for about 3 days. It’s perfect for making ahead!
Before You Go
Honestly, give this Wild Garlic Hummus a whirl, won’t you? It’s such a simple way to bring a bit of spring sunshine to your plate. Let me know how you get on in the comments below – I love hearing from you! And if you loved it, maybe give it a quick rate and share it with your mates over on Pinterest!
Print
Wild Garlic Hummus
- Total Time: 10 min
- Yield: 6 servings
- Diet: Vegetarian
Description
An easy wild garlic hummus with chickpeas, tahini, and lemon for a fresh creamy dip perfect for sharing and snacking.
Ingredients
- 250 g cooked chickpeas
- 3 tablespoons tahini
- Juice of 1 lemon
- 50 g wild garlic leaves roughly torn
- 60 ml olive oil
- 1/2 teaspoon salt
- 2 to 4 tablespoons water or chickpea liquid
- Extra olive oil to serve
- Fresh wild garlic leaves to garnish
- Flatbreads or crackers to serve
Instructions
- Drain the chickpeas, reserving a few tablespoons of the liquid if using canned chickpeas.
- Add the chickpeas, tahini, lemon juice, wild garlic leaves, olive oil, and salt to a food processor.
- Blend for 1 to 2 minutes until the mixture becomes smooth and creamy.
- Add 2 tablespoons of water or reserved chickpea liquid and blend again. Add more liquid gradually if you prefer a looser dip consistency.
- Taste and adjust the seasoning if needed.
- Spoon the hummus into a serving bowl and drizzle with extra olive oil.
- Garnish with fresh wild garlic leaves and serve with flatbreads or crackers.
Notes
- For the smoothest hummus, blend the mixture for an extra minute after adding the liquid.
- Store covered in the fridge for up to 3 days.
- Prep Time: 10 min
- Cook Time: 0 min
- Category: Dip
- Method: Food Processing
- Cuisine: British