If you think making a show-stopping dinner that tastes like it took all day is impossible, I’m here to prove you wrong! Honestly, this recipe for Roasted Chicken with Garlic and Herbs is my absolute weeknight hero. It’s the one dish I make when I want something impressive but I’m already tired by 5 PM.
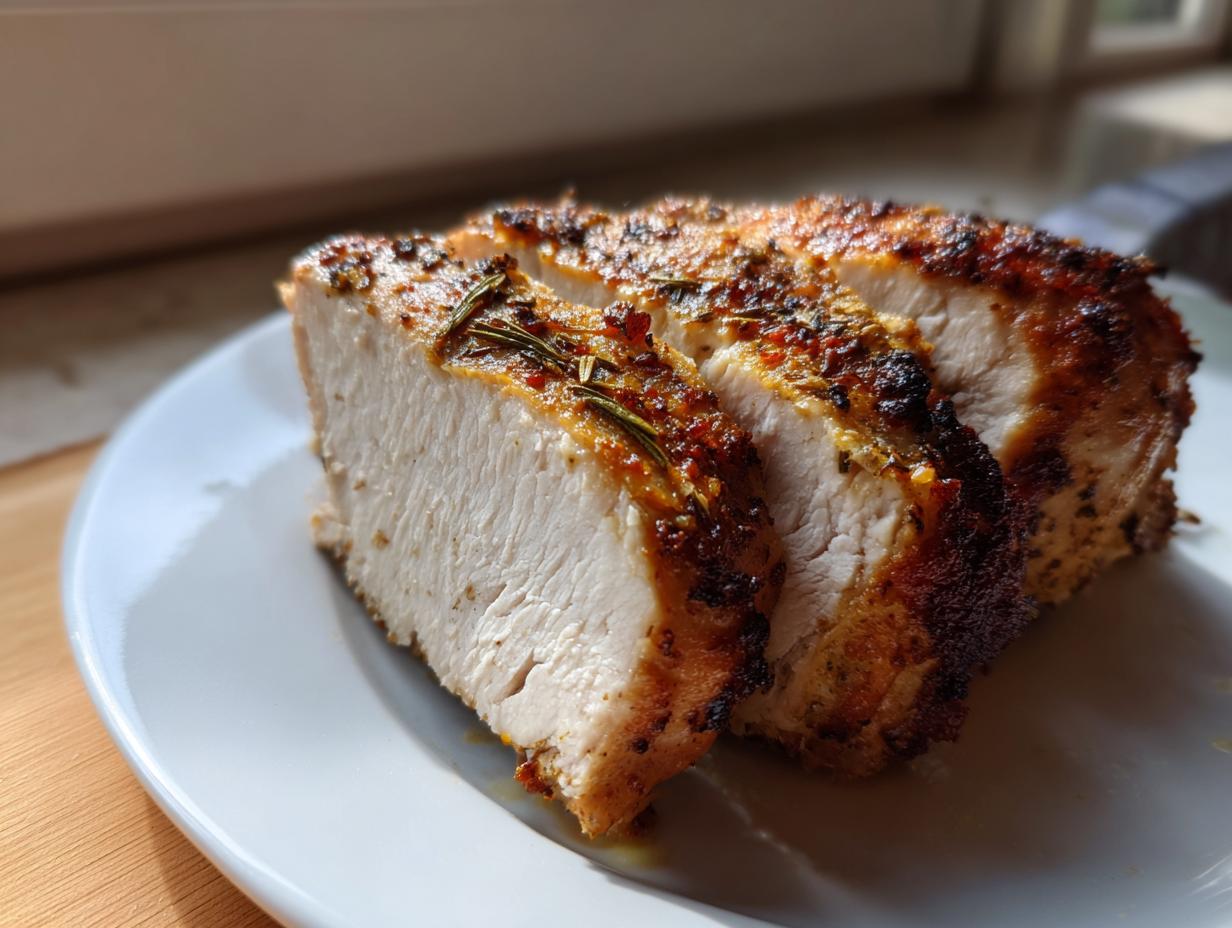
Forget complicated marinades or flipping things over constantly. We are talking one pan, maximum flavor payoff. The goal here is simple but glorious: impossibly juicy meat tucked under skin that shatters when you touch it—that perfect golden crispness. This method relies heavily on stuffing the cavity with aromatics, which basically steams the inside while the outside crisps up beautifully. Trust me, once you master this simple technique, you’ll never buy a rotisserie chicken again. It’s just too easy and tastes one thousand times better!
Essential Ingredients for Roasted Chicken with Garlic and Herbs
Okay, so since this recipe is so simple, the quality of your ingredients really shines through. Don’t try to cheat here! We aren’t using a ton of fancy stuff, so what we do use has to be good. For the best results in this Roasted Chicken with Garlic and Herbs, you need a nice, fresh bird and herbs that actually smell like something when you crush them.
I always go for a bird around three and a half pounds. Anything much bigger and you risk having raw spots while the skin burns. Also, make sure you have real butter—none of that margarine nonsense for this golden skin!
Ingredient List Details
Here is exactly what you need. Make sure you follow my notes on how to prep the aromatics, especially that garlic head. It makes a huge difference!
- 1 whole chicken, about 3\u00bd pounds
- 3 tablespoons unsalted butter, melted
- 1 teaspoon kosher salt
- \u00bd teaspoon black pepper
- 1 tablespoon fresh thyme leaves, plus extra sprigs for stuffing
- 1 head garlic, sliced in half crosswise
- \u00bd yellow onion, peeled and halved
- 1 tablespoon olive oil
- Lemon wedges for serving
- Fresh thyme sprigs for serving
Equipment Needed for Roasting
You don’t need a whole arsenal of fancy gear, which is part of why I love this dinner so much. We keep it super simple! The most important piece is definitely your roasting vessel. I prefer a sturdy metal roasting pan lined with foil because cleanup is a breeze.
You\u2019ll also want some kitchen twine for trussing\u2014this keeps everything neat while it cooks. And please, please, please have a reliable instant-read meat thermometer handy. Relying on time alone is how you end up with dry chicken, and we worked too hard to avoid that! A small bowl for mixing your butter rub completes the setup.
Step-by-Step Instructions for Roasted Chicken with Garlic and Herbs
Alright, let\u2019s get this bird in the oven! This process is fast, but you need to pay attention to the details, especially in the beginning. We set the stage for success in the first ten minutes, and then the oven does the heavy lifting for us. Remember, the resting time at the end is non-negotiable\u2014that\u2019s where the juiciness locks in!
Prepping the Chicken and Flavor Rub
First things first, crank that oven up to 400\u00b0F right away. Line your pan with foil and give it a light brush of olive oil\u2014this stops anything from sticking later. Now, grab your chicken and pat it down everywhere with paper towels. I mean *everywhere*. You cannot skip drying the skin, or it will steam instead of crisping up. Seriously, dry it like you mean it!
Next, tuck the wing tips under the body so they don’t burn before the rest of the chicken is done. In a small bowl, mix your melted butter with the salt, pepper, and chopped fresh thyme. This is the magic coating! Use your fingers (wash your hands first!) to gently lift the skin over the breast and rub about half of that herby butter mixture directly onto the meat. Then, rub the rest all over the outside skin. Don\u2019t be shy!
Stuffing and Trussing for Even Cooking
Time to load up the inside of our Roasted Chicken with Garlic and Herbs with flavor. Take that head of garlic you sliced in half\u2014no need to peel the cloves, the heat handles that\u2014and stuff it right into the cavity along with the onion pieces and those extra thyme sprigs. This infuses steam and flavor from the inside out, keeping the breast meat tender.
If you have kitchen twine, take a minute to tie the legs together\u2014this is called trussing. It helps the chicken cook more evenly because everything stays compact. If you don’t have twine, just cross the legs over each other tightly. It doesn’t have to be perfect, just tidy!
The Roasting Process and Temperature Check
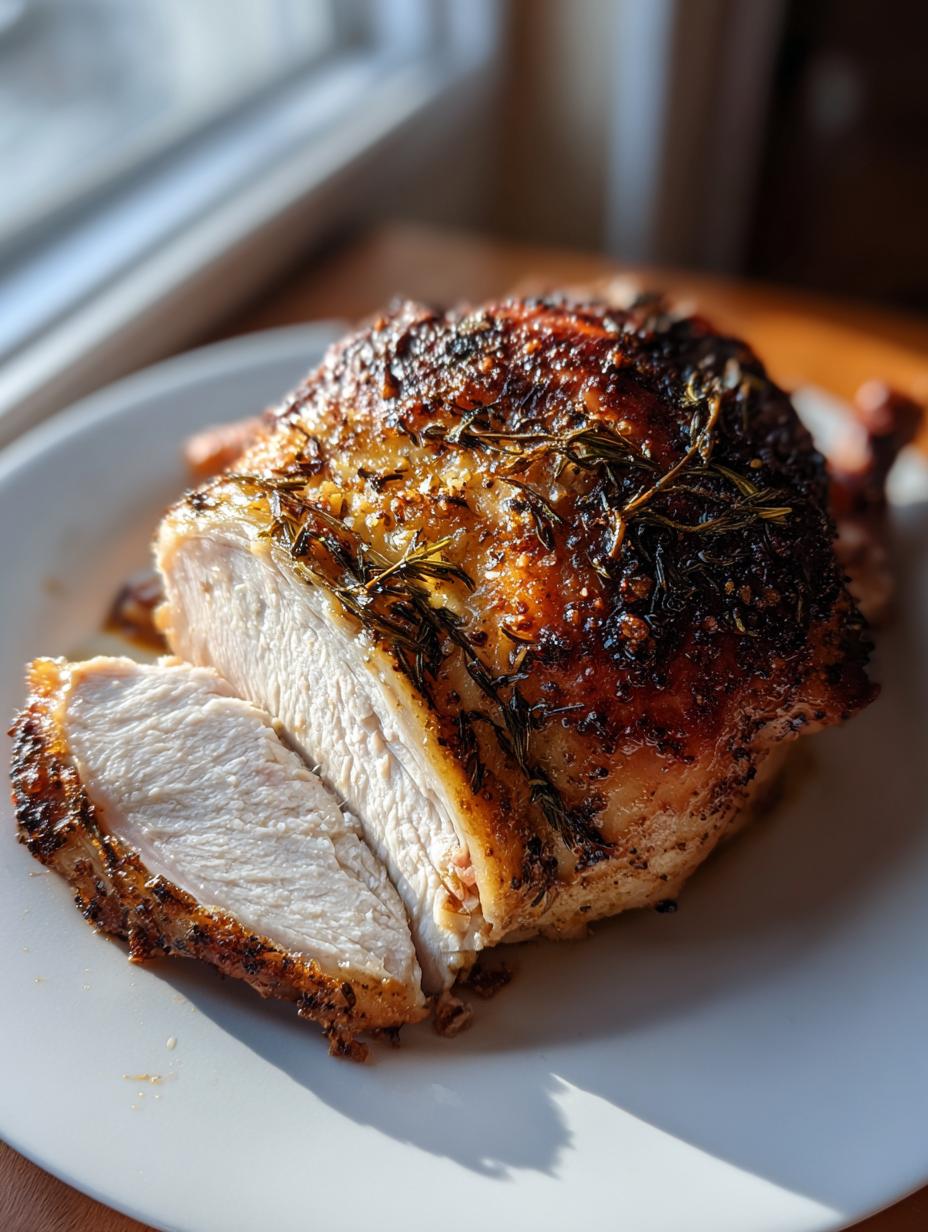
Place the chicken breast-side up in your prepared pan. Now, it roasts for about 60 to 75 minutes. Halfway through, maybe around the 35-minute mark, use a big spoon to scoop up those delicious pan juices and drizzle them over the top of the bird. This basting helps the skin brown evenly all over.
The only way to know it\u2019s truly done is with a thermometer. Insert it into the thickest part of the breast, avoiding bone. When it hits exactly 165\u00b0F, pull it out immediately! Tent it loosely with foil and let it rest for a full 15 minutes. If you cut it right away, all those amazing juices will run out onto the cutting board. We want those juices staying right in the meat, so patience pays off here!
Tips for Achieving Crispy Skin on Your Roasted Chicken with Garlic and Herbs
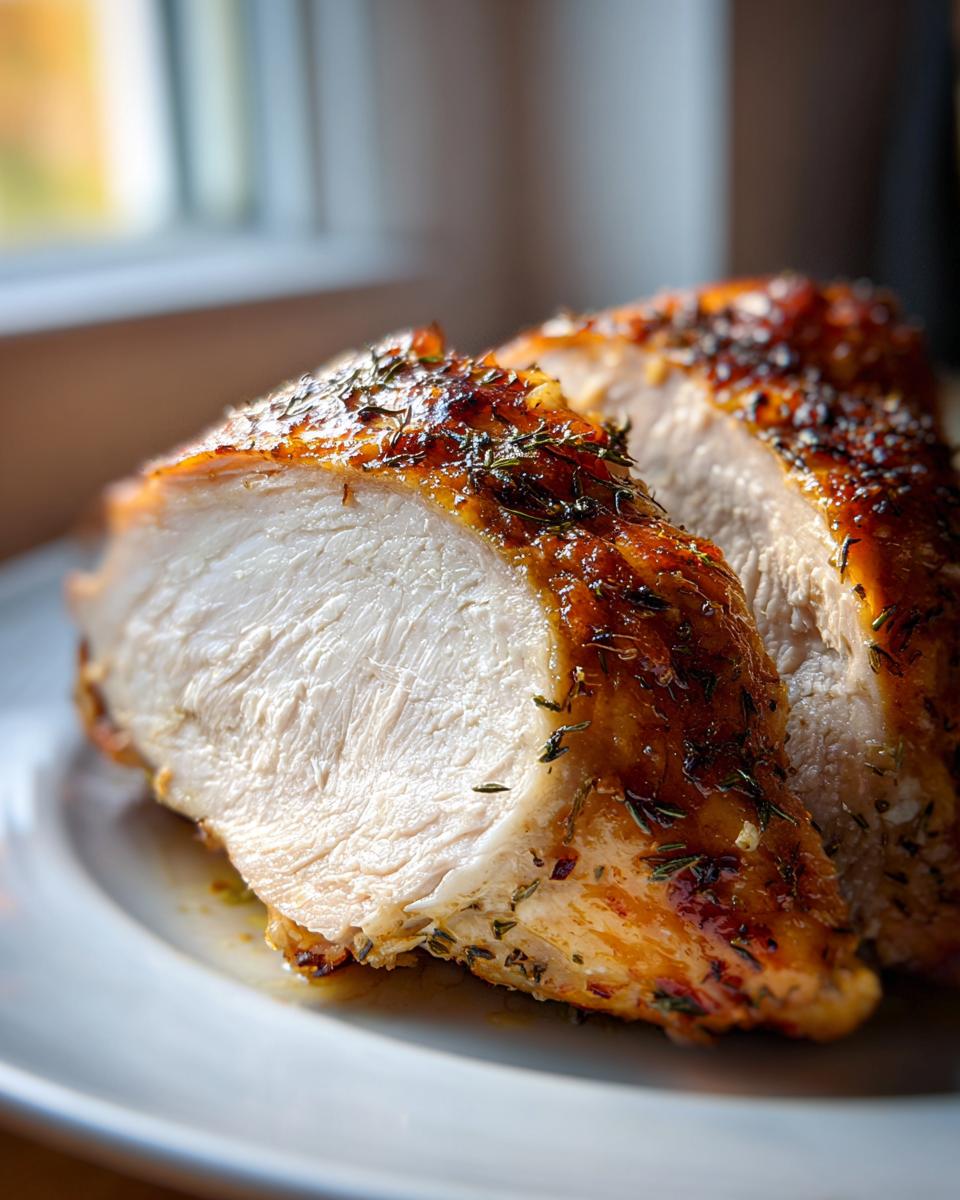
The golden, crackly skin is what separates a good roast chicken from a truly legendary one. I\u2019ve learned a few things over the years testing this recipe for the perfect Roasted Chicken with Garlic and Herbs. Honestly, it all comes down to two main things: dryness and direct fat contact.
First, I cannot stress enough how important it is to pat the chicken dry\u2014and I mean bone-dry\u2014before you even think about applying the butter. Moisture is the enemy of crispness! If the skin is damp, the heat has to spend time evaporating that water instead of crisping the skin. I often leave the chicken uncovered in the fridge for a few hours if I have time; that air-drying really works wonders.
Next up is the butter application. Remember how we rubbed some butter *under* the skin? That\u2019s crucial because it bastes the meat from the inside while rendering fat onto the skin. For the outside, make sure that melted butter mixture is evenly distributed. If you see any dry patches before it goes in, the skin there will look pale and flabby coming out.
One final trick I use, especially if the oven temperature seems low, is cranking the heat up to 425\u00b0F for the final 10 minutes. Watch it closely, though! You want it golden brown, not burnt black. This finishing blast of high heat ensures that beautiful, shatteringly crisp skin we are aiming for.
Serving Suggestions for Your Meal
Now that you have this incredible, flavorful chicken resting, what are you going to serve it with? Since the main event is so rich and savory with all that garlic and thyme, I like to keep the sides bright and simple. You don’t want to overpower the wonderful aroma that\u2019s coming off that bird!
Roast potatoes are a classic for a reason\u2014toss them in the same pan for the last 40 minutes so they soak up some of those chicken drippings. Wow, what a flavor boost! If you want something green, crisp roasted asparagus or quick-blanched green beans tossed with a little lemon zest work perfectly. For another simple side idea, check out my oven-baked potato wedges.
And don’t forget those lemon wedges we set aside! Squeezing fresh lemon juice right over the carved meat just brightens everything up beautifully. It\u2019s simple, elegant, and lets the chicken truly shine as the star of the plate.
Storing and Reheating Your Roasted Chicken with Garlic and Herbs
That leftover roasted chicken is honestly even better the next day, especially cold on a sandwich, but you want to make sure you store it safely! Once the chicken has cooled down slightly after resting\u2014don’t leave it out for more than two hours\u2014wrap the carved pieces tightly in plastic wrap or slip them into an airtight container. This helps lock in any remaining moisture.
For reheating your Roasted Chicken with Garlic and Herbs, the microwave is fast but tends to dry it out. I highly recommend reheating the pieces in a 350\u00b0F oven. You can place them in a baking dish, add just a splash of chicken broth or water to the bottom of the pan, and cover it tightly with foil. This creates steam and keeps the meat from drying out while it warms through. It should only take about 15 minutes!
Frequently Asked Questions About Roasted Chicken with Garlic and Herbs
I get so many questions about roasting chicken because everyone is terrified of serving something undercooked\u2014and honestly, I get it! It\u2019s a big bird, and timing can feel tricky. Here are the things I hear most often when people are making this Roasted Chicken with Garlic and Herbs for the first time.
What if my chicken size differs from the recipe?
This is the biggest question ever! My recipe calls for a 3\u00bd pound bird, which usually takes about 70 minutes. If your chicken is significantly larger, say five pounds, you need to add time, maybe up to 90 minutes, but you MUST use that thermometer. If you have a much smaller bird, check it at the 45-minute mark. The key is to watch the temperature, not the clock. If you have a huge bird, you might want to start it breast-side down for the first 20 minutes to protect the breast meat from overcooking while the thick thighs catch up.
Can I use dried herbs instead of fresh?
Yes, you absolutely can, but you need to adjust the amount because dried herbs are much more concentrated than fresh ones. Generally, the rule of thumb is to use one-third the amount of dried herbs compared to fresh. So, if I call for 1 tablespoon of fresh thyme, use just 1 teaspoon of dried thyme in your butter rub. Remember, if you are stuffing the cavity, fresh herbs are way better for creating that aromatic steam, so I\u2019d stick to fresh for stuffing even if you use dried for the rub.
How do I know for sure my Roasted Chicken with Garlic and Herbs is safe to eat?
This is the most important part, hands down! You need that instant-read thermometer. Don’t guess, don’t peek, don’t rely on the juices running clear\u2014use the thermometer. Stick it deep into the thickest part of the thigh, making sure you aren’t touching any bone. If the thermometer reads 165\u00b0F, the chicken is safe and perfectly cooked. If it\u2019s lower, pop it back in for another 5 to 10 minutes and check again. Safety first, always!
Sharing Your Experience with Roasted Chicken with Garlic and Herbs
I really hope you loved making this dinner as much as I love eating it every time I make it! Seriously, the smell alone is worth the effort. Once you\u2019ve carved up your perfect Roasted Chicken with Garlic and Herbs, I\u2019d love to hear how it turned out for you. You can see more of my favorite recipes on Medium.
Did the skin get extra crispy? Did your family devour it? Drop a comment below, tell me how you served it, and please leave a star rating so others know this is the recipe they need for their next easy weeknight win! Feel free to share your results on Pinterest too!
Print
3 Simple Steps to Perfect Roasted Chicken with Garlic and Herbs
- Total Time: 1 hour 25 minutes
- Yield: 4 servings 1x
- Diet: N/A
Description
This roasted chicken with garlic and herbs has juicy meat, golden skin, and simple prep. It is the perfect one-pan dinner.
Ingredients
- 1 whole chicken, about 3½ pounds
- 3 tablespoons unsalted butter, melted
- 1 teaspoon kosher salt
- ½ teaspoon black pepper
- 1 tablespoon fresh thyme leaves, plus extra sprigs for stuffing
- 1 head garlic, sliced in half crosswise
- ½ yellow onion, peeled and halved
- 1 tablespoon olive oil
- Lemon wedges for serving
- Fresh thyme sprigs for serving
Instructions
- Preheat oven to 400°F. Line a roasting pan or baking dish with foil and lightly brush with olive oil.
- Pat the chicken dry with paper towels. Remove any giblets and tuck the wings underneath the breast.
- In a small bowl, mix melted butter, salt, pepper, and chopped thyme. Rub this mixture all over the chicken, making sure to get underneath the skin for extra flavor.
- Stuff the cavity with the halved garlic head, onion pieces, and thyme sprigs. Tie the legs together with kitchen twine.
- Place the chicken breast-side up in the prepared pan. Roast for 60–75 minutes, or until a meat thermometer inserted into the thickest part of the breast reads 165°F.
- During roasting, spoon the pan juices over the chicken once or twice to help the skin brown evenly.
- When done, remove from the oven and tent loosely with foil. Let rest 15 minutes before carving to allow the juices to redistribute.
- Serve with lemon wedges and fresh thyme.
Notes
- Cook chicken to an internal temperature of 165°F before serving to ensure safety.
- Prep Time: 15 minutes
- Cook Time: 1 hour 10 minutes
- Category: Main Course
- Method: Roasting
- Cuisine: American
Nutrition
- Serving Size: 1 serving
- Calories: 505
- Sugar: N/A
- Sodium: N/A
- Fat: 37g
- Saturated Fat: N/A
- Unsaturated Fat: N/A
- Trans Fat: N/A
- Carbohydrates: 5g
- Fiber: N/A
- Protein: 36g
- Cholesterol: N/A