Oh, the joy of a perfectly set jam! This Rhubarb and Strawberry Jam, inspired by the wonderful Mary Berry, is genuinely one of my absolute favourites. There’s something so comforting about the tartness of rhubarb meeting the sweet blush of strawberries. I remember, as a little thing, watching my Nan stir huge copper pots of jam on her Aga, the whole kitchen smelling like a fruity dream. This recipe is my nod to those simpler times – a fuss-free, pectin-free preserve that is honestly so forgiving, even if you’ve never made jam before. It’s truly brilliant, capturing that perfect balance of flavours.
Why You’ll Love This Rhubarb and Strawberry Jam
- It’s ridiculously easy – honestly, perfect if you’re a jam-making newbie!
- The flavour combo is spot on – that lovely tart rhubarb with sweet strawberries is just magic.
- You don’t need any special pectin, the fruit does all the work.
- It’s super versatile; tastes amazing on toast, scones, or even stirred into yogurt.
- And it’s quick! You’ll have a jar of sunshine ready in no time.
Ingredients for Your Rhubarb and Strawberry Jam
- 200g rhubarb, chopped into small, even pieces
- 200g strawberries, hulled and halved (or quartered if they’re on the larger side)
- 1 tablespoon of fresh lemon juice (this helps everything set beautifully)
- 1 tablespoon of water
- 350g granulated sugar (don’t be tempted to reduce this too much, it’s key for the set!)
Step-by-Step Rhubarb and Strawberry Jam Instructions
Right then, let’s get this beautiful jam bubbling away! It’s really not complicated at all, so don’t you worry.
Step 1: First things first, give your lovely rhubarb and strawberries a good wash. Chop the rhubarb into neat little chunks, aiming for about 1-2cm pieces, and halve or quarter any bigger strawberries so they’re all roughly the same size. This helps them cook evenly, you see.
Step 2: Into your biggest saucepan – and I mean BIG, jam always foams up – go the chopped rhubarb, that squeeze of fresh lemon juice, and just a tablespoon of water. Don’t add much water; we want the fruit’s own juices.
Step 3: Pop it on a low heat and let it gently soften for about 5 minutes. You’ll see the rhubarb start to break down and look a little mushy – that’s exactly what we want. It should feel tender when you poke it with a spoon.
Step 4: Now, gently stir in your prepared strawberries. Let them bubble away for another couple of minutes, just until they start to release their juices too. Don’t mash them too much at this stage.
Step 5: Time for the sugar! Tip all 350g of granulated sugar into the pan. Stir it gently over a low heat until every single grain has completely dissolved. Honestly, this is crucial. If you don’t dissolve it, you’ll get gritty jam, and nobody wants that!
Step 6: Once it’s all dissolved, it’s time to turn up the heat! Bring the mixture to a proper rolling boil. Let it bubble away vigorously for exactly 6 minutes. Try not to stir it too much during this boiling phase, or you might stop it setting!
Step 7: Now for the moment of truth – the wrinkle test! Pop a small spoonful of jam onto a chilled saucer (I usually keep one in the freezer just for this). Let it sit for a minute, then give it a gentle nudge with your finger. If the surface wrinkles up slightly, you’re good to go! Hooray!
Step 8: If it’s still looking a bit too runny and doesn’t wrinkle, don’t panic! Just let it boil for another 3 or 4 minutes and try the test again. Jam can be a bit shy sometimes.
Step 9: As the jam finishes its final boil, you might see some foamy bits on top. Just skim these off with a clean spoon – this gives you a clearer, prettier jam. Then, carefully spoon your glorious hot jam into your sterilised jar. Be super careful, it’s very hot! Seal it up quickly and let it cool completely.
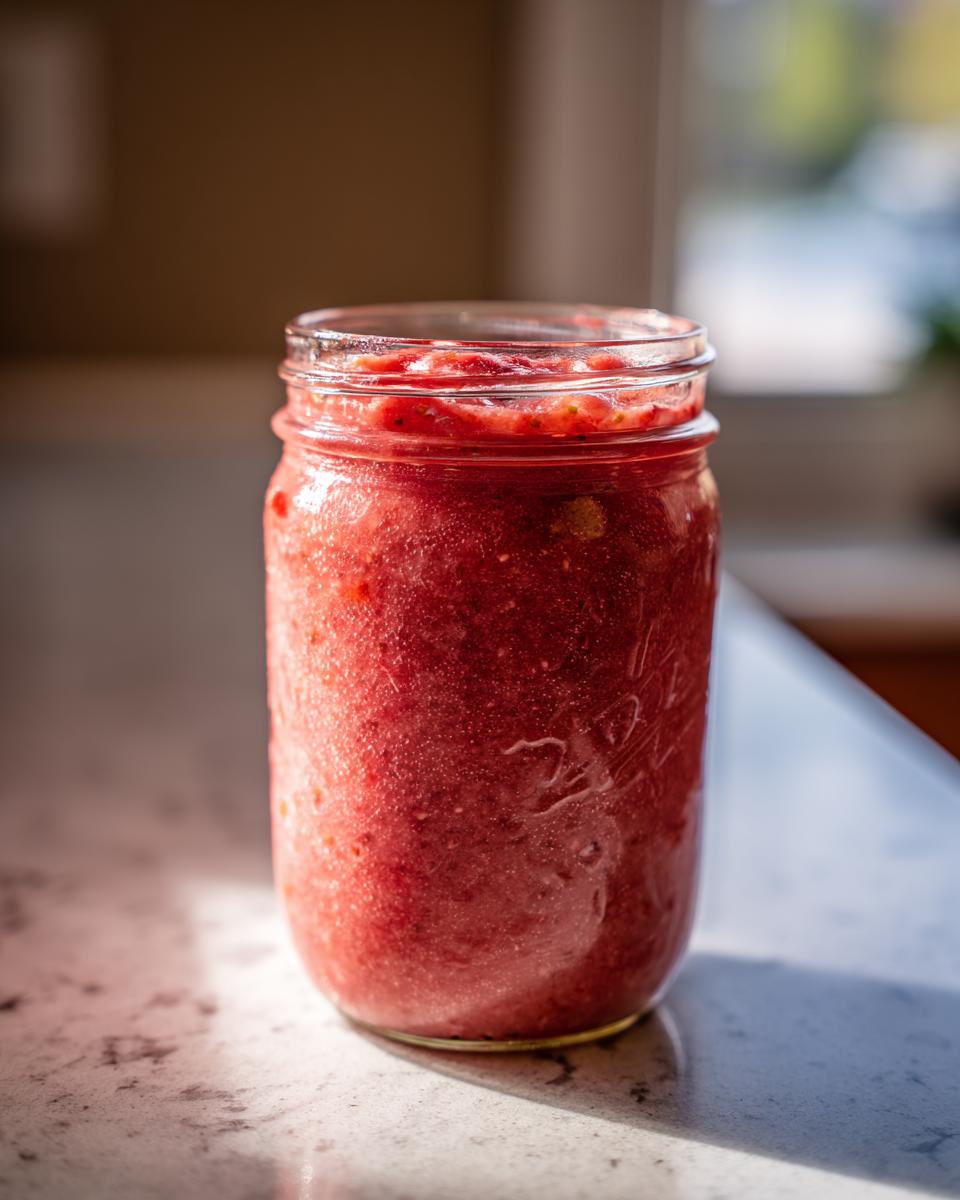
For those of you making this to enjoy with our easy wholemeal scones, make sure your jars are properly sterilised beforehand. A quick spin in a hot oven or a good wash in hot, soapy water should do the trick.
What to Serve with Your Homemade Rhubarb and Strawberry Jam
Right, so you’ve got this gorgeous jar of jam – what next? Well, you can’t beat it on a slice of warm, buttery toast, can you? For something a bit more special, it’s absolutely divine dolloped onto freshly baked wholemeal scones. And if you fancy something lighter, a spoonful stirred into natural yogurt is simply heavenly!
Storing and Reheating Your Rhubarb and Strawberry Jam
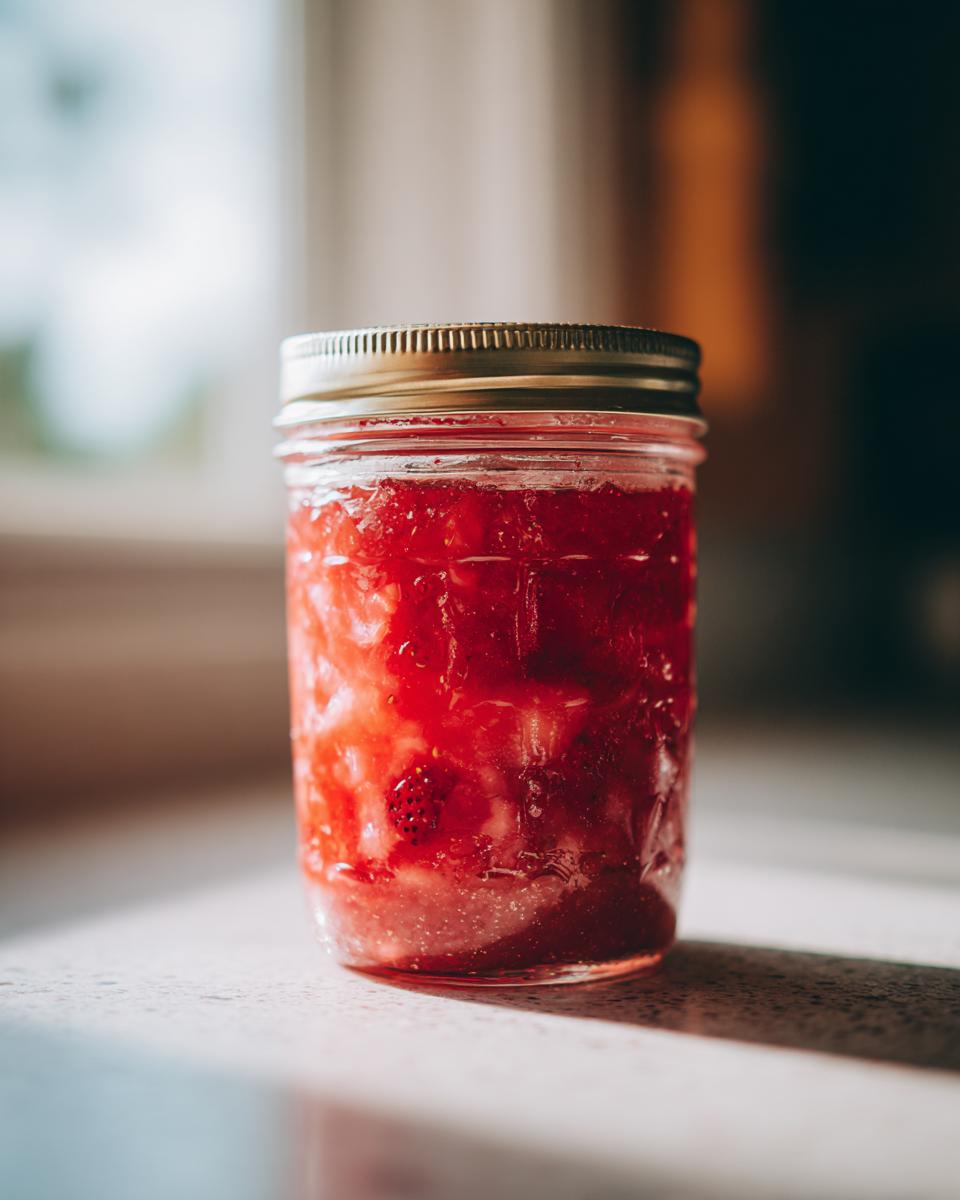
Now you’ve got this beautiful jam, let’s make sure it lasts! For any unopened jars, just pop them in a cool, dark cupboard. They’ll be absolutely lovely for up to a year, honestly. Once you’ve cracked one open, though, it’s straight into the fridge it goes. It’ll keep nicely in there for about 4-6 weeks. Remember to always use clean spoons when you dip into the jar to keep it fresh for as long as possible. Sterilising your jars really well before you fill them is the secret weapon for a long shelf life, so don’t skip that bit!
Frequently Asked Questions About Rhubarb and Strawberry Jam
Can I use frozen fruit for this jam?
Oh, definitely! Frozen rhubarb and strawberries work just as well in this recipe, especially if you’re making jam off-season. Just use them straight from the freezer, don’t thaw them first. You might need to let them soften a little longer in the pan during the initial stages, but the rest of the process stays exactly the same. Easy peasy!
What if my jam doesn’t set properly?
Don’t you worry if your jam seems a bit runny after the first boil! It happens sometimes, especially with fruit that’s not super high in pectin. Just pop it back on a rolling boil for another 3-5 minutes. Remember to do the wrinkle test on a cold saucer again. If it’s still not quite there, another blast of boiling should do the trick. A little bit of patience is all it takes!
Can I make this jam with less sugar?
While I always recommend sticking to the sugar quantity for the best set, especially since this recipe doesn’t use pectin, you can experiment cautiously with slightly less. Remember, sugar is a preservative and also helps the jam thicken. If you do reduce it, be aware that the jam might be softer and you’ll need to store it in the fridge and use it up a bit quicker. For a truly low-sugar jam, you’d typically need added pectin.
Before You Go
I really hope you have a go at making this delightful Rhubarb and Strawberry Jam! It’s such a rewarding little project. Pop a comment below if you try it, or let me know how you enjoy it – I’d absolutely love to hear!
Print
Rhubarb and Strawberry Jam
- Total Time: 25 minutes
- Yield: 1 jar
- Diet: Vegetarian
Description
Make this easy rhubarb and strawberry jam with fresh fruit and no added pectin for a sweet homemade preserve perfect for breakfast and tea.
Ingredients
- 200 g rhubarb chopped into small pieces
- 200 g strawberries hulled and halved
- 1 tablespoon lemon juice
- 1 tablespoon water
- 350 g granulated sugar
Instructions
- Wash the rhubarb and strawberries thoroughly. Chop the rhubarb into even pieces and cut larger strawberries into halves or quarters.
- Add the rhubarb, lemon juice, and water to a large saucepan.
- Cook gently over low heat for 5 minutes until the rhubarb begins to soften.
- Stir in the strawberries and cook gently for another 2 minutes.
- Add the granulated sugar and stir continuously over low heat until the sugar has fully dissolved.
- Increase the heat and bring the mixture to a rolling boil. Boil for 6 minutes without stirring too much.
- Test the jam by placing a spoonful onto a chilled plate. Leave for 1 minute, then push gently with your finger. If it wrinkles slightly, the jam is ready.
- If the jam is still too runny, boil for another 3 to 4 minutes and test again.
- Skim off any foam from the top using a spoon.
- Carefully pour the hot jam into a sterilised jar and seal with a lid. Leave to cool completely before storing.
Notes
- For the best set, avoid reducing the sugar quantity.
- Store unopened jars in a cool dark place and refrigerate after opening.
- Prep Time: 5 minutes
- Cook Time: 20 minutes
- Category: Preserves
- Method: Stovetop
- Cuisine: British