There’s something so wonderfully comforting and utterly simple about a perfectly hard-boiled egg, isn’t there? For ages, I battled with eggs that were either impossible to peel or had those sad, greenish rings around the yolk. Then, I really dug into the classic methods, channeling the inimitable Mary Berry, and honestly, it’s a game-changer! Learning exactly how to hard boil eggs inspired by Mary Berry meant no more frustration. It’s all about a few key steps that guarantee beautiful, bright yolks and shells that slide off like a dream, every single time.
Why You’ll Love This How to Hard Boil Eggs Inspired by Mary Berry Recipe
- Achieve perfectly cooked eggs with lovely, golden yolks – no more grey rings!
- Forget frustrating peeling! These easy-peel hard-boiled eggs are a dream.
- It’s a fuss-free method, inspired by the legendary Mary Berry, that just works.
- Super versatile: ready for your salads, lunches, or just a tasty snack.
- Brighten up your breakfast or packed lunch with minimal effort.
Ingredients for How to Hard Boil Eggs Inspired by Mary Berry
- 6 large eggs
- Cold water enough to cover eggs by 2.5 cm
- Ice cubes
Step-by-Step Guide: How to Hard Boil Eggs Inspired by Mary Berry
Right then, let’s get these eggs sorted! It all starts with putting your eggs into the pan. I always use a decent-sized saucepan so they can sit in a single layer – absolutely no stacking, otherwise, you’ll get uneven cooking and that’s just a recipe for disappointment. Pop them in gently, like you’re tucking them into bed!
Next, cover them with cold water. I find about 2.5 cm (that’s roughly an inch) above the eggs is just perfect. It ensures they’re fully submerged and will cook evenly.
Now, for a bit of heat! Put your saucepan over medium-high heat. We’re looking for a full, rolling boil – you know, when the water is bubbling away enthusiastically. Keep an eye on it!
The moment that water hits that proper rolling boil, turn off the heat *immediately*. Seriously, take it right off the hob. Then, pop the lid on securely. This is the clever bit – we’re going to use the residual heat of the water to cook the eggs perfectly. It’s much gentler than trying to keep them boiling away.
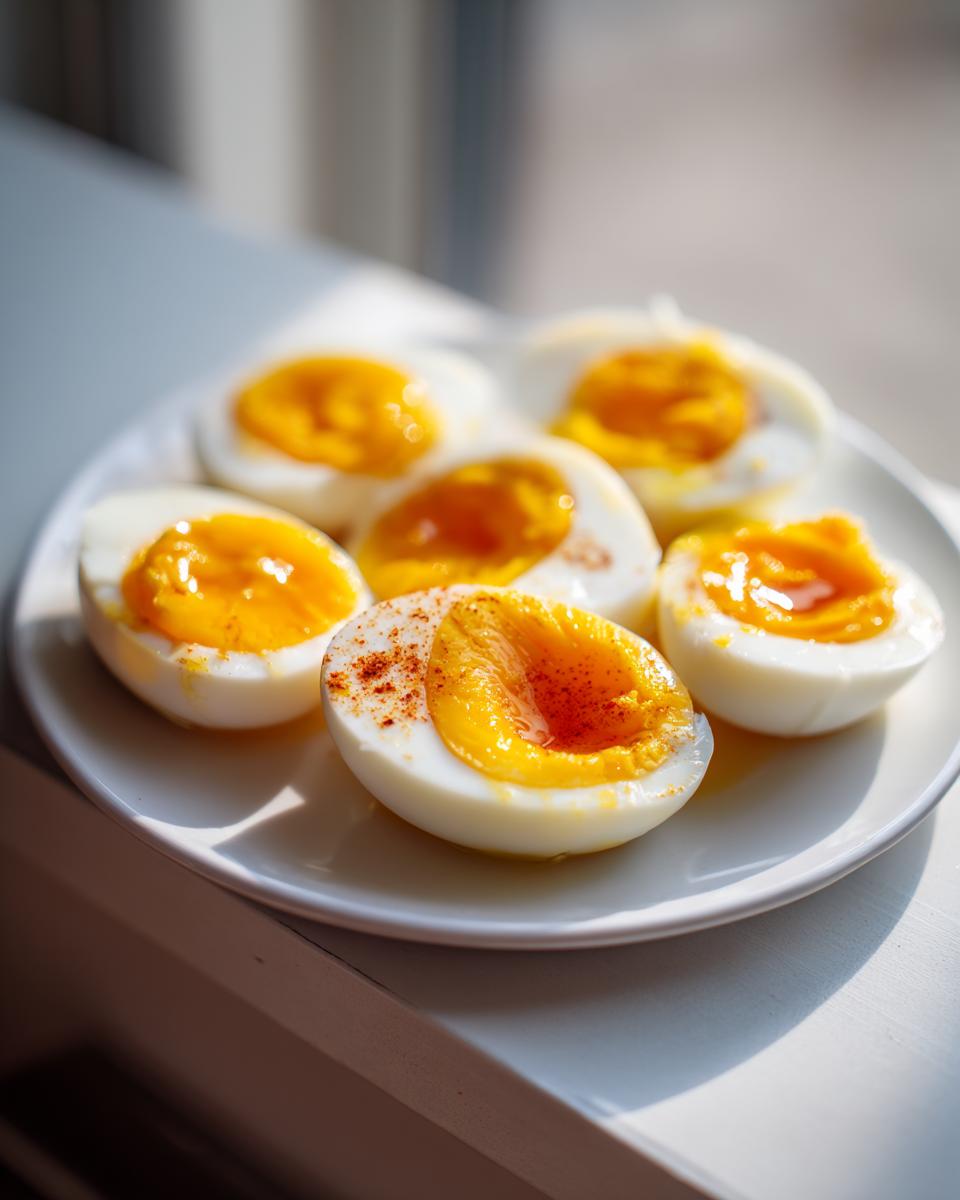
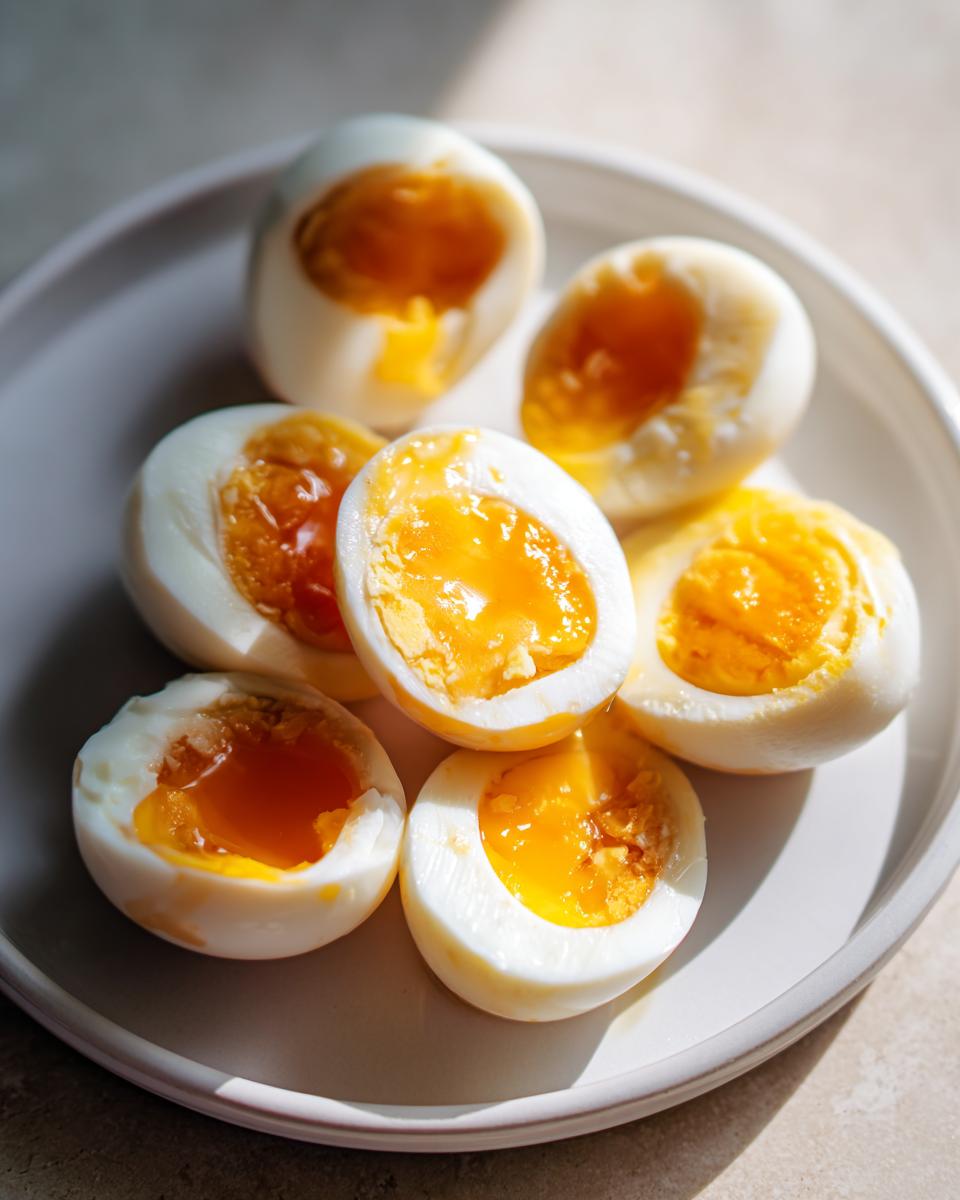
Here’s where you decide your yolk destiny! For a slightly creamy, almost custardy yolk, leave them for about 10 minutes. If you’re after that classic, firm hard-boiled egg, aim for 11 to 12 minutes. And if you prefer them extra, extra firm – like for devilled eggs perhaps – you can go up to 13 minutes. I usually go for about 11 minutes myself; it’s my sweet spot.
While your eggs are having their steamy rest, it’s time for their cool-down! Grab a big bowl and fill it with cold water. Then, and this is crucial for easy peeling, chuck in heaps of ice cubes. We want this bath to be as icy as possible. This ice bath is your secret weapon against those annoying green rings around the yolk and it stops the cooking process dead. It’s a real Mary Berry move, trust me.
Once their resting time is up, carefully transfer your eggs from the hot water into the ice bath. A slotted spoon or some tongs work a treat here. Let them chill out in there for at least 10 to 15 minutes. They need to be properly cold before you even think about peeling them!
When they’re nicely chilled, it’s peeling time! Gently tap each egg on your worktop to crack the shell all over. Then, roll it around a bit to break it up further. I find starting the peel from the wider end of the egg (where the little air pocket usually is) makes it come away much more easily. If you’ve used the ice bath properly, the shell should just slip right off!
Serving Suggestions for Your Perfectly Hard-Boiled Eggs
On Toast: A classic for a reason! Mash a couple of hard-boiled eggs with a knob of butter, a sprinkle of salt and pepper – maybe a dash of mustard if you like – and spread it thick on some lovely buttered wholemeal toast. So simple, so satisfying.
In a Salad: Halved or quartered eggs are a brilliant addition to any salad. They add a lovely creaminess and a protein boost that makes it a proper meal, perfect for a light lunch.
With Asparagus and Hollandaise: If you’re feeling a bit fancy, a perfectly poached or boiled egg served alongside blanched asparagus with a dollop of rich hollandaise sauce is pure indulgence. Brunch heaven!
Storage and Reheating Tips for How to Hard Boil Eggs
Storing your hard-boiled eggs properly is key to keeping them fresh and safe to eat. It also makes them brilliant for getting ahead with your meal prep!
The best way to store your hard-boiled eggs is unpeeled, in an airtight container in the fridge. Honestly, unpeeled eggs will keep nicely for up to 7 days. If you do peel them, I’d aim to eat them within 2-3 days, as they can dry out a bit faster. It’s always good practice to note down the date you boiled them so you know exactly how fresh they are.
Hard-boiled eggs are an absolute lifesaver for meal prepping. Imagine this: you spend a little time on a Sunday, boil up a dozen eggs, and then you’ve got instant protein ready for your salads, lunches, or snacks all week long. Just pop them in a container, and you’re sorted. They’re much easier to prep ahead than, say, trying to cook individual eggs each morning when you’re rushing out the door!
Frequently Asked Questions about How to Hard Boil Eggs Inspired by Mary Berry
Got a few niggling questions about your eggs? I get it! It’s always good to have a proper understanding, especially when you want them just right.
Why are my hard-boiled eggs hard to peel?
Oh, this is the million-dollar question, isn’t it? The most common culprits are using eggs that are *too* fresh, or overcooking them. Fresher eggs have a tighter membrane, making them stickier. My trick for perfect peeling is to use eggs that are a few days old and, crucially, to plunge them into that ice bath immediately after cooking. It shocks the egg, causing it to contract slightly, pulling away from the shell. Give that a go!
How long do hard-boiled eggs last?
Stored properly in their shells in the fridge, hard-boiled eggs are generally good for up to 7 days. I always tell people to date them when they boil them, just so you’re keeping track! Peeled eggs are a little more delicate, so aim to eat those within 2-3 days. They’re fantastic for meal prep, but I wouldn’t push it much longer than that.
What are those green rings around my egg yolks?
You know, those slightly unappetising grey-green rings? That’s a sign of overcooking. It happens when the egg has been heated for too long, causing a reaction between sulfur in the egg white and iron in the yolk. That’s exactly why the Mary Berry-inspired method of bringing them to a boil, turning off the heat, and using the residual heat for a specific time is so brilliant. And the ice bath solidifies this by stopping the cooking process exactly when we want it to.
Before You Go
I really hope you give this simple hard-boiling trick a go this week. It’s honestly made such a difference to my everyday cooking, and I’d love to hear how you get on! Drop a comment below to share your results or any tips you’ve picked up. Happy egg boiling!
Print
How to Hard Boil Eggs Inspired by Mary Berry
- Total Time: 18 min
- Yield: 6 eggs
- Diet: Vegetarian
Description
Learn how to hard boil eggs perfectly every time with easy peeling, bright yolks, and simple UK-friendly steps for quick meals and snacks.
Ingredients
- 6 large eggs
- Cold water enough to cover eggs by 2.5 cm
- Ice cubes
Instructions
- Place the eggs in a single layer in a medium saucepan. Ensure the eggs do not stack for even cooking.
- Pour in enough cold water to cover the eggs by about 2.5 cm.
- Place the saucepan over medium-high heat and bring the water to a rolling boil.
- As soon as the water reaches a full boil, turn off the heat immediately and cover the saucepan with a lid.
- Leave the eggs in the hot water according to your preferred texture: 10 minutes for slightly creamy yolks, 11 to 12 minutes for classic hard-boiled eggs, or 13 minutes for extra firm yolks.
- While the eggs are resting, fill a large bowl with cold water and plenty of ice cubes.
- Transfer the eggs carefully into the ice bath using a slotted spoon or tongs. Let them chill for 10 to 15 minutes.
- Gently tap each egg on the worktop and roll to crack the shell. Peel from the wider end for the easiest results.
- Serve immediately or store unpeeled eggs in the fridge for up to 7 days.
Notes
- Older eggs are easier to peel than very fresh eggs.
- For the best texture and easy peeling, avoid overcooking and always use an ice bath after cooking.
- Prep Time: 5 min
- Cook Time: 13 min
- Category: Breakfast
- Method: Boiling
- Cuisine: British