Oh, the simple joy of a perfectly baked scone! There’s something truly special about the ritual of afternoon tea, and for ages, I thought my gluten-free friends were missing out. But let me tell you, I got inspired by the queen herself, Mary Berry, and have finally cracked it! These Gluten Free Scones Inspired by Mary Berry are just divine – light, fluffy, with that lovely tender crumb you dream of. Seriously, they’re so good, you wouldn’t even know they’re gluten-free. I’ve spent ages playing around, and I think I’ve finally captured that classic Mary Berry magic. Get ready for your new favourite!
Why You’ll Love These Gluten Free Scones Inspired by Mary Berry
- They’re ridiculously easy to whip up, even with gluten-free flour!
- Seriously light and fluffy texture – a world away from dense GF bakes.
- They taste just like the real deal, perfect for a proper cuppa.
- A fantastic gluten-free option that everyone will enjoy.
Ingredients for Your Gluten Free Scones Inspired by Mary Berry
Right then, for these beauties, we need to make sure we’ve got the right bits and bobs. Using a good gluten-free self-raising flour is key here, and don’t forget that little pinch of xanthan gum – it really makes all the difference for that lovely texture. I always use good old salted butter; it adds a bit more flavour, don’t you think?
- 350 g gluten-free self-raising flour
- 1 tsp baking powder
- 1/4 tsp salt
- 55 g salted butter, softened
- 50 g caster sugar
- 2 extra-large eggs, beaten
- 180 ml buttermilk
- 1 tsp xanthan gum
- 2 tbsp milk for brushing
Step-by-Step Guide to Making Mary Berry’s Gluten Free Scones
Okay, let’s get baking! These are surprisingly simple, and I always find getting the oven on first is the best way to start. It means by the time you’ve mixed everything, it’s ready to go straight in. Don’t worry if gluten-free dough feels a bit different; that’s perfectly normal! If you’ve never made scones before, check out this easy wholemeal scones recipe for a good foundation, though remember we’re using GF flour here!
Step 1: First things first, get your oven preheated to a nice hot 220°C (that’s about 200°C fan or Gas Mark 7). Then, grab a good-sized baking tray and pop some baking paper on it, ready for our lovely scones. This stops them sticking beautifully.
Step 2: Now, into a nice big mixing bowl goes your gluten-free self-raising flour, the baking powder for a bit of lift, that pinch of salt, your caster sugar, and the xanthan gum. Give it all a quick whisk together just to make sure everything’s nicely combined before we add the butter.
Step 3: This is the classic rubbing-in stage! Add your softened salted butter to the flour mix. Using your fingertips, gently rub the butter into the dry ingredients until the whole lot looks like fine breadcrumbs. You want to do this until there are no big lumps of butter left – it’s this bit that gives them a lovely tender crumb.
Step 4: In a separate little bowl, give your two extra-large eggs a good whisk up. Then, pour in your buttermilk and give that a little stir together too. This is our liquid gold!
Step 5: Now, pour that wet mixture into your big bowl of dry ingredients. Use a palette knife or a round-bladed knife to gently bring it all together. Mix it just until you’ve got a soft, slightly sticky dough. Honestly, don’t overmix it here; we want light scones, and overmixing can make them tough, even with gluten-free flour.
Step 6: Lightly flour a clean work surface with a dusting of gluten-free flour. Turn out your dough gently. Now, just pat it out with your hands or roll it very carefully with a rolling pin to about 2cm thick. Nothing too thin!
Step 7: Grab a 5cm round cutter (dipping it in a bit of flour first helps stop it sticking). Cut out 12 scones and place them onto your prepared baking tray. Push the cut edges together slightly so they bake up nice and tall next to each other.
Step 8: Just before they go in the oven, lightly brush the tops of your scones with a little milk. This gives them that beautiful golden sheen we’re looking for.
Step 9: Pop them into your preheated oven. Bake for about 12 to 15 minutes. You’re looking for them to be well-risen and a lovely golden brown colour all over. Keep an eye on them, as gluten-free bakes can sometimes brown quicker.
Step 10: Once they’re perfectly baked, carefully transfer them to a wire rack to cool slightly. I always find they’re best served warm, but they’ll keep okay for a day or two if you have any leftovers!
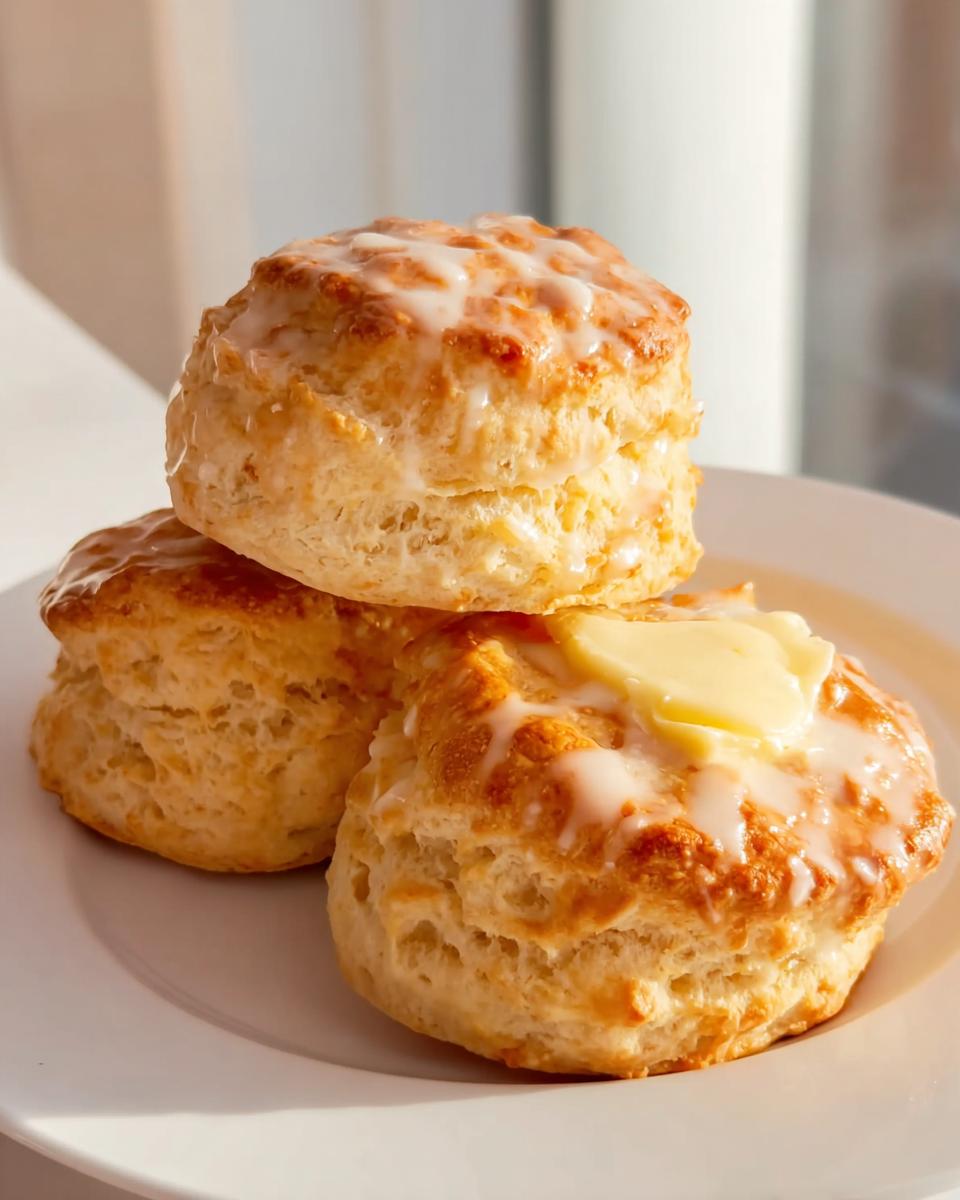
Serving Suggestions for Your Gluten Free Scones
These lovely gluten-free scones are just begging to be dressed up! My absolute favourite way is the classic: a generous dollop of thick, clotted cream and a spoonful of your best strawberry jam. It just feels so wonderfully traditional, doesn’t it? If you fancy something a little lighter, a fresh fruit salad with a squeeze of lime is also brilliant. Or, for a simple treat, a smear of good quality butter is always a winner. They’re so versatile!
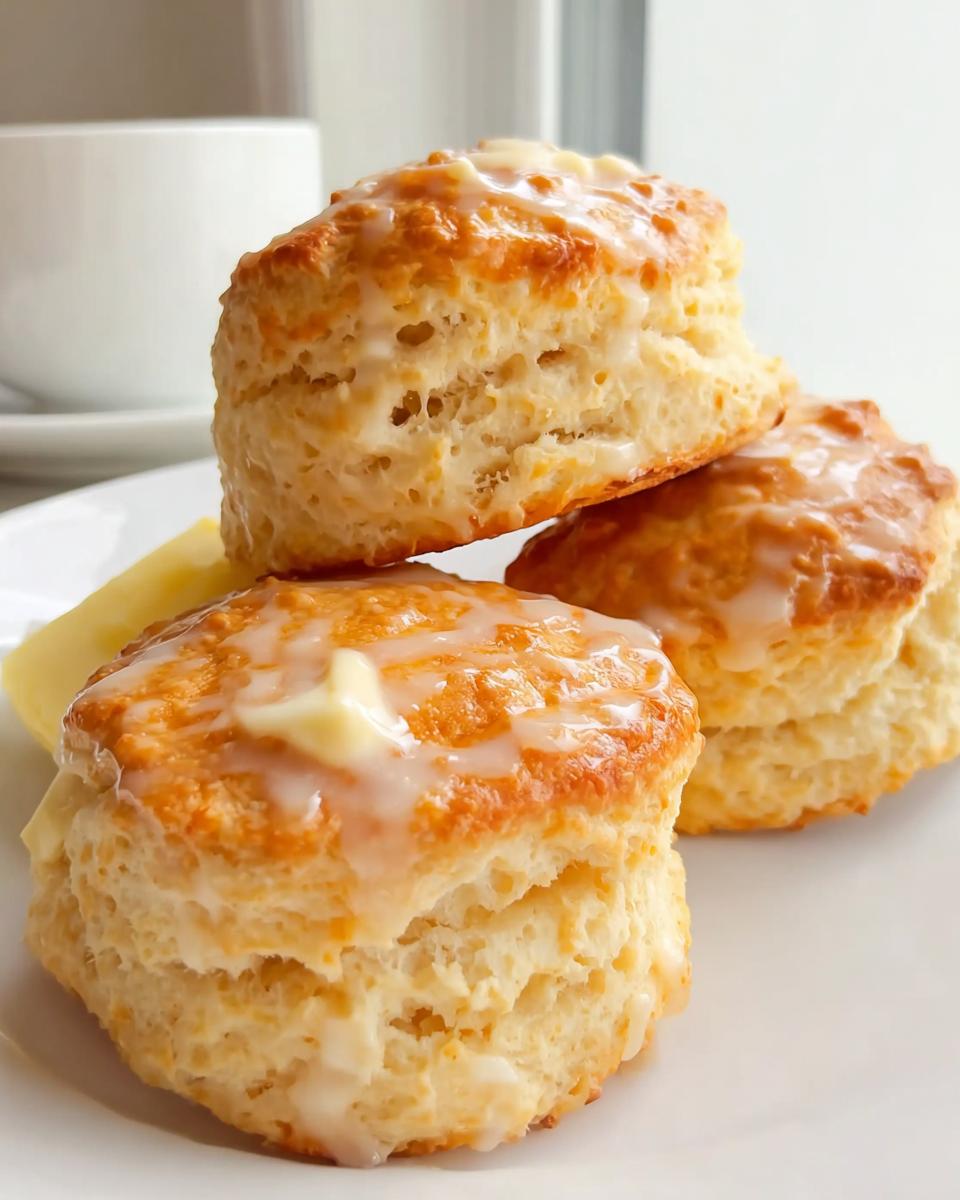
Storing and Reheating Your Gluten Free Scones Inspired by Mary Berry
Now, you might be tempted to gobble up all these delightful scones in one go – I know I usually am! But if by some miracle you have a few left, storing them is simple. Pop them into an airtight container at room temperature. They’ll stay lovely for a day or two, though honestly, they’re always best eaten fresh. To bring them back to life, a quick 5-10 minutes in a moderate oven (around 160°C) will warm them through beautifully and restore a bit of their lovely texture. They’re not really a microwave job, for best results!
Frequently Asked Questions About Gluten Free Scones
This is where we tackle those nagging questions you might have about whipping up these gluten-free delights. I’ve had a few myself over the years!
Can I use a different type of flour?
This is a big one! For these specific gluten-free scones inspired by Mary Berry, I really do recommend sticking to a good quality gluten-free self-raising flour blend. These blends are usually designed to mimic the properties of wheat flour, and they often contain a mix of rice, tapioca, and potato starches, plus a bit of leavening. If you try to use just plain gluten-free flour, or something like almond or coconut flour, your scones will likely turn out quite different – perhaps denser or with a grittier texture. If you’re feeling brave, you could experiment, but for that classic light and fluffy result, the specific GF self-raising flour is your best bet.
Why are my scones dense?
Oh, that’s such a common issue, isn’t it? With gluten-free baking, it can happen for a few reasons. Firstly, overmixing the dough is a big culprit – you want to mix it just until it comes together, no more! Also, making sure your baking powder is fresh is crucial, as it’s what gives them that lovely lift. Sometimes, if your oven isn’t hot enough, they won’t rise properly either. Finally, not cutting the scones cleanly, or squashing them down too much when you place them on the tray, can also lead to them being a bit more compact than we’d like. Ensure your xanthan gum is fresh too; it really helps with structure!
Before You Go
Right then, I really hope you give these Gluten Free Scones Inspired by Mary Berry a go! They’re such a treat for elevenses or afternoon tea. If you do make them, please let me know how they turn out in the comments below – I’d absolutely love to hear about it! And if you snap a pic, I’d be thrilled if you tagged me on Pinterest!
Print
Gluten Free Scones Inspired by Mary Berry
- Total Time: 30 minutes
- Yield: 12 scones
- Diet: Gluten Free
Description
Light, fluffy, and golden gluten free scones with a tender crumb, perfect for afternoon tea.
Ingredients
- 350 g gluten free self-raising flour
- 1 tsp baking powder
- 1/4 tsp salt
- 55 g salted butter, softened
- 50 g caster sugar
- 2 extra-large eggs, beaten
- 180 ml buttermilk
- 1 tsp xanthan gum
- 2 tbsp milk for brushing
Instructions
- Preheat your oven to 220 C and line a baking tray with baking paper.
- Add the gluten free self-raising flour, baking powder, salt, caster sugar, and xanthan gum to a large mixing bowl.
- Rub the softened butter into the flour mixture until it resembles fine breadcrumbs.
- In a separate bowl, whisk together the beaten eggs and buttermilk.
- Pour the wet mixture into the dry ingredients and mix gently until a soft dough forms.
- Lightly flour a work surface with gluten free flour and roll the dough to about 2 cm thick.
- Cut out 12 rounds using a 5 cm cutter and place them onto the prepared baking tray.
- Brush the tops lightly with milk.
- Bake for 12 to 15 minutes until the scones are risen and golden brown.
- Transfer to a wire rack and cool slightly before serving.
Notes
- Serve warm with jam and cream or butter.
- Store in an airtight container for up to 2 days for the best texture.
- Prep Time: 15 minutes
- Cook Time: 15 minutes
- Category: Baking
- Method: Baking
- Cuisine: British