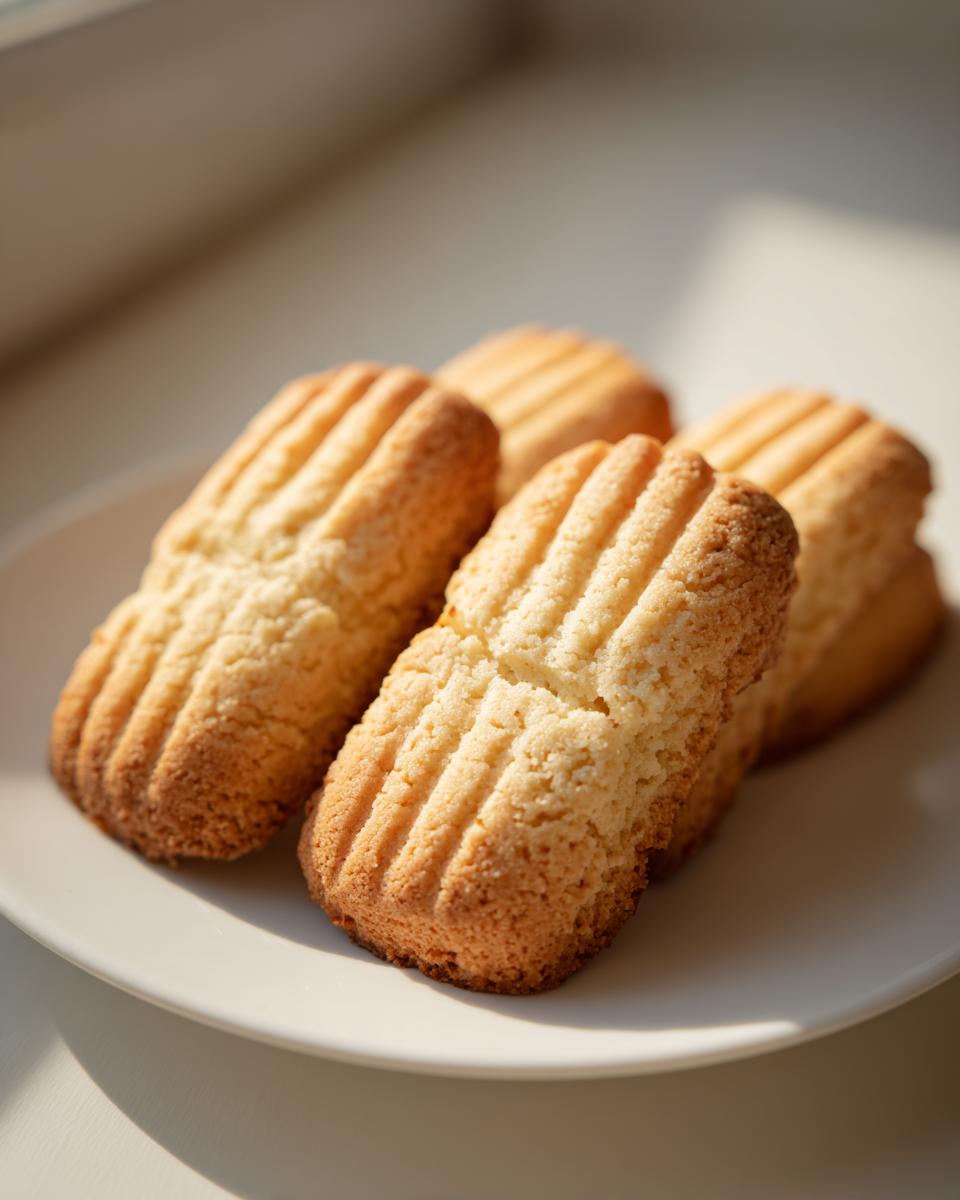
Oh, shortbread! Just the word itself makes me think of cosy afternoons and a lovely cup of tea, doesn’t it? There’s something so wonderfully simple and comforting about a good shortbread biscuit, and I’ve finally perfected my recipe for what I think are the ultimate easy classic shortbread fingers. Honestly, my mum used to make the most divine shortbread when I was a child, and I’ve been chasing that exact buttery, melt-in-your-mouth texture ever since. This recipe is so straightforward, you’ll be amazed at how quickly you can whip them up – and trust me, they taste like they’ve come straight from a fancy bakery!
Why You’ll Love These Easy Classic Shortbread Fingers
Honestly, why wouldn’t you love these? They’re wonderfully simple to throw together, especially when you’re in a rush.
- Super Speedy: Ready to bake in just 10 minutes!
- Pure Butter Bliss: That classic, rich, melt-in-your-mouth buttery flavour is unbeatable.
- Perfectly Crisp: They have that delightful snap and crumbly texture that makes shortbread so special.
- So Versatile: Fantastic on their own, dipped in chocolate, or just dunked in your favourite tea.
Ingredients for Easy Classic Shortbread Fingers
Right then, for these little beauties, you don’t need anything fancy from the posh shops. It’s honestly just a few cupboard staples. You’ll want to make sure your butter is properly softened, not melted, mind – this makes all the difference to the texture. Trust me on this one!
- 1 cup (225g) unsalted butter, softened
- 1/2 cup (100g) granulated sugar
- 2 cups (250g) all-purpose flour
- 1/4 teaspoon salt
Step-by-Step Guide to Making Easy Classic Shortbread Fingers
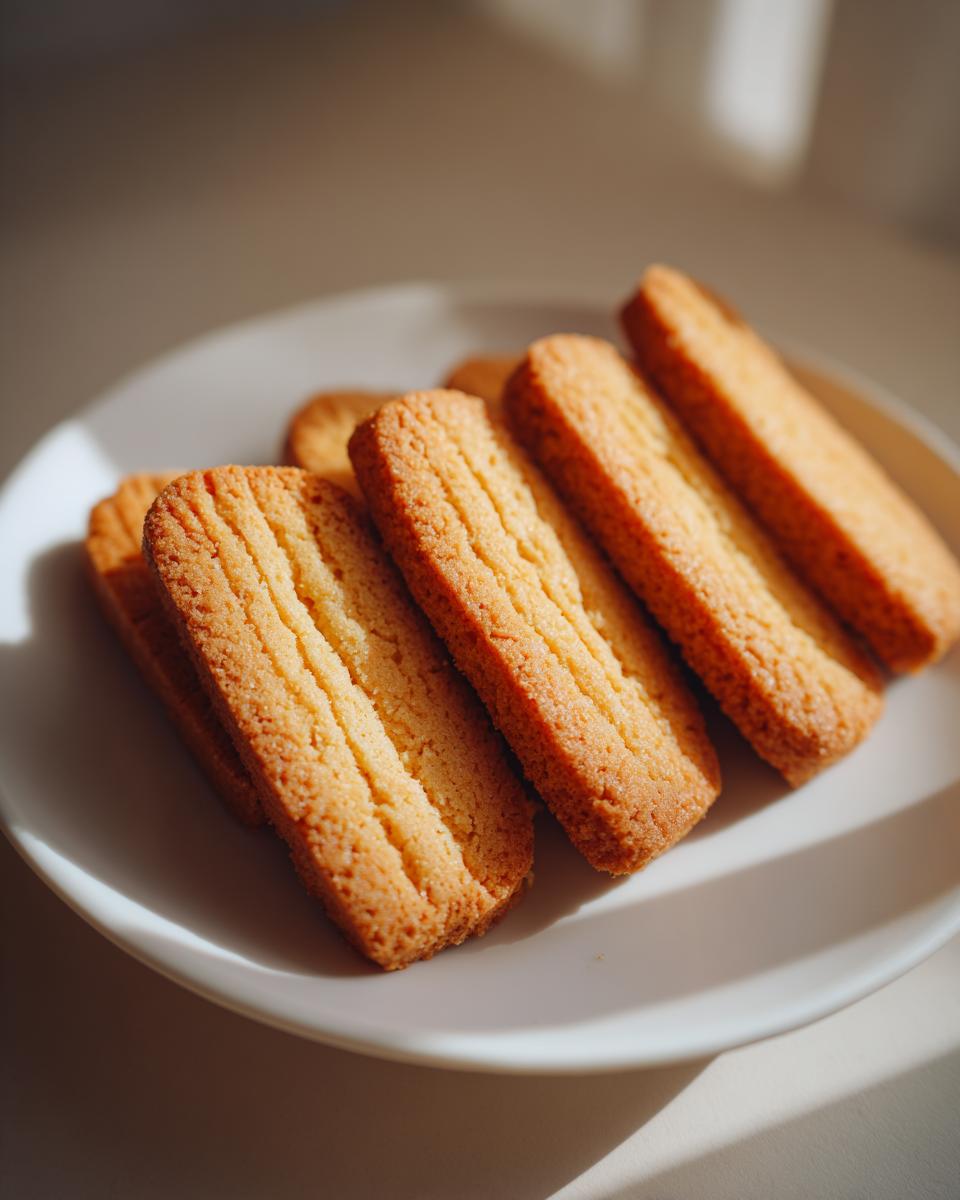
Alright, let’s get baking! This part is honestly the easiest. We’re aiming for a lovely, pale golden biscuit, not a dark brown one – that’s key to that classic shortbread taste. And don’t worry if your kitchen gets a little floury; it’s all part of the fun!
Step 1: First things first, get your oven roaring! Preheat it to 325°F (that’s 160°C for my fellow Brits). While that’s heating up, grab an 8-inch square baking pan. Line it with some parchment paper, leaving a bit of an overhang on the sides. This makes getting the shortbread out later a doddle. Honestly, this little trick saves so much hassle!
Step 2: Now, get a good-sized mixing bowl. Pop in your softened butter and the granulated sugar. Beat them together until they’re lovely and smooth and creamy. This is super important for getting that melt-in-your-mouth texture, so a creamy consistency is what you’re after. Don’t rush this bit!
Step 3: Add your flour and salt to the buttery mixture. Give it a good mix until it comes together into a soft dough. It might seem a bit crumbly at first, but just keep mixing, and it’ll form a lovely, pliable dough. You don’t want to overwork it at this stage, just get it combined.
Step 4: Spoon all that delicious dough into your prepared pan. Now, press it down really evenly with the back of a spoon or even just your clean hands. You want a nice, flat, even layer right to the edges. No lumpy bits allowed!
Step 5: Grab a fork and have a bit of fun! Prick the surface all over. This stops the shortbread from puffing up too much in the oven. It gives it that classic shortbread look.
Step 6: Time to score! With a sharp knife, gently score the dough into finger shapes. You want to make little lines, but don’t cut all the way through. This just gives you a guide for after baking, so you can easily break them apart. If you’re looking for more inspiration, you might find this Mary Berry shortbread recipe helpful too!
Step 7: Into the oven it goes! Bake for about 30 to 35 minutes. Keep an eye on it – it should be a pale golden colour. You don’t want it too brown, or it’ll be tough. It should look set, not gooey in the middle.
Step 8: As soon as it comes out of the oven, while it’s still warm and lovely, re-cut along those scored lines. This is crucial because it will firm up as it cools, and you don’t want to end up with jagged edges. I sometimes give each finger a little nudge apart too.
Step 9: Now, the hardest part: waiting! Let it cool completely in the pan. Honestly, patience is a virtue here. Once it’s totally cool, you can lift it out using the parchment paper overhang and snap or cut it into your beautiful, easy classic shortbread fingers. Perfection!
Serving Suggestions for Your Easy Classic Shortbread Fingers
These shortbread fingers are absolutely divine just as they are, but here are a few ways to make your tea time even more special:
With a Perfect Cuppa: Honestly, what’s better than dunking a warm, buttery shortbread finger into a lovely cup of tea? It’s the classic pairing for a reason!
Alongside Fresh Scones: If you’re feeling a bit more ambitious, a plate of these alongside some fluffy classic scones makes for an unbeatable afternoon tea spread.
Dipped in Chocolate: For a little extra indulgence, try dipping one end of your shortbread fingers into melted dark or milk chocolate. Let it set, and you’ve got a fancy treat!
Storing and Reheating Your Easy Classic Shortbread Fingers
Now, the best part about these wonderful shortbread fingers is that they keep remarkably well! Once they’ve completely cooled down, which is super important – don’t try to store them warm, or they’ll go a bit melty and sad – just pop them into a good old airtight container. I usually find they stay perfectly crisp and buttery for up to a week, maybe even a little longer, especially if you haven’t managed to gobble them all up by day five!
Reheating isn’t really necessary for shortbread; it’s best enjoyed at room temperature. But if for some bizarre reason yours have been in the container for ages and feel a tiny bit stale, you could pop them in a low oven for just a minute or two to crisp them up. Personally, I just have them as they are straight from the tin, dipped in tea, of course!
Frequently Asked Questions About Easy Classic Shortbread Fingers
Got a few burning questions about making these lovely shortbread fingers? I’ve got you covered!
Can I add flavourings to my easy classic shortbread fingers?
Absolutely! This recipe is a fantastic base. You can easily add a teaspoon of vanilla extract to the butter and sugar mixture in Step 2 for classic vanilla shortbread. Or, try adding finely grated lemon or orange zest, or even a tablespoon of cocoa powder along with the flour for a chocolatey twist. Just don’t go overboard, as too much liquid or flavouring can change the texture.
Why is my shortbread crumbly or too hard?
Ah, this is a common one! The most likely culprit is overbaking. Shortbread should be pale golden, not deep brown, so keep a close eye on it in the oven. Also, make sure you’re not overworking the dough once the flour is added – just mix until it *just* comes together. Pressing the dough evenly into the pan is key, too; if it’s an uneven thickness, some bits might overbake while others are still gooey.
What is the best way to store shortbread fingers?
The key here is an airtight container! Once your easy classic shortbread fingers are completely cool – and I mean *completely* cool, no warmth whatsoever – pop them into a tin or a sturdy container with a lid that seals well. This stops them from going soft or absorbing any odd smells from the cupboard. They’ll stay perfectly delicious this way for a good week, maybe even a bit longer!
Before You Go
I really hope you give these easy classic shortbread fingers a whirl! They’re just so utterly delightful, perfect for sharing (or not, no judgment here!). Let me know in the comments below if you try them, and don’t forget to share your creations over on Pinterest!
Print
Easy Classic Shortbread Fingers
- Total Time: 45 min
- Yield: 16 fingers
- Diet: Vegetarian
Description
A simple recipe for buttery, crisp shortbread fingers, perfect for afternoon tea.
Ingredients
- 1 cup unsalted butter, softened
- 1/2 cup granulated sugar
- 2 cups all-purpose flour
- 1/4 teaspoon salt
Instructions
- Preheat your oven to 325°F (160°C). Line an 8-inch square baking pan with parchment paper.
- In a bowl, beat the butter and sugar together until smooth and creamy.
- Add the flour and salt, then mix until a soft dough forms.
- Press the dough evenly into the prepared pan. Smooth the top with the back of a spoon.
- Prick the surface all over with a fork.
- Score the dough into finger shapes with a knife, but do not cut all the way through.
- Bake for 30 to 35 minutes, until pale golden and set.
- Remove from the oven and immediately re-cut along the scored lines.
- Let it cool completely in the pan before removing and separating into fingers.
Notes
- Do not overbake to keep the shortbread tender.
- Prep Time: 10 min
- Cook Time: 35 min
- Category: Baking
- Method: Baking
- Cuisine: British