

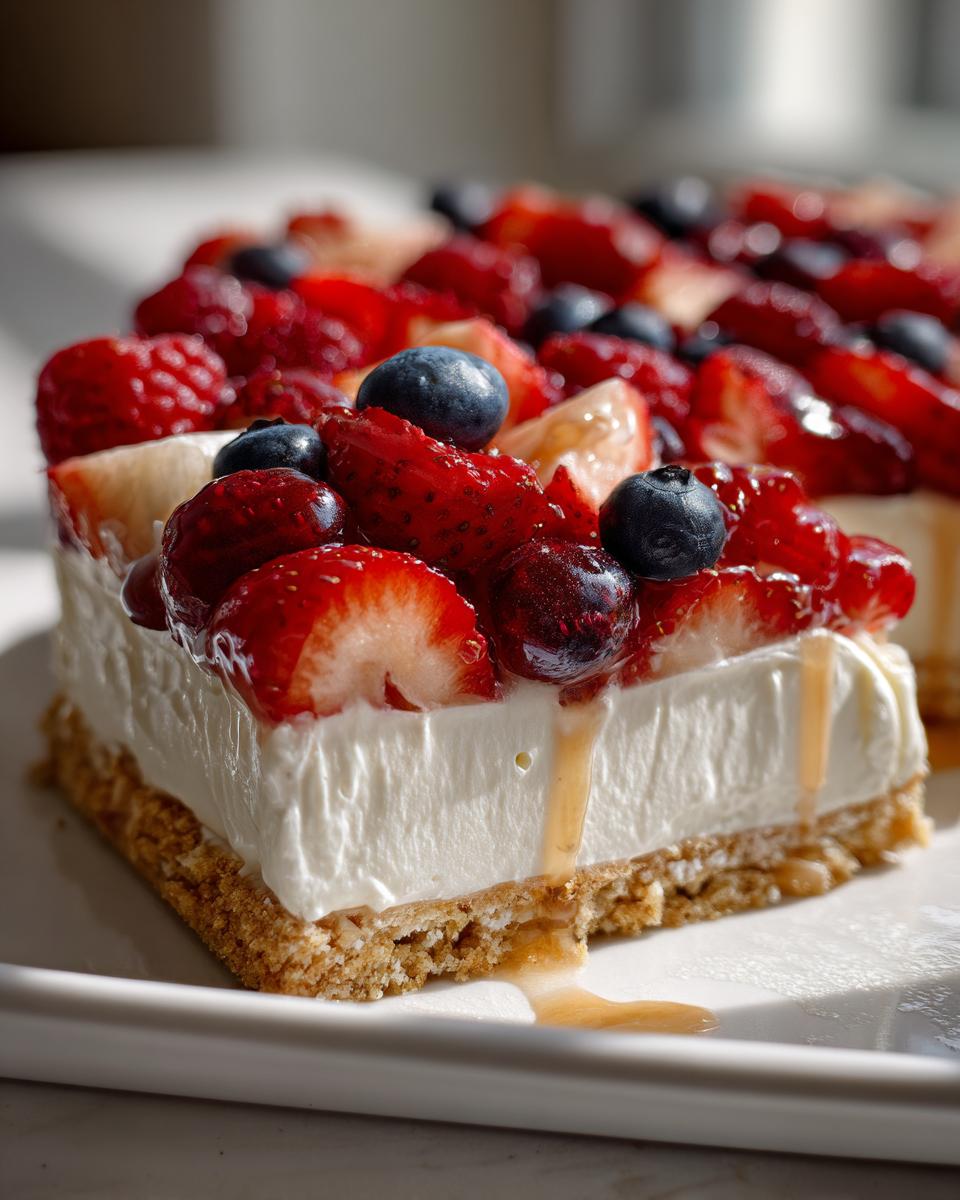
Oh, hello there! If you’re anything like me, you love a dessert that looks absolutely show-stopping but doesn’t actually require you to spend hours in the kitchen. That’s precisely why I created this dreamy easy berry fruit tart. I remember needing something beautiful and impressive for a last-minute brunch I’d invited people to, and in a bit of a panic, this tart came to life. Honestly, everyone thought I’d spent ages fussing over it! The magic is in the simple biscuit base and the creamy filling – it’s just so straightforward, yet the fresh berries make it look like it came straight from a fancy patisserie. It’s become my absolute go-to for those times when you want something special without the stress.
Why You’ll Love This Easy Berry Fruit Tart
- It’s ridiculously quick to whip up – perfect for when you need dessert in a flash!
- Uses simple, everyday ingredients you probably already have.
- Looks absolutely stunning with minimal effort, seriously impressing your guests.
- Super versatile; change up the fruits with the seasons.
- That creamy filling and crisp base combo is just heavenly.
Ingredients for Your Easy Berry Fruit Tart
Right then, let’s get down to the nitty-gritty of what you’ll need for this utterly divine, yet surprisingly simple, easy berry fruit tart. Honestly, it’s the sort of thing you can throw together without much fuss, and that’s the beauty of it! I’ve even linked my favourite Mary Berry biscuit recipe if you fancy making your own digestives from scratch – though good quality shop-bought ones are perfectly fine too, of course!
- 1 1/2 cups crushed digestive biscuits (about 150g)
- 5 tablespoons unsalted butter, melted (about 70g)
- 8 ounces cream cheese, softened (about 225g)
- 1/2 cup powdered sugar (about 60g)
- 1 teaspoon vanilla flavoring
- 1 cup heavy cream (about 240ml)
- 1 cup strawberries, sliced
- 1/2 cup blueberries
- 1/2 cup raspberries
- 1 tablespoon honey, for drizzling
Step-by-Step Guide to Making the Easy Berry Fruit Tart
Step 1: Get that crust ready! First things first, you’ll want to preheat your oven to 175°C (that’s 350°F) and give your 9-inch tart pan a light grease. Trust me, this stops it sticking later! In a decent-sized bowl, mix up your crushed digestive biscuits with the melted butter. Give it a good stir until all those lovely crumbs are nicely coated. If you’re feeling ambitious, this is where you could use your homemade shortbread biscuits!
Step 2: Press it in. Now, take that buttery biscuit mixture and press it firmly into the bottom and all around the sides of your tart pan. It’s best to use the bottom of a glass or your fingers to get a nice even layer. Don’t be shy; really pack it in!
Step 3: A quick bake. Pop that into your preheated oven for about 10 minutes. This just gives the crust a lovely little crisp. Once it’s done, take it out and, this is important, let it cool down completely before you go any further. Patience here really pays off!
Step 4: Time for the creamy filling. While your crust is cooling, grab another bowl. Beat your softened cream cheese until it’s lovely and smooth – no lumps, please! Then, mix in the powdered sugar and that teaspoon of vanilla flavoring until it’s all combined nicely.
Step 5: Whip it good! In a separate bowl (usually a clean one, to avoid any awkward butter-cream cheese clashes!), whip up your heavy cream. You’re looking for soft peaks – it should hold its shape a bit but not be too stiff.
Step 6: Gently does it. Now, gently fold that whipped cream into your cream cheese mixture. Be gentle! You want to keep all that lovely airiness you created. Keep folding until it’s wonderfully smooth and consistent. No need to beat it vigorously here, just a gentle incorporation.
Step 7: Fill ‘er up. Spoon your creamy filling evenly into that cooled biscuit crust. Smooth the top over with a spatula so it looks neat and tidy. This is starting to look like a proper tart now, isn’t it?
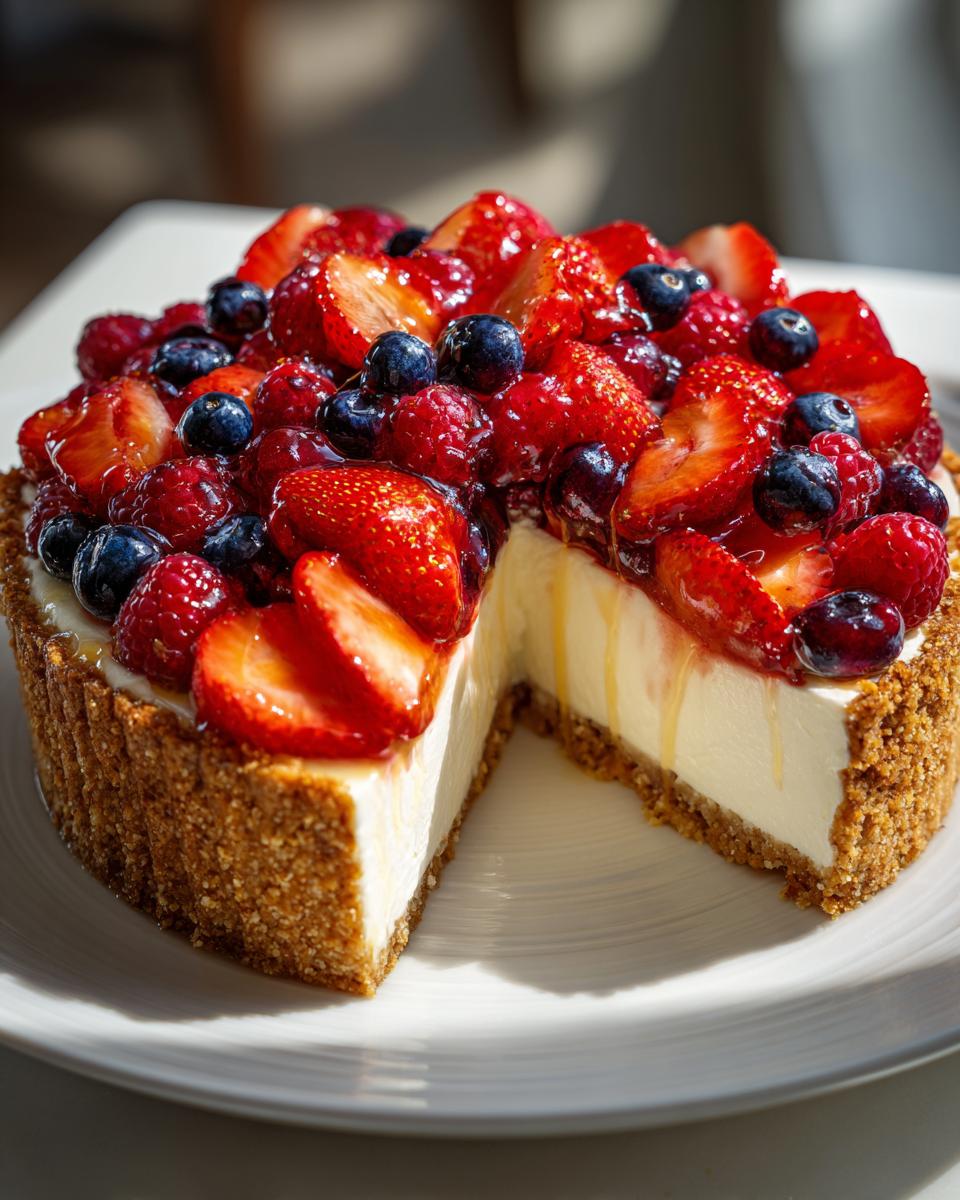
Step 8: Decorate with berries! This is where the magic happens – arrange your gorgeous fresh berries on top. I like to slice the strawberries and then artfully scatter them with the blueberries and raspberries. You can do stripes, a floral pattern, or just a lovely haphazard sprinkle. Whatever makes your heart sing!
Step 9: The finishing touch. For that extra hint of sweetness and shine, give the berries a very light drizzle of honey. It really just elevates the whole thing. And there you have it! Your stunning, easy berry fruit tart is ready to be admired (and devoured!).
Serving Suggestions for Your Easy Berry Fruit Tart
This easy berry fruit tart is pretty perfect on its own, but a few little additions can really elevate the experience. Here are my top picks:
- A Dollop of Fresh Cream: A spoonful of lightly whipped cream or even crème fraîche is always a winner. It adds a lovely richness that complements the tart’s sweetness beautifully.
- Sparkling Fruit Punch Mocktail: For a refreshing tipple, a glass of sparkling fruit punch is just the ticket. The bubbles and fruity notes echo the berries in the tart.
- A Light Drizzle of Lemon Syrup: If you want to add an extra zing, a very light drizzle of homemade lemon syrup just before serving cuts through the richness and brightens everything up.
Storing and Reheating Your Easy Berry Fruit Tart
So, what happens if you actually have any of this glorious easy berry fruit tart leftover? Don’t worry, it keeps beautifully! Just pop any remaining slices into an airtight container and pop it straight into the fridge. It should stay lovely and fresh for up to 3 days. While it’s best served chilled straight from the fridge for that lovely crisp crust and firm filling, if you happen to find it a bit too cold straight from the back of the fridge, you could leave it on the counter for about 15-20 minutes to take the chill off slightly. This tart is also a fantastic make-ahead option – you could totally prepare it the day before you need it!
Frequently Asked Questions About This Easy Berry Fruit Tart
Got a question about making your own easy berry fruit tart? I’ve got you covered!
Can I use frozen berries in this tart?
You absolutely can use frozen berries! Just be sure to thaw them completely and pat them very dry with paper towels before arranging them on top. You might still get a little bit of extra juice, but it’s nowhere near as noticeable when they’re used as a topping rather than baked into something. It’s a great way to keep this tart delicious all year round, especially if you fancy something like a festive berry tart when fresh ones are out of season.
Can I make the crust ahead of time for my easy berry fruit tart?
Oh yes, definitely! The biscuit crust is brilliant for making ahead. You can press it into the pan and bake it a day or even two in advance. Once it’s cooled completely, just wrap it tightly in cling film and store it at room temperature. The filling and berries are best added on the day you plan to serve it for maximum freshness, but having that pre-baked crust makes assembly a doddle!
What other fruits can I use besides berries?
The beauty of this tart is its versatility! If berries aren’t your favourite, or you just fancy a change, you can use all sorts of fruits. Thinly sliced peaches or nectarines work wonderfully, especially in the summer months. A layer of sliced kiwi fruit or segments of mandarin orange also look and taste fantastic. For a bit of festive flair, try poached pears or apples! Just make sure whatever fruit you choose is relatively dry once prepped, or you might get a bit too much liquid. You might even find inspiration in my collection of healthy fruit muffin recipes for other ideas!
Enjoy Your Delicious Easy Berry Fruit Tart!
Right then, I do hope you’ll give this easy berry fruit tart a go! It’s such a straightforward way to create something truly special. I’d absolutely love to hear how yours turns out, so please do leave a comment below or rate it. You can also find more delightful ideas on my Pinterest or check out my ramblings over on Medium!
Print
Easy Berry Fruit Tart
- Total Time: 30 minutes
- Yield: 8 slices
- Diet: Vegetarian
Description
A simple and elegant berry fruit tart with a crisp biscuit base, creamy filling, and fresh berries.
Ingredients
- 1 1/2 cups crushed digestive biscuits
- 5 tablespoons unsalted butter, melted
- 8 ounces cream cheese, softened
- 1/2 cup powdered sugar
- 1 teaspoon vanilla flavoring
- 1 cup heavy cream
- 1 cup strawberries, sliced
- 1/2 cup blueberries
- 1/2 cup raspberries
- 1 tablespoon honey
Instructions
- Preheat your oven to 350°F (175°C) and lightly grease a 9-inch tart pan.
- In a bowl, mix the crushed digestive biscuits with the melted butter until evenly combined.
- Press this mixture firmly into the base and sides of the tart pan.
- Bake for 10 minutes. Remove from the oven and allow to cool completely.
- In a bowl, beat the cream cheese until smooth. Mix in the powdered sugar and vanilla flavoring.
- In a separate bowl, whip the heavy cream until soft peaks form.
- Gently fold the whipped cream into the cream cheese mixture until smooth and airy.
- Spread the filling evenly into the cooled crust.
- Arrange the strawberries, blueberries, and raspberries on top in a decorative pattern.
- Drizzle honey lightly over the berries before serving.
Notes
- Chill the tart for at least 1 hour before serving for a firmer texture and cleaner slices.
- Prep Time: 20 minutes
- Cook Time: 10 minutes
- Category: Dessert
- Method: Baking
- Cuisine: British


