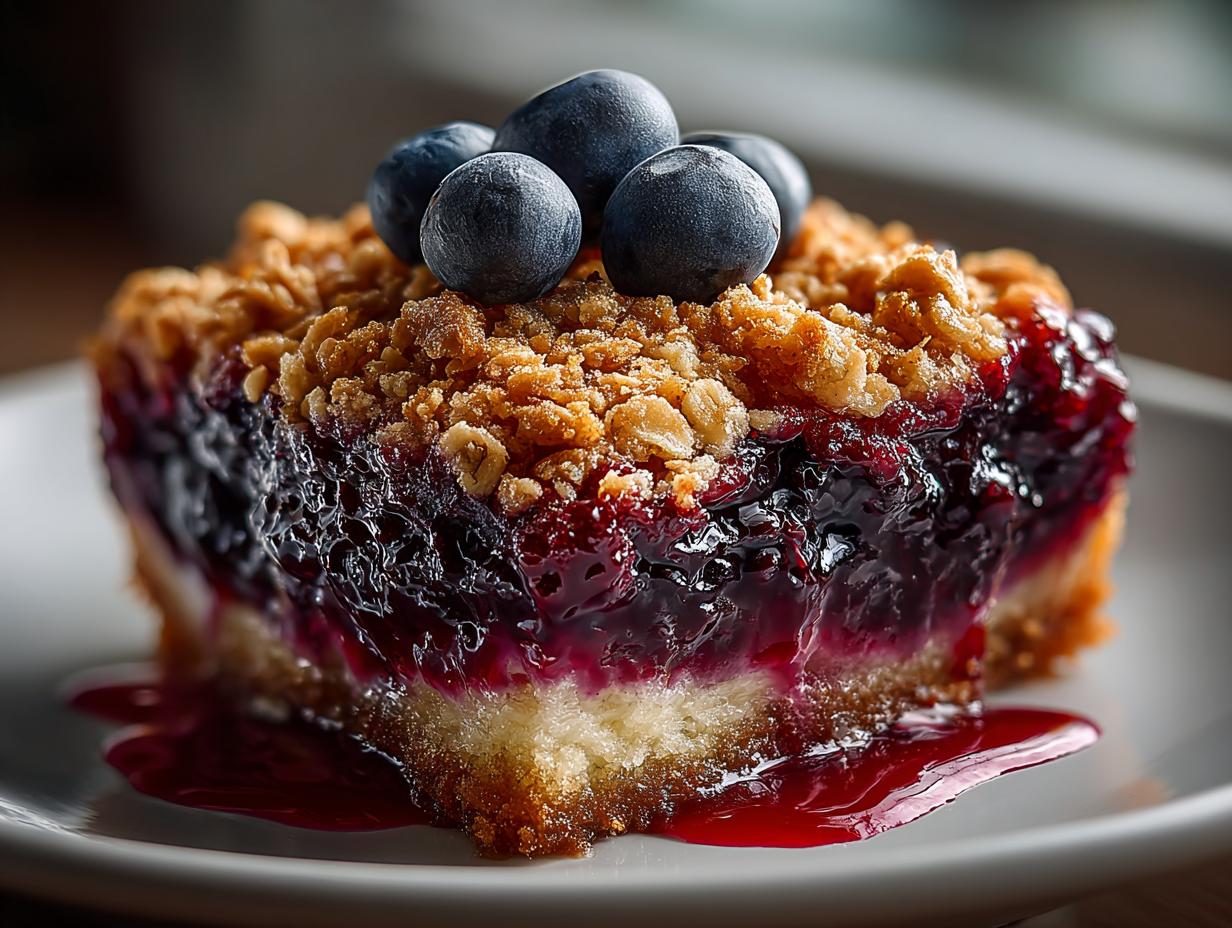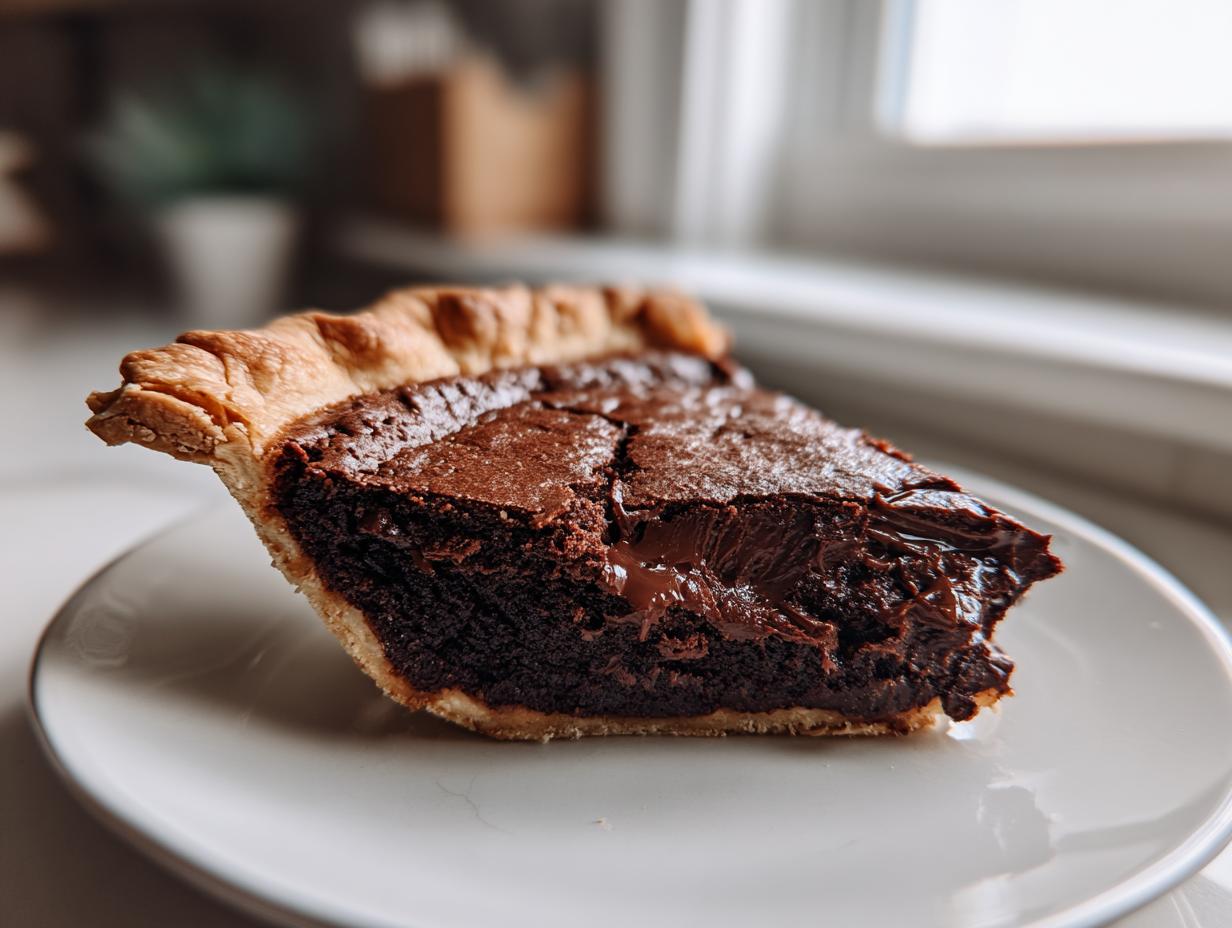
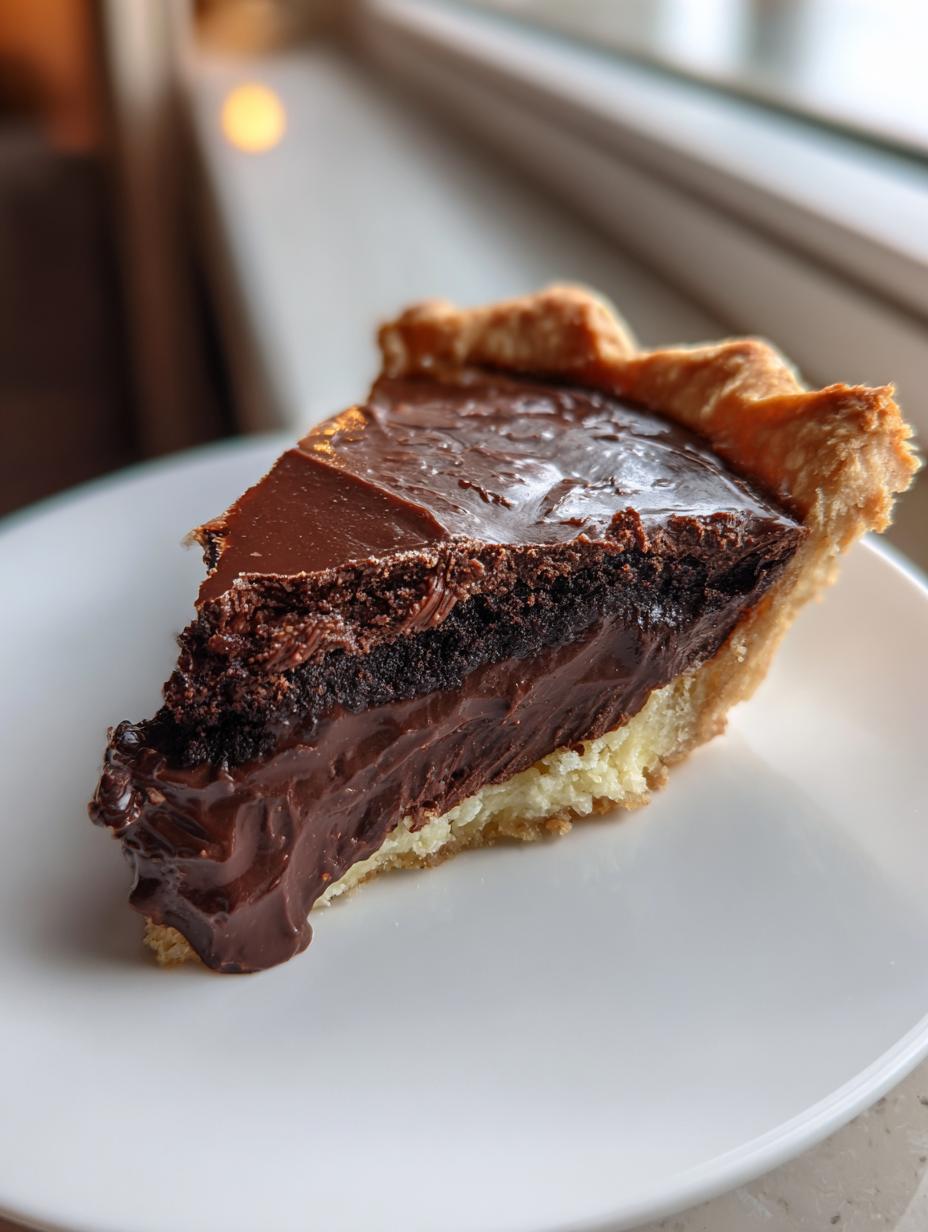
When I tell people I have the best chocolate pie recipe, I’m not kidding around! This isn’t one of those fussy, baked-custard nightmares that separates on you. No, this is the one you make when you need a showstopper dessert that’s secretly ridiculously easy. I’ve tested this creamy pie formula dozens of times—especially after I accidentally scorched the first batch (oops!)—to make sure the filling sets up perfectly every single time.
The secret is keeping the chocolate mixture cool before it meets the eggs. Trust me on this one; it’s the difference between a silky, melt-in-your-mouth chocolate dessert and something that looks a little… curdled. If you want a truly nostalgic, rich chocolate experience, this buttery crust recipe is exactly what you need.
Essential Ingredients for Your Chocolate Pie
You don’t need a mountain of specialty items for this chocolate pie, which is why I love it so much! But the few ingredients we *do* use need to be handled just right. Seriously, the quality matters here because there aren’t a lot of competing flavors.
My biggest rule, which I learned the hard way when I rushed things once, involves the eggs. They absolutely have to be room temperature. If you throw cold eggs into that warm chocolate mixture, you risk scrambling them a bit, and nobody wants that surprise in their creamy pie! Just pull them out about 30 minutes before you start mixing.
Ingredient Clarity and Preparation Notes
The crust is another crucial spot. We are using an unbaked 9-inch pie crust. That means it goes into the oven raw, right along with the filling! This helps the buttery crust bake through without getting soggy under the rich chocolate. Before you even think about pouring the filling in, take a minute to brush the rim with a little melted butter. It helps the edges brown up nicely and keeps them crisp.
Also, don’t skimp on the vanilla—use the good pure stuff! It makes a huge difference in rounding out that deep chocolate flavor.
Ingredient Table for Perfect Chocolate Pie
Here’s my cheat sheet. I always keep this list taped to the inside of my pantry door so I don’t forget anything when I’m running around:
| Ingredient | Amount | Notes |
|---|---|---|
| Semi-Sweet Chocolate Chips | 1 cup | Use good quality ones for the best melt. |
| Large Eggs | 3 | Must be at room temperature! |
| Granulated Sugar | ¾ cup | Standard white sugar works great here. |
| Whole Milk | 1 cup | Don’t substitute with skim, it needs the fat! |
| Pure Vanilla Extract | 1 tsp | For that lovely background note. |
| Fine Sea Salt | ⅛ tsp | Just a pinch to balance the sweetness. |
| 9-inch Pie Crust | 1 | Must be unbaked and fitted into the dish. |
| Melted Butter | 1 tsp | For brushing the crust edges only. |
Equipment Required for a Perfect Chocolate Pie
You don’t need fancy gadgets for this easy pie, but you do need tools that let you measure accurately. If your oven temperature is off, your chocolate pie won’t set right, so maybe check your oven thermometer before you start! You’ll want a good whisking bowl, a small saucepan, and of course, your 9-inch pie dish.
Having everything ready beforehand makes the whole process go smoothly, especially when you’re juggling melting chocolate and whisking eggs.
Preparing the Buttery Crust
Okay, Step One is all about getting our foundation ready while the oven wakes up. First thing: Preheat that oven to 350 degrees Fahrenheit. While it warms, take your unbaked pie crust and gently press it into your pie dish. Don’t stretch it! Just nestle it in there nicely.
Once it’s settled, use your fingers or a fork to crimp those edges—make them look pretty! Then, take that teaspoon of melted butter and brush it *only* around the rim. This little step helps the edges get golden. Pop the whole dish into the fridge while we whip up the filling. Chilling it keeps the butter firm so the crust doesn’t shrink away from the dish while baking.
Step-by-Step Instructions for Rich Chocolate Pie Filling
Now for the fun part—making that incredible, silky filling. This process is all about temperature control. Remember how I said we need to avoid curdling? That means we have to work in stages, taking our time when combining the warm and cool parts of our chocolate pie recipe. Don’t rush the cooling, or you’ll end up with a grainy texture instead of that beautiful melt-in-your-mouth finish.
Melting the Chocolate Base
Grab that small saucepan and set the heat to low. We’re going to combine the chocolate chips and the whole milk in there. You need to stir this constantly. If you walk away, even for a minute, you risk scorching the milk or seizing the chocolate. Keep stirring gently until everything is completely smooth and glossy. It should look like thick, dark velvet. Once it’s smooth, take it off the heat immediately. We need this mixture to cool down for a few minutes before we move on. If it’s too hot, it will cook those beautiful room-temperature eggs before they get into the oven!
Preparing the Egg and Sugar Mixture
While the chocolate is cooling to a safe temperature, move over to your mixing bowl with the room-temperature eggs, the sugar, and the salt. You need to whisk this combination really well. I mean vigorously! You aren’t just mixing them; you’re trying to incorporate air. Keep going until the mixture turns noticeably paler in color—it should look almost creamy yellow—and slightly thickens. This usually takes me about a full minute of dedicated whisking. This step adds structure to our final chocolate pie filling.
Combining the Chocolate Pie Filling
This is where we bring the two parts together, and we do it slowly! Take your slightly cooled chocolate and milk mixture and start whisking it into the egg/sugar bowl in a very slow, steady stream. Don’t dump it all at once! Pouring it slowly allows the eggs to adjust to the temperature change without panicking. Once you’ve incorporated all the chocolate, stir in that teaspoon of pure vanilla extract. Give it one last gentle stir until everything is perfectly uniform. That’s it! Your glorious, rich chocolate pie filling is ready for its crust.
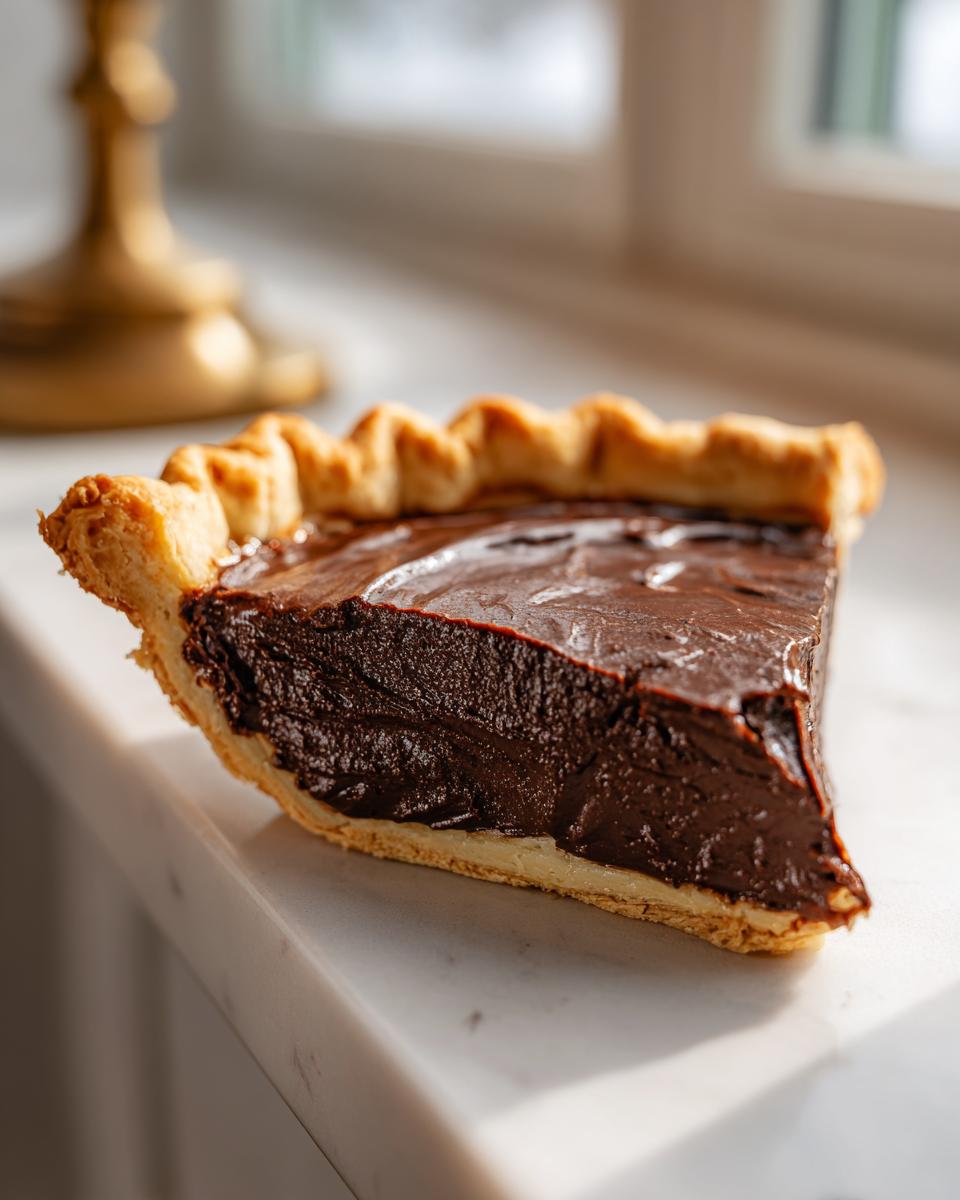
Baking and Setting Your Chocolate Pie
This is the moment of truth! Pour that beautiful, liquid chocolate pie filling right into your chilled, buttery crust. Don’t worry if it seems a bit thin; that’s exactly what we want for a creamy pie. Slide the dish carefully onto the middle rack of your preheated 350°F oven. We are looking for a precise bake time here—usually 30 to 35 minutes.
You need to watch for the signs! Don’t just set a timer and walk away. We’re aiming for the edges of the chocolate pie to look set, meaning they aren’t runny anymore. But the very center should still have a slight wobble when you gently nudge the oven rack. That jiggle is key!
Baking Time and Visual Cues
If you overbake this, you’ll end up with a dense, almost fudgy texture, and while that’s fine sometimes, we want silky here. So, after about 30 minutes at 350 degrees, give that pie dish a little shake. If the middle moves like thick pudding, you are perfect. If it sloshes like soup, give it five more minutes.
The most important, non-negotiable step comes after it leaves the heat: cooling. You need to let this chocolate pie cool completely on a wire rack for a minimum of two hours. Seriously, don’t slice it early! That cooling time is when the filling firms up properly. If you try to slice it hot, you’ll have a delicious chocolate puddle instead of a clean slice of pie.
Tips for the Ultimate Chocolate Pie Success
Baking this creamy pie is simple, but avoiding those common pitfalls takes a little inside knowledge. The biggest mistake people make, hands down, is rushing the cooling process. If your chocolate pie looks wobbly after 35 minutes, resist the urge to put it back in the oven! It firms up as it cools, I promise. If you bake it until the center is totally solid, it will be rubbery once it hits the fridge.
If you’re worried about curdling when you mix the chocolate and eggs, the solution is simple: make sure that melted chocolate mixture is just warm to the touch, not hot. If you feel it heating up the side of your mixing bowl, take a break for five minutes. That slight temperature adjustment saves the whole batch!
Now, for a serious flavor boost that I love to sneak in: the espresso powder trick! If you want a deeper, almost dark-chocolate intensity without adding more chocolate, dissolve about a quarter teaspoon of instant espresso powder into the milk right before you melt the chips. You won’t taste coffee, but wow, does it deepen the chocolate flavor! It’s my little secret for making this easy pie taste like it came from a fancy bakery.
Serving Suggestions for Your Chocolate Pie
Once your chocolate pie has had its required chilling time—at least two hours, remember?—it’s ready to be served! The best part about this dessert is how versatile it is. You want that contrast, right? You have this super rich, smooth, and creamy filling, so you need something light and airy on top to cut through all that richness.
This chocolate pie is absolutely fantastic all by itself, maybe just with a gentle dusting of cocoa powder, but adding texture makes it a genuine celebration dessert. I always serve mine slightly chilled, straight from the fridge, because that makes the filling hold its shape beautifully when sliced.
Recommended Toppings and Pairings
My absolute favorite way to serve this is with a generous dollop of fresh, lightly sweetened whipped cream. The homemade stuff is the best, but even the canned kind does the trick in a pinch! The cream melts beautifully against the cool filling. To add a pop of color and a little tartness, you must include some fresh berries.
Fresh raspberries or sliced strawberries are perfect partners for chocolate. They provide that necessary acidic brightness that makes every bite feel fresh, not heavy. A few berries artfully placed around the slice make this easy pie look like you spent all day fussing over it!
Storing Leftover Chocolate Pie
If you manage to have any of this amazing chocolate pie left over—which is a feat in itself in my house—storage is super easy. Because this is a custard-style filling, you absolutely cannot leave it sitting out on the counter. It needs to go straight into the refrigerator to stay safe and maintain that perfect texture.
Covering it is important, too! You don’t want the surface of that beautiful filling to develop a skin or absorb any weird fridge smells. I usually just cover the top of the pie dish loosely with plastic wrap, making sure the plastic doesn’t actually touch the surface of the pie itself. This keeps it fresh and creamy for days.
Table for Storage and Reheating Instructions
Here is the quick rundown on how long this creamy pie stays good and how to treat it before serving the next piece:
| Storage Detail | Instruction |
|---|---|
| Refrigeration Time | Up to 4 days |
| Covering Method | Cover loosely with plastic wrap (not touching filling). |
| Serving Temperature | Best served chilled or slightly warmed for 10 minutes on the counter. |
| Reheating Advice | Not recommended; this pie shines cold. |
Frequently Asked Questions About Chocolate Pie
I get so many messages about this recipe, and I love hearing how everyone is doing! Most of the questions I get are about minor substitutions or little hiccups people run into when they first try making this easy pie. Don’t worry if something seems tricky; that’s why I’m here to help you get that perfect, creamy pie finish!
Can I use different types of chocolate in this Chocolate Pie?
You absolutely can play around with the chocolate, but remember that quality matters! I wrote the recipe using semi-sweet chips because they offer that perfect middle ground—not too sweet, not too bitter. If you use milk chocolate, your final pie will be much sweeter, so you might want to cut back the granulated sugar by a tablespoon or two. If you love that deep, intense flavor, go for 70% dark chocolate chips. That’s when that little pinch of espresso powder really shines through!
Why is my Chocolate Pie center still liquid after baking?
This is the number one question, and the answer is almost always patience! The center of this creamy pie will look jiggly when you take it out, and that’s intentional. It’s still cooking! If you cut into it when it looks liquid, it will just run everywhere. The pie needs a minimum of two hours on the counter, followed by more time in the fridge, to fully set up. That cooling time is just as important as the baking time for achieving the perfect slice.
How do I prevent my pie crust from shrinking?
Ah, the dreaded shrinkage! This happens when the butter in the crust gets too warm before it hits the oven. I mentioned it briefly earlier, but this is crucial for that buttery crust: after you fit the unbaked crust into the dish and crimp the edges, you must chill it. Stick that whole pie dish in the refrigerator for at least 15 minutes while you mix the filling. That cold blast keeps the fat firm, so when it bakes, it holds its shape beautifully around the edges of your pie.
Sharing Your Delicious Chocolate Pie Experience
I really hope this simple, creamy chocolate pie recipe brings as much joy to your kitchen as it does mine! Once you’ve let it cool completely and served it up with those gorgeous berries, I’d love to know what you thought. Did it set up perfectly for you? Did you try the espresso trick?
Please jump down to the comments section and leave a rating! Hearing about your successes with this buttery crust and silky filling keeps me inspired to share more family favorites. Follow along for more great recipes!
Print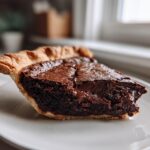
Amazing 3-Step Chocolate Pie Secret
- Total Time: 50 minutes
- Yield: 8 servings 1x
- Diet: Vegetarian
Description
A creamy chocolate pie featuring a rich, silky filling set in a buttery crust. This simple dessert offers a nostalgic, melt-in-your-mouth flavor perfect for any occasion.
Ingredients
- 1 cup semi-sweet chocolate chips
- 3 large eggs, room temperature
- ¾ cup granulated sugar
- 1 cup whole milk
- 1 teaspoon pure vanilla extract
- ⅜ teaspoon fine sea salt
- 1 unbaked 9-inch pie crust (homemade or store-bought)
- 1 teaspoon butter, melted, for brushing edges
- Optional: Whipped cream
- Optional: Fresh raspberries or strawberries
Instructions
- Preheat the oven to 350°F. Fit the pie crust into a 9-inch pie dish and crimp the edges. Brush the rim lightly with melted butter and chill while preparing the filling.
- In a small saucepan over low heat, melt the chocolate chips with milk, stirring until smooth. Remove from heat and let cool slightly.
- In a mixing bowl, whisk eggs, sugar, and salt until pale and slightly thickened, about 1 minute.
- Gradually whisk in the cooled chocolate mixture, then add vanilla and stir until combined.
- Pour the chocolate filling into the prepared crust.
- Bake for 30 to 35 minutes, or until the edges are set and the center is slightly jiggly when gently shaken.
- Cool completely on a wire rack for at least 2 hours to allow the filling to set before slicing.
- Serve with whipped cream and fresh berries if desired. Store leftovers in the refrigerator for up to 4 days.
Notes
- For a deeper chocolate flavor, use 70% dark chocolate chips and a small pinch of instant espresso powder.
- Prep Time: 15 minutes
- Cook Time: 35 minutes
- Category: Dessert
- Method: Baking
- Cuisine: American
Nutrition
- Serving Size: 1 slice
- Calories: 330
- Sugar: Unknown
- Sodium: Unknown
- Fat: 17g
- Saturated Fat: Unknown
- Unsaturated Fat: Unknown
- Trans Fat: Unknown
- Carbohydrates: 38g
- Fiber: Unknown
- Protein: 6g
- Cholesterol: Unknown