Oh, the magic of butterscotch, isn’t it just wonderful? There’s something so incredibly comforting about that deep, caramel flavour, especially when it’s nestled inside a perfectly flaky, buttery pastry. This Butterscotch Tart Inspired by Mary Berry is one I’ve returned to time and time again, especially when I fancy something a bit special without too much fuss. Mary Berry, as you know, is the queen of reliable, crowd-pleasing bakes, and this tart is no exception. It’s got that luscious, silky caramel filling that just melts in your mouth, all hugging a gorgeous, crumbly shortcrust base. Honestly, it reminds me of Sunday afternoons at my Nan’s, where a slice of something this good was always waiting.
Why You’ll Love This Butterscotch Tart
- It’s surprisingly simple to make, even if you’re not a seasoned baker!
- The filling is incredibly rich and silky smooth – pure caramel heaven.
- That buttery shortcrust pastry just crumbles beautifully.
- It looks absolutely gorgeous, perfect for impressing guests or just treating yourself.
- Seriously comforting and utterly delicious – a true classic.
Ingredients for Your Butterscotch Tart
We’re talking classic, simple ingredients here, nothing too fancy but oh-so-effective. For that perfect shortcrust, make sure your butter and water are properly cold – it really makes all the difference!
- 250g plain flour
- 125g cold unsalted butter, all cubed up
- 50g caster sugar
- 1 egg yolk
- 2 tablespoons cold water
- 1/4 teaspoon salt
- 200g caster sugar (for the filling, mind you!)
- 100g unsalted butter
- 200ml double cream
- 1 teaspoon vanilla bean paste (it gives such a lovely depth)
- 1/4 teaspoon sea salt
Step-by-Step Guide to Making Your Butterscotch Tart
Right then, let’s get stuck in! Don’t be intimidated by making pastry; it’s easier than you think, and this method is super reliable. Trust me, you’ll be a pro in no time! If you love a good classic tart, you might also want to check out my easy classic treacle tart.
Step 1: First things first, let’s get that gorgeous pastry dough made. Pop your plain flour, caster sugar, and a pinch of salt into a big mixing bowl. Now, get your cold butter, cubed up, and rub it into the flour using just your fingertips. You want it to look like fine breadcrumbs – it’s all about keeping things light and airy here!
Step 2: Next, add in your egg yolk and those 2 tablespoons of cold water. Mix it all together until it just starts to form a lovely dough. Don’t overwork it! Shape it into a flat disc, wrap it up in cling film, and pop it in the fridge to chill for at least 30 minutes. This is crucial for a tender pastry.
Step 3: While our pastry is having a little nap, preheat your oven to 180°C (or 160°C for a fan oven). Get it nice and hot!
Step 4: Once chilled, tip your dough onto a lightly floured surface and roll it out. Gently line your 23cm tart tin with it, trimming off any excess pastry around the edges. Prick the bottom all over with a fork – this stops it puffing up too much during baking.
Step 5: Now, line the pastry case with baking paper and fill it with baking beans or even some uncooked rice. Blind bake it in the hot oven for about 15 minutes. This step creates a lovely crisp base.
Step 6: Carefully remove the baking paper and beans, then pop it back in the oven for another 5 minutes until it’s just lightly golden. Set it aside to cool slightly while we make that glorious filling.
Step 7: For the filling, get a saucepan and pour in your 200g of caster sugar. Heat it gently over a medium flame, just swirling the pan occasionally until it melts into a lovely, amber liquid. Be patient here; don’t rush it, or it might get bitter!
Step 8: Once it’s melted and looking beautifully caramelised, carefully stir in your 100g of butter until it’s all incorporated and melted. Then, slowly, really slowly, pour in the double cream while stirring constantly. It might bubble up a bit, so stand back!
Step 9: Stir in the vanilla bean paste and that pinch of sea salt. Keep stirring until you have this wonderfully smooth, glossy caramel sauce. Oh, the smell!
Step 10: Pour that luscious butterscotch filling into your partially baked tart shell and spread it out evenly with a spatula.
Step 11: Return the tart to the oven for another 20 to 25 minutes. You want the filling to be just set around the edges, but it should still have a tiny wobble in the very centre. That wobble means it’ll be perfectly gooey when you slice into it later.
Step 12: Finally, and this is SUPER important, let the tart cool completely before you even think about slicing it. Patience is a virtue here, my friends! It needs that time to set properly. Once it’s fully cooled, you can slice it and serve with a generous dollop of whipped cream. It’s absolute bliss!
Serving Suggestions for Your Butterscotch Tart
This butterscotch tart is pretty spectacular on its own, but a few little extras can make it even more special. I always like to have something to cut through that lovely sweetness!
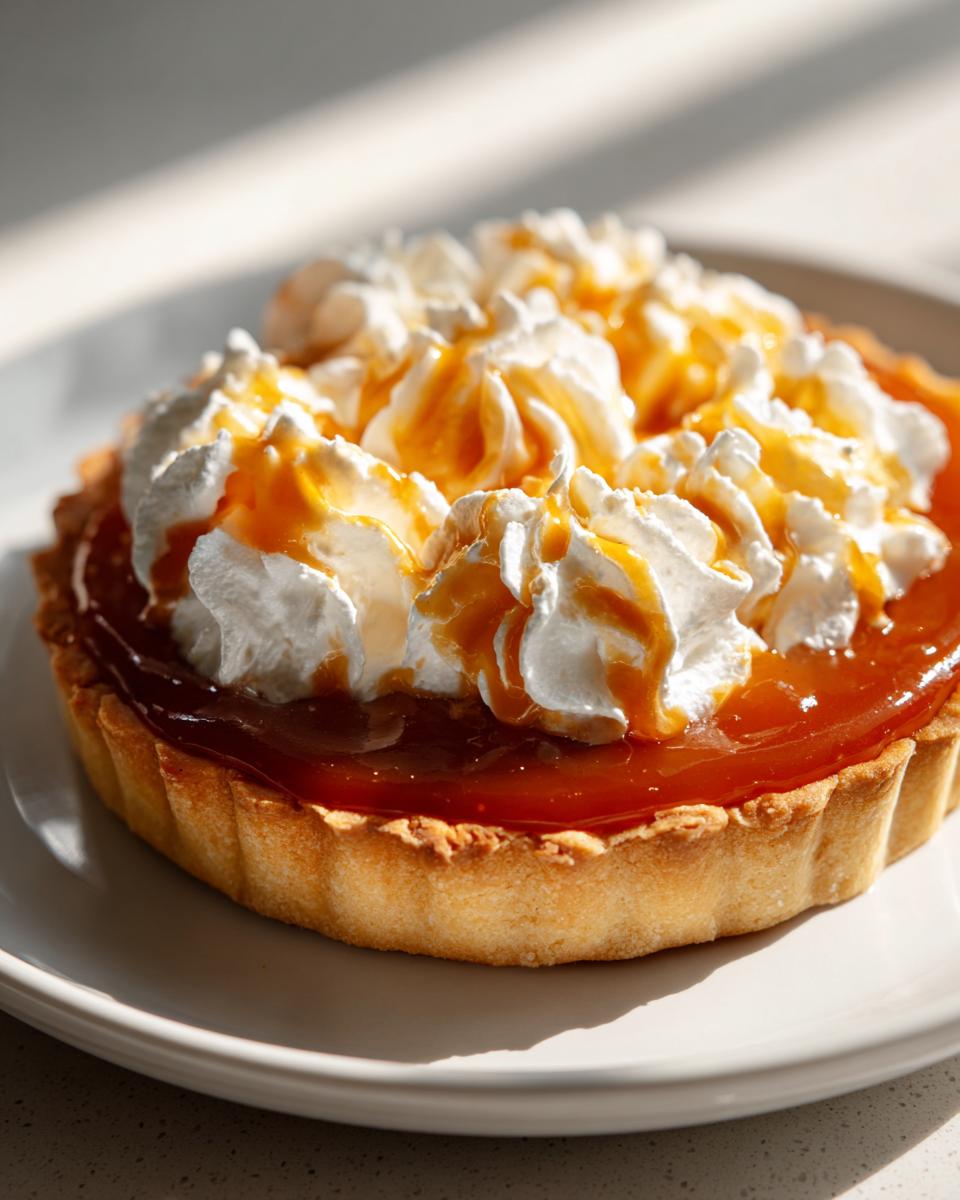
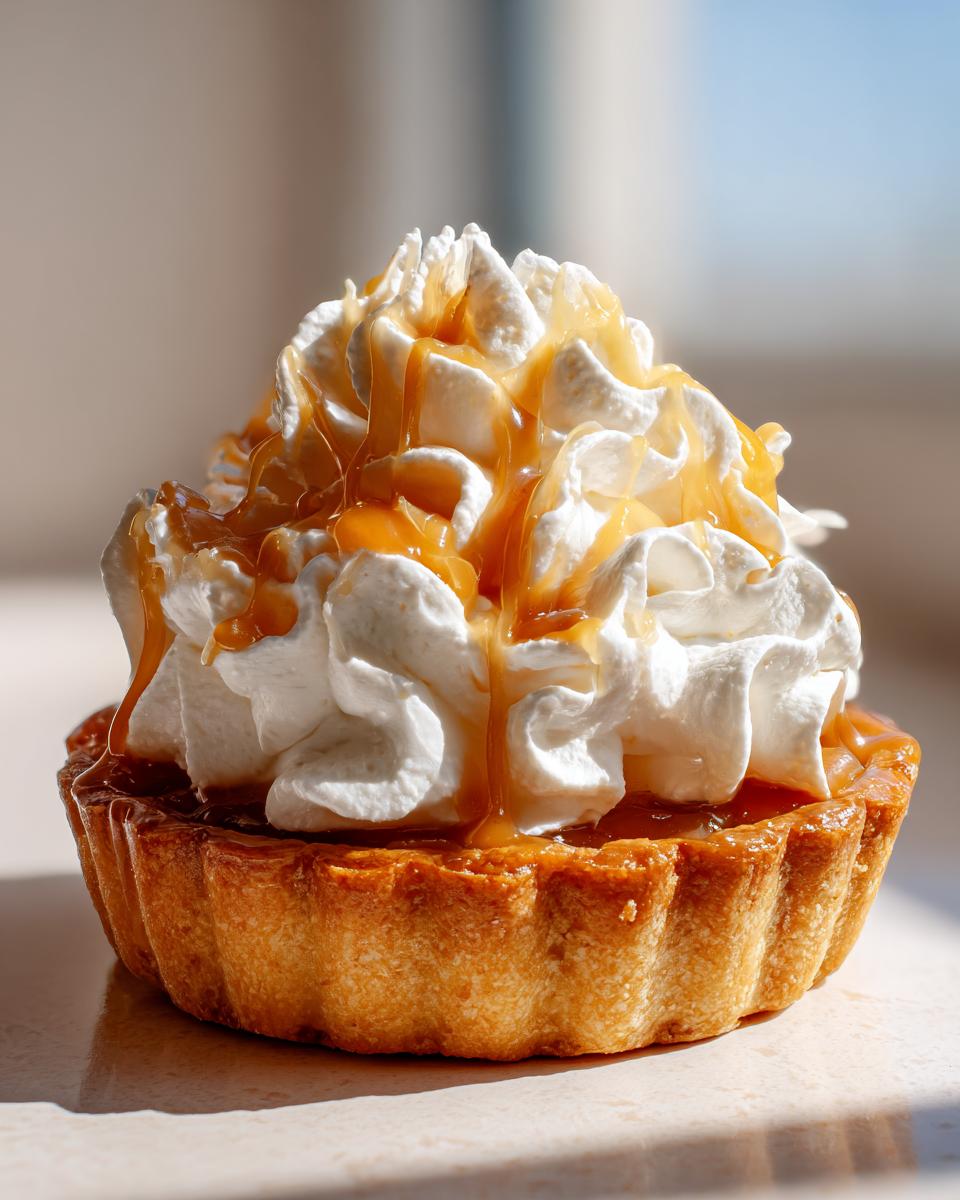
A Dollop of Fresh Whipped Cream: Honestly, you can’t go wrong with this. A swirl of lightly sweetened, fresh whipped cream on top of a warm slice of this tart is just heavenly. It adds a lovely lightness and a touch of dairy richness that balances the intense butterscotch perfectly.
A Scoop of Vanilla Ice Cream: If you’re feeling decadent, a scoop of good quality vanilla ice cream melting into a warm slice is pure indulgence. The creamy, cool vanilla complements the warm, caramel notes of the tart beautifully. You could even whip up a batch of my easy vanilla cupcakes and serve a small slice of tart alongside them for a real treat!
A Few Fresh Raspberries or Redcurrants: For a pop of colour and a bit of tartness, fresh berries are a winner. They add a lovely contrast and a hint of freshness that really lifts the whole dessert. It sounds unusual, but trust me, the tanginess works wonders!
Storing and Reheating Your Butterscotch Tart
This tart is just as lovely the next day, if there are any leftovers, of course! Once it’s completely cooled, wrap it up snugly in cling film or pop it into an airtight container. It’ll keep nicely in the fridge for up to 3 days. You can enjoy it chilled straight from the fridge, which is lovely on a warmer day, or give it a gentle reheat if you fancy that warm caramel gooeyness again. Just pop a slice on a plate in a low oven (about 160°C/140°C fan) for around 5-10 minutes until it’s warmed through. It’s also great for prepping ahead for a dinner party; just make sure it’s fully cooled before covering!
Frequently Asked Questions About This Butterscotch Tart
Got a burning question about making this delightful tart? I’ve popped some answers here for you!
Can I make the pastry ahead of time for this Butterscotch Tart?
Yes, absolutely! You can make the shortcrust pastry dough up to 2 days in advance and keep it chilled in the fridge. Just make sure it’s well-wrapped in cling film. Let it sit at room temperature for about 10-15 minutes before rolling it out so it’s more pliable.
What is the best way to get a smooth butterscotch filling?
The trick to a super smooth butterscotch filling is to be patient when melting the sugar and to stir continuously when adding the butter and cream. Make sure the cream is at room temperature or slightly warmed, and pour it in slowly to prevent any seizing or lumps forming. Gentle heat is your friend!
How do I know when the Butterscotch Tart is perfectly baked?
You’re looking for the filling to be mostly set around the edges, but with a slight wobble right in the very centre when you gently nudge the tin. This wobble is a good sign, as it means the tart will continue to set as it cools, ensuring that gorgeous, gooey texture rather than a completely solid centre.
Before You Go
I really hope you give this wonderful Butterscotch Tart Inspired by Mary Berry a go – it’s truly a hug in a tart! If you do make it, or even if you just want to chat about all things Mary Berry, tell me all about it in the comments below. I’d also love it if you could give it a rating! Don’t forget to share your creations with me on Pinterest too!
Print
Butterscotch Tart
- Total Time: 1 hour 15 minutes
- Yield: 12 servings
- Diet: Vegetarian
Description
A rich butterscotch tart with buttery pastry and a silky caramel filling, inspired by Mary Berry.
Ingredients
- 250 g plain flour
- 125 g cold unsalted butter, cubed
- 50 g caster sugar
- 1 egg yolk
- 2 tablespoons cold water
- 1/4 teaspoon salt
- 200 g caster sugar
- 100 g unsalted butter
- 200 ml double cream
- 1 teaspoon vanilla bean paste
- 1/4 teaspoon sea salt
- Whipped cream, to serve
Instructions
- For the pastry, add the plain flour, caster sugar, and salt to a large mixing bowl. Rub in the cold butter with your fingertips until the mixture resembles fine breadcrumbs.
- Mix in the egg yolk and cold water until the dough comes together. Shape into a flat disc, cover, and chill in the fridge for 30 minutes.
- Preheat your oven to 180 C or 160 C fan.
- Roll out the chilled pastry on a lightly floured surface and line a 23 cm tart tin. Trim the edges and prick the base lightly with a fork.
- Line the pastry with baking paper and fill with baking beans or uncooked rice. Bake for 15 minutes.
- Remove the baking paper and beans, then bake for another 5 minutes until lightly golden. Set aside to cool slightly.
- For the filling, place the caster sugar into a saucepan over medium heat. Heat gently until melted and amber in colour, swirling the pan occasionally.
- Carefully stir in the butter until melted, then slowly pour in the double cream while stirring continuously.
- Add the vanilla bean paste and sea salt. Stir until smooth and glossy.
- Pour the filling into the baked tart shell and spread evenly.
- Return the tart to the oven and bake for 20 to 25 minutes until the filling is just set around the edges with a slight wobble in the centre.
- Cool completely before slicing and serving with whipped cream.
Notes
- Allow the tart to cool fully before slicing so the filling sets properly.
- Store leftovers covered in the fridge for up to 3 days.
- Prep Time: 30 minutes
- Cook Time: 45 minutes
- Category: Dessert
- Method: Baking
- Cuisine: British