Hey y’all! Jordan Bell here from Asheville, NC. After my 80-pound weight loss journey, I thought I’d have to say goodbye to all the Southern comfort foods I grew up loving. But let me tell you, my Bisquick sausage balls are proof that you can totally have your cake – or in this case, your sausage ball – and eat it too, in a way that feels good. My blog, Easy Detox Recipes, is all about making those beloved Southern classics a little cleaner, a little lighter, without sacrificing that soul-warming deliciousness. These aren’t just any sausage balls; they’re a little taste of home, made easy and made right. They’re the perfect finger food, and honestly, they’ve become my go-to for everything from game day get-togethers to just a cozy night in.
Gather Your Ingredients for Bisquick Sausage Balls
Alright, let’s get down to business! Making these amazing Bisquick sausage balls is seriously simple, and the ingredient list is super straightforward. You probably have most of it in your pantry right now! We’re keeping it easy and delicious, just how I like it. Here’s what you’ll need to round up:
| Bisquick | 3 cups | Your trusty standard baking mix |
| Ground Sausage | 1 lb | Spicy variety is my top pick for that extra kick! |
| Cheddar Cheese | 16 oz | Make sure it’s finely shredded for the best melt. |
| Milk | 1/2 cup | Whole milk makes ’em nice and rich. |
Ingredient Notes and Substitution Options for Sausage Balls Recipe
So, why these specific ingredients? Well, the Bisquick is the secret to that perfect, tender texture without a ton of fuss. And that spicy sausage? Trust me, it adds a little something special that makes these sausage balls irresistible. It brings a warmth that just feels like home. If spicy isn’t your jam, a good mild pork sausage works beautifully too, but you might want to add a pinch of cayenne pepper to the mix for a little zing!
As for the cheese, cheddar is classic for a reason – it melts like a dream and has that perfect sharp flavor. You could totally switch it up with a Monterey Jack or even a Colby Jack if you have it on hand! Just make sure whatever cheese you pick is finely shredded so it incorporates nicely into the dough. For the milk, while whole milk adds a touch of richness, you can certainly use 2% or even a plant-based milk like unsweetened almond milk if you’re keeping things plant-forward. The goal is just to bind everything together, and these little tweaks keep our sausage balls recipe delicious and adaptable!
Crafting Perfect Bisquick Sausage Balls: Step-by-Step Instructions
Now for the fun part – actually making these incredible Bisquick sausage balls! It’s honestly so simple, you’ll wonder why you haven’t made them a million times before. We’re talking about minimal fuss, maximum flavor, and a whole lot of deliciousness. Just follow these easy steps, and you’ll have a batch of perfect finger food ready in no time.
Preparing Your Bisquick Sausage Balls Mixture
First things first, let’s get that oven preheated. You want it nice and hot at 350 degrees F (that’s 175 degrees C) so your sausage balls bake up beautifully. Now, grab your biggest mixing bowl – you’ll need some room! Toss in the Bisquick, the ground sausage (remember, spicy is my go-to!), all that glorious shredded cheddar cheese, and the milk. The best way to really get everything combined perfectly is with your hands. Yeah, I know, it can get a little messy, but trust me, your hands are the best tool here! Just dive in and mix everything together until it’s all nicely incorporated. You want to make sure there are no big pockets of just cheese or just sausage; a good, even mix is key for the best flavor in every single bite of these sausage balls.

Shaping and Baking Your Sausage Balls Recipe
Once your mixture is all combined and smells amazing (seriously, it’s hard not to sneak a taste right here!), it’s time to shape them. Grab about 2 to 3 tablespoons of the mixture at a time. Roll it between your palms to form nice, uniform balls. Don’t make them too huge, or they might not cook through evenly. Aim for about the size of a large walnut or a golf ball. As you roll them, place them on a baking sheet. I like to use a baking sheet lined with parchment paper, just to make cleanup a breeze, but it’s not totally necessary. Make sure to give them a little space on the sheet; they don’t spread out much, but you want the heat to circulate around each one for perfect baking.
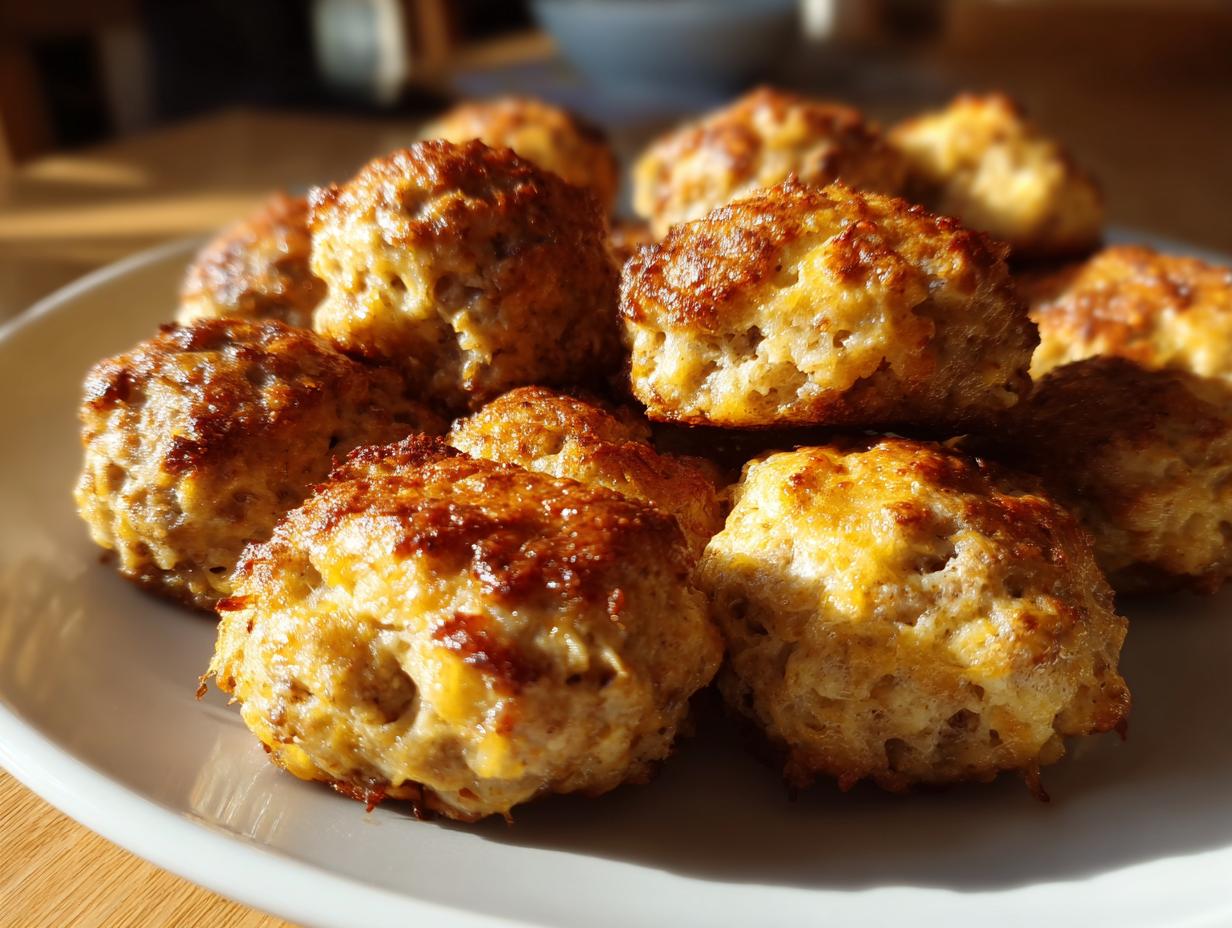
Pop that baking sheet into your preheated oven. You’re going to bake these for about 23 to 25 minutes. Keep an eye on them towards the end. You’re looking for them to be nicely browned on the outside and cooked all the way through. When they’re done, they’ll look plump and golden. Carefully take them out of the oven. They’ll be hot, so let them cool on the baking sheet for a few minutes before you try to move them or dig in. That little bit of cooling time really helps them set up perfectly. This sausage balls recipe is seriously foolproof!

Why You’ll Love These Bisquick Sausage Balls
Honestly, if you’re looking for a go-to recipe that’s a total winner, these Bisquick sausage balls are it. They’re just so darn satisfying and ridiculously easy to whip up. Forget spending hours in the kitchen; these come together in a flash, making them perfect for any occasion, from a casual get-together to something a little more festive. And the best part? They satisfy those Southern comfort food cravings without derailing your healthy eating goals. They’re the ultimate finger food – seriously, who can resist a warm, cheesy, savory bite?
- Incredibly easy to make with minimal prep time.
- A crowd-pleasing appetizer perfect for parties.
- Satisfies cravings for Southern comfort food in a healthier way.
- Versatile finger food that everyone enjoys.
Tips for the Best Bisquick Sausage Balls
Alright, let’s talk about making these Bisquick sausage balls absolutely perfect every single time. It’s all about a few little tricks that make a big difference. Don’t worry, they’re super simple and will make your sausage and cheese balls taste like they came from a gourmet kitchen, even though they’re so easy!
Achieving the Ideal Texture for Sausage and Cheese Balls
The secret to that perfect bite – you know, the one that’s moist and tender but not greasy or crumbly – really comes down to two things: not overmixing and using the right ratio of ingredients. When you mix the Bisquick, sausage, cheese, and milk, just combine until everything is *just* incorporated. Overmixing can make them tough. Also, make sure your cheese is finely shredded; it melts better and keeps things moist.
Flavor Boosts and Variations for Your Sausage Balls Recipe
While these are amazing as is, you can totally jazz them up! For a little extra something, try adding a tablespoon of finely chopped fresh chives or a pinch of garlic powder to the mixture. If you want to go dairy-free with the cheese, a good quality shredded vegan cheddar works too, though it might melt a bit differently. And for a real kick, a dash of your favorite hot sauce mixed into the batter is fantastic!
Serving and Storing Your Bisquick Sausage Balls
Okay, so you’ve made these incredible Bisquick sausage balls, and now it’s time to enjoy them! They are truly best served warm, fresh out of the oven. Think of them as the ultimate finger food, perfect for any gathering. They’re fantastic just as they are, but if you want to go the extra mile, a simple marinara sauce for dipping is always a hit. Or, for a Southern twist, a little honey mustard or even a drizzle of maple syrup can be surprisingly delicious!
Now, what if you have leftovers? Don’t you worry! These sausage balls store like a dream. Just pop them into an airtight container once they’ve cooled down a bit. They’ll keep nicely in the fridge for a few days. Reheating is super easy too. For the best texture, pop them in the oven for about 5-10 minutes at 350°F. If you’re in a real hurry, the microwave works, just give them 30-60 seconds, but be aware they might not be quite as firm. You can even freeze them for longer storage; just thaw them in the fridge and then reheat in the oven.
| Storage Method | Reheating Method | Time/Temperature | Notes |
| Airtight Container (Refrigerator) | Oven | 350°F for 5-10 min | For best texture |
| Airtight Container (Refrigerator) | Microwave | 30-60 seconds | May alter texture slightly |
| Freezer (Airtight Container) | Oven | 350°F for 15-20 min | Thaw first for even heating |
Frequently Asked Questions About Bisquick Sausage Balls
Got questions about these amazing Bisquick sausage balls? I’ve got answers! It’s totally normal to have a few when you’re diving into a new recipe, especially one that’s become a favorite in my kitchen. Here are some of the things folks ask me most often about this easy sausage balls recipe.
Can I use a different type of sausage for this sausage balls recipe?
Absolutely! While I love the kick of spicy pork sausage, you can totally use mild pork sausage, turkey sausage, or even a plant-based vegetarian sausage. Just make sure it’s a good quality one that you enjoy the flavor of! It all works wonderfully in this sausage balls recipe.
How do I prevent my Bisquick sausage balls from being dry?
The biggest key is not to overmix the dough! Mix just until everything is combined. Also, using finely shredded cheese helps keep them moist because it melts more evenly. And don’t overbake them – keep an eye on them near the end of the baking time.
Are Bisquick sausage balls considered healthy finger food?
Compared to many traditional appetizers, yes! We’re using leaner sausage options, not overdoing the processed ingredients, and getting that satisfying flavor from the cheese and sausage itself. They’re a much cleaner take on a classic finger food, perfect for enjoying without feeling guilty!
Nutritional Information for Bisquick Sausage Balls
Just so you know, the numbers below are estimates, and they can change depending on the exact ingredients you use, like the type of sausage or cheese. But this gives you a good idea of what you’re working with for a serving of about 2-3 of these yummy Bisquick sausage balls. It’s all about enjoying them mindfully!
| Nutrient | Amount |
| Calories | 150 |
| Fat | 10g |
| Saturated Fat | 4g |
| Carbohydrates | 10g |
| Protein | 7g |
| Sodium | 300mg |
| Sugar | 1g |
| Fiber | 0g |
| Cholesterol | 30mg |
Share Your Bisquick Sausage Balls Creations!
I just love seeing your kitchen adventures! If you whip up a batch of these Bisquick sausage balls, I’d be tickled pink to hear all about it. Drop a comment below, let me know how they turned out, or share a picture on social media – seeing your creations brings such a smile to my face! You can also find more delicious recipes and tips on our Pinterest and Medium pages.
Print
Amazing Bisquick Sausage Balls: 1 Pot Delight
- Total Time: 40 minutes
- Yield: Approximately 30-35 balls 1x
- Diet: Vegetarian
Description
Easy Bisquick sausage balls perfect for any occasion.
Ingredients
- 3 cups Bisquick
- 1 lb ground sausage (spicy recommended)
- 16 oz shredded cheddar cheese
- 1/2 cup milk
Instructions
- Preheat oven to 350 degrees F.
- In a large bowl, combine Bisquick, sausage, cheddar cheese, and milk.
- Mix ingredients well with your hands.
- Form the mixture into balls, about 2-3 tablespoons each.
- Place the sausage balls on a large baking sheet.
- Bake for 23-25 minutes.
- Remove from oven and let cool slightly before serving.
Notes
- Spicy sausage adds a great flavor.
- Cool slightly before serving for best results.
- Prep Time: 15 minutes
- Cook Time: 25 minutes
- Category: Appetizer
- Method: Baking
- Cuisine: American
Nutrition
- Serving Size: 2-3 balls
- Calories: 150
- Sugar: 1g
- Sodium: 300mg
- Fat: 10g
- Saturated Fat: 4g
- Unsaturated Fat: 6g
- Trans Fat: 0g
- Carbohydrates: 10g
- Fiber: 0g
- Protein: 7g
- Cholesterol: 30mg