

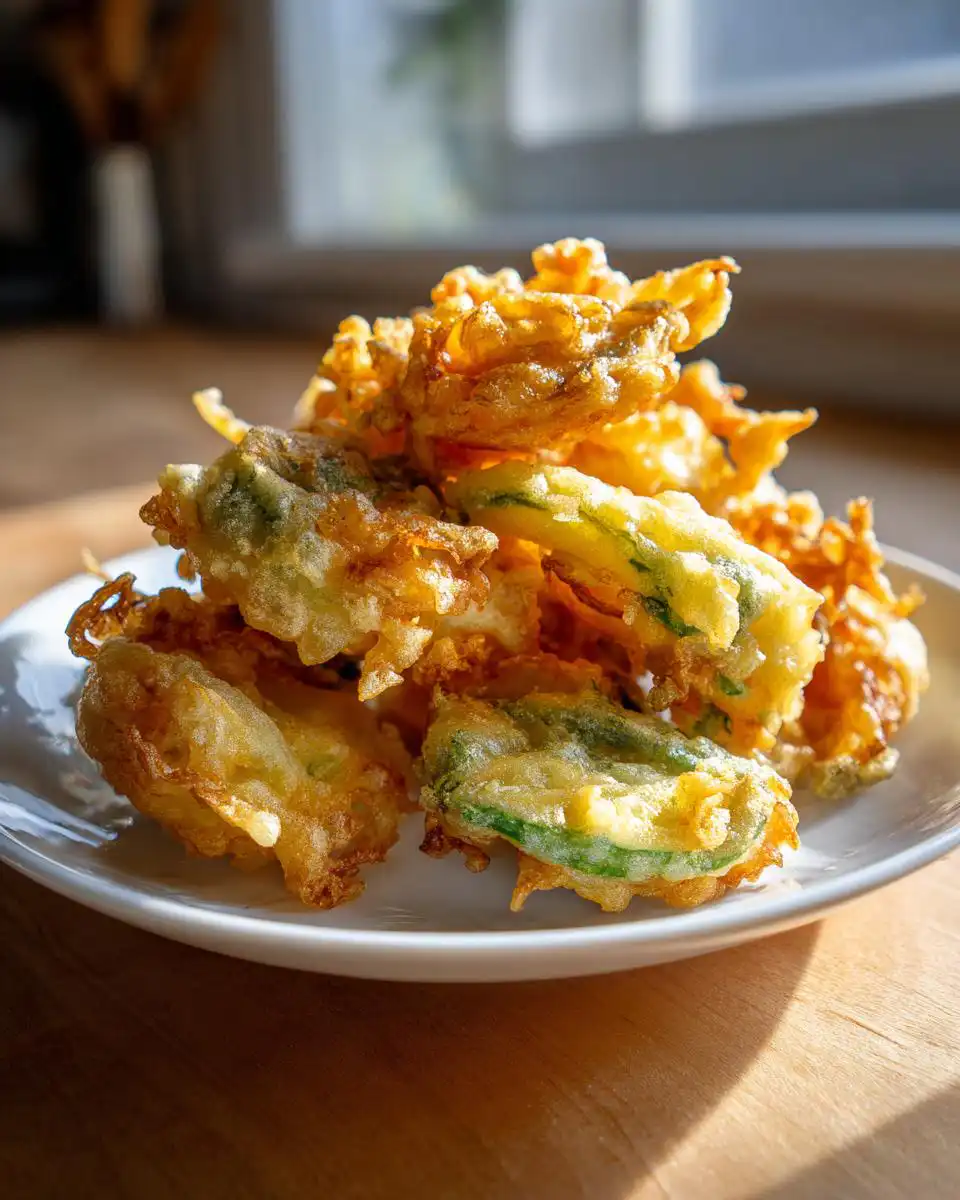
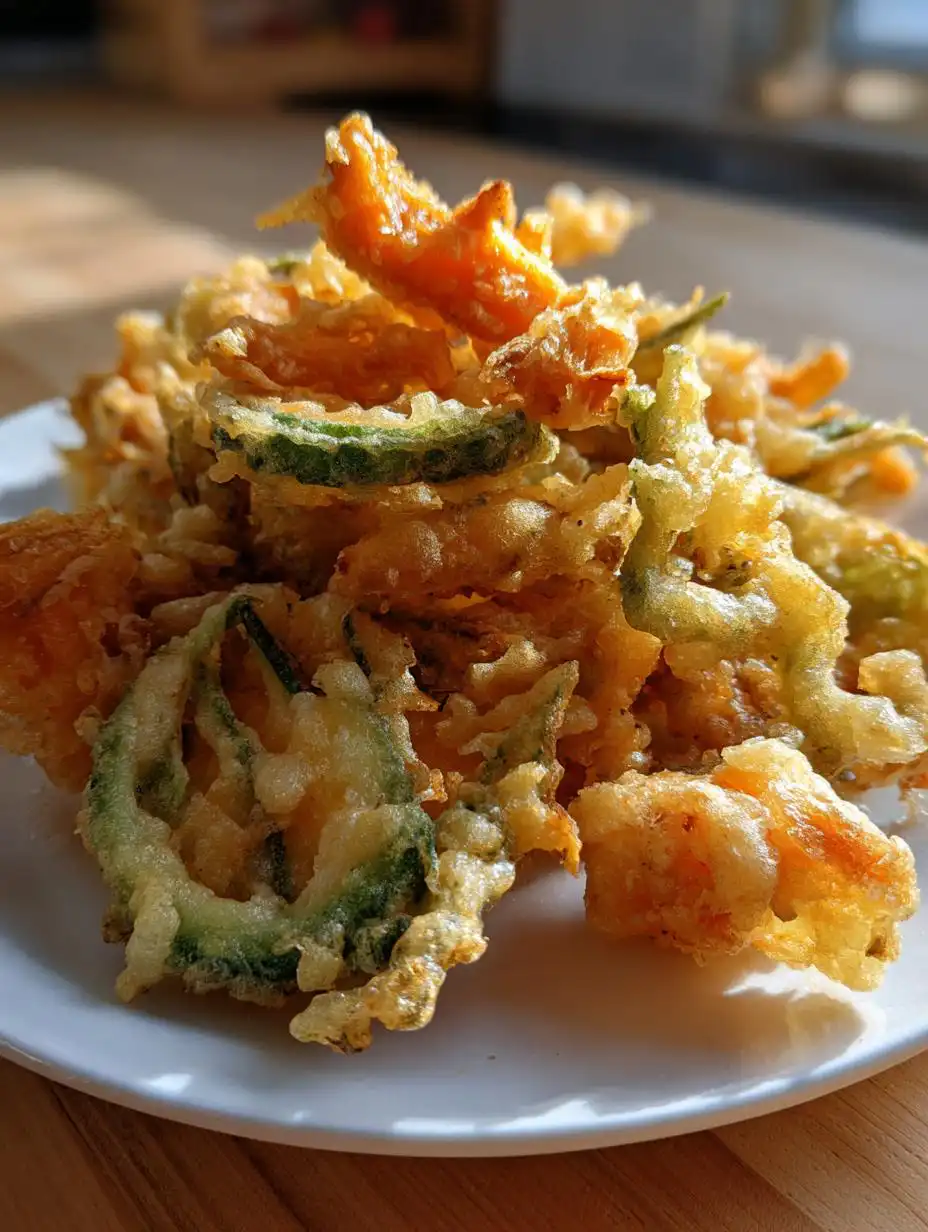
Oh my goodness, you are going to flip when you try this! For years, I struggled trying to get that feather-light, shatteringly crisp texture that real Japanese tempura has, especially when trying to make it work without wheat. I must have wasted pounds of oil before I finally cracked the code. This recipe for Gluten-Free Tempura Batter Light and Crispy is truly my holy grail. It’s all about the rice flour and keeping everything ice cold. Seriously, forget those heavy, bready coatings you sometimes get; this batter clings just enough, fries up airy, and stays perfectly crisp even after it cools down a bit. It’s magic, I tell you, pure kitchen magic!
Essential Ingredients for Gluten-Free Tempura Batter Light and Crispy
Getting that signature delicate crunch for your Gluten-Free Tempura Batter Light and Crispy really does come down to using exactly the right building blocks. We aren’t messing around with complicated gluten-free blends here; we stick to the basics that deliver maximum airiness. The secret weapons are rice flour and keeping that club soda frigid. Seriously, don’t even think about using room-temperature soda, or you’ll lose all that wonderful lift!
Ingredient Measurements and Preparation Clarity
Clarity in measurement is key to this light coating. You want precision here, especially since we aren’t relying on gluten development for structure. The most important prep work involves temperature control and dryness. You absolutely must pat your vegetables or seafood until they are bone dry before they hit the batter. Any surface water will steam the oil and make your coating heavy.
Also, make sure your club soda has been sitting in the coldest part of the fridge—maybe even tucked next to the ice trays—for at least an hour before you start mixing. That carbonation is what creates those beautiful tiny bubbles, which turn into crisp air pockets when they hit the hot oil.
| Ingredient | Amount |
|---|---|
| White Rice Flour | 1 cup |
| Cornstarch | ½ cup |
| Salt | ½ teaspoon |
| Baking Powder | ½ teaspoon |
| Club Soda (Very Cold) | 1 cup |
| Canola Oil | For deep frying |
Equipment Needed for Perfect Frying
You don’t need a fancy deep fryer for this, honestly. I use my heavy-bottomed Dutch oven, which holds heat beautifully. The most crucial piece of equipment, though, is a reliable thermometer. You absolutely need to keep that oil locked in at 375°F, not 350°F and definitely not 400°F! A candy or deep-fry thermometer clipped right to the side of the pot is your best friend here.
You’ll also want a wire rack set over a baking sheet for draining—paper towels get greasy too fast. And finally, grab a long-handled slotted spoon or spider strainer to gently lower and retrieve your delicate pieces from the hot oil. Safety first, remember!
Step-by-Step Guide to Your Gluten-Free Tempura Batter Light and Crispy
Okay, time to pull it all together! Following these steps exactly is how you guarantee that light, airy coating that defines amazing tempura. Remember, the goal for your Gluten-Free Tempura Batter Light and Crispy is minimal handling and maximum coldness. Don’t rush the chilling time; it’s worth the wait!
Mixing the Dry Components
First things first, grab that large bowl. We need the dry ingredients totally uniform before anything wet touches them. Whisk together your rice flour, cornstarch, salt, and baking powder. Don’t just stir them; use a proper whisk and incorporate air. You want zero clumps of baking powder hiding anywhere. This step is fast, maybe 30 seconds of vigorous whisking, but it ensures everything is distributed evenly so you don’t get pockets of salty or flat spots in your final coating.
Combining Wet and Dry for the Batter
Now for the crucial part! Take that bowl of dry mix from the counter and bring over your super-chilled club soda. Pour it in slowly while you whisk gently. And I mean gently! You are trying to combine, not whip. If you see lumps, that’s okay—in fact, it’s great! Overmixing develops the tiny bit of structure rice flour has, and we want the opposite. Stop mixing the second the flour streaks mostly disappear. It should look thin, almost watery, like a very thin crepe batter. Pop this bowl right back into the fridge for 10 minutes while you get your oil ready. Keep it cold!
Preparing the Oil and Ingredients
While the batter is chilling, get your oil situation handled. Heat 2 to 3 inches of canola oil in your heavy pot until it hits exactly 375°F on your thermometer. This temperature is non-negotiable for that perfect crisp. Now, turn your attention to the food you’re frying. If you’re using vegetables or seafood, they must be patted absolutely, completely dry. Use paper towels and press hard. Any moisture fighting the hot oil means heavy batter and sad, soggy results.
Frying Technique for Maximum Crispness
Once the oil is hot and the batter is cold, it’s go time! Pull the batter out, give it one very quick, light stir, and get dipping. Dip your dry ingredient into the chilled batter, lift it up, and let the excess drip off for just a second—you want a light coat. Carefully slide the pieces into the hot oil. Do not crowd the pot; fry in small batches so the oil temperature doesn’t drop. They cook incredibly fast—about 1 to 2 minutes total. Turn them once if needed until they look pale golden and unbelievably crisp. Scoop them out with your slotted spoon and let them rest briefly on a wire rack. Serve them immediately while they are still singing!
Pro Tips for Achieving the Lightest Gluten-Free Tempura Batter Light and Crispy
Now that you have the basic steps down for this Gluten-Free Tempura Batter Light and Crispy, let me tell you my absolute non-negotiable rules for getting that ethereal crunch every single time. Temperature control is everything here; it’s the difference between delicate, airy tempura and something that tastes like a heavy fritter. Rule number one: Keep the oil hot and the batter cold. I mean it! If the oil drops below 360°F, pull your food out, let the oil recover its temperature, and then put the batter back in the fridge for five minutes.
When you’re working with the batter, you have to be quick and gentle. Don’t stand around chatting while your shrimp is sitting in the bowl; get it into the oil right away. If you find yourself needing to pause between batches, don’t just let the bowl sit on the counter. Put it back on ice or in the freezer for a minute or two. That tiny bit of extra chilling time prevents the carbonation from settling down, which keeps your final product wonderfully light.
Also, I cannot stress this enough: if you are frying seafood, make sure it’s cooked through. Check for that opaque look, and if you’re nervous, just ensure things like fish or shrimp hit that safe internal temperature. This recipe is designed for delicate crispness, so treat it gently! If you want to see more tips on healthy cooking, check out my recipes section.
Variations on Your Gluten-Free Tempura
Once you master the basic technique for that wonderfully light coating, you can start having fun with what you dip into the oil! This base batter is so neutral and delicate that it really lets the flavor of whatever you fry shine through. I love using thin slices of sweet potato or even shiitake mushrooms cut in half. Green beans are fantastic too, but you have to make sure they are perfectly dry.
If you want to give the dry mix a little personality, try adding a tiny pinch of smoked paprika or even some finely ground dried seaweed powder—that gives it a subtle umami kick that’s amazing with shrimp. Don’t go overboard with seasonings though; remember, we are aiming for delicate! This recipe is naturally gluten-free, so we don’t need to worry about weird substitutions, just simple flavor enhancements. For other light meal ideas, you might enjoy my recipe for simple healthy orzo weeknight meal.
Serving Suggestions for Your Tempura
The best part about this delicate coating is that it doesn’t need heavy sauces to mask it. A simple dipping sauce is the traditional way to go. I usually whisk together some soy sauce, a splash of rice vinegar, and maybe a tiny bit of grated fresh ginger. That’s it! It’s bright and tangy and cuts right through the richness of the oil.
If you’re serving this as a main dish, keep the sides light. A quick bowl of plain steamed white rice is perfect, or maybe a very lightly dressed cucumber salad. You want everything on the plate to complement the crispness of the tempura, not fight it! You can find more serving inspiration on my Medium profile.
Storing and Refreshing Leftover Tempura
Let’s be honest, tempura is always best right out of the oil, but sometimes you have leftovers! If you must store any of your hard-earned Gluten-Free Tempura Batter Light and Crispy coated goodies, you need to know the right way. Do NOT store it in an airtight container—that traps moisture, and you’ll end up with sad, soggy pieces by morning. Instead, let the pieces cool completely, then store them loosely covered in a paper bag on the counter for a few hours, or briefly in the fridge if you need longer.
Reheating is where you can bring back some of that glorious crispness, though it won’t be quite the same as fresh. Skip the microwave entirely; it’s the enemy of crisp! The best method is a quick blast in a hot oven or toaster oven.
| Method | Time/Temp |
|---|---|
| Oven/Toaster Oven | 400°F for 5-7 minutes |
| Air Fryer (Best Option) | 375°F for 3-4 minutes |
If you have an air fryer, that is your absolute best bet for reviving that light coating. It re-crisps the exterior without making the inside heavy! For more quick cooking hacks, check out my Pinterest boards.
Common Questions About Gluten-Free Tempura Batter
I get so many questions about this recipe because people are nervous about making good gluten-free tempura that actually stays light! Here are a few things I hear all the time when people are trying to nail that perfect texture.
Q1. Can I substitute the white rice flour with almond flour or another GF flour?
Oh, please don’t! Almond flour is too heavy and will soak up the oil, giving you a greasy result instead of a light coating. White rice flour and cornstarch are crucial because they don’t absorb much liquid and fry up beautifully crisp. Stick to those two for the best crispy batter results.
Q2. My batter seems runny. Is that normal for this gluten-free tempura?
Yes, it absolutely should be thin, almost like milk! If you think it looks too thick, you’re probably mixing it too much. Remember, we want minimal mixing. If it looks like pancake batter, it’s too thick. It should be thin enough that it barely coats the food. That’s what keeps it light!
Q3. What if I don’t have club soda? Can I use sparkling water or regular water?
You really need the bubbles from the club soda or even seltzer water. The carbonation is what gives you that lift. Regular water will work in a pinch if you add a tiny extra pinch of baking powder, but the resulting coating will be noticeably less airy. Cold temperature is the other half of that equation, so whatever you use, make sure it’s ice cold!
Q4. Why does my oil keep getting cloudy or smoking?
That usually means your oil temperature is either too low or too high, or you added something wet to the pot. If the oil is too low (below 350°F), the rice flour batter soaks in before it can crisp, making the oil cloudy. If it’s smoking, it’s way too hot, and your food will burn before the inside cooks. Keep checking that thermometer!
Understanding the Nutrition in This Recipe
I always try to keep track of what we’re eating, even when we’re enjoying deep-fried treats! Since this recipe focuses on light rice flour and minimal batter per serving, it keeps things reasonable. Just remember these numbers are estimates based on the proportions listed—they don’t account for what you dip in there, like fatty fish versus light zucchini!
| Nutrient | Amount (Per Serving) |
|---|---|
| Serving Size | 1/4 recipe |
| Calories | 220 |
| Fat | 10 g |
| Carbohydrates | 31 g |
| Protein | 2 g |

Amazing 1 step Gluten-Free Tempura Batter Light and Crispy
- Total Time: 20 minutes
- Yield: 4 servings
Description
This gluten-free tempura batter fries up light, airy, and crisp. Perfect for vegetables or seafood using simple pantry ingredients. It creates a delicate, crunchy coating that stays light and crisp.
Ingredients
- 1 cup white rice flour
- ½ cup cornstarch
- ½ teaspoon salt
- ½ teaspoon baking powder
- 1 cup club soda very cold
- Canola oil for deep frying
- 1 pound vegetables or seafood cleaned dried and cut into bite-size pieces
Instructions
- Whisk together the rice flour, cornstarch, salt, and baking powder in a large bowl until evenly combined.
- Slowly pour in the cold club soda while whisking until the batter is smooth and thin, similar to pancake batter.
- Refrigerate the batter for 10 minutes to keep it cold.
- Heat 2 to 3 inches of canola oil in a heavy pot or deep fryer to 375°F.
- Pat the vegetables or seafood completely dry with paper towels.
- Dip each piece into the chilled batter, letting excess drip off.
- Carefully lower the battered pieces into the hot oil, frying in small batches.
- Fry for 1 to 2 minutes, turning once, until lightly golden and crisp.
- Remove with a slotted spoon and drain briefly on paper towels. Serve immediately.
Notes
- If using seafood, cook until opaque and firm and ensure shrimp or fish reach an internal temperature of 145°F before serving.
- Keep the batter and oil hot and cold respectively for the crispiest texture.
- Prep Time: 10 minutes
- Cook Time: 10 minutes


