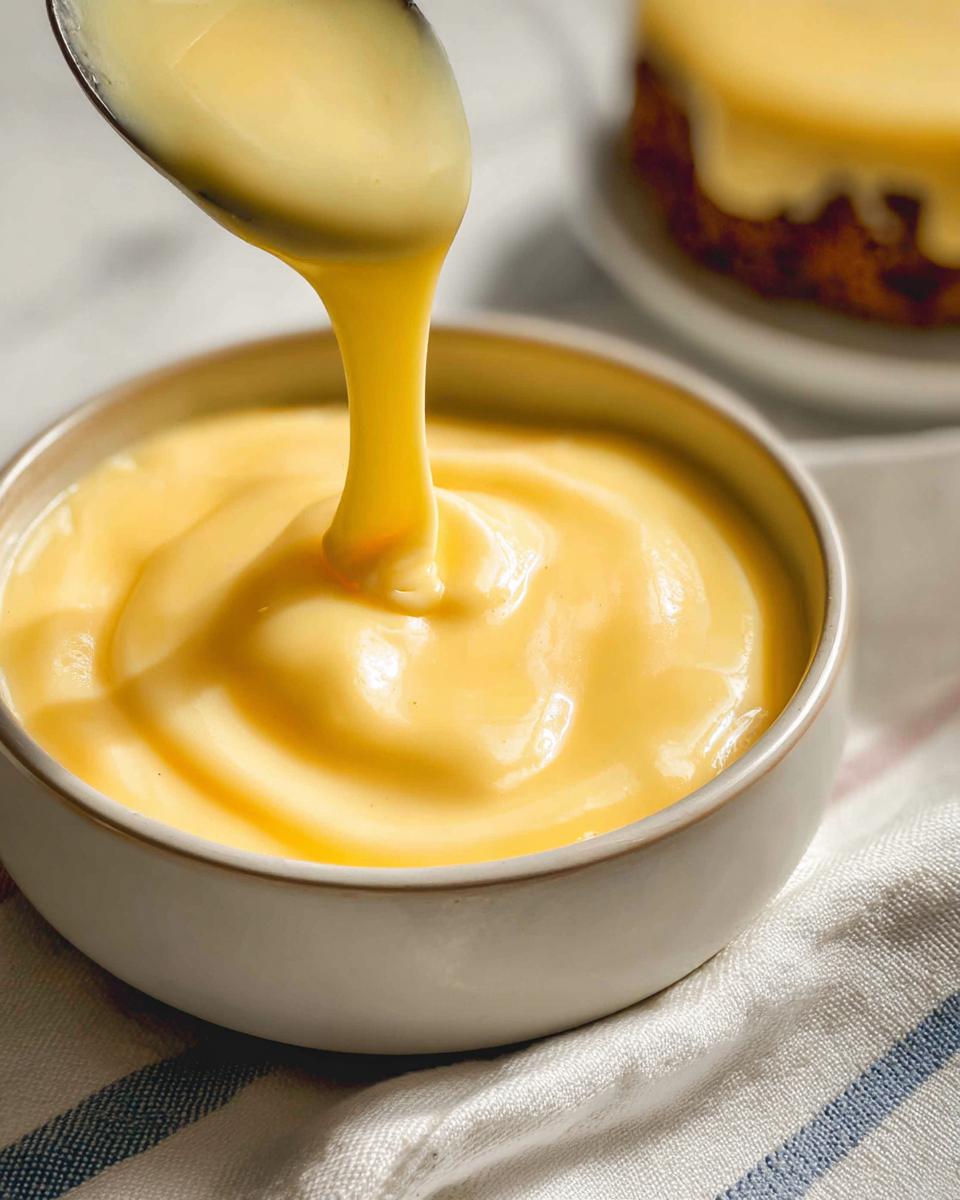
Honestly, nothing beats the comforting spoon of proper homemade custard, does it? For me, it’s right up there with a warm hug. This classic, silky vanilla custard, inspired by the legendary Mary Berry herself, is my go-to for drizzling over absolutely everything. I remember making it for the first time years ago, just a simple egg, milk, and a touch of vanilla, and thinking, ‘Why have I ever bothered with the packet stuff?’ It’s so much richer, creamier, and just… better. This Mary Berry-inspired version is utterly foolproof and will make all your desserts feel a little bit special. If you’re a fan of Mary Berry’s baking, you’ll adore this simple yet elegant recipe, a cornerstone of classic British puddings you can find out more about here.
Why You’ll Love This Vanilla Custard Inspired by Mary Berry
- Super Simple to Make: Honestly, it’s incredibly straightforward. No fussy bits, just pure, creamy goodness.
- Silky Smooth Texture: It’s just melt-in-your-mouth heavenly, the way only a well-made custard can be.
- Classic Vanilla Flavour: That unmistakable, comforting taste that’s perfect on its own or with anything.
- So Versatile: Drizzle it on puddings, fruit, cakes… whatever takes your fancy!
- Mary Berry Approved: When you’re aiming for classic perfection, who better to take inspiration from?
Ingredients for Your Perfect Vanilla Custard
It’s honestly just a handful of really good quality basics, but they make all the difference. Using full-fat milk is key for that wonderfully rich flavour, and I swear by vanilla bean paste – you get all those lovely little flecks and a real punch of vanilla flavour. My gran always said the secret was in the quality of the eggs, and bless her, she wasn’t wrong!
- 2 large eggs
- 1 large egg yolk
- 2 heaped tsp cornflour
- 25 g caster sugar
- 500 ml full-fat milk
- 2 tsp vanilla bean paste
Step-by-Step Instructions for Mary Berry’s Vanilla Custard
Right then, let’s get this lovely custard made! The absolute key here is patience and gentle heat. If you rush it or turn the heat up too high, you’ll end up with scrambled eggs, and nobody wants that! I always say it’s worth a quick whisk of the ingredients first to make sure everything is nice and smooth before you start adding the milk. This recipe is a brilliant one for when you’re making something else, like my classic scones for instance, as it all comes together pretty quickly.
Step 1: Grab a good-sized heatproof bowl. Pop in your two large eggs and that extra egg yolk – the yolk is our secret weapon for extra richness, honestly! Then, add the cornflour and caster sugar. Finally, spoon in your vanilla bean paste. Give it all a really good whisk until it’s completely smooth and looks pale yellow. You don’t want any lumps of cornflour or sugar sitting at the bottom.
Step 2: Pour your lovely full-fat milk into a medium saucepan. Place it over a medium heat and warm it gently. You want it to be steaming hot, with just a few little bubbles starting to appear around the edge, but definitely *do not* let it boil. Boiling the milk can make the custard taste funny and also makes it more likely to curdle later on.
Step 3: Now, this bit is crucial! Very slowly, and I mean *very* slowly, start pouring the hot milk into your egg mixture. As you pour, whisk continuously. This is called tempering, and it gently raises the temperature of the eggs without cooking them. If you just chucked the hot milk in all at once, you’d end up with scrambled eggs, and it’s a bit of a nightmare to fix!
Step 4: Once all the milk is in and you’ve whisked it all together, pour the whole lot back into the saucepan. Put it back over a *low* heat. And I mean low – you want it just warm enough to thicken, not to boil!
Step 5: This is where the magic happens! Stir the custard constantly with a wooden spoon or a spatula. Make sure you scrape the bottom and corners of the pan so nothing catches. Keep stirring gently, and you’ll start to see it gradually thicken. It’s ready when it coats the back of your spoon – you should be able to draw a line through it with your finger, and it should stay put.
Step 6: As soon as it’s thickened, take it off the heat straight away! If you leave it on the heat for too long, it can go grainy or curdle. If you fancy an extra-smooth finish – and honestly, it’s a lovely touch – you can pour it through a fine-mesh sieve into a clean bowl or jug. This catches any tiny lumps that might have sneaked in.
Serving Suggestions for Your Vanilla Custard
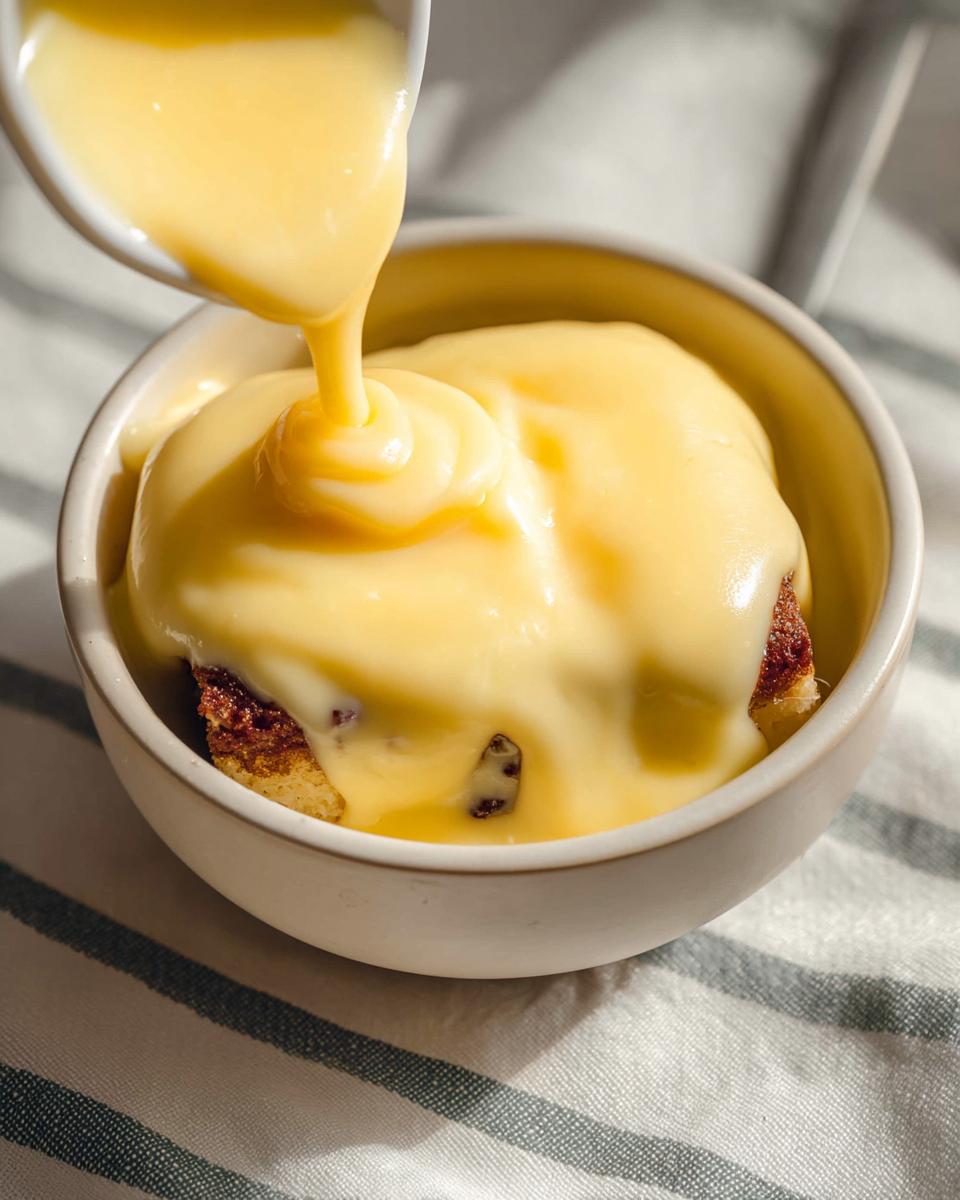
This custard is a dream on quite a few things! Honestly, if you’ve baked something lovely, a good glug of this vanilla custard is the perfect finishing touch. It’s one of those things that just elevates a simple dessert into something truly delightful and comforting.
Classic Sticky Toffee Pudding: The warmth and sweetness of the custard perfectly cut through the rich, date-filled sponge and sticky caramel sauce. It’s pure comfort on a plate!
A Slice of Fruit Crumble: Whether it’s apple, rhubarb, or berries, this velvety custard is the traditional, unbeatable companion. It’s just meant to be together, you know? And speaking of classics, if you’re after something a bit different but still utterly delicious, you might love my easy classic carrot cake.
Warm Baked Apple: A simple baked apple, perhaps with a sprinkle of cinnamon, is made extra special with a generous spoonful of this creamy vanilla custard. So cosy! It’s also divine with my easy wholemeal scones, especially if you’re having a cosy afternoon tea.
Storage and Reheating of Your Vanilla Custard
Don’t you hate it when you make too much of something lovely? Well, custard is one of those things you can totally make ahead. It’s actually even nicer the next day sometimes, all settled and smooth. Just remember, once it’s cooled, pop it into an airtight container in the fridge. It’ll keep nicely for a couple of days, which is perfect for those spontaneous puddings!
Got a bit of this gorgeous custard left over? No problem at all! Just pop it into an airtight container and it’ll keep perfectly in the fridge for up to 2 days. Making it ahead is a total lifesaver, honestly. When you’re ready to serve it again, give it a gentle whisk. If it’s thickened up a bit, you can warm it through very, very gently in a saucepan over a low heat, stirring all the time. You absolutely *must not* let it get too hot or boil, or it’ll go grainy. A quick shout-out to anyone planning their week – this is definitely a good one to make on a Sunday for the week ahead!
Frequently Asked Questions About Vanilla Custard Inspired by Mary Berry
I always get a few questions about custard, which is totally understandable! It’s one of those things that seems simple but can have a few little quirks. Don’t worry though, it’s much easier to get right than you think, especially with this Mary Berry-inspired recipe. Let’s clear up a few things!
Can I make this vanilla custard ahead of time?
Oh, absolutely! This is one of its many brilliant qualities. You can easily make this custard the day before you need it. Just let it cool completely, then pop it into an airtight container and keep it in the fridge. It actually sets a little more when chilled, so it’s perfect for serving with something like a slice of my Mary Berry Victoria Spongecake.
What if my custard is too thin or too thick?
No worries if your custard isn’t quite right! If it’s too thin, it probably just needs a little more gentle cooking. Pop it back into the pan over a *very* low heat and stir continuously. It will thicken up, but be super careful not to boil it. If it’s too thick, you can rescue it by stirring in a little splash of milk until it reaches your desired consistency. Easy peasy!
Can I use a different type of milk?
You can, but I really do recommend full-fat milk for the best flavour and texture. Using skimmed or semi-skimmed milk will result in a less rich and creamy custard. If you’re trying to avoid dairy, a good quality oat milk might work, but the flavour will be different and it might not thicken quite as well. For that classic, luxurious Mary Berry taste, stick with full-fat if you can!
Before You Go
I really hope you give this lovely vanilla custard a go! It’s such a simple pleasure, but it makes all the difference to a dessert. If you do try it, please let me know what you think in the comments – I’d love to hear from you! You can also find out more about me here, or follow along on Medium.
Print
Vanilla Custard
- Total Time: 15 minutes
- Yield: 4 servings
- Diet: Vegetarian
Description
A silky, creamy, and easy-to-make vanilla custard, perfect as a classic British dessert sauce.
Ingredients
- 2 large eggs
- 1 large egg yolk
- 2 heaped tsp cornflour
- 25 g caster sugar
- 500 ml full-fat milk
- 2 tsp vanilla bean paste
Instructions
- Add the eggs, egg yolk, cornflour, caster sugar, and vanilla bean paste to a heatproof bowl.
- Whisk the mixture until completely smooth and pale.
- Pour the milk into a saucepan and heat gently over medium heat until steaming but not boiling.
- Slowly pour the warm milk into the egg mixture while whisking continuously.
- Return the mixture to the saucepan.
- Cook over low heat, stirring constantly with a wooden spoon or spatula, until the custard thickens enough to coat the back of the spoon.
- Remove from the heat immediately once thickened to prevent curdling.
- Strain through a sieve for an extra smooth texture if desired.
- Serve warm over cakes, puddings, or fruit desserts.
Notes
- Keep the custard over gentle heat only, as high temperatures can cause the eggs to scramble.
- Refrigerate leftovers for up to 2 days.
- Prep Time: 5 minutes
- Cook Time: 10 minutes
- Category: Dessert
- Method: Stovetop
- Cuisine: British