Oh, these easy peanut butter cookies are just the absolute best, aren’t they? Honestly, they’re my go-to when I need a quick sweet treat, and they always bring back fond memories of my mum baking them after school. The best part? They’ve got that lovely soft centre with those classic, perfectly pressed criss-cross tops that just scream comfort. You really can’t go wrong with them!
Why You’ll Love These Easy Peanut Butter Cookies
Honestly, these cookies are a dream for so many reasons. They’re ridiculously quick to make, meaning you can have homemade goodness in no time at all. Plus, who can resist that classic soft centre and rich peanut butter flavour? And that iconic criss-cross pattern just makes them taste even better, don’t you think? They’re just the perfect little treat for any moment!
Ingredients for Your Easy Peanut Butter Cookies
You’ll need just a few pantry staples to whip these up. Make sure your butter is properly softened, not melted, and use creamy peanut butter for the smoothest texture. The mix of granulated and brown sugar gives them just the right amount of sweetness and chewiness.
- ½ cup unsalted butter, softened
- ½ cup creamy peanut butter
- ½ cup granulated sugar
- ½ cup brown sugar
- 1 large egg
- 1 teaspoon vanilla flavoring
- 1 ¼ cups all purpose flour
- ½ teaspoon baking soda
- ¼ teaspoon salt
Step-by-Step Guide to Making Easy Peanut Butter Cookies
Right then, let’s get baking! These steps are super straightforward, you’ll be amazed how quickly these beauties come together. It’s all about getting that perfect creamy dough and then that signature criss-cross finish.
Step 1: First things first, get your oven preheated to 350°F (that’s 175°C for my fellow Brits!). You’ll want to line a baking sheet with some parchment paper. This stops them sticking and makes cleanup a doddle. Trust me, parchment paper is a baker’s best friend for cookies!
Step 2: Grab a decent-sized bowl. Put in your softened butter, your creamy peanut butter, your granulated sugar, and your brown sugar. Now, get in there with an electric mixer (or a good strong whisk and some elbow grease!) and cream it all together until it’s lovely and fluffy. This step is key – it really whips air into the dough, which helps give the cookies their nice texture.
Step 3: Next, crack in your egg and add the vanilla flavouring. Give that another good mix until it’s all combined smoothly. Don’t worry if it looks a bit different now, it’ll all come together in the next stage.
Step 4: In a separate bowl, whisk together your flour, baking soda, and salt. Doing this separately means the baking soda and salt get evenly distributed through the flour, so you don’t get any odd salty or soapy bites.
Step 5: Now, gradually add the dry ingredients to your wet mixture. Stir it gently until you’ve got a lovely, soft dough. Be careful not to overmix at this stage, as that can make your cookies tough.
Step 6: Time to make some cookies! Scoop out roughly tablespoon-sized balls of dough. Roll them gently between your palms to make nice, neat little balls. Place these on your prepared baking sheet, making sure to leave a bit of space between each one. They will spread out a bit, so don’t cram them in too tight. If you’re curious about other quick bakes, my easy homemade chili is a lifesaver on a busy weeknight, and these Mary Berry easy chocolate flapjacks are divine too!
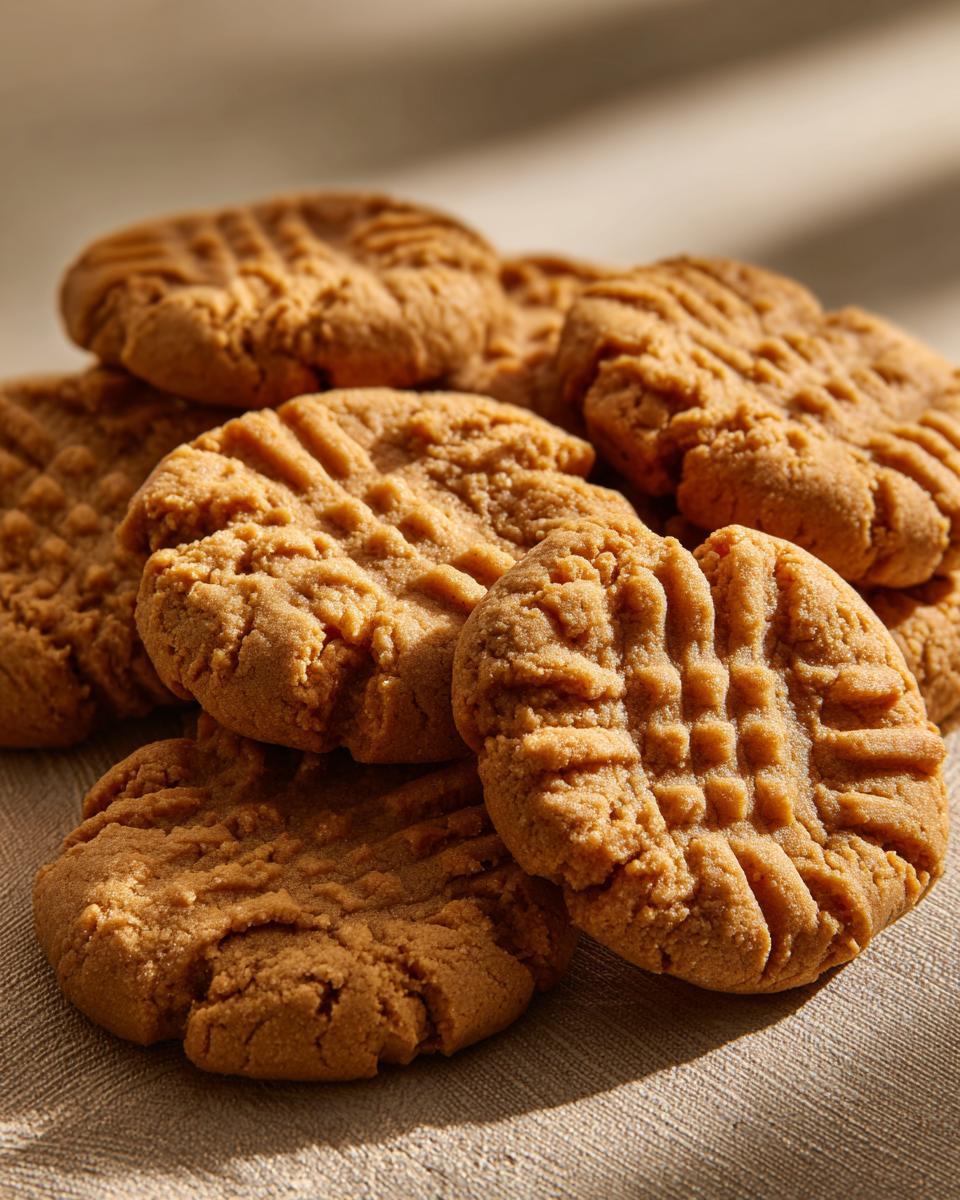
Step 7: This is the fun bit! Take a fork and gently press down on each dough ball, creating that classic criss-cross pattern. You can go one way, then the other. It’s not just for looks; it helps them bake evenly.
Step 8: Pop them into your preheated oven for about 10 to 12 minutes. You want the edges to be lightly golden-brown, but the centres should still look a little soft and set. They’ll firm up as they cool, so it’s better to take them out a minute too soon than too late!
Step 9: Once they’re out of the oven, let them cool on the baking sheet for about 5 minutes. This helps them hold their shape. Then, carefully transfer them to a wire rack to cool completely. Enjoy!
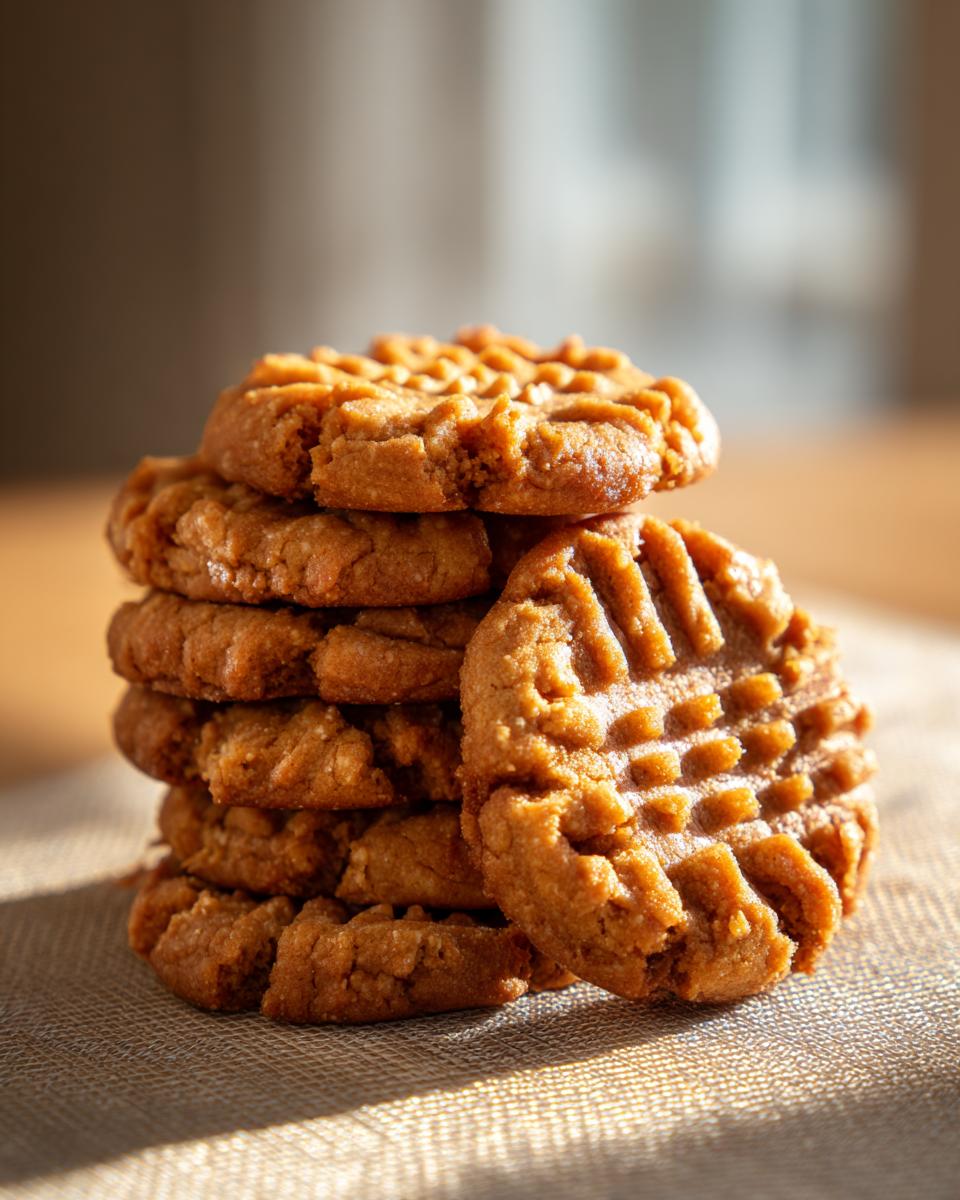
Serving Suggestions for Your Easy Peanut Butter Cookies
These cookies are just divine on their own, but here are a few ideas to make it a proper treat:
A Cold Glass of Milk: The ultimate classic, right? The cool milk just cuts through the rich peanut butter flavour perfectly. It’s a match made in heaven.
With Coffee or Tea: Need a little afternoon pick-me-up? Dunking one of these into your cuppa is pure bliss. It’s just so comforting and homey.
Paired with Strawberry Cinnamon Rolls: If you’re feeling extra indulgent, having a cookie alongside something a bit more decadent like these sweet strawberry rolls is just divine. Talk about a dessert feast!
Alongside a Chocolate Mug Cake: For the ultimate chocolate and peanut butter lover, why not combine them? It’s a guaranteed hit for a serious sweet craving.
Storage and Reheating for Your Easy Peanut Butter Cookies
Keeping these cookies fresh is easy peasy! Honestly, they rarely last long enough in my house to need serious storing, but if you manage to squirrel some away, here’s how to keep them tasting just as good as when they were first baked.
These easy peanut butter cookies are best stored in an airtight container at room temperature. They’ll stay lovely and soft for about 3-4 days. Just layer them between sheets of baking parchment if you’re stacking them to stop them from sticking together. Honestly, I find they’re best eaten within the first couple of days for that perfect soft centre!
If you’re thinking of meal prepping, these cookies are brilliant. You can even make the dough balls ahead of time and keep them in the fridge for a day or two before baking. Just remember to let them come to room temperature for about 10-15 minutes before you press that fork into them. Unlike some baked goods, these don’t really need reheating, but if you *really* wanted to, a few seconds in a low oven (around 150°C) just to warm them through might do the trick – but honestly, they’re best enjoyed at room temp!
Frequently Asked Questions About Easy Peanut Butter Cookies
Got a few burning questions about these delightful easy peanut butter cookies? I’ve got you covered!
What can I do if my cookies spread too much?
Ah, the dreaded spread! If your cookies are spreading more than you’d like, it usually means your butter or dough was too warm. Try chilling the dough for about 15-20 minutes before baking. Also, ensure you’re not using too much butter or peanut butter compared to the dry ingredients – consistency is key!
Can I make these cookies without peanut butter?
This recipe is really designed *for* peanut butter, as it’s the star! However, you could try substituting with another creamy nut butter like almond or cashew butter. Just be aware that the flavour and texture might change slightly. It’s worth a go if you’re feeling adventurous, but classic peanut butter is hard to beat here!
How do I get that perfect criss-cross pattern?
The criss-cross pattern is super easy to achieve and adds that classic bakery look! After rolling your dough into balls and placing them on the baking sheet, take a fork and press down gently into the centre of each ball, creating parallel lines. Then, rotate the fork 90 degrees and press again to make the criss-cross. Don’t press *too* hard, or you’ll flatten the cookie completely. If the fork sticks, just dip it lightly in a bit of flour. Speaking of meal prep, if you’re ever looking for something savoury, these healthy chicken meal prep bowls are amazing!
Before You Go
Honestly, these easy peanut butter cookies are just a little slice of happiness! I really hope you give them a go and love them as much as I do. Let me know in the comments how they turn out, or better yet, share a pic on Medium! Happy baking!
Print
Easy Peanut Butter Cookies
- Total Time: 22 minutes
- Yield: 16 cookies
- Diet: Vegetarian
Description
Easy peanut butter cookies with a soft center and classic criss cross top. A quick homemade treat perfect for everyday baking.
Ingredients
- 1/2 cup unsalted butter, softened
- 1/2 cup creamy peanut butter
- 1/2 cup granulated sugar
- 1/2 cup brown sugar
- 1 large egg
- 1 teaspoon vanilla flavoring
- 1 1/4 cups all purpose flour
- 1/2 teaspoon baking soda
- 1/4 teaspoon salt
Instructions
- Preheat your oven to 350°F (175°C) and line a baking sheet with parchment paper.
- In a bowl, cream together the softened butter, peanut butter, granulated sugar, and brown sugar until the mixture is smooth and fluffy.
- Mix in the egg and vanilla flavoring until fully combined.
- In a separate bowl, whisk together the flour, baking soda, and salt.
- Gradually add the dry ingredients to the wet mixture, stirring until a soft dough forms.
- Scoop tablespoon-sized portions of dough and roll them into balls. Place the balls on the prepared baking sheet, ensuring there is space between each cookie.
- Use a fork to gently press down on each dough ball, creating a criss cross pattern.
- Bake for 10 to 12 minutes, or until the edges are lightly golden and the centers are just set.
- Allow the cookies to cool on the baking sheet for 5 minutes before transferring them to a wire rack to cool completely.
Notes
- Do not overbake the cookies to ensure they remain soft and tender in the center.
- Prep Time: 10 minutes
- Cook Time: 12 minutes
- Category: Dessert
- Method: Baking
- Cuisine: American