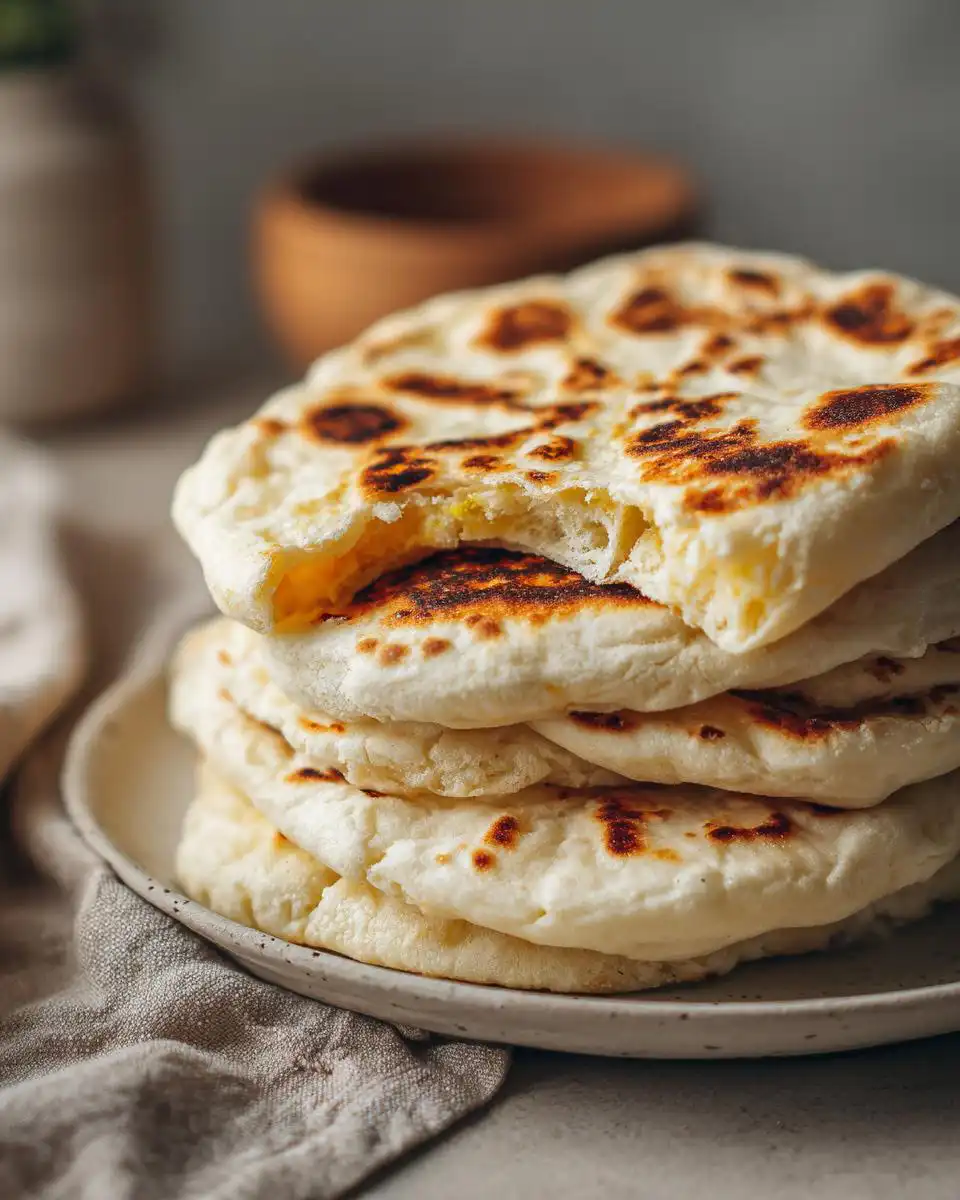
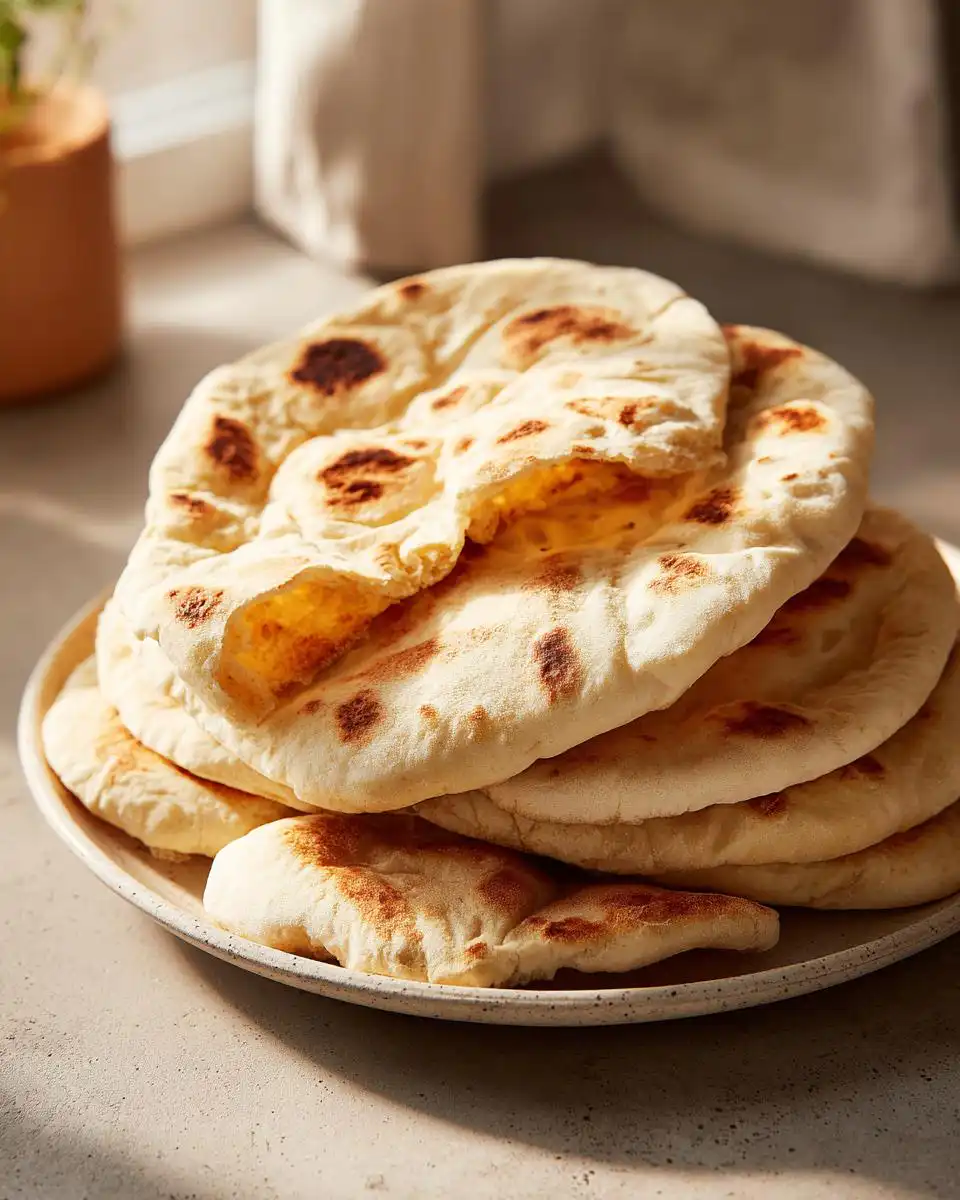
Oh, the smell of freshly baked bread! There’s just nothing quite like it, is there? And if you’ve ever dreamed of filling your kitchen with that glorious aroma, but thought it was too complicated, I’ve got a treat for you. We’re diving into how to make the most wonderfully soft and fluffy homemade pita bread. Seriously, from scratch, with just a few pantry staples. I remember the first time I pulled these perfect little pockets from the pan – they puffed up like magic! It felt like I’d unlocked a secret, and now I can’t wait to share it with you. This recipe is so darn easy, it’ll become a staple in your kitchen, I promise!
Why You’ll Love This Homemade Pita Bread Recipe
My friends, I’m telling you, this easy pita recipe is a game-changer! You’ll love it because:
- It’s ridiculously easy – perfect for beginner bakers!
- You only need basic pantry ingredients you probably already have.
- They’re so incredibly soft and fluffy, way better than store-bought.
- They puff up beautifully, which is just so satisfying to watch!
- They’re super versatile—think gyros, sandwiches, or just dipping!
Ingredients for Your Easy Pita Recipe
Honestly, the best part about this soft pita recipe is that it uses ingredients you likely already have in your pantry! No fancy stuff needed here, just good old basics to create something truly delicious. I always use instant yeast because it’s so forgiving and makes the whole process quicker.
- 1 cup warm water (It should feel like a warm bath, not hot!)
- 2 1/4 teaspoons instant yeast (That’s one packet, if you buy them that way!)
- 1 teaspoon granulated sugar (Just enough to wake up the yeast!)
- 1 teaspoon fine sea salt (For flavor, of course!)
- 1 tablespoon olive oil (Adds a lovely richness and helps with texture)
- 2 1/4 cups all-purpose flour (Plus a little extra for dusting your hands and the counter)
Step-by-Step Guide: How to Make Pitas
Okay, let’s get our hands a little doughy! Don’t worry if you’ve never made bread before; this homemade pita bread is super forgiving. My big tip is make sure your pan or griddle is HOT before the pita hits it – that’s key for that magical puff!
Step 1: Mix the Dough Base
Grab a big bowl and toss in your warm water, the instant yeast, sugar, salt, olive oil, and about 1 cup of your flour. Give it a good stir until it’s all smooth and there are no dry bits. It’ll look a bit like thick pancake batter.
Step 2: Add the Rest of the Flour and Knead
Now, start adding the other 1 1/4 cups of flour, bit by bit. Mix it in until a soft dough starts to form. It might feel a little sticky, and that’s totally fine! Lightly flour your hands and the bowl, and knead the dough right there for about 2 minutes. You want it smooth and bouncy, like a little stress ball. It’s a bit like making pizza dough in that regard, just a bit softer.
Step 3: Let it Rest
Cover that gorgeous dough with a clean kitchen towel or some plastic wrap and let it chill out for about 40 minutes in a warm spot. You’ll see it puff up a bit – not double, but definitely happy.
Step 4: Shape Your Pitas
Gently punch down the dough (it’s so satisfying!) and divide it into 8 equal pieces. Roll each piece into a ball, then flatten and stretch them out into thin rounds, about 6 inches across. Think of making mini soda bread discs, but thinner and rounder!
Step 5: Get Your Pan HOT!
This is crucial! Heat up a large, heavy skillet or a griddle over medium-high heat. You want it good and hot. Lightly brush it with a tiny bit of oil – just enough so they don’t stick.
Step 6: Cook Away!
Carefully place one pita onto that hot surface. You should see bubbles start to form within a minute or two, and the bottom should get little golden-brown spots. Don’t poke those bubbles! Flip it over and cook for another 1-2 minutes. Watch it puff up like a balloon – it’s so cool! It should be lightly browned on both sides.
Step 7: Keep Them Soft
As soon as they’re done, slide them onto a clean kitchen towel and loosely wrap them. This traps the steam and keeps them super soft. Repeat with the rest of your dough!
Serving Suggestions for Your Fresh Pita Recipe
These warm, fluffy pockets are practically begging for some delicious company! Here are a few of my favorite ways to enjoy them:
Creamy Hummus or Baba Ghanoush: You absolutely cannot go wrong with a classic! Scoop up some smooth hummus or smoky baba ghanoush with your fresh pita. So simple, so good.
Mediterranean Stuffed Pita: Pile them high with shredded chicken or falafel, add some crisp lettuce, juicy tomatoes, and a drizzle of tahini. It’s a full meal in a pocket!
A Side of Guacamole: For a fun twist, serve them alongside some of my favorite guacamole or even my zesty lime guacamole. The richness is divine!
Cool Tzatziki Dip: A dollop of this cool, cucumber-yogurt sauce makes these pita breads taste like they came straight from a Greek taverna. My easy tzatziki is the perfect partner.
How to Store Fresh Homemade Bread
Alright, you’ve made this amazing homemade pita bread, and now you want to keep that softness going, right? It’s super simple! The trick is to trap a little bit of moisture so they don’t get stiff.
For enjoying them within a couple of days, I just stack them up and wrap them gently in a clean kitchen towel, then pop them into a plastic bag or an airtight container. They stay wonderfully soft for usually 2-3 days like this. If you want them to last even longer, freezing is your best friend! Just make sure they’re completely cooled, then stack them in a freezer bag, pressing out as much air as you can. They’ll keep beautifully for a couple of months. Just reheat them gently in a toaster oven or a dry skillet for a few minutes when you’re ready for them!
Frequently Asked Questions about Pita Bread
Can I use whole wheat flour in this pita bread recipe?
You sure can! I love using all-purpose for that super soft, fluffy texture, but a blend of half white and half whole wheat flour works great. Just know that whole wheat flour can make the dough a little denser, so it might not puff up *quite* as dramatically, but they’ll still be delicious! You might need to add a tiny splash more water if the dough feels too stiff.
Why didn’t my homemade pita bread puff up?
Oh, this happens to the best of us sometimes! The most common culprits are: your pan wasn’t hot enough when you put the pita on, or your dough wasn’t sealed tightly enough when you rolled it out. If there’s a tiny escape route for the steam, it won’t puff up as much. Don’t fret though, even flat pitas taste amazing, especially for dipping!
How long does homemade pita bread last?
These beauties are best eaten fresh, but if you store them properly, they’ll stay soft for about 2-3 days. Just wrap them up in a clean kitchen towel and then pop them into a plastic bag or airtight container. For longer storage, pop them in the freezer! They freeze really well for up to a couple of months. Just reheat them gently when you’re ready to enjoy them again.
Before You Go
Seriously, give this soft pita recipe a whirl this week! You won’t believe how easy it is to whip up these fantastic pockets of goodness. If you make them, please let me know how they turned out! A quick rating or a comment below would make my day. Happy baking! Don’t forget to check out more yummy recipes over on Pinterest!
Print
Homemade Pita Bread
- Total Time: 30 min
- Yield: 8 pitas
Description
Soft, fluffy pita bread made with simple pantry ingredients, perfect for sandwiches, dips, and meal prep.
Ingredients
- 1 cup warm water
- 2 1/4 teaspoons instant yeast
- 1 teaspoon granulated sugar
- 1 teaspoon fine sea salt
- 1 tablespoon olive oil
- 2 1/4 cups all purpose flour
Instructions
- Combine warm water, yeast, sugar, salt, olive oil, and 1 cup of flour in a large bowl. Stir until smooth.
- Gradually add the remaining flour, mixing until a soft dough forms. The dough will be slightly sticky but easy to handle.
- Lightly flour your hands and knead the dough in the bowl for about 2 minutes until smooth and elastic.
- Cover the bowl with a clean towel and let the dough rest for 40 minutes until slightly puffed.
- Divide the dough into 8 equal portions. Roll each piece into a thin round about 6 inches wide.
- Heat a large skillet or griddle over medium high heat. Lightly brush with oil.
- Place one pita onto the hot surface and cook for about 2 minutes until bubbles form and the bottom has light golden spots.
- Flip and cook for another 1 to 2 minutes until puffed and lightly browned.
- Transfer cooked pita to a clean kitchen towel to keep warm. Repeat with remaining dough.
Notes
- Keep pitas covered after cooking to maintain softness.
- Store in an airtight container for up to 3 days.
- Freeze for longer storage.
- Prep Time: 10 min
- Cook Time: 20 min