

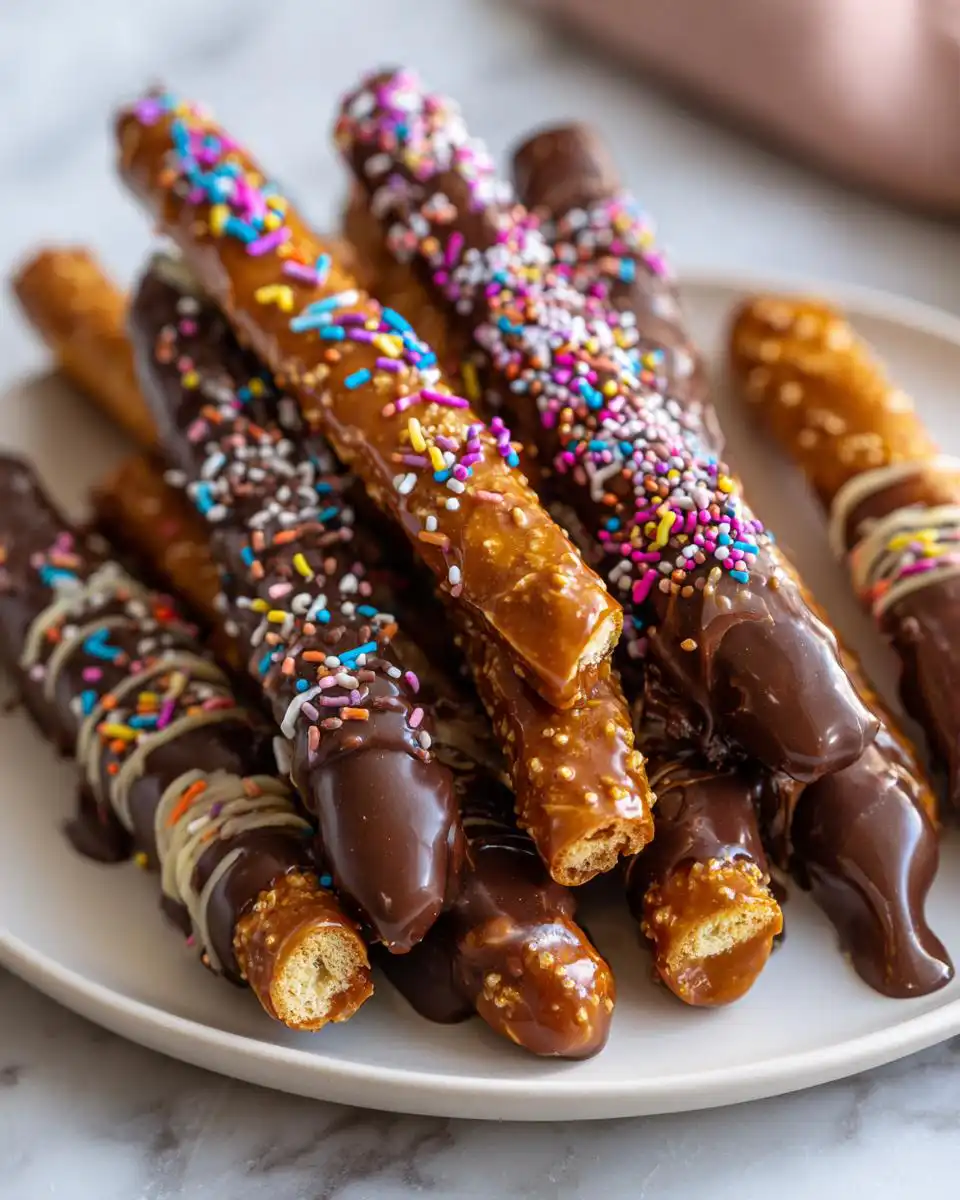
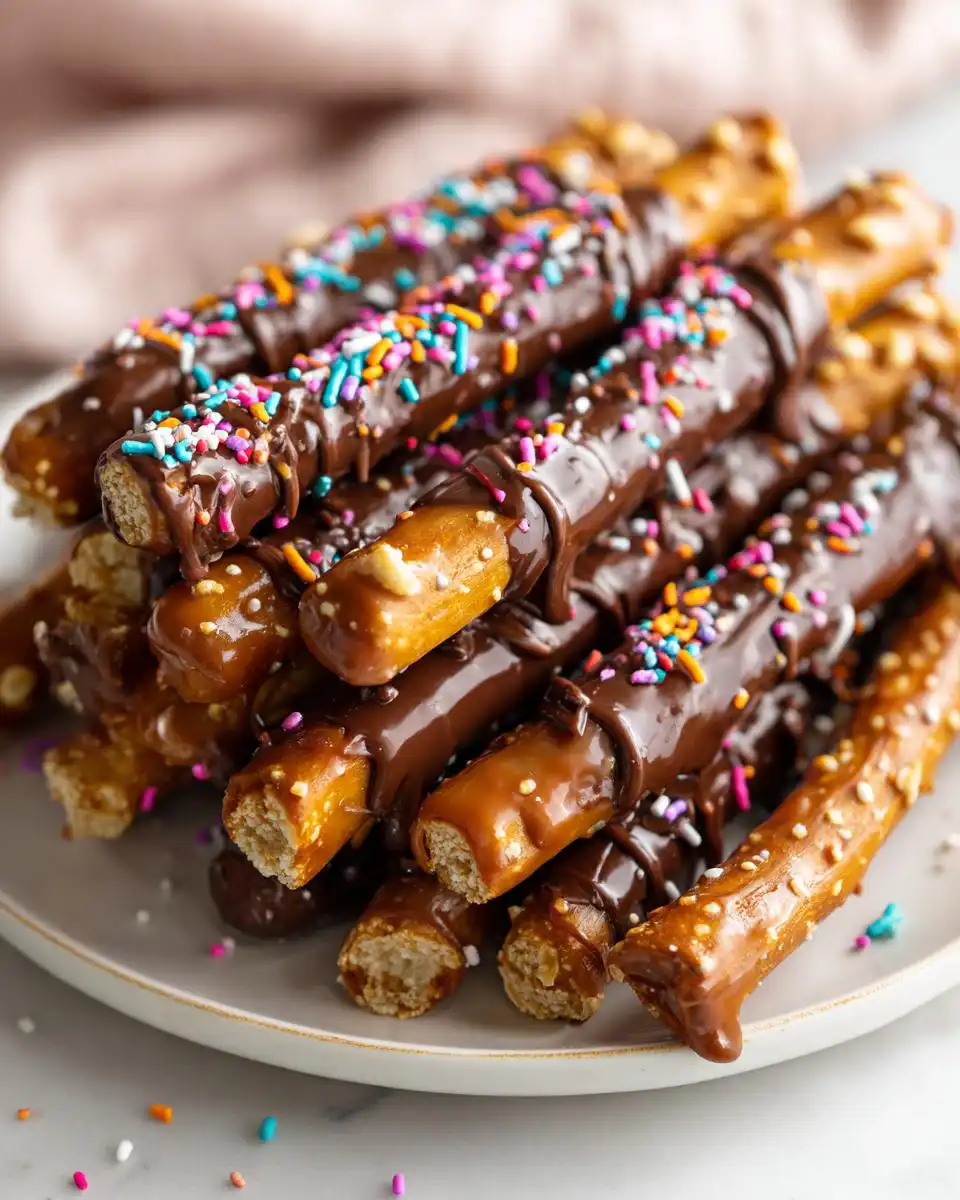
Oh my goodness, you HAVE to make these chocolate covered pretzel rods! Seriously, if there’s one treat that screams “party perfection” and “I’m-a-genius-in-the-kitchen” all at once, it’s these. They’re the absolute best of both worlds: that satisfying salty crunch from the pretzel, hugged by chewy caramel, and then dipped in smooth, rich chocolate. I first whipped up a batch for a holiday cookie exchange a few years back, mostly out of sheer desperation because I needed something that looked impressive but didn’t take all day. My neighbor nearly fainted when she tried one, and the whole tray vanished before the actual cookies even got touched! Trust me, these chocolate covered pretzel rods are ridiculously easy and utterly irresistible, the kind of thing that makes your guests ask for the recipe before they’ve even finished the first bite. I’ve since made them for birthdays, movie nights, and just because, and they’re always a massive hit. They’re kind of my secret weapon when I want something delicious and everyone-pleasing. Wanna get fancy and add some extra pizzazz? Stick around, I’ll show you how!
Why You’ll Love These Chocolate Covered Pretzel Rods
Seriously, these caramel chocolate pretzel rods are a total winner for so many reasons:
- Super Easy: You can whip up a batch in a flash, perfect for when you need a dessert in a hurry.
- Perfect Flavor Combo: That salty-sweet mix of pretzels, caramel, and chocolate? It’s pure magic and totally addictive.
- Looks Fancy, Tastes Amazing: They look like they came from a gourmet bakery, but they’re surprisingly simple to make.
- Versatile for Any Occasion: Whether it’s a holiday party, a birthday, or just a Tuesday night treat, these dipped pretzel rods are always a hit.
- Customizable Fun: Add your favorite sprinkles or toppings to make them uniquely yours!
Ingredients for Chocolate Covered Pretzel Rods
Okay, so here’s the magic list for these amazing caramel chocolate pretzel rods. You don’t need a ton of fancy stuff, just good quality ingredients that come together beautifully. Make sure your chocolate is the good stuff – it really makes a difference in the melt and the finish!
- 40 pretzel rods (The thicker ones hold up better, just sayin’!)
- 16 ounces high-quality chocolate, finely chopped (I love a good semi-sweet or dark chocolate, but milk chocolate is great too!)
- 1 bag (about 11 oz) soft caramel candies, unwrapped (you know, the individually wrapped ones that are super pliable)
- 1 tablespoon water (Just a little splash to get that caramel nice and smooth)
Crafting Perfect Chocolate Covered Pretzel Rods
Alright, let’s get down to the fun part – making these gorgeous dipped pretzel rods! It’s honestly way simpler than they look, and the steps just flow. Don’t worry if your first one isn’t *perfectly* coated; that’s what the toppings are for, right? Grab your baking sheets and let’s get started!
Step 1: First things first, you’ll want to prep your baking sheets. Grab two nice big ones and line them with parchment paper. This is where our beautiful pretzel rods will chill out while they set, and trust me, you don’t want them sticking to anything!
Step 2: Now for the caramel magic! Take your unwrapped caramel candies and pop them into a microwave-safe bowl. Add that tablespoon of water – it’s our little secret to making it super smooth and dippable without getting too thick. Microwave it in 30-second bursts, stirring really well in between each zap. You’re looking for a completely smooth, luscious caramel sauce. Once it’s liquid gold, let it cool just a tad. You don’t want it scalding hot, but definitely still warm and pourable.
Step 3: Time to coat those pretzels! Hold a pretzel rod by the end – maybe try to keep a little bit of the end clean for dipping later! – and use a spoon to generously drizzle and spoon the warm caramel all over it. Turn it as you go, letting any extra caramel drip back into the bowl. Place the caramel-coated rod onto your prepared baking sheet. Repeat this with all 40 of your pretzel rods. Sometimes the caramel can be a bit shy, so once they’re all coated, you might need to gently shape the caramel with your fingertips (wash ‘em first!) to make sure it’s evenly distributed and covers most of the pretzel. Let these beauties sit for about 20 minutes to let that caramel layer firm up a bit. This is crucial!
Step 4: While the caramel is setting, let’s melt this gorgeous chocolate. Get a microwave-safe bowl, toss in your chopped chocolate, and heat it on *half* power. This is super important – full power can scorch your chocolate in a heartbeat! Stir it every 30 seconds. Seriously, stir, heat, stir, heat. You’re going to see it start to melt, and then suddenly it’ll be smooth and glossy. If you’re using chocolate chips, you might need a *tiny* splash more water or oil to get them perfectly smooth, but chopped bars usually melt like a dream.
Step 5: Time for the grand finale dip! Pour your beautifully melted chocolate into a tall, narrow glass or a jar. This makes dipping the rods so much easier and cleaner. Carefully hold each caramel-covered pretzel rod by the clean ends and dip it into the chocolate, swirling and turning to coat as much of the rod as you can. Use a spoon to help smooth and finish the coating if needed. Place the chocolate-dipped rod back onto your parchment-lined baking sheet. This part is a bit messy, but so rewarding! For extra flair, now’s the time to add sprinkles, crushed nuts, or other goodies while the chocolate is still wet. They’ll stick right on, making your chocolate covered pretzel rods look super professional.
Step 6: Now, just let them be! Leave these beauties at room temperature for a good hour or so to let the chocolate set completely. If you’re in a hurry, you can pop the baking sheets into the fridge for about 15 minutes, but I find they get the best snap when they set at room temperature. You could also check out these other no-bake wonders while you wait!
Serving Suggestions for Your Caramel Chocolate Pretzel Rods
These decadent chocolate covered pretzel rods are showstoppers all on their own, but here are a few ideas to really make them shine:
Perfect for a Buffet Sucré: These look absolutely incredible arranged on a platter for a dessert buffet, like a fancy “buffet sucré”. They add that perfect sweet and salty crunch that everyone loves.
Pair with Coffee or Tea: They’re the ideal little bite to accompany your morning coffee or afternoon tea, offering a delightful sweet treat without being too heavy.
Part of a Dessert Spread: Serve them alongside cookies, brownies, or cupcakes for an extra layer of texture and flavor that guests will adore. Seriously, they’ll be gone in minutes!
Storing Your Chocolate Dipped Pretzel Rods
So you’ve got these glorious chocolate covered pretzel rods, and you want to keep them tasting fabulous, right? Easy peasy! Store them in an airtight container at cool room temperature, and they’ll stay delicious for up to a week. Just make sure your kitchen isn’t too hot, or you might get a melty mess – nobody wants that! When you’re ready to serve, let them sit out for about 15 minutes to come to room temperature. Trust me, they taste so much better when they’re not cold and stiff.
Frequently Asked Questions About Chocolate Covered Pretzel Rods
Got questions about these amazing caramel chocolate pretzel rods? I get it! It’s always good to know the little tricks. Here are a few things people usually ask:
Can I use something other than caramel for these chocolate dipped pretzels?
Absolutely! While the caramel is divine, you could totally skip it and just do a straight chocolate dip. Or, try a simple ganache! For variations, check out how I do holiday chocolate caramel pretzels – they’re a bit different but super festive!
My chocolate coating isn’t smooth. What did I do wrong with my chocolate covered pretzel rods?
Oh no! Usually, this happens if the chocolate got too hot, or if you used chocolate chips that have stabilizers in them. Always use good quality chocolate that’s meant for melting, and be super careful with the heat – half power and constant stirring is key! Sometimes a tiny bit of oil (like coconut oil) can help smooth things out if it’s a little thick.
How do I store chocolate dipped pretzel rods so they don’t get soggy?
The trick is an airtight container and a cool, dry spot. If your house is super humid or warm, they can get a little soft. Keeping them in a single layer on parchment paper inside the container helps, too. They’re best enjoyed within a week for that perfect crunch!
Before You Go: Enjoy Your Delicious Pretzels!
I really hope you give these chocolate covered pretzel rods a whirl – they’re just too good not to try! If you whip up a batch, please come back and leave a comment or rate them. And after you’ve made these caramel chocolate pretzel rods, I’d love to see your creations on Pinterest!
Print
Chocolate Covered Pretzel Rods with Caramel and Toppings
- Total Time: 80 minutes
- Yield: 40 pretzel rods
Description
Crunchy pretzel rods dipped in caramel and chocolate, finished with sprinkles or other toppings.
Ingredients
- 40 pretzel rods
- 16 ounces high quality chocolate, chopped
- 1 bag soft caramel candies, unwrapped
- 1 tablespoon water
Instructions
- Line two large baking sheets with parchment paper.
- Place caramel candies and water in a microwave-safe bowl. Heat in 30-second intervals, stirring until smooth. Let cool slightly.
- Hold each pretzel rod and spoon caramel over it, turning to coat. Let excess drip off and place on the baking sheet.
- Once all pretzels are coated, shape the caramel with your hands if needed for even coverage. Let set for 20 minutes.
- Melt chocolate in a microwave-safe bowl on half power, stirring every 30 seconds until smooth.
- Pour melted chocolate into a tall glass. Dip each caramel-coated pretzel into the chocolate, covering most of the rod. Use a spoon to help coat if needed.
- Place dipped pretzels back on the baking sheet. Add sprinkles or toppings while the chocolate is soft.
- Let the chocolate set at room temperature or refrigerate briefly until firm.
Notes
- Store in an airtight container in a cool, dry place for up to one week.
- Let pretzels come to room temperature before serving for the best texture.
- Prep Time: 20 minutes
- Cook Time: 60 minutes


