Oh, banana pudding! Is there anything more comforting than a bowl of this sweet, creamy goodness? It just takes me right back to grandma’s kitchen, the smell of vanilla wafting through the air. This isn’t just any banana pudding, though. My version is completely no-bake, which means less stress and more time enjoying that fantastic, velvety texture. It’s the perfect classic dessert that’s surprisingly easy to whip up and always a massive hit, especially when you’re craving something that’s both nostalgic and utterly delicious!
Why You’ll Love This Banana Pudding
Why is this banana pudding a winner? Well, let me count the ways!
- Seriously Easy No-Bake: Forget the stove! This is the ultimate dessert when you want deliciousness without the fuss.
- Quick to Assemble: Get it into the fridge in under 20 minutes, then let it work its magic.
- Incredibly Creamy: The pudding gets SO smooth and luscious, it’s pure comfort in every bite.
- Classic Comfort: It’s that beloved banana pudding flavor everyone adores, perfect for potlucks or Sunday dessert.
Ingredients for the Best Banana Pudding
Alright, here’s what you’ll need to make this dreamy banana pudding! Don’t skimp on the good stuff; quality ingredients really make a difference in a simple dessert like this. I always opt for whole milk and real butter because it makes the pudding so much richer and tastier. And of course, you need some perfectly ripe bananas – but not *too* ripe, just firm enough to hold their shape!
- 2 1/2 cups whole milk
- 1/2 cup heavy cream (for that extra luscious texture!)
- 1 large egg
- 2 egg yolks (these add richness and color to the pudding)
- 3/4 cup granulated sugar
- 4 1/2 tablespoons cornstarch (this is your thickening agent!)
- 4 tablespoons unsalted butter, cut into pieces
- 2 teaspoons pure vanilla extract (use the good stuff!)
- 1/2 teaspoon salt (balances the sweetness)
- 1 box vanilla wafer cookies (around 11 ounces is typically one box)
- 4 large bananas, sliced (look for ones that are yellow with just a few brown spots)
- 1 1/2 cups whipped cream, for topping (homemade or store-bought is fine!)
Step-by-Step Guide to Making Banana Pudding
Okay, let’s get this delicious banana pudding made! It’s way easier than it looks, I promise. Just follow along, and you’ll be scooping up creamy goodness in no time.
Step 1: Grab a medium saucepan and gently heat the milk and heavy cream until it’s steaming. You don’t want it boiling, just nice and hot. While that’s warming up, take a separate bowl and whisk together the whole egg, egg yolks, granulated sugar, and cornstarch. Keep whisking until it’s super smooth – no lumps allowed!
Step 2: This is a crucial step for smooth pudding! Slowly, and I mean *slowly*, pour about half a cup of that hot milk mixture into the egg mixture while whisking like crazy. This is called tempering, and it stops your eggs from scrambling. Once it’s well combined, carefully pour that whole thing back into the saucepan with the rest of the hot milk. Don’t forget to whisk it all together!
Step 3: Now, place the saucepan over medium-low heat. Keep stirring *constantly* – seriously, don’t walk away! You’ll notice it start to thicken up. This usually takes about 5 to 8 minutes. You’re looking for a consistency that coats the back of your spoon. Once it’s thickened, take it off the heat right away to stop the cooking.
Step 4: Stir in the unsalted butter, pure vanilla extract, and salt until everything is completely melted and smooth. That butter makes it so rich! For an extra smooth pudding, I like to strain it through a fine-mesh sieve into a clean bowl. Pop some plastic wrap directly onto the surface of the pudding – this stops a skin from forming. Pop it in the fridge for at least 1 hour to chill and thicken up more.
Step 5: Time to build your masterpiece! Grab an 8×8 inch baking dish or a similar-sized serving dish. Spread a single layer of vanilla wafers on the bottom. Arrange about half of your sliced bananas over the wafers. Then, spoon half of your chilled pudding all over the bananas and wafers. Make sure to get it as even as you can. Ready for another layer? You bet!
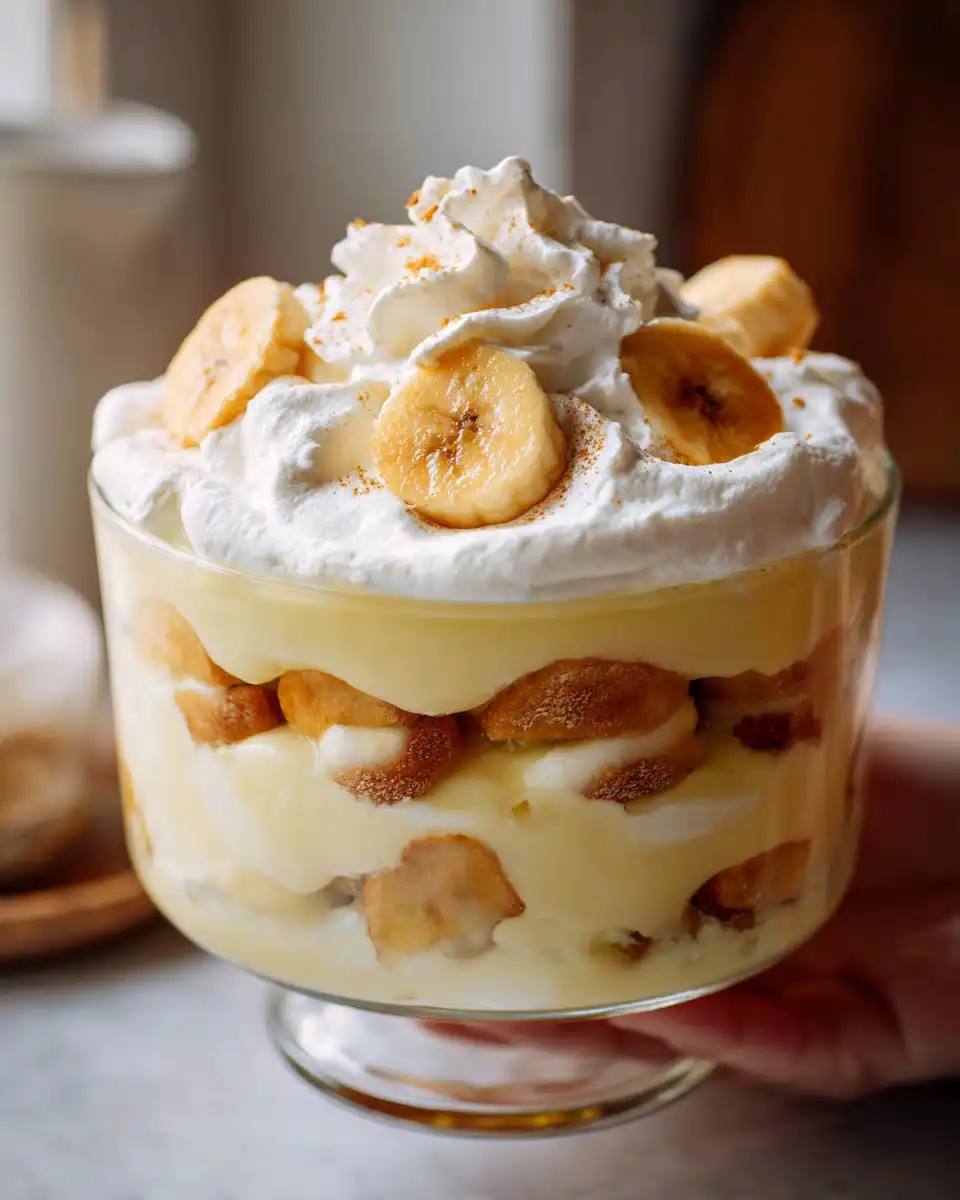
Step 6: Repeat those layers! Add another layer of vanilla wafers, followed by the rest of your banana slices. Gently spoon the remaining pudding over the top, making sure to cover everything nicely. Sprinkle a few extra vanilla wafers around the edges or on top if you like! Cover the dish with plastic wrap and refrigerate for at least 4 hours. This is key for the flavors to meld and the pudding to set perfectly. It’s almost as good as these no-bake energy bars – the waiting is the hardest part!
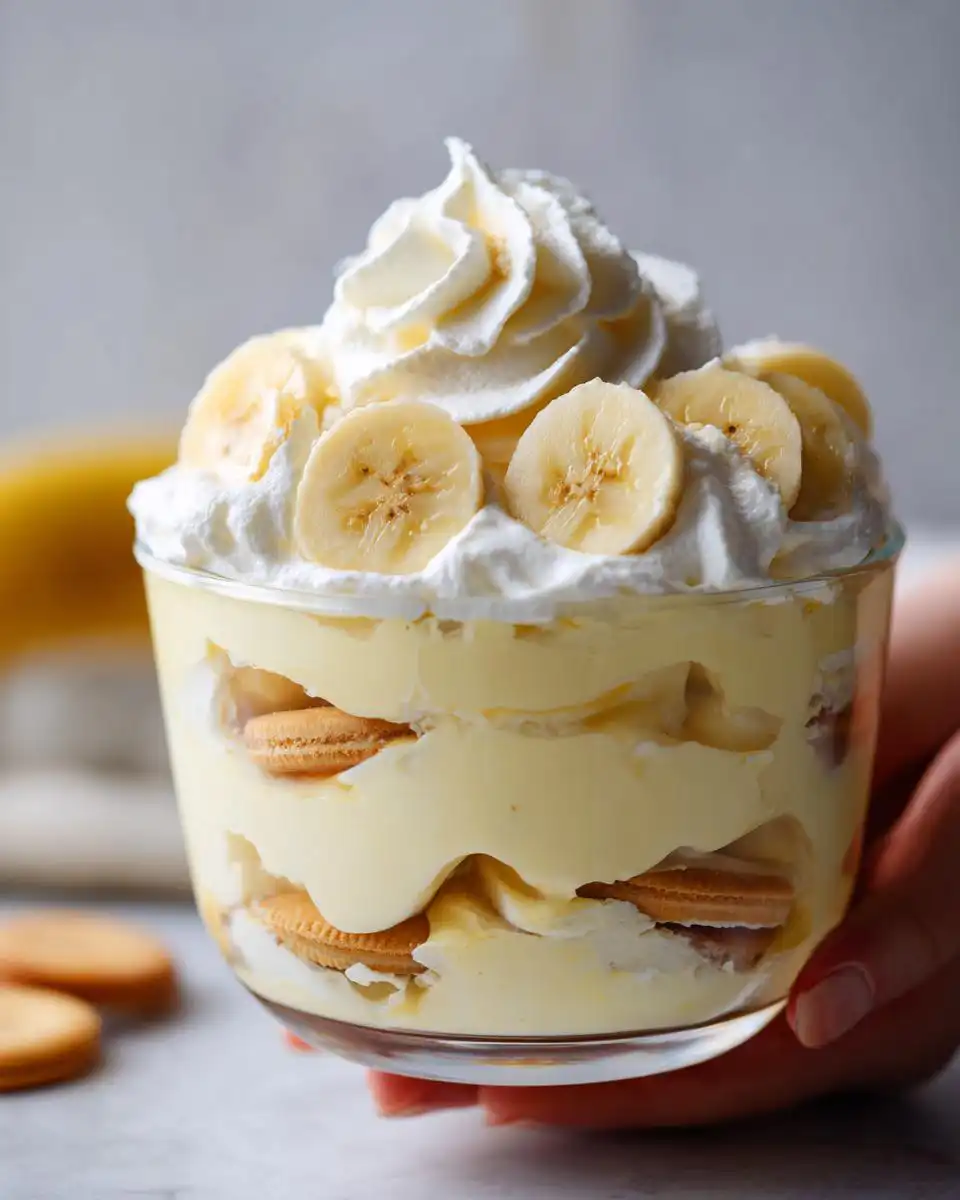
Step 7: Just before you’re ready to serve, take your beautiful banana pudding out of the fridge. Top it generously with the whipped cream. You can pipe it on, spread it, or just dollop it; however you like it! Slice it up and serve immediately. Enjoy every single creamy, banana-y bite!
Serving Suggestions for Your Banana Pudding
This banana pudding is pretty perfect on its own, right? But if you want to take it up another notch, here are a few ideas:
A Dollop of Extra Whipped Cream: You can never have too much! Homemade whipped cream, perhaps with a tiny hint of vanilla or almond extract, is just divine piled high on top.
A Sprinkle of Toasted Coconut: For a little texture and a tropical twist, a sprinkle of lightly toasted shredded coconut over the top of the whipped cream is amazing.
A Drizzle of Caramel Sauce: Because, why not? A little swirl of caramel sauce adds another layer of decadent flavor that pairs beautifully with the bananas and pudding. It’s like a little bit of heaven!
A Side of High-Protein Banana Bread: If you want something a bit more substantial (and let’s be honest, who doesn’t love more banana?), serving a slice of my high-protein banana bread alongside is a match made in dessert heaven!
Storing and Reheating Your Banana Pudding
So, you’ve got some of this amazing banana pudding left? Lucky you! Just cover your dish tightly with plastic wrap, making sure it seals well. It’ll stay fantastic in the fridge for about 2 to 3 days. Honestly, though, it’s best eaten within the first day or two because those bananas can get a little soft the longer they sit. Since it’s no-bake, there’s no reheating needed – just grab a spoon and dig in!
Frequently Asked Questions About Banana Pudding
Got questions about making this classic banana pudding? I’ve got answers!
Can I make this banana pudding ahead of time?
Oh, absolutely! This is one of those desserts that actually gets *better* when it sits for a while in the fridge. I usually aim to make it at least 4 hours ahead, but you can totally make it the night before. Just make sure to add the whipped cream topping right before serving so it stays nice and fluffy! It’s perfect for busy hosts.
What are the best bananas for banana pudding?
You want bananas that are ripe but still firm. That means they should be yellow, maybe with just a few tiny brown spots, but definitely not mushy or overly bruised. If they’re too ripe, they’ll turn to mush in the pudding and make it too soft. Firm bananas hold their shape and give you that lovely banana flavor without making the dessert watery.
Can I use different cookies instead of vanilla wafers?
Sure! While vanilla wafers are the classic choice for a reason, you can totally switch it up. You could use shortbread cookies, graham crackers, or even Nilla Wafers if you can find them (they’re a bit different and super yummy!). Just be mindful that different cookies might absorb liquid at different rates, so your pudding might set a little faster or slower. For another banana treat, check out these healthy banana bread recipes!
Enjoy Your Homemade Banana Pudding!
I really hope you give this easy, no-bake banana pudding a try! It’s such a crowd-pleaser and brings such a smile to everyone’s face. For another lovely banana treat, check out my soft banana bread oat bars. Let me know in the comments how your pudding turned out, or better yet, pin it for your next get-together!
Print
Homemade Banana Pudding
- Total Time: 4 hours 30 min
- Yield: 9 servings
- Diet: Vegetarian
Description
A classic no-bake dessert with creamy vanilla pudding, fresh bananas, and vanilla wafers.
Ingredients
- 2 1/2 cups whole milk
- 1/2 cup heavy cream
- 1 large egg
- 2 egg yolks
- 3/4 cup granulated sugar
- 4 1/2 tablespoons cornstarch
- 4 tablespoons unsalted butter
- 2 teaspoons vanilla extract
- 1/2 teaspoon salt
- 1 box vanilla wafer cookies
- 4 large bananas, sliced
- 1 1/2 cups whipped cream
Instructions
- Heat milk and heavy cream in a saucepan until steaming.
- Whisk egg, egg yolks, sugar, and cornstarch in a bowl until smooth.
- Slowly add some hot milk to the egg mixture while whisking. Pour it all back into the saucepan.
- Cook over medium-low heat, stirring constantly, for 5 to 8 minutes until thickened.
- Remove from heat. Stir in butter, vanilla extract, and salt until smooth.
- Strain the pudding into a bowl. Cover with plastic wrap and refrigerate for 1 hour.
- Layer vanilla wafers, banana slices, and half the pudding in a dish.
- Repeat with another layer of wafers, bananas, and the remaining pudding. Top with wafers.
- Cover and refrigerate for at least 4 hours until set.
- Top with whipped cream before serving.
Notes
- Use ripe but firm bananas to prevent the dessert from becoming too soft.
- Prep Time: 15 min
- Cook Time: 15 min
- Category: Dessert
- Method: No-Bake
- Cuisine: American