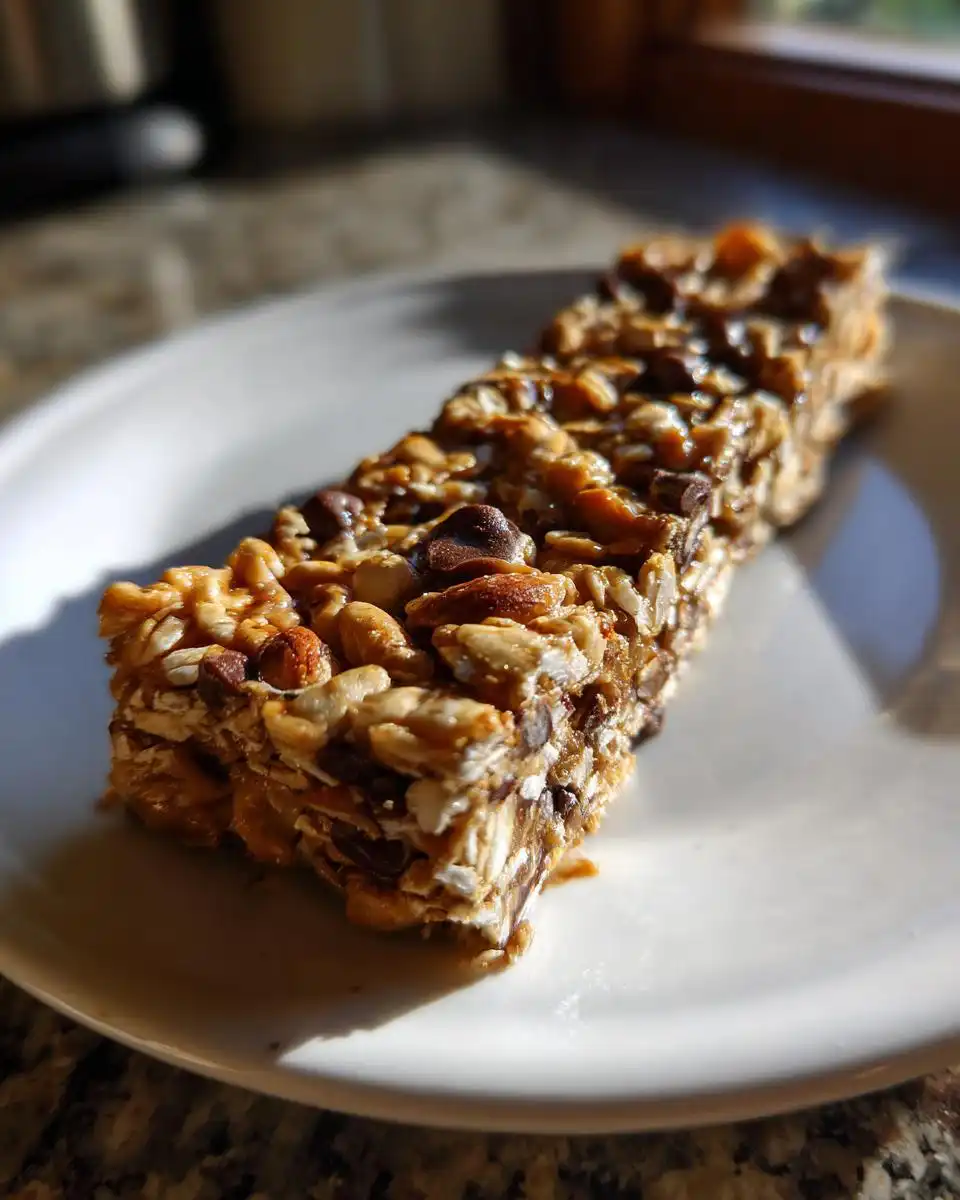
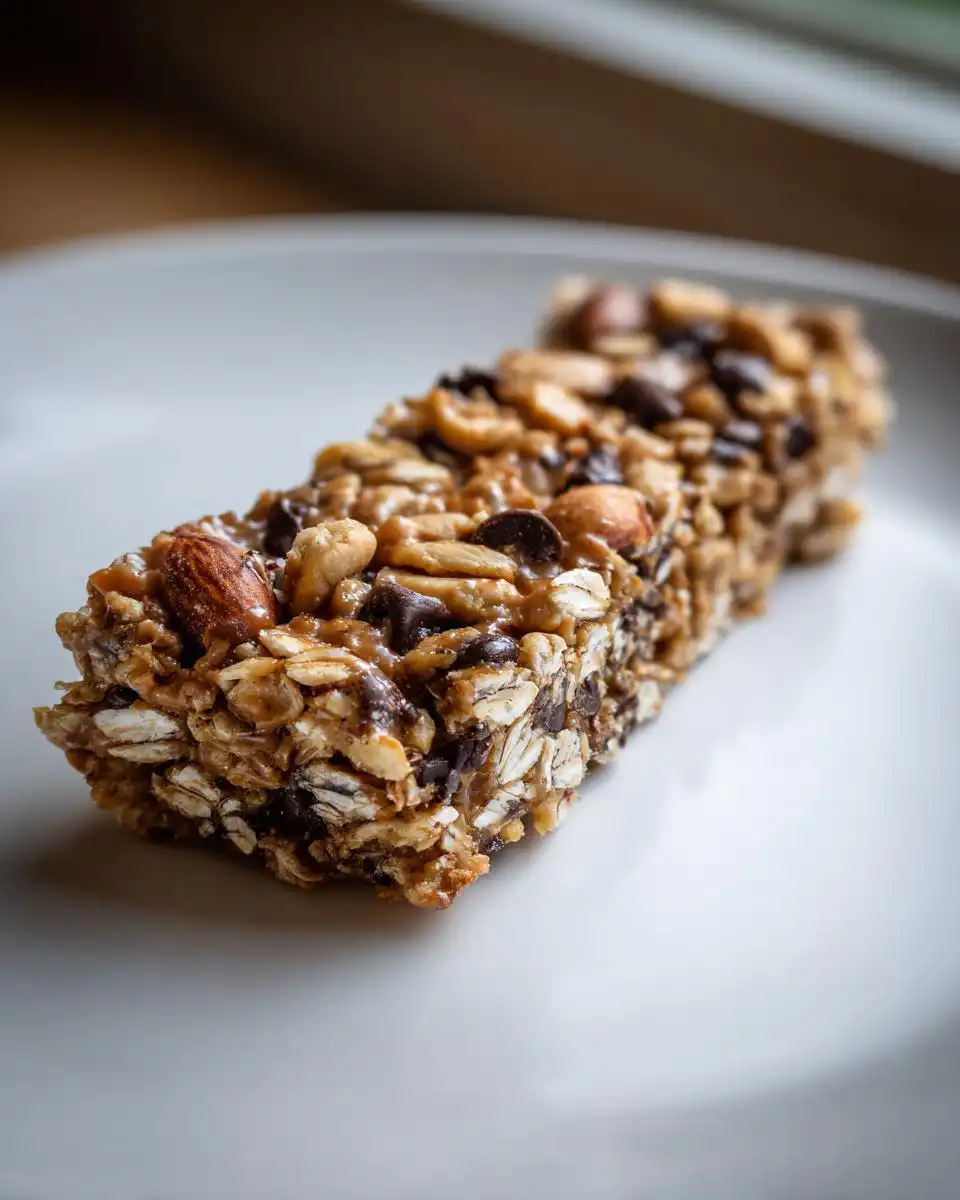
You know that 3 PM slump where you’re craving something sweet, but you don’t want the sugar crash that comes with a candy bar? I was right there with you last Tuesday, staring into my pantry, willing a magical snack to appear. That’s when I dreamed up these No-Bake Healthy Snickers Oat Bars Chewy. I needed something that felt like a legit treat—chewy, chocolaty, and peanut-buttery—but was actually made with stuff I could feel good about. After years of trying to make healthy versions of my favorite indulgences for my family, this is the one that actually nailed it. No oven, just seven simple ingredients, and you get all that classic Snickers flavor in a bar that’s packed with fiber and protein. Trust me, it’s the snack you didn’t know you needed.
Why You’ll Love These No-Bake Healthy Snickers Oat Bars Chewy
I make these bars almost weekly, and I swear, they’re the reason my pantry stays organized. No more frantic searches for a snack that doesn’t wreck my energy levels!
You don’t need your oven, which is perfect for hot summer days or when you just don’t want to deal with baking.
They come together in about 15 minutes of hands-on time, so you can whip them up while you’re waiting for your coffee to brew.
They’re sweetened naturally with honey or maple syrup, so you get that sweetness without the refined sugar spike.
They’re secretly packed with protein from the peanut butter and fiber from the oats, making them a seriously satisfying bite.
They’re a dream for meal prep—I make a batch Sunday and my whole family has grab-and-go snacks for the week. If you’re looking for more oat-based inspiration, check out my other healthy banana oat recipes for breakfast and snacks.
They hit that chocolate-and-peanut butter craving spot perfectly, so you actually feel like you’re having a treat, not just a “healthy” snack.
Ingredients for No-Bake Healthy Snickers Oat Bars Chewy
Okay, a quick pro tip before we start: try to have your peanut butter and sweetener at room temperature. It makes everything mix together so smoothly, which is the secret to that perfect, chewy texture. Don’t stress if you forget, it’ll still work, it just takes a little more arm muscle to stir!
- 2 cups rolled oats (old-fashioned kind are my favorite here for chewiness)
- 1 cup natural creamy peanut butter (the drippy kind, not the super-stiff stuff)
- 1/2 cup honey or pure maple syrup (I use honey for a richer flavor, maple for vegan)
- 1/4 cup unsweetened cocoa powder (this gives you that deep chocolatey taste)
- 1/4 cup chopped peanuts (for that classic Snickers crunch!)
- 1/4 cup dark chocolate chips (I get dairy-free ones to keep it vegan-friendly)
- 1 teaspoon pure vanilla extract (trust me, it makes a difference)
- A generous pinch of fine sea salt (it makes all the flavors pop)
That’s seriously it! This is the base that makes my family go crazy. If you love the peanut butter-oat combo as much as I do, you’ll also adore these other no-bake peanut butter oatmeal bars. They’re another one of my go-to snacks.
How to Make No-Bake Healthy Snickers Oat Bars Chewy: Step-by-Step
The best part about this process? You’re going to get your hands a little dirty. It’s the most fun, I promise. I also recommend making sure you have a nice, heavy-bottomed bowl for mixing – it makes the whole thing way less messy. If you’re into other easy, healthy treats, you should totally browse my collection of healthy no-bake dessert recipes for quick treats later!
Step 1: First, grab your 8×8 inch pan. Tear off a piece of parchment paper big enough to line the bottom and hang over two opposite sides. This is your lifeline for getting the whole slab of bars out later, so don’t skip it!
Step 2: In a big mixing bowl, dump in your peanut butter, honey (or maple syrup), and vanilla extract. Give it a really good stir with a sturdy spatula until it’s completely smooth and runny. This is the glue that holds everything together, so make sure there are no clumps of peanut butter hanging out.
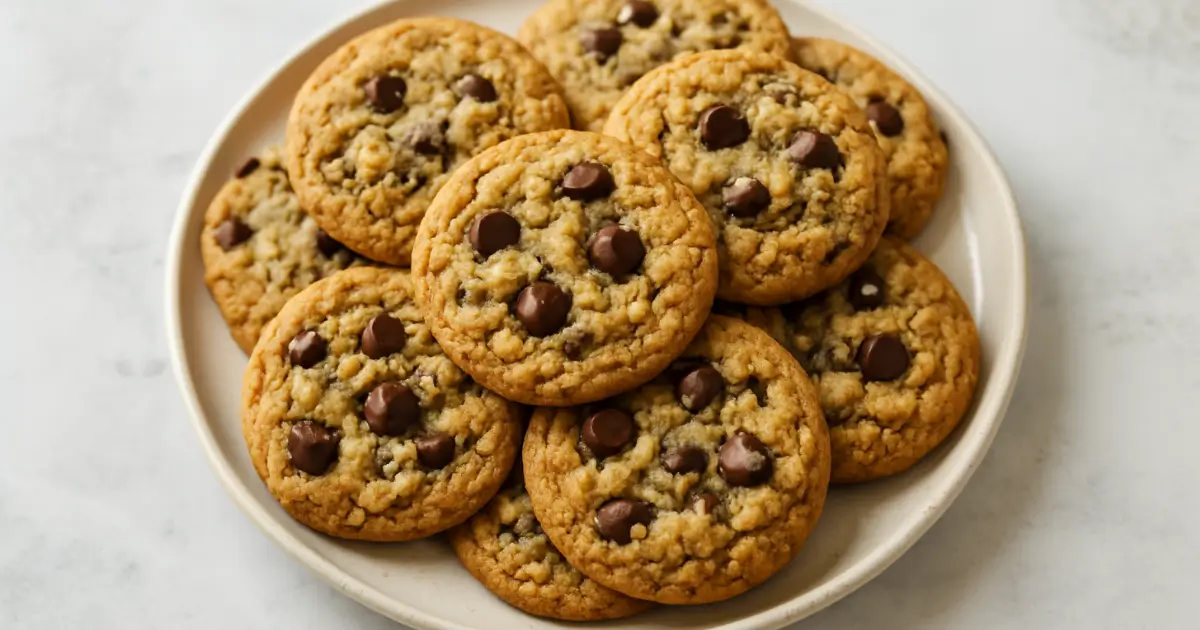
Step 3: Now, sprinkle in your rolled oats, cocoa powder, and that pinch of salt. This is where the arm workout happens! Stir, stir, stir until every single oat is coated in that gorgeous chocolate-peanut butter mixture. It should look like a thick, uniform dough. For more oat inspiration, check out my healthy breakfast cookies with oats and natural sweeteners.
Step 4: Time for the fun mix-ins! Gently fold in your chopped peanuts and dark chocolate chips. Don’t overmix here; you just want them evenly distributed. The little bursts of chocolate and crunch are the magic.
Step 5: Scrape the whole mixture into your prepared pan. Now, here’s the most important tip: PRESS IT DOWN FIRMLY. I mean it. Use the bottom of a flat glass or measuring cup, press down hard, and smooth the top. This is what keeps your bars from crumbling when you slice them. Get every corner packed in tight.
Step 6: Pop the pan into the fridge. I know it’s tempting, but you absolutely need to let it chill for at least 2 hours, ideally 3. This isn’t just about making them cold; it’s what gives you that perfect, fudgy, chewy texture we’re after. Patience is key!
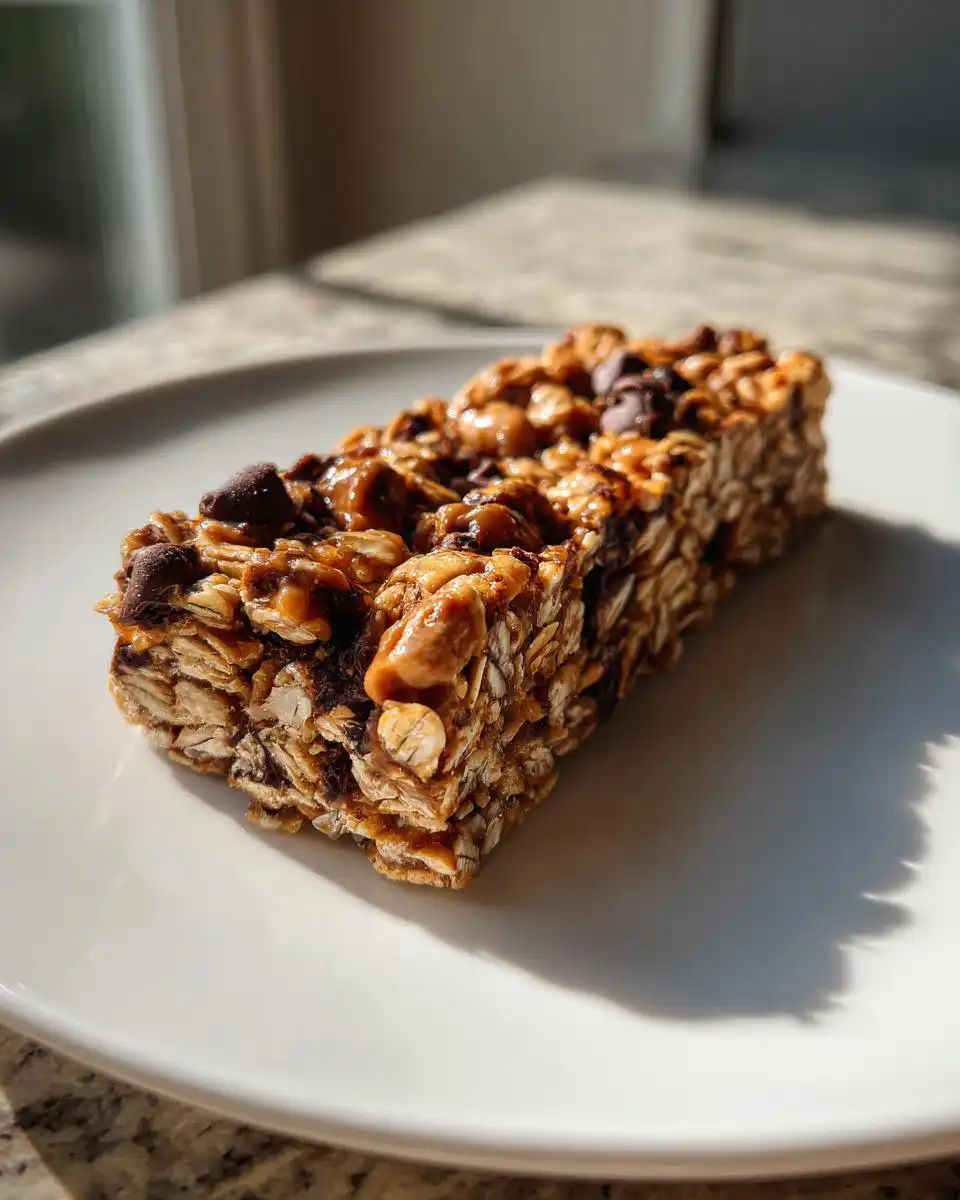
Step 7: Once they’re totally set, use the parchment paper handles to lift the whole block out of the pan. Place it on a cutting board and slice into bars with a sharp knife. I usually get 12, but you can make them bigger or smaller depending on your snack needs. Enjoy that first chewy, chocolaty, peanut-buttery bite – you earned it!
Expert Tips and Variations
After making these more times than I can count, I’ve picked up a few tricks. First, if your mixture looks a bit dry and crumbly when you’re mixing, don’t panic! Just add another tablespoon of peanut butter or honey until it holds together when you press it.
For the chewiest bars ever, use fresh, moist rolled oats. If your oats have been in the pantry for a while and seem dry, they can make the bars a bit more crumbly.
Swaps are totally welcome here. Try almond or cashew butter instead of peanut butter, or swap the peanuts for chopped almonds. For a fully vegan bar, maple syrup is your best friend.
For storage, just keep them in an airtight container in the fridge. They get even better after a day! For more snack inspiration and pretty food photos, I’m always pinning new ideas over on my Pinterest board.
Storage and Reheating Instructions for Your No-Bake Healthy Snickers Oat Bars Chewy
Keep your bars in an airtight container in the fridge for up to 1 week. They get even better and chewier after a day or two!
For longer storage, wrap each bar individually in plastic wrap or parchment paper and freeze them in a freezer bag for up to 2 months. Just thaw in the fridge overnight.
Don’t try to reheat these. They’re meant to be a cold, chewy snack, straight from the fridge. Trust me, they’re perfect that way.
My best meal prep tip? Slice all the bars at once and stack them in your container with small pieces of parchment paper between the layers. It makes grab-and-go so easy, just like my healthy chicken meal prep bowls for weight loss.
FAQ: No-Bake Healthy Snickers Oat Bars Chewy
Can I make these gluten-free?
Absolutely! Oats are naturally gluten-free, but they’re often processed in facilities with wheat. To be safe, just make sure the bag says “certified gluten-free.” Swap those in, and you’re all set for a gluten-free treat.
My mixture is super crumbly and won’t stick together. What did I do wrong?
Ah, I’ve been there! It usually means your peanut butter was a little dry or your oats were super thirsty. No big deal. Just add another tablespoon of honey (or maple syrup) or a spoonful of extra peanut butter. Mix it in until it holds together when you give it a good squeeze in your fist.
Can I swap the peanut butter for something else?
You sure can. Almond butter or cashew butter work great. Just know the flavor will be different—still delicious, but it’ll taste more like an almond joy than a snickers. It’s a fun way to mix things up!
Nutritional Information
I want to be super transparent with you about the nutrition for these bars. The values are always just estimates, and they can vary a lot depending on the exact brands you use—like whether your peanut butter is the super-runny natural kind or a thicker one, or if you use honey versus maple syrup. For the most accurate tracking for your diet, I always recommend plugging your specific ingredients into a calculator. This info is just meant as a helpful general guide from my kitchen to yours!
Before You Go
I truly hope you love these no-bake bars as much as my family does. They’re my secret weapon against the afternoon snack attack. If you give them a try, I’d be thrilled to hear how it went—leave a comment or snap a picture of your creation! Happy snacking!
Print
No-Bake Healthy Snickers Oat Bars
- Total Time: 2 hours 15 min
- Yield: 12 bars
Description
A chewy, no-bake snack bar with oats, peanut butter, and chocolate, inspired by Snickers candy bars.
Ingredients
- 2 cups rolled oats
- 1 cup natural peanut butter
- 1/2 cup honey or maple syrup
- 1/4 cup cocoa powder
- 1/4 cup chopped peanuts
- 1/4 cup dark chocolate chips
- 1 tsp vanilla extract
- Pinch of salt
Instructions
- Line an 8×8 inch baking pan with parchment paper.
- In a large bowl, mix the oats, peanut butter, honey, cocoa powder, vanilla, and salt until combined.
- Fold in the chopped peanuts and chocolate chips.
- Press the mixture firmly into the prepared pan.
- Refrigerate for at least 2 hours until set.
- Cut into bars and serve.
Notes
- Use creamy or crunchy peanut butter based on your preference.
- For a vegan version, use maple syrup and dairy-free chocolate.
- Store bars in the refrigerator for up to one week.
- Prep Time: 15 min
- Cook Time: 0 min