There’s something so wonderfully comforting about a proper afternoon tea, isn’t there? The clink of china, the pot of tea steaming away, and most importantly, a warm, crumbly scone split open and smothered with jam and cream. My quest for the perfect homemade version ended the day I started using Mary Berry’s legendary techniques. Her approach to Mary Berry classic perfect scones is a game-changer because it’s all about smart, simple methods, not fussy ingredients. I still remember the first batch I made; my mum took one bite, closed her eyes, and said, “Oh, that’s the one.” That light, fluffy texture, which can seem elusive, comes down to one brilliant trick: using frozen butter. It’s the secret to that melt-in-the-mouth crumb we all dream of. Honestly, once you’ve tried this method with ingredients you likely already have in your cupboard, you’ll never look back.
Why You’ll Love These Mary Berry Classic Perfect Scones
Trust me, once you get that first bite of a warm, homemade scone, the shop-bought ones just don’t compare. I love this recipe because it’s the perfect mix of a clever trick and pure simplicity.
The Fluffiest Texture Ever: That iconic, light-as-air crumb is what we’re all after, right? The frozen butter trick is Mary Berry’s genius—it creates tiny pockets of steam as it bakes, giving you that perfect rise and a tender, melt-in-your-mouth texture every single time.
Pantry-Staple Simple: I’m all about recipes that don’t need a special shopping trip. You probably have the flour, sugar, and baking powder already. The heavy cream and egg are the only fresh bits you need to grab, making it so easy to whip up a batch on a whim.
Quick & Effortless: From bowl to oven in about 15 minutes of active work! There’s no proving time like with bread, and the dough comes together with just a gentle mix. It’s the ideal weekend baking project when you want something impressive without the whole-day commitment.
Totally Your Own: This is where the fun starts. Keep them classic and plain, or fold through a handful of chocolate chips for my kids, or some fresh blueberries for a summery twist. They’re the perfect blank canvas. If you fancy another fruity scone variation, my healthy lemon blueberry cottage cheese scones are a lovely, protein-packed alternative for a different day.
Ingredients for Your Mary Berry Classic Perfect Scones
I always weigh my flour for the most consistent results, but if you’re using cups, make sure to spoon the flour into the cup and level it off with a knife. Don’t scoop straight from the bag—it packs in too much flour and your scones can end up dry.
- 2 cups all-purpose flour, spooned and levelled
- 1/2 cup granulated sugar
- 1/2 teaspoon salt
- 2 1/2 teaspoons baking powder
- 1/2 cup unsalted butter, frozen (this is the secret to that perfect crumb!)
- 1/2 cup heavy cream, plus 2 tablespoons extra for brushing the tops
- 1 large egg
- 1 1/2 teaspoons vanilla extract
- 1 cup chocolate chips OR fresh berries (choose one or mix them—I love a half-and-half batch)
- 2 tablespoons coarse sugar, for sprinkling
How to Make Mary Berry Classic Perfect Scones: Step-by-Step
Alright, let’s get baking! My biggest tip? Get your frozen butter grated and ready before you do anything else. It makes the whole process so much smoother, and it’s the key to that dreamy, flaky texture. Trust me on this one.
Step 1: Grab a big mixing bowl and whisk together your flour, sugar, salt, and baking powder. You just want everything nicely combined, no need to go mad with it. This little whisk aerates the dry ingredients, which is a great head start for lighter scones.
Step 2: Here comes the magic trick! Take your brick of frozen butter and grate it straight into the flour mixture using the coarse side of your box grater. It’s a bit of an arm workout, but it’s worth it. Quickly use your fingertips to rub the butter shreds into the flour until the whole thing looks like chunky, uneven breadcrumbs. You want to see little pea-sized bits of butter—those will melt in the oven and create the most wonderful flaky layers.
Step 3: In a separate jug or bowl, whisk the 1/2 cup of heavy cream, the egg, and the vanilla extract until it’s completely smooth and lovely. Make a well in the centre of your dry ingredients and pour this wet mixture in. If you’re adding chocolate chips or berries, scatter them over now.
Step 4: This is the most important step: be gentle! Use a fork or a blunt kitchen knife to mix everything together. It’ll look shaggy and a bit dry at first, but keep going just until a soft dough starts to clump together. The second it forms a cohesive ball, stop. Seriously, walk away from the bowl! Overmixing is the enemy of tender scones, as it develops the gluten and makes them tough. If the dough feels too sticky to handle, a light sprinkle of flour on your hands and the work surface will sort it out.
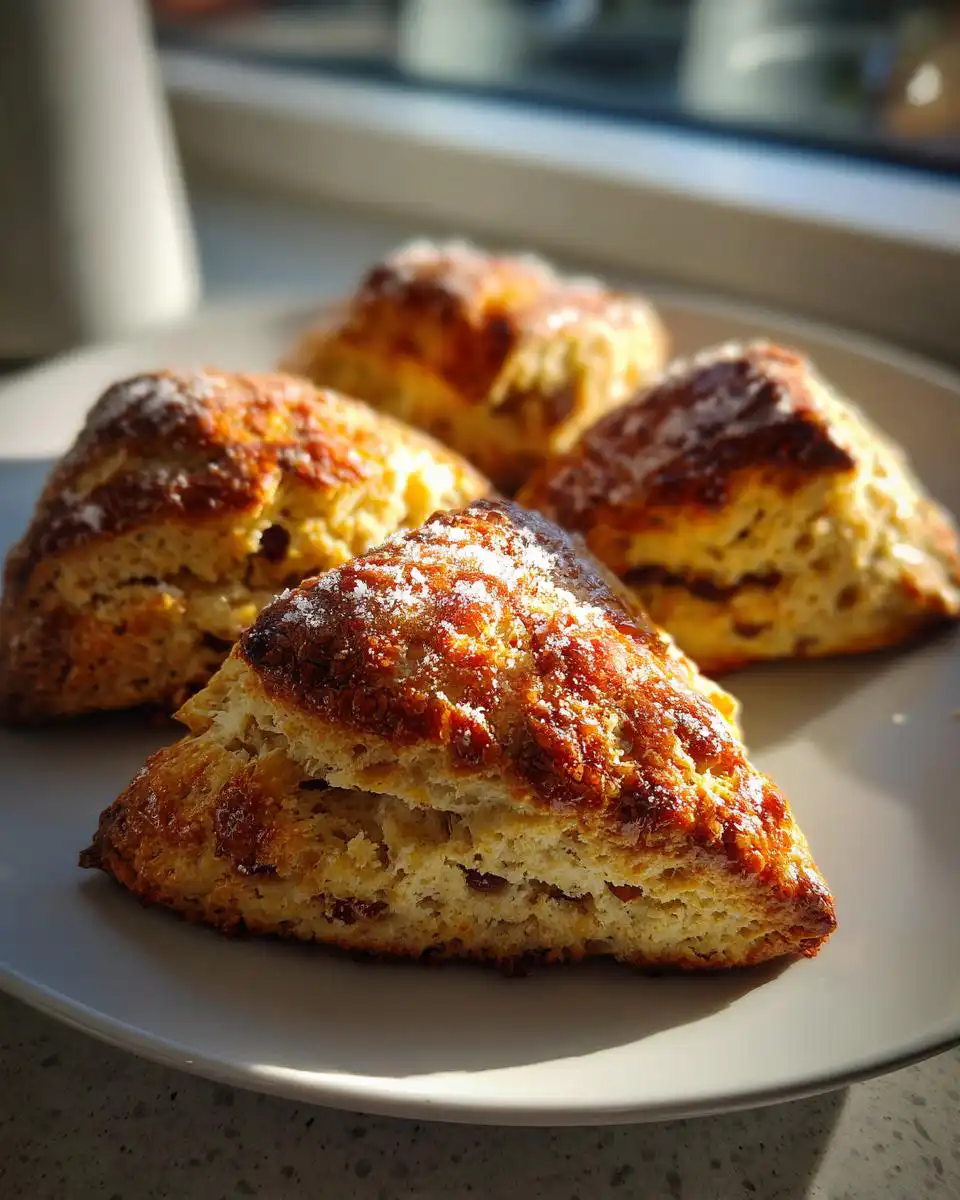
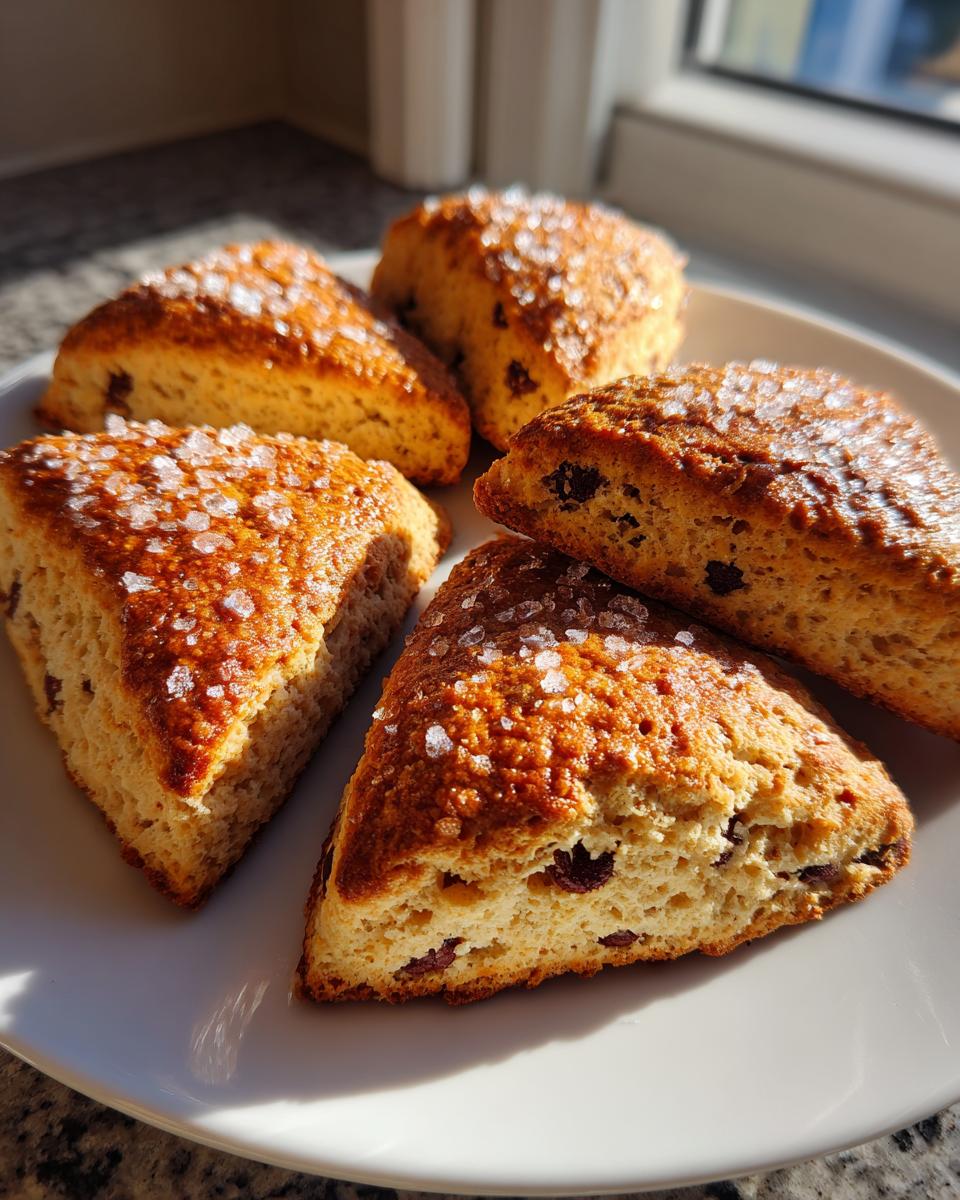
Step 5: Lightly flour your worktop and tip the dough out. Gently pat and shape it—don’t roll it aggressively—into a round disc that’s about 8 inches across and 1 inch thick. Using a sharp knife, cut it into 8 even wedges, like you’re cutting a pizza. This method is so much easier than messing with round cutters and re-rolling scraps. Place the wedges on a baking tray lined with parchment paper, leaving a little space between them so they can expand.
Step 6: Brush the tops of each scone with the extra 2 tablespoons of cream. This gives them that gorgeous golden-brown colour. Then, sprinkle generously with the coarse sugar for a lovely sweet crunch. Now, pop the whole tray into the fridge for 15 minutes. This short chill relaxes the gluten and firms up the butter again, which helps them rise straight up in the oven instead of spreading out. While they’re chilling, preheat your oven to 200°C (400°F) so it’s perfectly hot and ready.
Step 7: Bake your scones for 20 to 25 minutes. You’ll know they’re done when they’re beautifully puffed up, a deep golden brown on top, and they sound slightly hollow if you tap the bottom. Let them cool on the tray for about 10 minutes before you dive in—they’re fragile when piping hot! The technique here is quite similar to making fluffy buttermilk biscuits, all about that gentle touch with the dough. Serve them warm, split open, and loaded with your favourite toppings. Enjoy!

What to Serve with Your Classic Perfect Scones
For me, the absolute joy of a warm scone is all about the toppings. It’s like a delicious, edible art project where you get to be the artist!
Clotted Cream & Strawberry Jam: This is the classic for a reason. The rich, velvety cream and sweet, fruity jam are a match made in heaven. The key is to slather on the cream first, then top with jam – it’s the Devonshire way and it just feels right.
Lemon Curd: If you fancy something a bit zingy, a dollop of sharp, sunny lemon curd is perfection. Its bright tartness cuts through the buttery scone beautifully. It’s my go-to when I want to feel a bit fancy without much effort.
Whipped Honey Butter: This is my favourite lazy-day treat. Just whip together equal parts soft butter and runny honey until it’s fluffy. It melts into the warm scone, giving you sweet, buttery goodness in every single bite.
Fresh Berries & Mint: For a lighter, fresher feel, pile on some seasonal berries with a few torn mint leaves. It adds a lovely pop of colour and a burst of juice that’s just delightful. For another fresh, creamy topping idea, my easy homemade tzatziki sauce is brilliant with savoury cheese scones, but that’s a story for another day!
Storage and Reheating Instructions for Perfect Scones
Honestly, the best way to eat them is fresh and warm, but these store and reheat brilliantly. The trick is all about protecting that lovely texture.
For the fridge, pop any cooled scones into an airtight container. They’ll stay lovely for up to 2 days. If you want to keep them longer, the freezer is your best friend. Wrap each scone tightly in cling film, then pop them all into a freezer bag. They’ll be perfect for up to a month.
My favourite reheating trick is to warm them in a 160°C (325°F) oven or air fryer for 5-7 minutes. It restores that just-baked warmth and gives the outside a little crispness again. Avoid the microwave if you can – it makes them a bit soft and steamy.
Here’s a brilliant meal prep tip: after you’ve cut your dough into wedges, instead of baking them all, freeze some on a tray. Once frozen solid, transfer the unbaked wedges to a bag. Then, you can bake a couple of fresh scones anytime you fancy – just add a few extra minutes to the baking time. It’s like having a bakery in your freezer!
Mary Berry Scones FAQ
I get asked these questions all the time! Don’t worry if you’ve wondered the same thing—we’ve all been there.
Can I use milk instead of heavy cream?
You can, but the results will be different. Heavy cream gives that incredible richness and tender crumb that makes these classic scones so special. If you only have milk, use full-fat and expect a slightly less rich and fluffy texture.
Why is my dough so sticky?
It happens, especially on a warm day! Just sprinkle a little extra flour onto your hands and the work surface. Handle it as lightly and minimally as you can to bring it together. Remember, a slightly sticky dough is better than an overworked, tough one.
Can I make the dough ahead of time?
Absolutely! This is a great little trick. After you’ve shaped and cut your scones, pop the tray into the fridge, covered, overnight. In the morning, just brush them with cream, sprinkle with sugar, and bake. It’s the perfect way to have fresh afternoon tea treats with zero morning fuss.
Nutritional Information for Mary Berry Classic Perfect Scones
Just a quick little note from me on the nutrition side of things!
Please remember, the nutritional info for these scones is always going to be an estimate. It really depends on the specific brands you use and, most importantly, your choice of add-ins. A scone packed with dark chocolate chips will be different from one bursting with fresh raspberries. If you’re tracking things closely for dietary needs, your best bet is to calculate it using the exact ingredients you’ve got in your kitchen.
Before You Go
I really hope you give these a go! They’re such a joyful little bake. If you do, please let me know how you get on—I’d love to hear if they brought a bit of afternoon tea bliss to your kitchen. You can always share your baking wins with me over on Pinterest, too. Happy baking!
Print
Mary Berry Classic Perfect Scones
- Total Time: 55 min
- Yield: 8 scones
- Diet: Vegetarian
Description
Light, fluffy scones made with simple ingredients, ideal for afternoon tea.
Ingredients
- 2 cups all-purpose flour
- 1/2 cup granulated sugar
- 1/2 teaspoon salt
- 2 1/2 teaspoons baking powder
- 1/2 cup unsalted butter, frozen
- 1/2 cup heavy cream, plus 2 tablespoons for brushing
- 1 large egg
- 1 1/2 teaspoons vanilla extract
- 1 cup chocolate chips or fresh berries
- 2 tablespoons coarse sugar
Instructions
- Whisk the flour, sugar, salt, and baking powder in a large bowl until combined.
- Grate the frozen butter and add it to the flour. Mix with your fingers until it resembles crumbs.
- Whisk the heavy cream, egg, and vanilla extract in a separate bowl until smooth.
- Pour the wet mixture into the dry ingredients and add your chosen add-ins. Mix gently until a soft dough forms. Do not overmix.
- Turn the dough onto a floured surface and shape into an 8-inch round disc. Add a little flour if sticky.
- Cut the disc into 8 wedges and place them on a lined baking tray, spaced apart.
- Brush the tops with extra cream and sprinkle with coarse sugar.
- Chill the scones in the fridge for 15 minutes.
- Preheat your oven to 200°C (400°F).
- Bake for 20–25 minutes until golden and set.
- Let cool slightly before serving.
Notes
- Serve with jam and cream.
- Handle the dough lightly for a tender texture.
- Prep Time: 30 min
- Cook Time: 25 min
- Category: Baking
- Method: Baking
- Cuisine: British