There’s just something *magical* about baking with a sourdough starter, isn’t there? The way simple flour and water transform into this living, breathing thing that makes the most incredible bread. Honestly, when I first started, I thought creating a sourdough starter was some super complicated, secret art that only bakers with decades of experience could master. But trust me, it’s totally doable! This beginner-friendly guide walks you through making your very own active sourdough starter using just flour and water. It’s way easier than you think, and the reward of that first homemade loaf? Priceless!
Why You’ll Love This Easy Sourdough Starter Recipe
Seriously, this recipe is a game-changer for anyone wanting to dive into sourdough. Here’s why you’ll totally love it:
- Super Simple: Just flour and water – that’s it! No fancy stuff needed.
- Beginner-Friendly: I broke it down day-by-day so there’s no guesswork.
- Rewarding: You’re creating something alive that will make amazing bread!
- Budget-Friendly: Way cheaper than buying a starter or fancy mixes.
What You Need to Make Your Sourdough Starter
Getting started with your very own sourdough starter is exciting, and honestly, you don’t need much! It’s all about simplicity. Having the right bits and pieces ready to go makes the whole process so much smoother. Just think of it as setting up your little starter for success right from the get-go. Here’s a quick rundown of what you’ll need.
Ingredients for Your Sourdough Starter
You only need two things to get this baking magic going:
- 1 cup of all-purpose flour (all you’ve really got to worry about!)
- 1/2 cup of lukewarm water (not too hot, not too cold – just right!)
Essential Equipment for Sourdough Starter
And for tools, keep it simple:
- A clean glass jar (a 1-quart size is perfect, so your starter has room to grow)
- A loose-fitting lid, plastic wrap, or a clean cloth to cover it
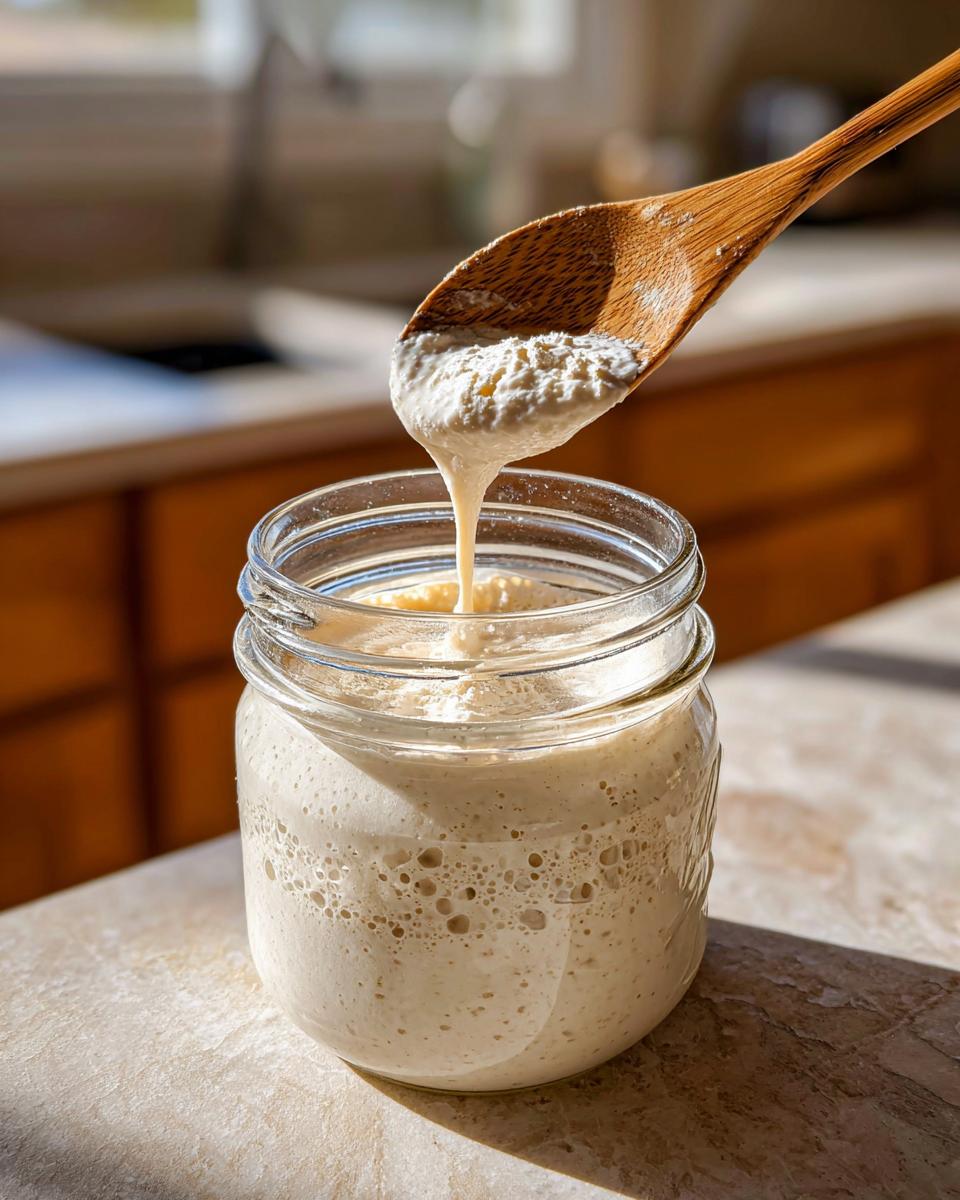
Step-by-Step Guide to Creating Your Sourdough Starter
Okay, here’s where the real fun begins! Making your own sourdough starter might sound intimidating, but honestly, it’s more of a waiting game than anything else. Think of it like nurturing a little baking buddy. I’ve tried to make this super clear, like I’m right there with you in the kitchen.
Day 1: The Beginning of Your Sourdough Starter
Alright, first things first! Grab your clean jar. In it, you’re going to mix the 1 cup of all-purpose flour with the 1/2 cup of lukewarm water. Just stir it all up until it’s like a thick, gloopy batter. Don’t pack it in tight – just loosely cover the top with a lid, some plastic wrap, or even a clean tea towel secured with a rubber band. Pop it somewhere cozy on your counter, away from drafts, and let it chill for 24 hours. Easy peasy for day one!
Day 2: First Feeding and Observation
Morning of day two! Give your starter a peek. See any tiny bubbles looking back at you? That’s a good sign! It means things are getting lively in there. Now, grab a spoon and scoop out about half of the mixture – don’t feel bad, it’s for the starter’s own good! Then, add another cup of flour and half a cup of water to what’s left. Stir it all up again, cover it loosely, and let it hang out for another 24 hours. This discard and feed routine is key!
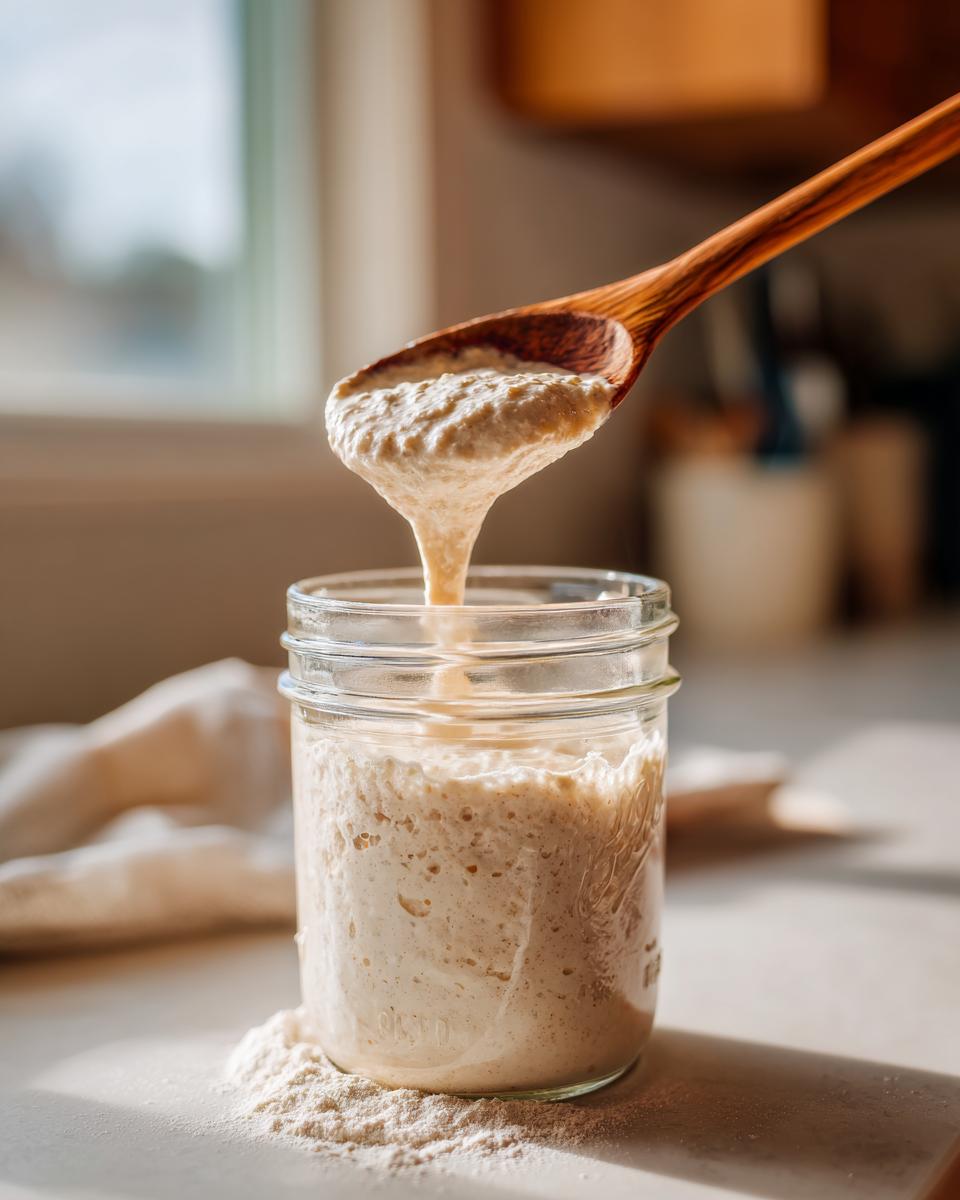
Days 3-6: Consistent Feeding for a Strong Sourdough Starter
This is where you get into the rhythm. For the next few days, you’ll do the exact same thing: discard about half of the bubbly starter, then feed what remains with a fresh cup of flour and half a cup of water. Stir, cover loosely, and let it rest for a full day. Consistency is your best friend here! You’re basically creating a stable environment for those wild yeasts and bacteria to really get going. It might seem repetitive, but each feeding builds strength.
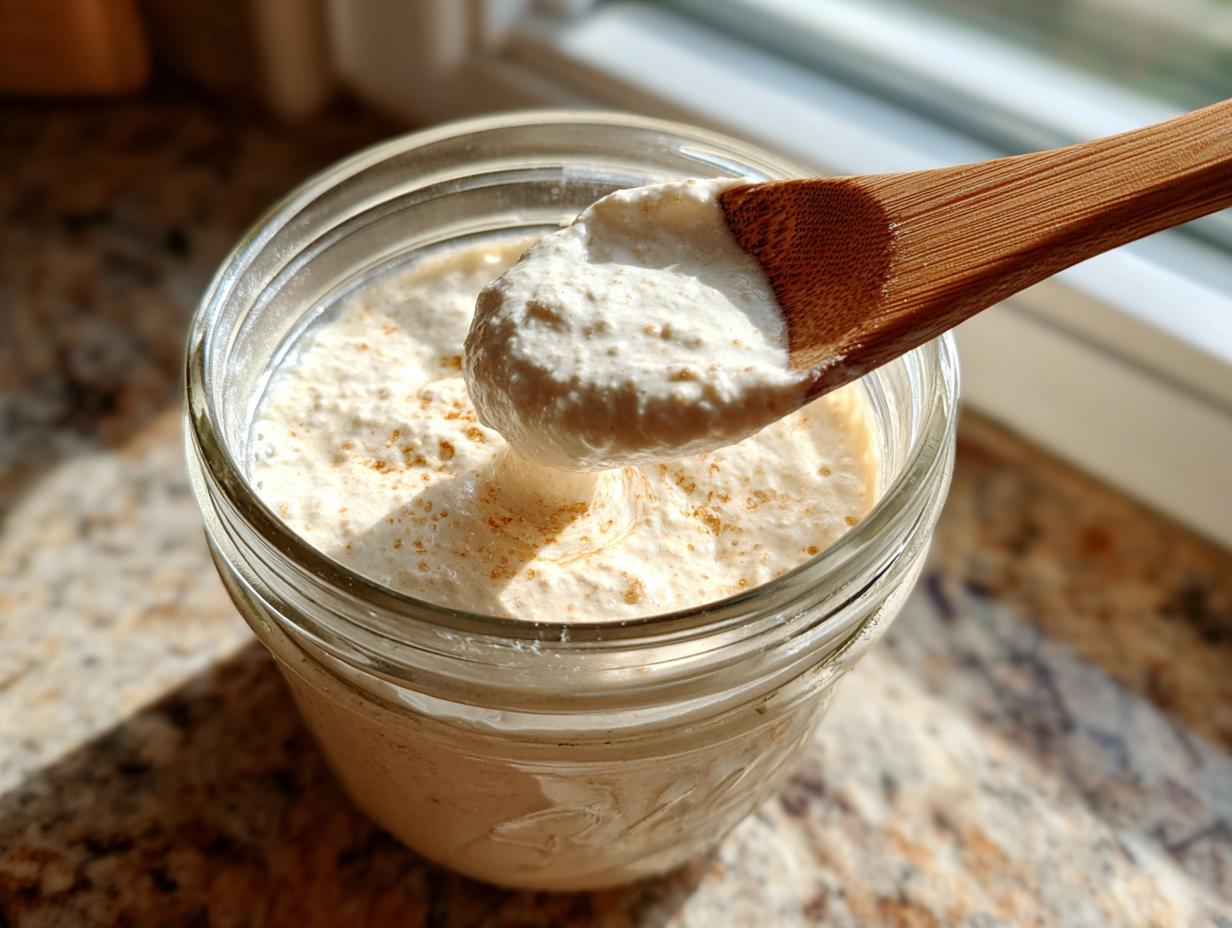
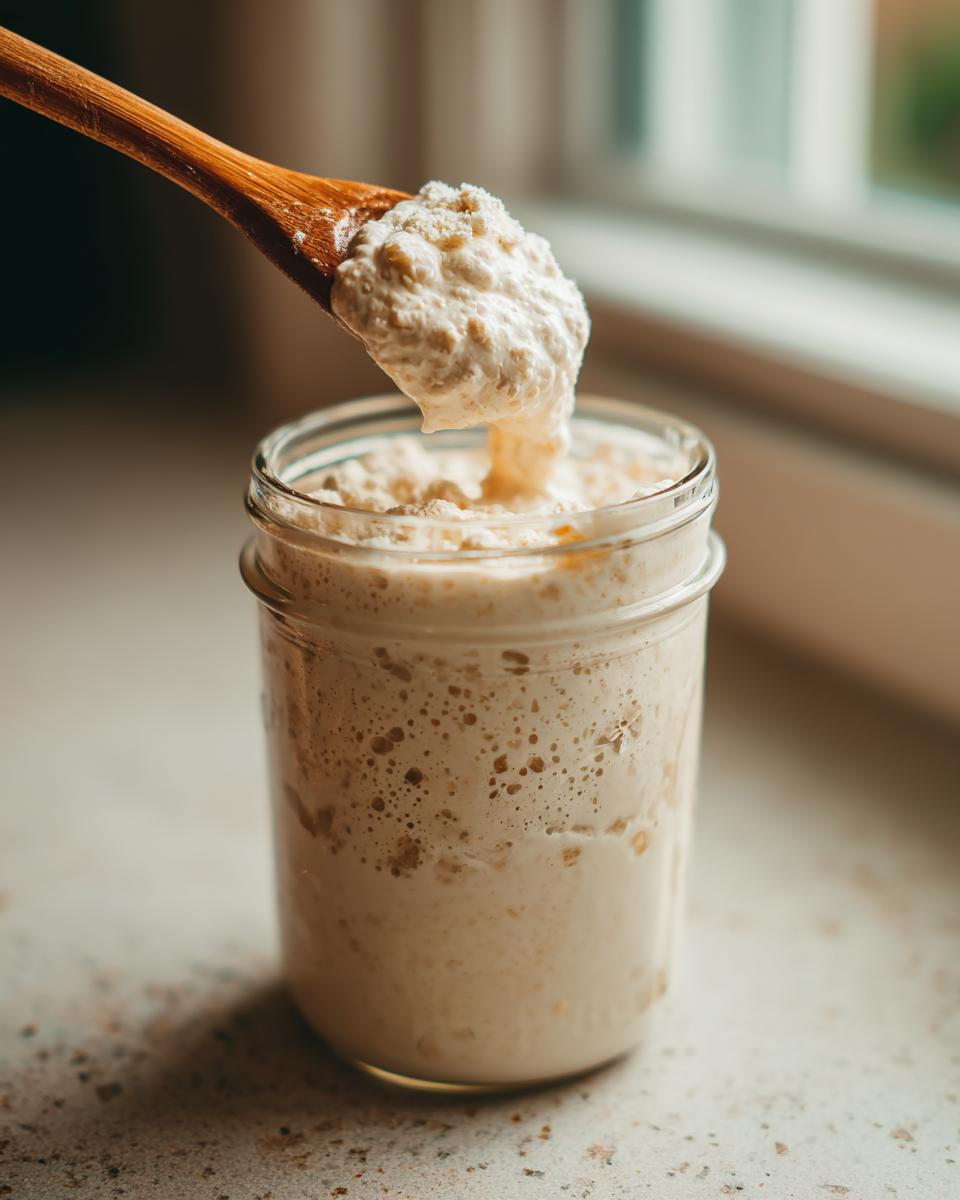
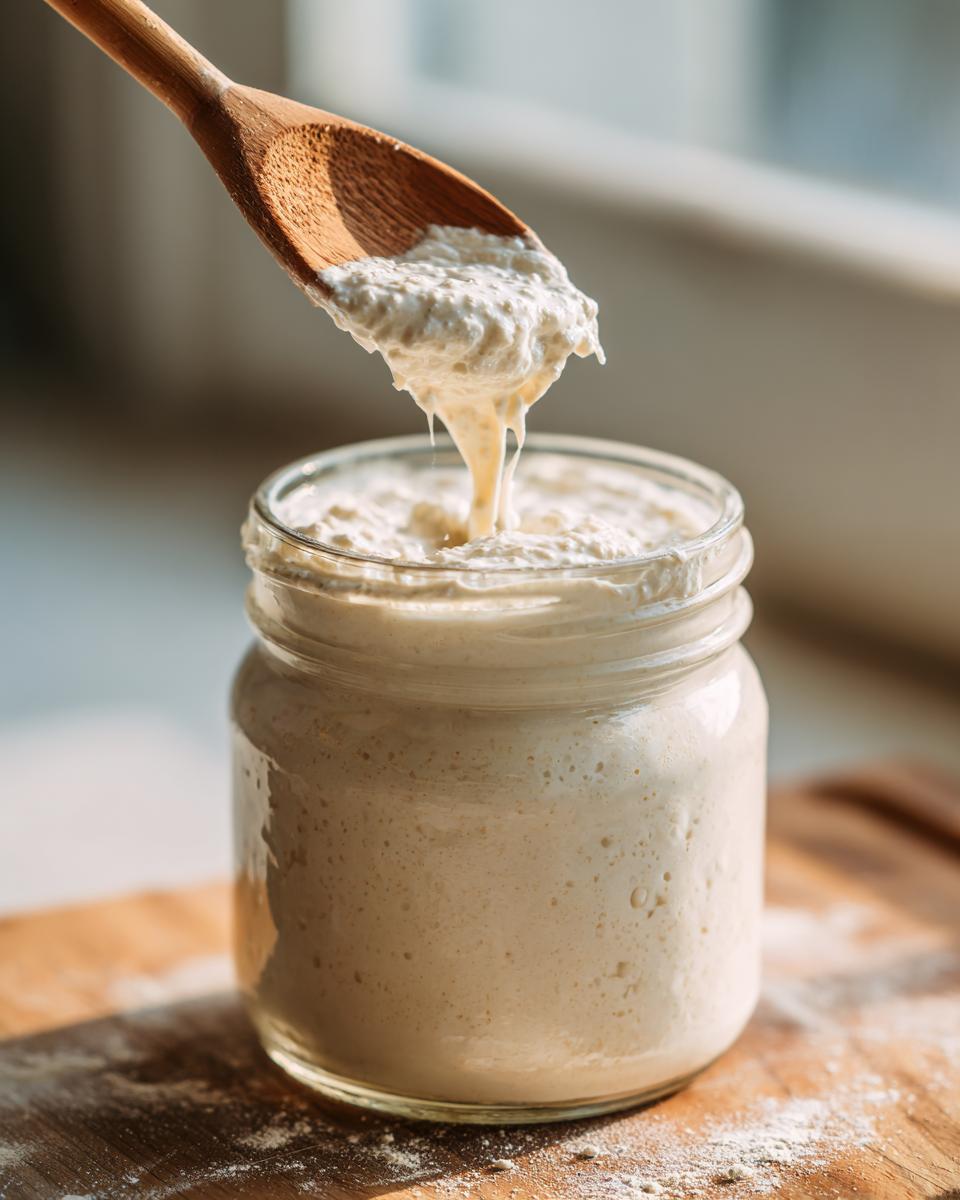
Signs Your Sourdough Starter is Ready
So, how do you know when your little starter is ready to rock and roll for baking? Keep an eye out for a few things. You’ll see it consistently bubbly, like a tiny volcanic eruption happening in the jar. It should also have a pleasant, slightly tangy smell – not funky or gross, but clean and yeasty. The biggest clue? It should reliably double in size within a few hours after you feed it. Once you see these signs regularly, you’ve got an active, happy sourdough starter!
And hey, if you’re already dreaming of that first loaf, check out my Guide to Baking Your First Homemade Sourdough Loaf for when you’re ready to go!
Tips for Sourdough Starter Success
Okay, so you’ve got your bubbly, tangy starter ready to go, which is amazing! But keeping it happy and healthy is where the real fun continues. A little bit of attention goes a long way. Don’t worry, it’s not a high-maintenance pet, just a happy little pantry resident that needs a gentle routine. Following a few simple tips will make sure your sourdough journey is full of delicious bread and not frustration!
Maintaining Your Active Sourdough Starter
Once your starter is consistently active and doubling after feedings, congrats! You can store it in the fridge. This slows down fermentation and means you only need to feed it once a week. Just take it out, let it come to room temperature, feed it as usual (discarding half first!), and pop it back in the fridge once it’s bubbly again. Easy peasy for regular baking!
Troubleshooting Common Sourdough Starter Issues
Sometimes, things get a little… weird. If you see any fuzzy mold, that’s a no-go – toss it and start over. If it’s just not bubbly, try a warmer spot or maybe a different flour. A slightly boozy smell is usually okay (it’s alcohol!), but if it smells truly rotten, discard and restart. Don’t be afraid to experiment a little!
If you’re ready to bake with your new creation, dive into my recipe for your first perfect sourdough loaf!
Frequently Asked Questions About Your Sourdough Starter
Wondering about all things sourdough starter? It’s totally normal to have a few questions pop up as you’re creating this little bit of baking magic. I get asked about it all the time, so let’s clear up some of the common stuff.
What kind of flour is best for a sourdough starter?
You can totally use all-purpose flour like we did in the main recipe, and it works great! But, if you want to give your starter a little extra boost, try using some whole wheat or even rye flour. They have more nutrients that can really kickstart the fermentation process and make it super active.
How do I know if my sourdough starter is dead?
Oh noes! If you see any fuzzy mold growing on it, that’s a definite sign it’s gone bad and you’ll need to start over. Also, if your starter has absolutely zero activity for a week or more, and smells truly awful (like rotten eggs), it’s probably time to say goodbye and make a fresh one.
Can I use bottled water for my sourdough starter?
Yep, you sure can! Filtered water or spring water is usually best because it doesn’t have any chlorine that might mess with the good bacteria you’re trying to encourage. If you only have tap water, just leave it sitting out in an open container for a few hours or overnight. This lets the chlorine evaporate, making it perfect for your starter.
Nutritional Information for Your Sourdough Starter
Now, let’s talk about the nitty-gritty nutrition stuff. Keep in mind that this is a highly estimated breakdown, since a sourdough starter isn’t really “served” in portions like a finished dish. Think of these numbers as a rough guide for the basic flour and water! It’s pretty negligible, but good to know.
Ready to Bake Your First Loaf?
You’ve done it! You’ve cultivated your very own sourdough starter, and now the real baking adventure begins. Head over to my Easy Homemade Sourdough Loaf recipe to turn that bubbly magic into your first delicious loaf. Don’t forget to let me know how it goes in the comments below – I can’t wait to hear all about your sourdough journey!
Print
Easy Sourdough Starter for Beginners
- Total Time: 5 minutes
- Yield: 1 sourdough starter jar 1x
- Diet: Vegetarian
Description
Create an active sourdough starter from scratch using only flour and water. This beginner-friendly guide provides daily feeding instructions for homemade bread.
Ingredients
- 1 cup all-purpose flour
- 1/2 cup water
Instructions
- Day 1: In a clean glass jar, mix 1 cup flour and 1/2 cup water to form a thick batter. Cover loosely and leave at room temperature for 24 hours.
- Day 2: If bubbles appear, discard about half of the mixture. Feed the remaining starter with 1 cup flour and 1/2 cup water. Stir well, cover loosely, and let sit for 24 hours.
- Days 3-6: Repeat the discard and feeding process daily using 1 cup flour and 1/2 cup water.
- Your starter is ready when it is consistently bubbly, smells slightly tangy, and doubles in size within a few hours after feeding.
Notes
- Once active, store your starter in the refrigerator.
- Feed your starter once a week to maintain its health for baking.
- Prep Time: 5 minutes
- Cook Time: 0 minutes
- Category: Baking
- Method: Fermentation
- Cuisine: International
Nutrition
- Serving Size: 1 starter jar
- Calories: 20
- Sugar: 0g
- Sodium: 0mg
- Fat: 0g
- Saturated Fat: 0g
- Unsaturated Fat: 0g
- Trans Fat: 0g
- Carbohydrates: 4g
- Fiber: 0g
- Protein: 1g
- Cholesterol: 0mg