
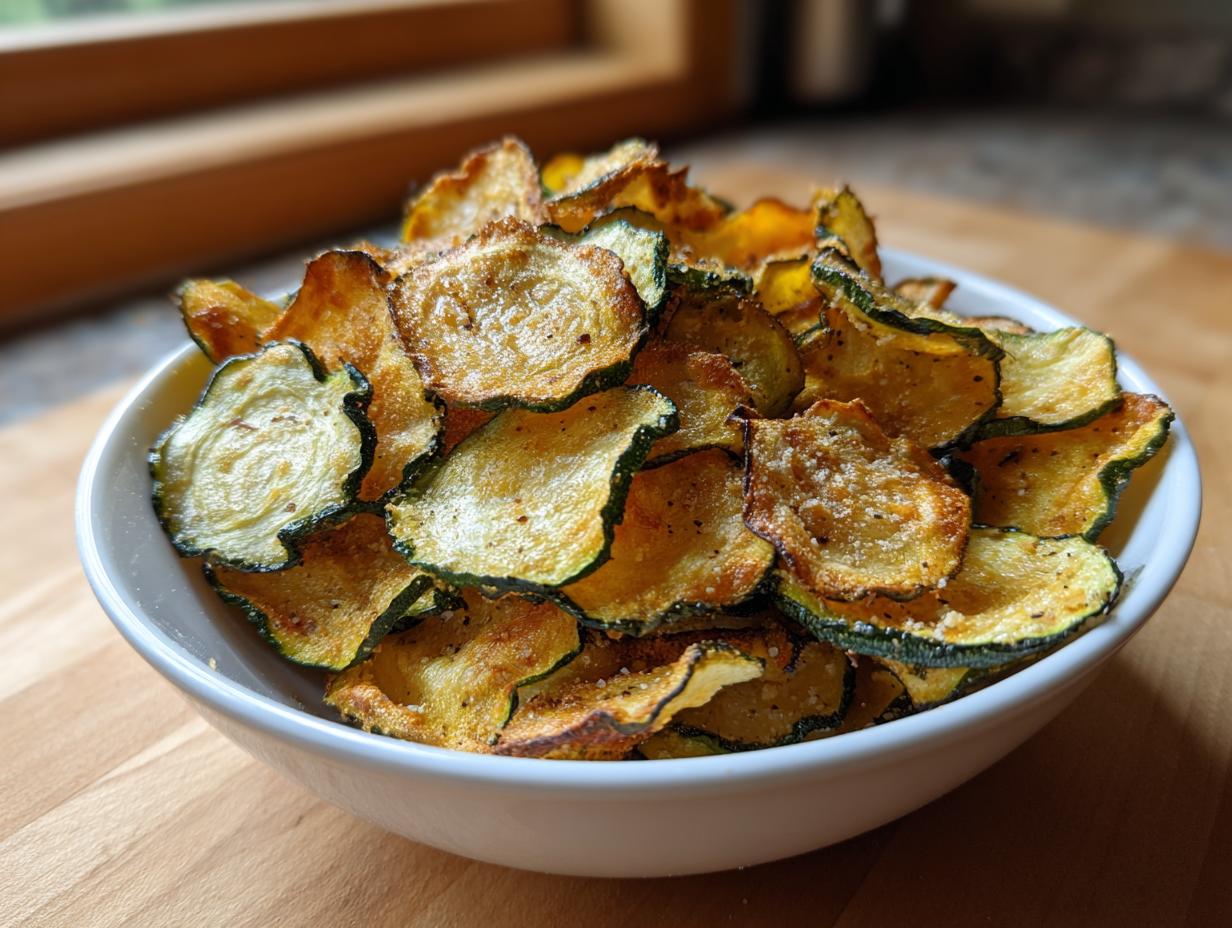
I swear, I was in a serious chip rut. You know how it is—you want that salty, vinegary punch, but you don’t want the guilt of a whole bag of fried potatoes staring back at you. That’s exactly why I spent an entire afternoon messing around with my mandolin until I landed on this absolute winner: Salt and Vinegar Zucchini Chips. Wow! They are ridiculously crispy, packed with that sharp tang we all crave, and honestly, they feel like cheating because they’re so light.
This recipe changed my snack game completely. I used to think healthy snacks meant sad celery sticks, but these chips prove you can have maximum flavor with minimal fuss. Trust me, once you get the slicing right, you’ll be hooked on this healthy alternative to your favorite store-bought crunch. Wow!
Gathering Your Ingredients for Salt and Vinegar Zucchini Chips
Okay, getting ready for these Salt and Vinegar Zucchini Chips is almost as fun as eating them, and it’s crucial you have everything ready to go before you start slicing. Because zucchini holds so much water, precision here really pays off! Don’t skimp on the vinegar, either; that’s where all the magic tang comes from.
This list looks short, but every item plays a huge role in getting that perfect oven-baked crispness. I always lay everything out on the counter so I can grab and go. Seriously, timing is everything when you’re tossing them in that seasoned bath!
Essential Components for Perfect Salt and Vinegar Zucchini Chips
You only need a few things from the pantry, but pay attention to the zucchini prep. This is non-negotiable for crunch!
- One medium zucchini—make sure it’s firm, not spongy, please!
- One tablespoon of apple cider vinegar. Don’t swap this for white vinegar; the cider has a milder, fruitier tang that works better here.
- One tablespoon of good quality olive oil.
- A quarter teaspoon of salt. We’ll add more later, but this is for the initial coating.
- A quarter teaspoon of black pepper.
- Half a teaspoon of dried dill if you like that herby kick—it’s totally optional, but I love it!
Equipment Needed for Baking Salt and Vinegar Zucchini Chips
You don’t need fancy gadgets, but you do need the right cutting tool. If you want chips that are uniform, you have to be consistent with the thickness.
- Two full baking sheets. You absolutely cannot overcrowd these, or you’ll end up with steamed zucchini instead of chips!
- Parchment paper to line those sheets—this makes cleanup a dream.
- A large mixing bowl for tossing everything together.
- A mandolin slicer is my secret weapon for getting those paper-thin rounds, but if you don’t have one, a very sharp knife works too. Just take your time!
Step-by-Step Instructions for Salt and Vinegar Zucchini Chips
Getting these Salt and Vinegar Zucchini Chips perfect is all about temperature control and patience. We are going low and slow in the oven, which is key to drying them out without burning them. Follow these steps exactly, and you’ll pull out the crispiest chips you’ve ever made at home!
Preparing the Zucchini and Flavor Coating
First things first: the oven needs to get ready! Preheat your oven to a very low 225°F. This low temperature is what helps dehydrate the chips rather than bake them fast. While that’s warming up, line two large baking sheets completely with parchment paper. Remember, we need space for these chips to breathe!
Now for the slicing. Grab your mandolin or your sharpest knife and slice that zucchini into rounds that are about 1/16 inch thick. I mean paper-thin! If they are too thick, they just won’t crisp up properly, and we want true chip texture here. Once they are sliced, toss them straight into a large bowl.
In a small separate bowl, whisk together your apple cider vinegar, olive oil, salt, and pepper until they are nicely combined. Pour this mixture over the zucchini slices. Gently toss everything with your hands—you want to make sure every single slice gets coated in that tangy vinegary goodness. Don’t let them sit too long; we want them coated, not soggy!
Baking for Maximum Crispness in Salt and Vinegar Zucchini Chips
This next step is where people mess up their Salt and Vinegar Zucchini Chips, so listen up! Arrange the seasoned slices onto your prepared baking sheets in a single, even layer. They can gently touch, but they absolutely cannot overlap. If they overlap, they steam, and steaming means soft chips. We are aiming for crispy!
Slide those trays into the preheated oven. They need a long bake time—about 2 hours total. About halfway through, maybe around the one-hour mark, pull the trays out and rotate them. This ensures the chips on the edges don’t over-bake while the ones in the middle catch up. Keep an eye on them at the end!
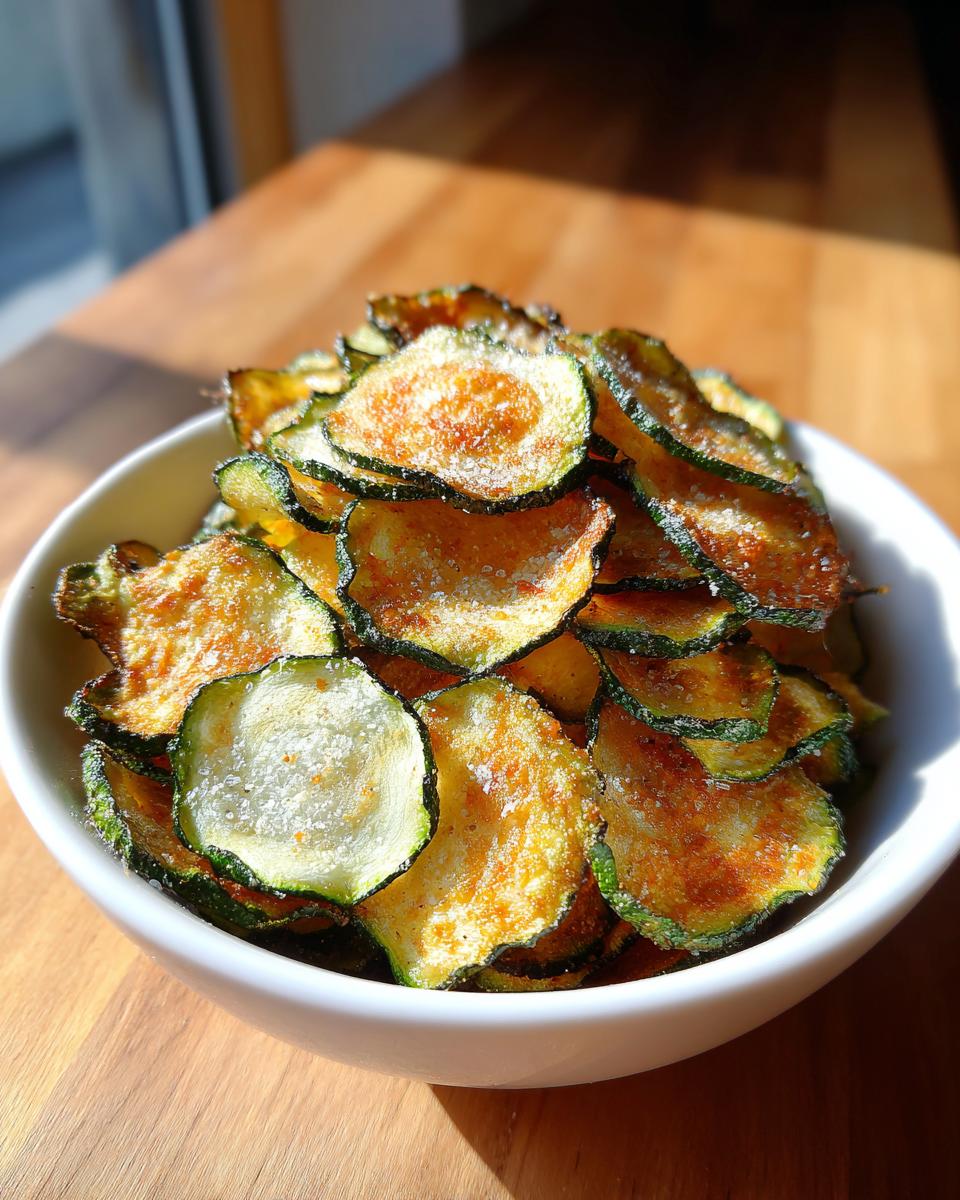
When they look golden brown and feel firm when you gently tap them, pull them out. If you decided to use dill, sprinkle it on immediately while they are hot. The final, most important step for crispness is letting them cool completely on the baking sheet before you try to move or eat them. They get significantly crunchier as they cool down. Seriously, wait ten minutes before you even think about tasting one!
Tips for Making the Best Salt and Vinegar Zucchini Chips
Look, I’ve made soggy zucchini chips more times than I care to admit. That zucchini water has to go somewhere, right? If you follow the low-and-slow baking method, you should get fantastic results, but these little extras will guarantee you achieve that perfect, shatteringly crisp texture in your Salt and Vinegar Zucchini Chips every single time.
Avoiding Moisture Issues with Your Zucchini Chips
Even though we tossed them in the vinegar mixture, sometimes those zucchini slices are just holding onto extra water. If you notice your zucchini looks particularly wet after tossing, I highly recommend this quick extra step. Grab a paper towel and gently pat the tops of the slices while they are sitting on the baking sheet before they go into the oven. You’re not trying to dry them out completely, just lift off the excess liquid sitting on the surface. This small action makes a huge difference in preventing steaming!
Adjusting the Tanginess of Your Salt and Vinegar Zucchini Chips
This recipe is a fantastic base, but you might find yourself wanting more pucker or more salt—and that’s perfectly fine! If you love an extra sharp bite, go ahead and add an extra half teaspoon of apple cider vinegar to your tossing bowl. If you prefer a milder flavor, just cut the vinegar back slightly and use a bit more oil for coating. For saltiness, taste one chip after they come out of the oven and are still hot. If they need a boost, sprinkle just a tiny pinch more salt over the whole batch right before they cool down! If you are looking for other great snack ideas, check out my cucumber snack chips.
Frequently Asked Questions About Salt and Vinegar Zucchini Chips
I get so many questions about these chips, especially from people who are worried about them turning out soft. Don’t worry, we’ve all been there! Here are the most common things folks ask me about making the best batch of Salt and Vinegar Zucchini Chips.
Q1. Why are my zucchini chips still soft after baking?
This is the biggest issue! Nine times out of ten, it comes down to two things: the slices were too thick, or they were overcrowded on the pan. Remember, we need paper-thin slices, and they must be in a single layer so the air can circulate around them. If they are soft when cooled, just toss them back in the 225°F oven for another 10 minutes!
Q2. Can I substitute the apple cider vinegar with white vinegar?
You can, but I really discourage it for the best flavor. White vinegar is much harsher and sharper, and it can overpower the delicate zucchini flavor. Apple cider vinegar gives these chips that mellow, slightly fruity tang that makes them addictive. Stick to the cider vinegar if you can!
Q3. How long do these chips really last? Do they stay crispy?
They are best eaten the day you make them, of course! But stored properly in an airtight container at room temperature, they usually keep a good crunch for about two days. If they start to soften on day three, just follow the re-crisping tip mentioned earlier. They bounce back beautifully!
Q4. Can I use fresh zucchini from my garden?
Absolutely! Fresh garden zucchini is wonderful. Just make sure you pat them down really well with paper towels before you toss them in the oil and vinegar mixture. Garden zucchini can sometimes be extra watery, and removing that surface moisture upfront is key to getting great Salt and Vinegar Zucchini Chips. For more snack inspiration, feel free to browse my Pinterest board.
Storing and Reheating Your Salt and Vinegar Zucchini Chips
The hardest part about making these chips is waiting for them to cool down before you eat them all! Once they are completely crisp, storage is pretty straightforward, but you have to be diligent about keeping the air out. If you leave them exposed, they just suck up humidity and get soft again, which is the worst.
Always make sure they are totally cool to the touch before sealing them up. Warm chips trapped in a container create condensation, and that is the enemy of crispness. For maximum crunch preservation, I use a glass container with a tight-sealing lid, but a good zip-top bag works in a pinch too. They usually stay great for about three days.
Quick Reference Table for Salt and Vinegar Zucchini Chips Storage
Here’s a quick snapshot so you know exactly what to expect:
| Storage Method | Approximate Crisp Duration |
|---|---|
| Airtight Container (Room Temp) | Up to 3 Days |
| Paper Bag (Room Temp) | 1 Day Only |
Estimated Nutritional Breakdown for Salt and Vinegar Zucchini Chips
I know many of you are making these as a lighter snack option, so let’s talk numbers! Since we are using vegetables and minimal oil, these Salt and Vinegar Zucchini Chips are fantastic for keeping calories low. Remember, these estimates are based on the recipe using the exact amounts listed, and they can change slightly based on the size of your zucchini.
Keep in mind that the fat content comes almost entirely from that tablespoon of olive oil spread across four servings, so it stays really low per chip. It’s amazing how much flavor we get for so few calories! If you are interested in other low-calorie snacks, check out my low calorie charcuterie chips.
Nutritional Summary Table
Here is a quick look at what you can expect per serving, based on the recipe’s ingredients. Don’t forget these are just estimates!
| Nutrient | Estimated Amount (Per Serving) |
|---|---|
| Calories | 30 |
| Total Fat | 3g |
| Carbohydrates | 1g |
| Protein | 0g |
Amazing 2-Hour Salt and Vinegar Zucchini Chips
- Total Time: 2 hours 10 minutes
- Yield: 4 servings 1x
- Diet: Low Calorie
Description
These oven-baked salt and vinegar zucchini chips are tangy, crispy, and low-calorie. A healthy homemade snack that satisfies your chip cravings.
Ingredients
- 1 medium zucchini
- 1 tablespoon apple cider vinegar
- 1 tablespoon olive oil
- ¼ teaspoon salt
- ¼ teaspoon black pepper
- ½ teaspoon dried dill (optional)
Instructions
- Preheat oven to 225°F. Line two baking sheets with parchment paper.
- Using a mandolin slicer or sharp knife, slice the zucchini into thin rounds, about 1/16 inch thick.
- In a large bowl, whisk together apple cider vinegar, olive oil, salt, and black pepper.
- Add the zucchini slices and toss gently to coat each piece evenly.
- Arrange the slices in a single layer on the prepared baking sheets. The slices can touch but should not overlap.
- Bake for 2 hours, rotating the trays halfway through, until the chips are golden and crisp.
- Remove from the oven and immediately sprinkle with dried dill if desired.
- Let cool completely before serving for maximum crispness.
Notes
- Store cooled chips in an airtight container for up to 3 days.
- If chips soften, re-crisp in the oven at 225°F for 10 minutes.
- Prep Time: 10 minutes
- Cook Time: 2 hours
- Category: Snack
- Method: Oven Baked
- Cuisine: American
Nutrition
- Serving Size: 1 serving
- Calories: 30
- Sugar: N/A
- Sodium: Low
- Fat: 3g
- Saturated Fat: N/A
- Unsaturated Fat: N/A
- Trans Fat: 0g
- Carbohydrates: 1g
- Fiber: N/A
- Protein: 0g
- Cholesterol: N/A
