Okay, listen up! If you think making real, shatteringly flaky puff pastry dough is some crazy, multi-day marathon only done by French chefs in crisp white hats, you are dead wrong. I used to think that too! I’d buy the frozen stuff and feel guilty about it. But when I finally decided to tackle making my own buttery, layered puff pastry dough, I realized the secret is ridiculously simple: four ingredients, and that’s it.
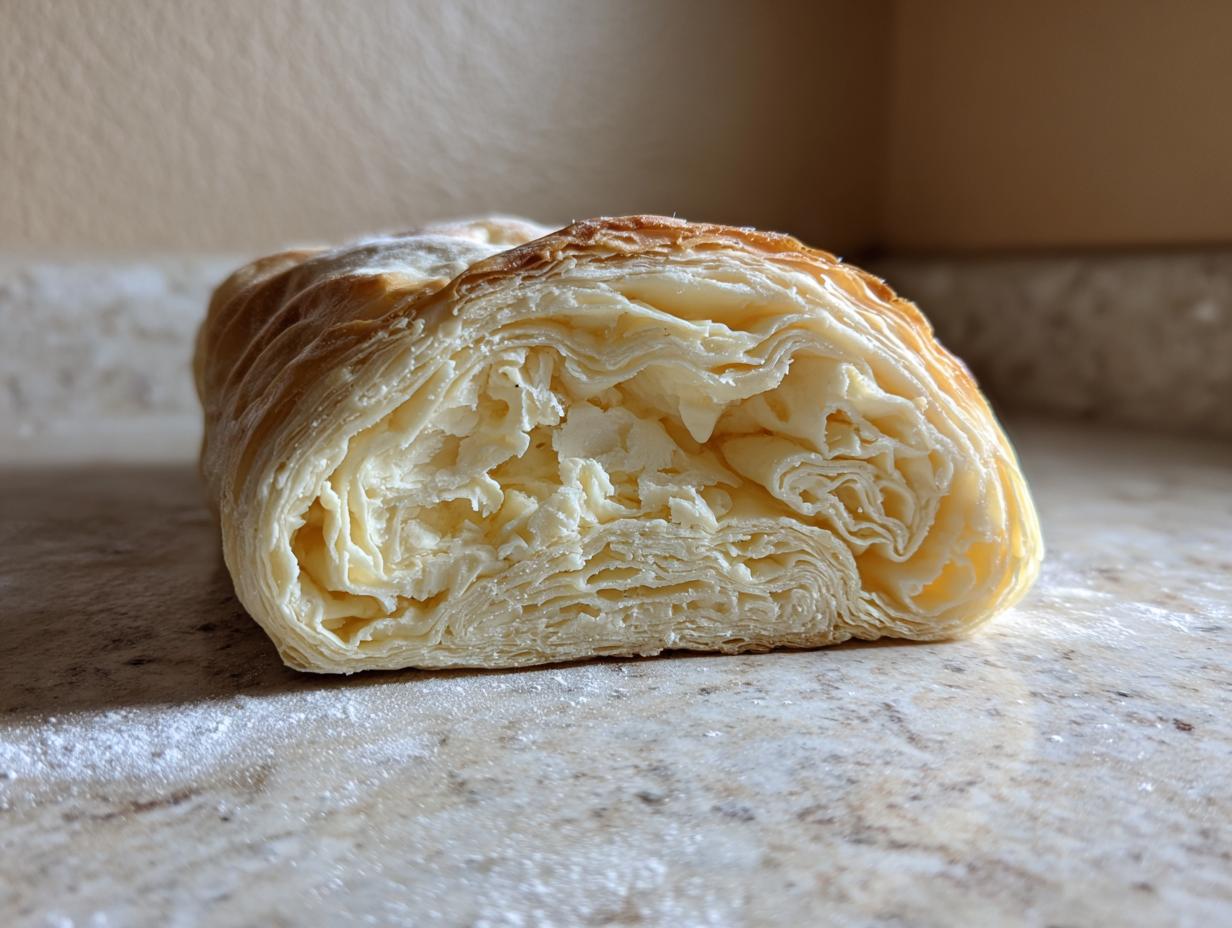
Seriously, just flour, salt, butter, and water. That’s the whole list! When you see those layers separate in the oven, and you hear that delicate crackle when you cut into your tart or turnover? Forget about it. That’s real baking magic, and it all comes down to keeping things cold and respecting the butter. I’ve messed this up plenty of times—usually by getting impatient—so I know exactly where you need to slow down. Trust me, once you nail this simple technique, you’ll never go back to the store-bought stuff again. It makes everything taste like a celebration!
Essential Ingredients for Perfect Puff Pastry Dough
This recipe is brilliant because it demands so little, but what it does demand, you have to respect! We are only using four things here, but the quality and temperature of those things change everything between a flat cracker and a towering, flaky masterpiece. I learned the hard way that you can’t skimp on the cold factor here; it’s the entire structure of your puff pastry dough!
Dry Components for Your Puff Pastry Dough
You need two cups of all-purpose flour. It’s the workhorse, giving us something to wrap around all that glorious butter. Don’t overthink the flour; regular AP works perfectly fine. We mix that with just one teaspoon of salt. The salt isn’t just for flavor, though it helps! It actually strengthens the gluten structure we are trying to build, which helps keep those layers intact when you finally bake it.
The Crucial Cold Elements: Butter and Water
This is where things get serious for your puff pastry dough. The butter absolutely has to be frozen solid. I mean rock hard! You grate it right into the flour. If it starts softening even a little bit before you mix it in, stop and put the bowl back in the freezer for ten minutes. Same goes for the water—it needs to be ice cold, maybe even with a few ice shards still floating in it. Those tiny, cold butter pieces are what create the steam pockets that lift this dough into those beautiful, flaky layers.
Step-by-Step Guide to Making Flaky Puff Pastry Dough
Okay, let’s get our hands dirty! This is the fun part, but you have to move with purpose. We are trying to keep the butter cold and separate from the flour mixture as much as humanly possible. Don’t worry if your kitchen feels a little frantic—that’s just the atmosphere of making real puff pastry dough!
Initial Chilling and Butter Integration for Puff Pastry Dough
First things first, we chill that flour and salt mixture for about 15 minutes. It gives the flour a head start in getting cold, which is handy. When it comes out, take your frozen butter sticks—and I mean frozen, not just cold—and grate them directly into that bowl of flour. Don’t use your hands for this part unless you want melted butter streaks!
As you grate, immediately toss the butter pieces around in the flour. You want every little sliver of butter coated in flour. This coating is what keeps them from sticking together and melting into one giant butter slab later. If you see clumps forming that look bigger than a pea, just break them up gently with your fingertips right there in the bowl. Keep it fast!
Mixing and Resting the Puff Pastry Dough
Once the butter is coated, make a little dip—a well—right in the middle of your flour and butter mountain. Pour in your ice water all at once. Now, grab a sturdy spoon or a spatula and mix it just until it starts to come together. I mean it—stop mixing the second you see no more dry flour streaks. It’s going to look shaggy and ugly, like a terrible snowball. That’s perfect!
Gather that mess into a rough ball, wrap it up tight in plastic wrap—make sure it’s sealed well—and stick it in the fridge for 30 minutes. This rest is vital! It lets the flour hydrate a bit and lets the butter firm up again after all that mixing. Don’t skip this rest, or your dough will fight you later.
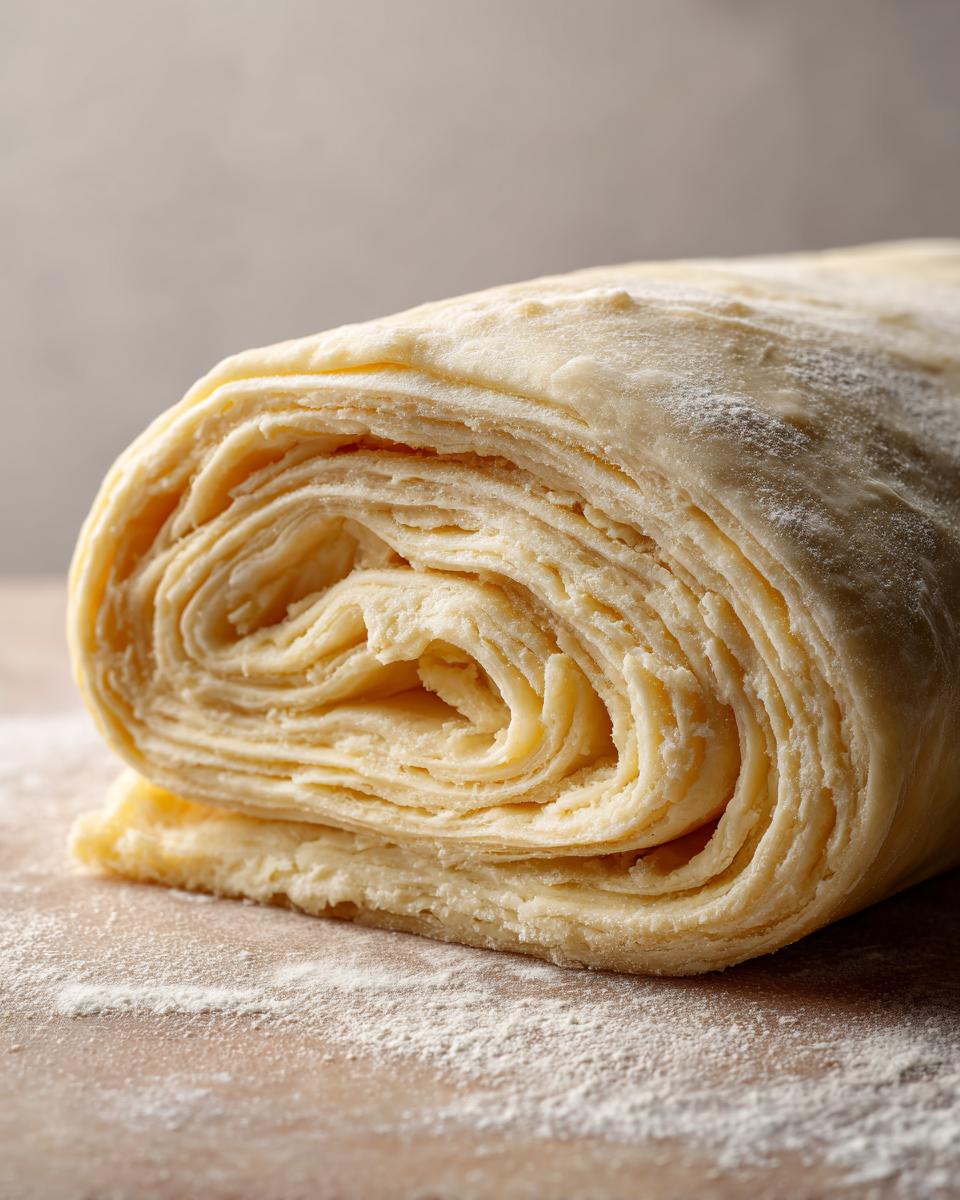
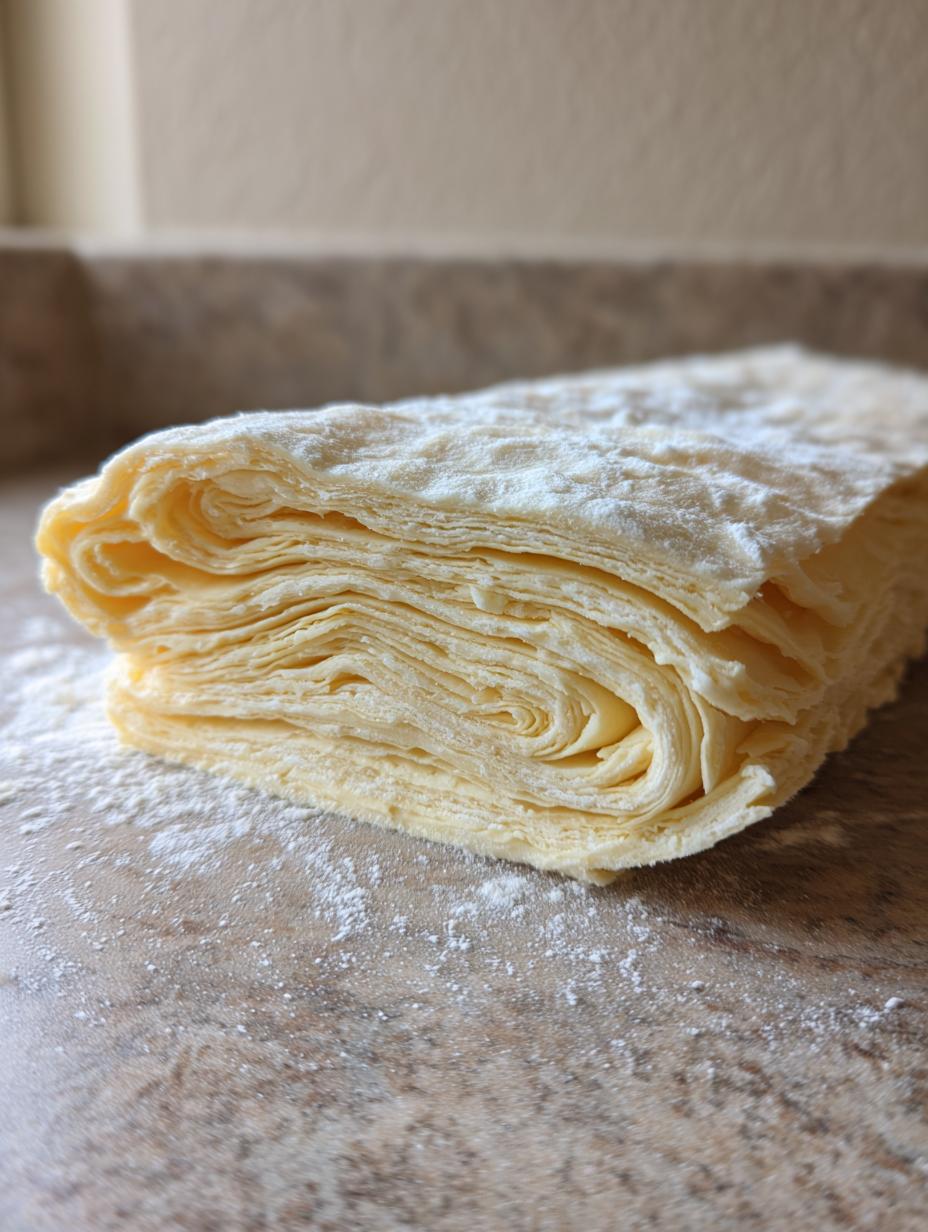
The Lamination Process: Folding Your Puff Pastry Dough
After the rest, flour up your counter generously. Roll that chilled dough out into a long rectangle, about a quarter-inch thick. Don’t press too hard or you’ll crush those air pockets we’re trying to preserve! Now, we fold it like a business letter. Fold the bottom third up over the middle, and then fold the top third down over that. It should look like a neat little square package.
Here’s the trick I learned: Turn that package 90 degrees—so the folded edges are facing left and right now, not top and bottom. Roll it out again into a rectangle, about the same thickness. Then, fold it like a letter one more time. That’s one full turn done! Wrap it up again and return it to the fridge for a full hour. That final hour lets the gluten relax so the dough doesn’t snap back when you try to roll it out for baking later. This process of rolling, folding, and chilling creates the beautiful structure in your puff pastry dough.
Tips for Achieving Expert-Level Puff Pastry Dough
So you’ve done your folds, and that puff pastry dough is back in the fridge relaxing. But I have a few tricks up my sleeve from when I first started that can save you a major headache later on. The number one enemy here is heat. Seriously, if you feel the dough getting soft while you’re rolling it out between folds, stop immediately! Put the whole thing, plastic wrap and all, back in the fridge for 15 minutes. It’s better to chill it twice than to have melted butter leeching into the flour.
Another thing that used to drive me crazy was tearing the dough when turning it. If you see a small tear, don’t panic! Just use a tiny bit of flour to patch it, or even better, just use that spot as the inside of a fold, since that part will be less visible later. Also, when you chill the dough, always mark the plastic wrap with a small note: “1 Turn Done” or “2 Turns Done.” It’s so easy to lose track of how many times you’ve folded your puff pastry dough, and doing too many turns will make it tough instead of flaky! You can see some of my other baking tips on Medium.
Storing and Refreshing Your Prepared Puff Pastry Dough
Once you’ve finished those essential folds, your puff pastry dough is ready to use right away, but honestly, it’s often even better if you let it rest longer! If you’re baking the same day, just keep it wrapped tightly in the fridge for up to 24 hours. The extra time lets the dough relax completely, making it super easy to roll out thin without snapping back at you.
If you aren’t using it right away, freezing is the way to go. This dough freezes like a dream, which is fantastic because now you have professional-grade pastry ready whenever the mood strikes! Just make sure you handle the thawing process gently so those beautiful layers don’t get ruined.
Freezing Puff Pastry Dough for Later Use
When freezing, you must wrap it like you mean it. Double wrap the dough tightly in plastic wrap first. Then, I always slide that into a heavy-duty freezer bag and press out every bit of air before sealing it. Label the outside clearly with the date and how many turns you completed—I mentioned that before, but it’s crucial here! It lasts beautifully for about three months.
To thaw, move the wrapped dough from the freezer to the refrigerator overnight. Never try to thaw it on the counter! If you wake up and realize you forgot, you can let it sit on the counter for just 20 minutes, but no longer, before putting it back in the fridge to finish thawing slowly. That gentle approach keeps the butter happy.
Here’s a quick guide for what to expect:
| Storage Location | Duration | Thawing Tip |
|---|---|---|
| Refrigerator | Up to 24 hours | Use straight from the fridge. |
| Freezer | Up to 3 months | Thaw slowly in the refrigerator overnight. |
Quick Answers About Using Puff Pastry Dough
I know you’re probably looking at this beautiful, flaky pastry dough and wondering about the next steps, or maybe you’re worried about that butter melting. Don’t sweat it! I get asked the same things every time I bring this homemade dough to a gathering. Here are the quick answers to the questions I hear most often about working with this gorgeous pastry.
Q1. My butter seemed soft while I was folding. Can I still save this puff pastry dough?
Yes, absolutely! This happens to everyone. If the dough feels greasy or warm, just wrap it back up tightly and stick it in the freezer for 10 minutes, or the fridge for 20. You need those butter pieces to solidify again so they can create steam pockets. Remember, a little extra chill time is always better than forcing a warm dough through the lamination process. It keeps the layers distinct!
Q2. How many folds (or turns) does this recipe actually require?
For this specific four-ingredient recipe, two full letter folds, separated by an hour of chilling, is perfect. That gives you roughly 18 layers of butter and dough, which is plenty for a fantastic lift. If you do more than three total turns, the layers start blending together too much, and you risk ending up with a tough, cracker-like texture instead of airy puff pastry dough.
Q3. Can I use this homemade dough for savory dishes like sausage rolls?
Oh, you totally can! Since we only used salt in the dry mix, this puff pastry dough is a beautiful blank canvas. It works unbelievably well for savory items. Just make sure your savory filling isn’t too wet, as excess moisture can steam the bottom layers and prevent them from puffing up nicely. Brush the top with an egg wash for that gorgeous golden shine!
Q4. What’s the easiest way to roll out this chilled dough without tearing it?
Make sure your work surface and rolling pin are lightly floured, but brush off any excess flour before you start rolling. When you press down, use even pressure from the center outward. If the dough resists or snaps back, that means the gluten is tight. Just cover it and let it rest on the counter for 10 minutes—it relaxes, and then you can roll it thin easily for your pastries. Check out my Pinterest for visual guides!
Understanding the Nutrition in Your Puff Pastry Dough
Now, let’s talk fuel! Since this puff pastry dough is mostly butter, we know it’s rich, but I always like to see the numbers. Keep in mind that this is just an estimate since we are dividing it into 8 servings, and your actual results might vary slightly based on how much flour sticks to your counter during rolling! It’s just good to have a rough idea of what you’re working with when you’re getting ready to bake something decadent.
| Nutrient | Estimated Amount (Per 1/8 Dough) |
|---|---|
| Calories | 340 |
| Fat | 25g |
| Carbohydrates | 28g |
| Protein | 4g |
What to Bake Next With Your Puff Pastry Dough
You’ve got the best homemade puff pastry dough in the fridge, and now the real fun begins! Honestly, you can use this for anything, sweet or savory. If you want something quick, cut out simple squares, brush them with an egg wash, sprinkle them with coarse sugar, and bake until they puff up—instant, elegant treats! If you are looking for other quick baking ideas, check out my recipe for yogurt fritters.
For a showstopper, try making a classic rustic tart. Just lay out a large rectangle, pile up some sliced apples or figs in the center, leave a good border, and fold the edges over. If you’re feeling savory, use it for mini-pizzas or even wrapping up some leftover shredded chicken for incredibly flaky turnovers. Go make something delicious! For savory inspiration, you might enjoy this Italian bean salad idea, though that’s not pastry!
Print
Amazing 2-Fold Puff pastry dough secret
- Total Time: 1 hour 50 minutes
- Yield: About 1 pound dough (enough for 1 large tart or 8 pastries) 1x
- Diet: Vegetarian
Description
Buttery, flaky homemade puff pastry dough made with just 4 ingredients. Easy to prepare and perfect for sweet or savory pastries.
Ingredients
- 2 cups all-purpose flour
- 1 teaspoon salt
- 1 cup unsalted butter, frozen and grated (2 sticks or 226 g)
- 2/3 cup ice-cold water
Instructions
- Whisk flour and salt together in a large bowl. Place in the refrigerator for 10–15 minutes to chill.
- Grate the frozen butter directly into the chilled flour, tossing gently to coat as you go. Keep butter pieces separated for flaky layers.
- Make a well in the center and pour in the cold water. Mix with a spoon until a rough dough forms.
- Gather the dough into a ball, wrap tightly, and refrigerate for 30 minutes.
- On a floured surface, roll the dough into a rectangle about 1/4 inch thick. Fold the top third down and the bottom third up, like folding a letter. Turn the dough 90 degrees and repeat the rolling and folding once more.
- Wrap the dough and refrigerate for 1 hour before using.
- Use immediately for baking or freeze for later use.
Notes
- Keep butter pieces separated for flaky layers.
- Chill time totals 1 hour 30 minutes (30 minutes initial chill plus 1 hour final chill).
- Prep Time: 20 minutes
- Cook Time: N/A
- Category: Baking
- Method: Folding and Chilling
- Cuisine: N/A
Nutrition
- Serving Size: 1/8 dough
- Calories: 340
- Sugar: N/A
- Sodium: N/A
- Fat: 25g
- Saturated Fat: N/A
- Unsaturated Fat: N/A
- Trans Fat: N/A
- Carbohydrates: 28g
- Fiber: N/A
- Protein: 4g
- Cholesterol: N/A