Okay, listen up. If you think baking real, gorgeous, crusty bread means spending an hour wrestling with dough, I’m here to tell you you’re wrong. Seriously. I’ve been baking bread since I was a kid, and I’ve tried every mixer and technique out there. But this particular no knead yeast bread recipe? It changed everything for me. It’s the one I turn to when I want that amazing artisan quality without breaking a sweat.
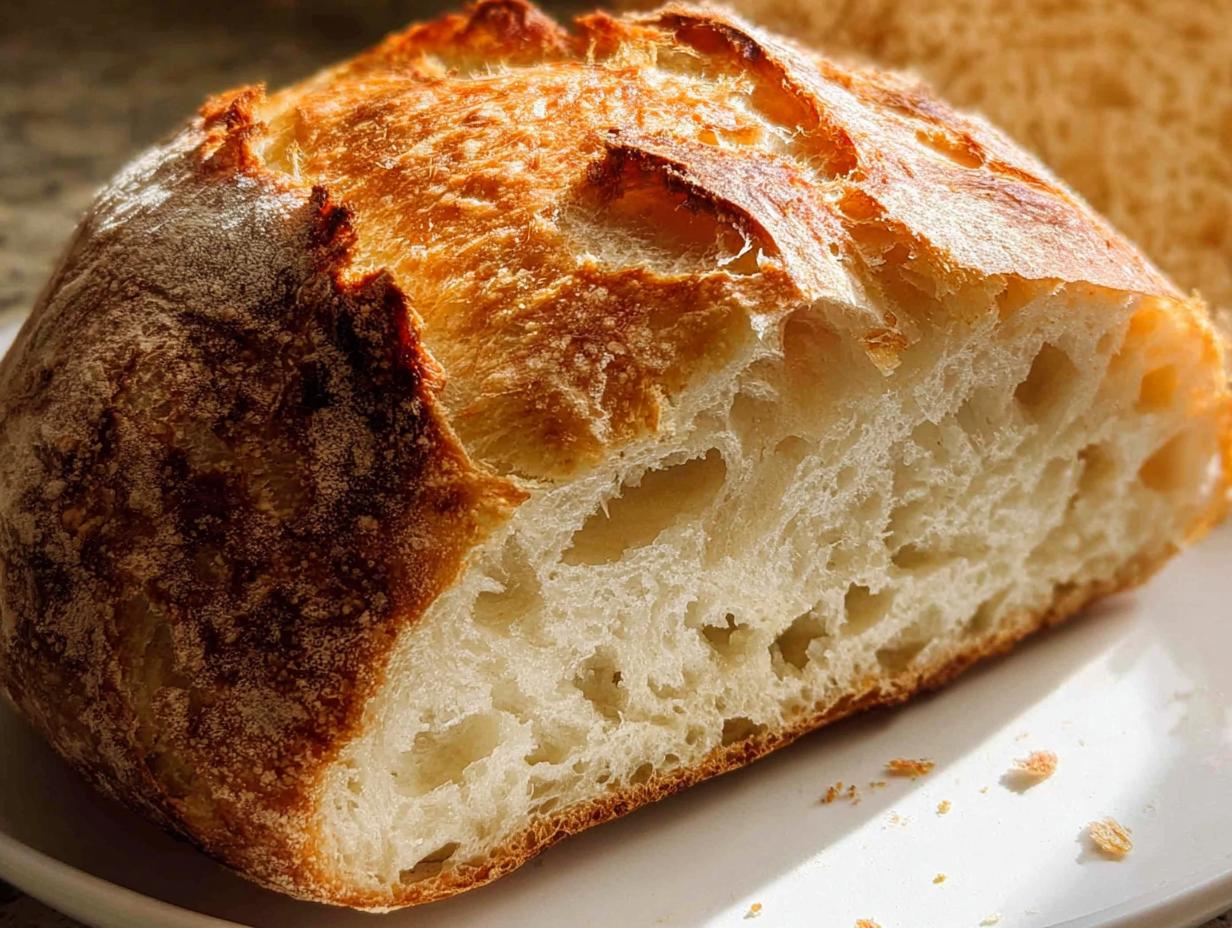
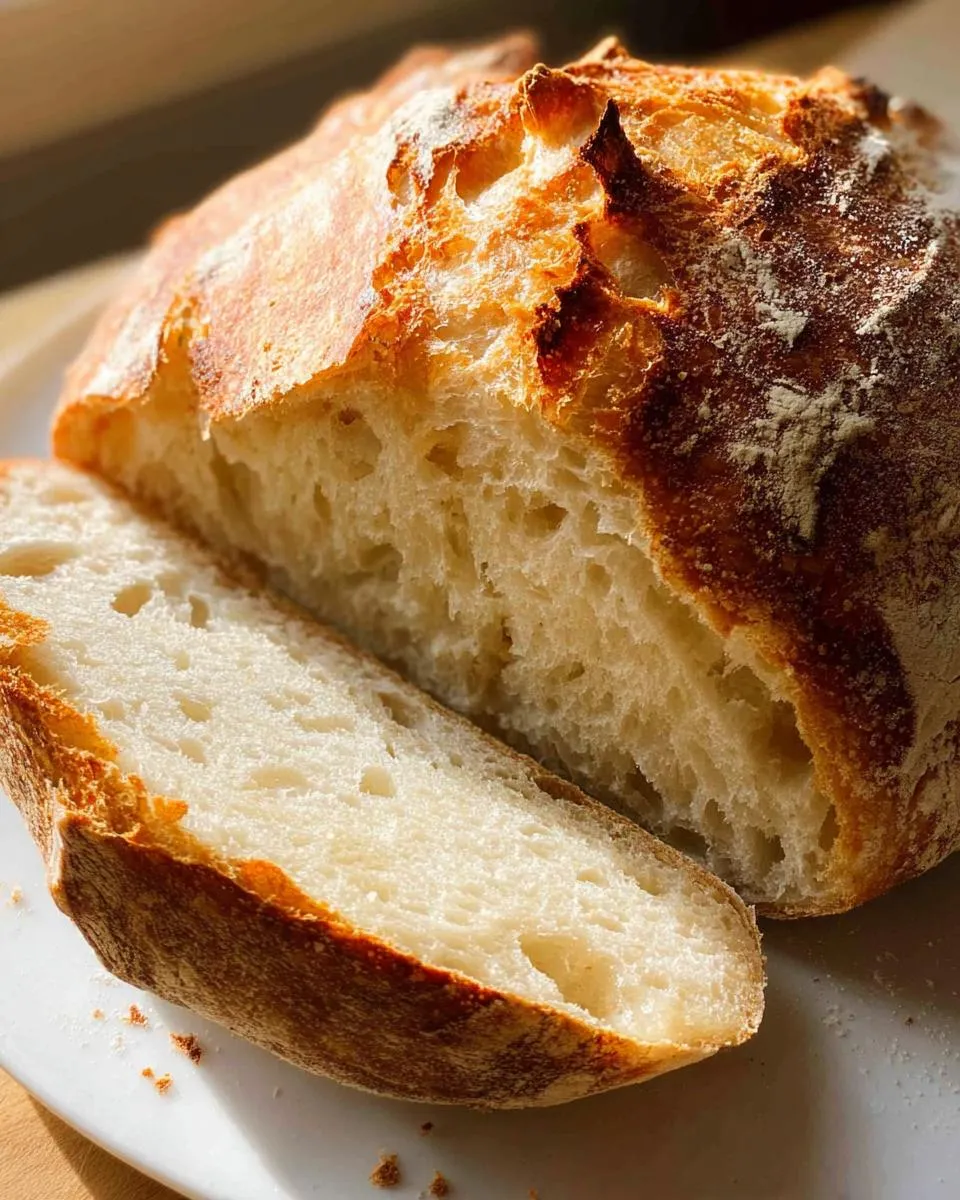
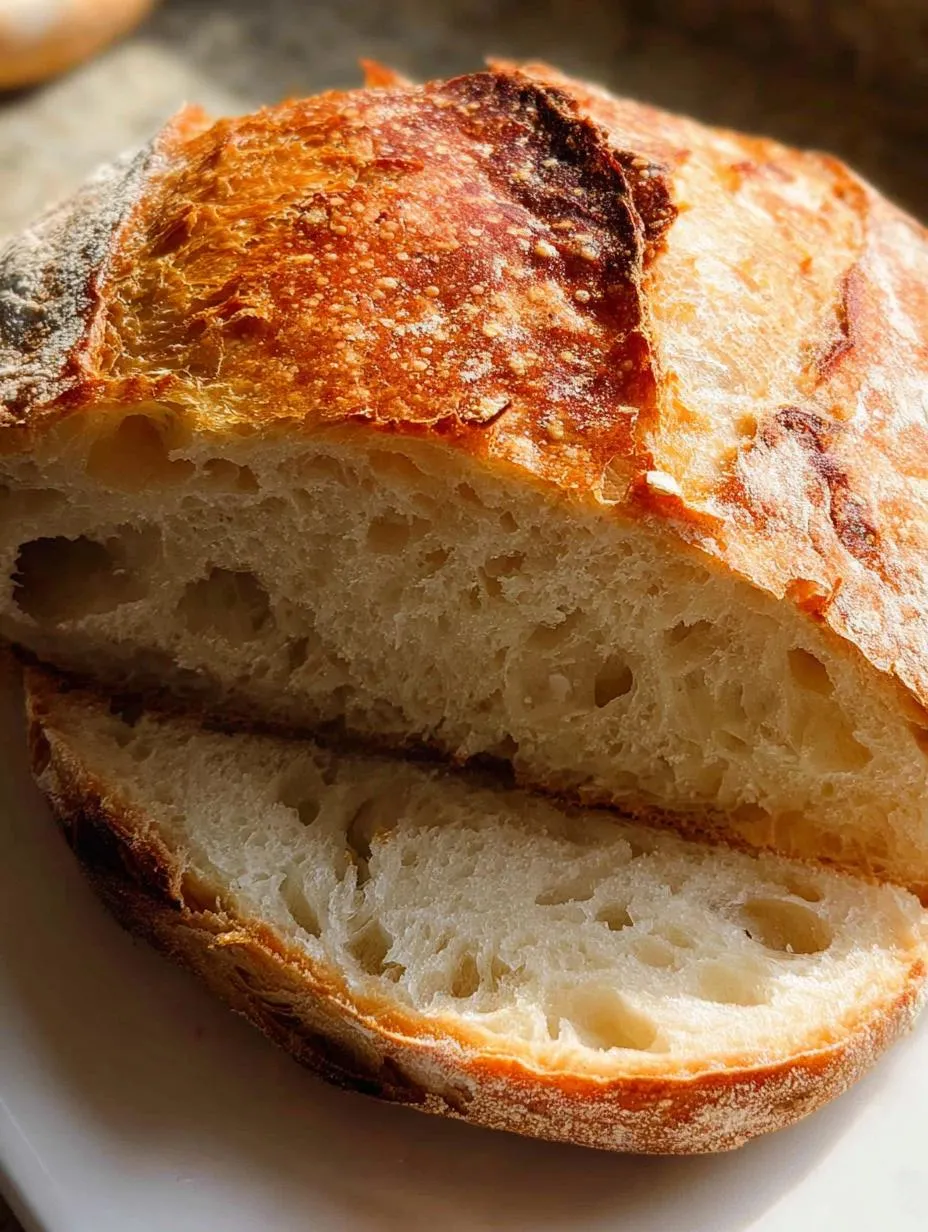
The real magic here is the result: a loaf with a shatteringly crisp crust that sings when you cut it, and an interior crumb that’s perfectly chewy—just like the stuff they sell at those fancy bakeries. I’ve perfected this over years of testing, and I promise you, the simplicity is unbelievable. You just mix four things, walk away, and come back to the best no knead yeast bread you’ve ever made. Trust me, you won’t go back to the hard way!
Gathering What You Need for No Knead Yeast Bread
You know, the best part about this whole process is how ridiculously simple the ingredient list is. It’s almost suspicious! You probably have everything sitting in your pantry right now. We only need four basic things to make this incredible loaf, which is why I call this my foolproof no knead yeast bread recipe. Just make sure you measure things out carefully before you start mixing!
Essential Ingredients for Your Artisan Loaf
Precision matters here, even though we aren’t kneading. For the flour, you can use standard all-purpose, but if you have bread flour, that gives the crumb a little extra chew, which I prefer. We absolutely need instant or rapid-rise yeast—don’t grab the active dry stuff unless you want to proof it first! The water must be warm, around 110 degrees Fahrenheit, so it wakes up the yeast without killing it. And for salt, make sure you use kosher salt; its larger grains mix in better than fine table salt.
Necessary Equipment for Perfect No Knead Yeast Bread
You’ll need a large mixing bowl—seriously, make it big because this dough expands! A sturdy wooden spoon is perfect for mixing up that sticky mess. The real star, though, is your Dutch oven. It traps the steam we need for that crackly crust. If you’re making this no knead yeast bread, that heavy pot is key to getting the artisan look!
Step-by-Step Instructions for Making No Knead Yeast Bread
Alright, this is where the magic happens, and honestly, it’s the easiest part. Don’t be intimidated by the long rise time; your hands do almost zero work here. We are letting time and temperature do the heavy lifting for this no knead yeast bread.
Mixing the Wet and Dry Components
Grab your big bowl and toss in all your dry ingredients: the flour, the yeast, and the kosher salt. Give those a quick whisk just to make sure they’re introduced to each other. Now, pour in that warm water—remember, about 110 degrees, not boiling! You’re going to use your wooden spoon here, stirring until everything just comes together. Stop when you have a very wet, sticky, shaggy mess. I mean it, stop stirring! If you try to knead this, you’ll just make a huge mess and ruin the structure. It should look like something you definitely wouldn’t want to touch for the next few hours.
The Critical Rising Period for Your No Knead Yeast Bread
Cover that bowl tightly with plastic wrap—I usually use two layers just to be safe so no drafts sneak in. Find the warmest spot in your kitchen. This dough needs a long, lazy nap. Let it sit for a solid 2 to 3 hours. You’ll know it’s ready when it has doubled, it looks full of air bubbles, and it jiggles when you nudge the bowl. That’s your first fermentation done! Now, here’s my secret for next-level flavor in this no knead yeast bread: If you have the time, stick that covered bowl right into the fridge for 8 to 24 hours. That cold rest develops a beautiful, slightly tangy depth that makes people ask if you bought the loaf from a fancy bakery.
Preheating and Preparing the Baking Vessel
While your dough is finishing its rise (or if you’re using the cold ferment, right before you plan to bake), it’s time to heat things up! Put your Dutch oven, lid and all, right into the center of your oven. Set the temperature to 450 degrees Fahrenheit. You need to let that pot heat up completely for a full 30 minutes. This step is non-negotiable! A screaming hot pot is what guarantees that instant crust development when the dough hits it.
Shaping and Baking the Artisan Loaf
Once the oven is hot, lightly flour a clean counter space. Gently scrape all that jiggly dough out of the bowl—don’t punch it down! Take a bench scraper (or just use your hands gently) and fold the edges of the dough inward toward the center a few times to form a rough ball. It won’t be perfect, and that’s the beauty of it. Place a large square of parchment paper down, and carefully flip your dough ball onto it, seam-side down this time if you folded it well. Use those parchment handles to carefully lower the dough and the paper right into your scorching hot Dutch oven. Pop the lid on and bake it covered for 30 minutes. After 30 minutes, carefully remove the lid—watch out for steam!—and let it bake uncovered for another 12 to 15 minutes until the crust is a gorgeous, deep golden brown. Remember to let it cool on a rack for at least ten minutes before slicing into that gorgeous loaf!
Tips for Achieving the Best No Knead Yeast Bread Results
Even though this recipe is incredibly forgiving, I’ve learned a few tricks over the years to make sure every batch turns out bakery-worthy. Humidity is a sneaky culprit when baking bread, so you have to learn to read your dough rather than just reading the clock. Don’t stress if your dough looks a little different than mine did in the photos! If you want to see more of my baking adventures, check out my Medium page.
Adjusting Flour and Water Ratios
If you live somewhere really humid, like I did one summer, you might find your dough is soupy even after stirring. If it seems too wet to even handle when you go to fold it, just add an extra tablespoon of flour at a time until it feels slightly less liquidy. Conversely, if your kitchen is super dry and the dough feels stiff, add water one teaspoon at a time. The goal is a very shaggy, sticky mass, not a smooth ball. Trust your instincts here; the dough should look wet!
Substitutions for the Dutch Oven Method
I love my Dutch oven, but I know not everyone has one. If you don’t have that heavy pot, don’t give up on making this amazing no knead yeast bread! You need steam to get that beautiful crust, so here’s the trick: Place a metal pan on the lowest rack of your oven while it preheats. When you go to put your bread in (on a baking sheet or pizza stone), quickly pour about a cup of boiling water into that hot pan underneath. Close the door fast to trap the steam. This mimics the Dutch oven perfectly! If you are looking for other simple baking ideas, perhaps try my yogurt cake recipe.
Frequently Asked Questions About Your No Knead Yeast Bread
I get so many questions about this recipe, which just shows how much everyone loves baking this simple loaf! Here are the most common things people ask when they first try making this amazing no knead yeast bread.
Can I Use Regular Yeast Instead of Instant Yeast in This No Knead Yeast Bread?
You absolutely can use active dry yeast, but you have to wake it up first! Instant yeast goes right into the dry ingredients, but active dry needs proofing. Before mixing everything, dissolve the active dry yeast in your warm water (110°F) along with a tiny pinch of sugar. Let it sit for about 5 to 10 minutes until it gets foamy and bubbly on top. If it doesn’t foam, your yeast is dead, and you need to start over with fresh yeast. Once it’s foamy, you can proceed with the recipe as written.
How Long Does This Homemade Bread Stay Fresh?
Because this bread has such a thick, crisp crust, it stays fresh longer than soft sandwich loaves. I always recommend storing it sliced-side down on a cutting board at room temperature, covered loosely with a clean kitchen towel. It’s usually fantastic for two full days this way. If you need it to last longer than that, you really should slice it and freeze it.
What Temperature Should My Water Be for Optimal Yeast Activation?
This is crucial for any yeast recipe, including our no knead yeast bread. You want the water to be warm enough to get the yeast excited but not so hot that you kill it off! Aim for between 105°F and 115°F. If you don’t have a thermometer, test it on the inside of your wrist—it should feel comfortably warm, like a warm bath, not hot.
Storing and Reheating Your Perfect Loaf
It’s hard to have leftovers of this bread, I know! But when you do, how you store it makes a huge difference in keeping that crust happy. We want to avoid the fridge at all costs if we can, because cold temperatures make that beautiful crust go soft and chewy in a bad way.
Storing Leftover No Knead Yeast Bread
For short-term storage, say one or two days, just leave the loaf out on the counter. I always put it cut-side down on a wooden cutting board and cover it loosely with a clean tea towel. This lets any residual steam escape while protecting the top crust. Never wrap it tightly in plastic wrap unless you plan to freeze it, because that traps moisture against the crust and ruins the texture we worked so hard for!
Reheating for That Fresh-Baked Texture
If your beautiful loaf has gone a little soft, don’t despair! We can bring it back to life. Pop the whole loaf (or a large piece) back into a 350°F oven for about 5 to 7 minutes. If you’re just reheating a slice, 3 minutes usually does the trick. This quick blast of dry heat crisps the crust right back up. You’ll hear that satisfying crackle again! For more baking tips, follow my Pinterest board.
Here’s a quick guide for keeping those leftovers perfect:
| Storage Method | Duration | Reheat Time (350°F) |
|---|---|---|
| Room Temp (Cut-side down, towel) | 1-2 Days | 5-7 Minutes (Whole Loaf) |
| Freezer (Wrapped tightly) | Up to 3 Months | 15-20 Minutes (Whole Loaf) |
Sharing Your Homemade Bread Experience
I truly hope this recipe brings you as much joy as it brings my family. There is nothing better than slicing into a loaf of homemade bread you made with just four ingredients! Seriously, when you try this no knead yeast bread, come back here and tell me how it went. Drop a rating below or leave a comment about your crust—I love hearing about everyone’s results! If you are interested in other simple recipes, check out my simple orzo meal.
Print
Secret 1 No knead yeast bread magic
- Total Time: 2 hours 50 minutes
- Yield: 10–12 slices 1x
- Diet: N/A
Description
This no knead yeast bread results in an artisan loaf with a crisp crust and chewy crumb. It uses only four simple ingredients and requires no mixer or kneading. You can have this homemade bread ready in about 2 hours.
Ingredients
- 3 cups bread flour or all-purpose flour
- 2 teaspoons instant or rapid-rise yeast
- 2 teaspoons kosher salt
- 1½ cups warm water (about 110°F)
- 1½ tablespoons flour, for dusting
Instructions
- In a large bowl, combine flour, yeast, and salt. Add warm water and stir with a wooden spoon until a wet, sticky dough forms. Do not knead it.
- Cover the bowl with plastic wrap. Let the dough rise in a warm place for 2–3 hours, or until it has doubled in size, appears bubbly, and is jiggly.
- Optional: For deeper flavor, refrigerate the dough for 8–24 hours before baking.
- Place a Dutch oven (or heavy oven-safe pot with a lid) in the oven. Preheat the oven to 450°F for 30 minutes.
- Lightly flour a surface and scrape out the dough. Dust with a bit of flour and use a scraper to fold the sides inward to form a rough ball.
- Flip the dough onto a piece of parchment paper, smooth side up.
- Carefully place the dough and parchment into the preheated Dutch oven. Cover the pot and bake for 30 minutes.
- Remove the lid and bake for another 12–15 minutes until the crust is deep golden and crisp.
- Cool the bread on a rack for at least 10 minutes before slicing.
Notes
- If you do not have a Dutch oven, bake the bread on a tray. Place a metal pan of boiling water on the rack below the bread to create steam.
- Prep Time: 5 minutes
- Cook Time: 45 minutes
- Category: Bread
- Method: Baking
- Cuisine: American
Nutrition
- Serving Size: 1 slice
- Calories: 155
- Sugar: N/A
- Sodium: N/A
- Fat: 1g
- Saturated Fat: N/A
- Unsaturated Fat: N/A
- Trans Fat: N/A
- Carbohydrates: 32g
- Fiber: N/A
- Protein: 5g
- Cholesterol: N/A