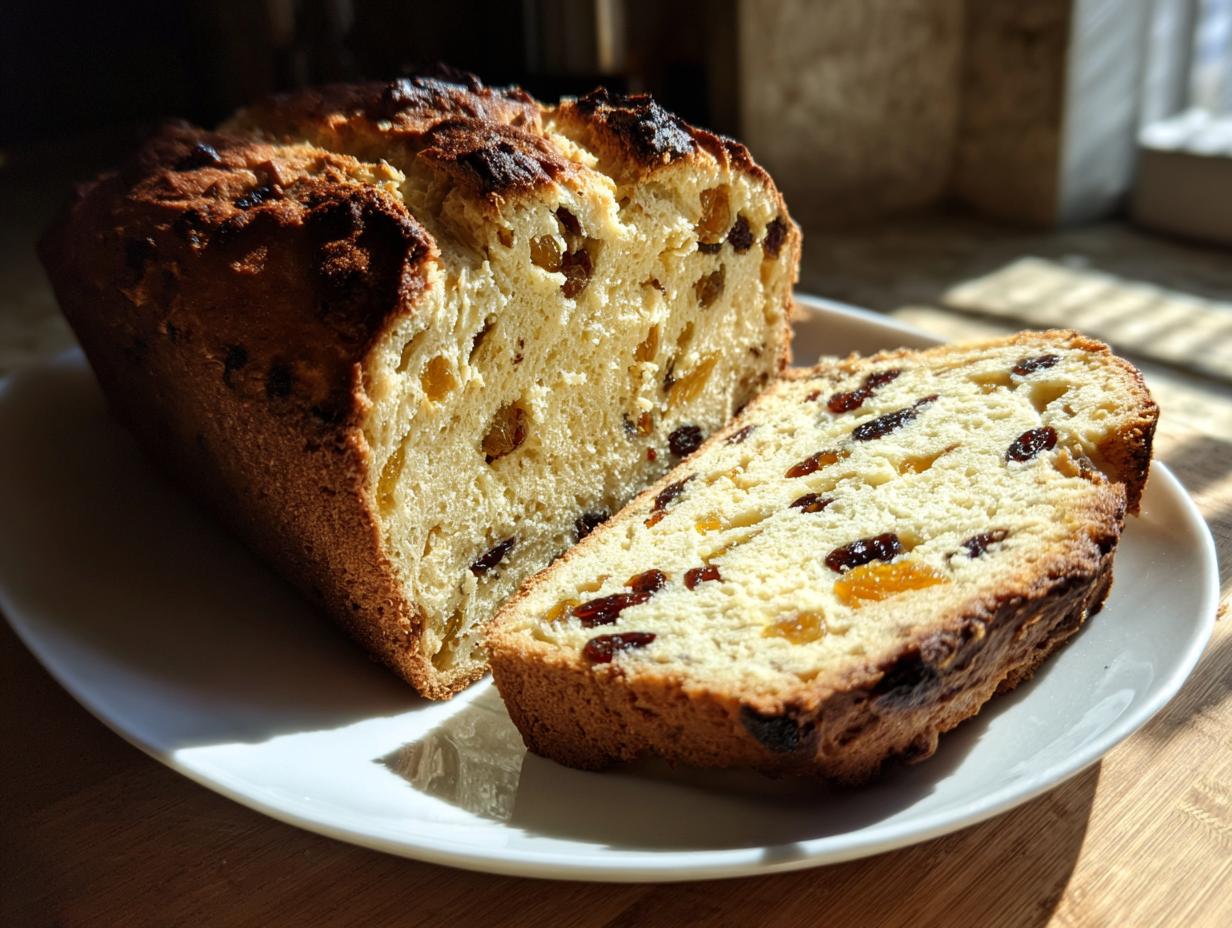
Okay, listen up, because I’m about to share the keeper of all my quick bread secrets. Forget those dense, dry loaves you might have tried before. We are making the most incredible Irish soda bread, and I mean it—it’s life-changing. My goal when I bake this is always that perfect contrast: a crackly, crisp golden crust that shatters a little when you slice it, giving way to the softest, most tender interior you can imagine.
I’ve baked hundreds of quick breads over the years, and what makes this Irish soda bread recipe special is its simplicity combined with the buttermilk. It comes together so fast, which is perfect for those last-minute brunch needs or when you just need that warm, comforting smell in your kitchen right now. Seriously, you mix it, shape it, and it’s in the oven before you can even decide what movie you’re going to watch while it bakes. Trust me, once you nail this one, you won’t look at any other soda bread recipe again!
Gathering Your Ingredients for Authentic Irish Soda Bread
The beauty of a genuine Irish soda bread is that it relies on just a handful of pantry staples. You don’t need yeast, and you don’t need fancy equipment, but you *do* need to pay attention to the details, especially the temperature of your butter and buttermilk. If you’ve got these things ready to go, we’re already halfway there. Don’t mess around with substitutions here; we want the real deal!
Essential Components for Perfect Irish Soda Bread
Before you even think about preheating the oven, get all your bits and pieces laid out on the counter. Laying everything out makes the mixing process lightning fast, which is crucial for quick breads. Here’s exactly what you need for this fantastic loaf of Irish soda bread.
Dry Ingredients Breakdown
We keep this simple but precise. You’ll need four cups of all-purpose flour—no need for bread flour here, just your standard stuff. Then, we hit it with one teaspoon of baking soda for that chemical lift, one teaspoon of kosher salt to balance everything out, and just a quarter cup of sugar. That sugar is what gives us that lovely, slightly sweet flavor and helps with the golden crust.
Wet Ingredients and Fats
This is where temperature matters! Make sure you have six tablespoons of cold, salted butter, and I mean *cold*. You need to dice it up small before you start. Then, grab one large egg and about a cup and three-quarters of buttermilk. If your buttermilk is warm, the bread might spread too much, so keep it chilled!
Sweet Additions Raisins and Cranberries
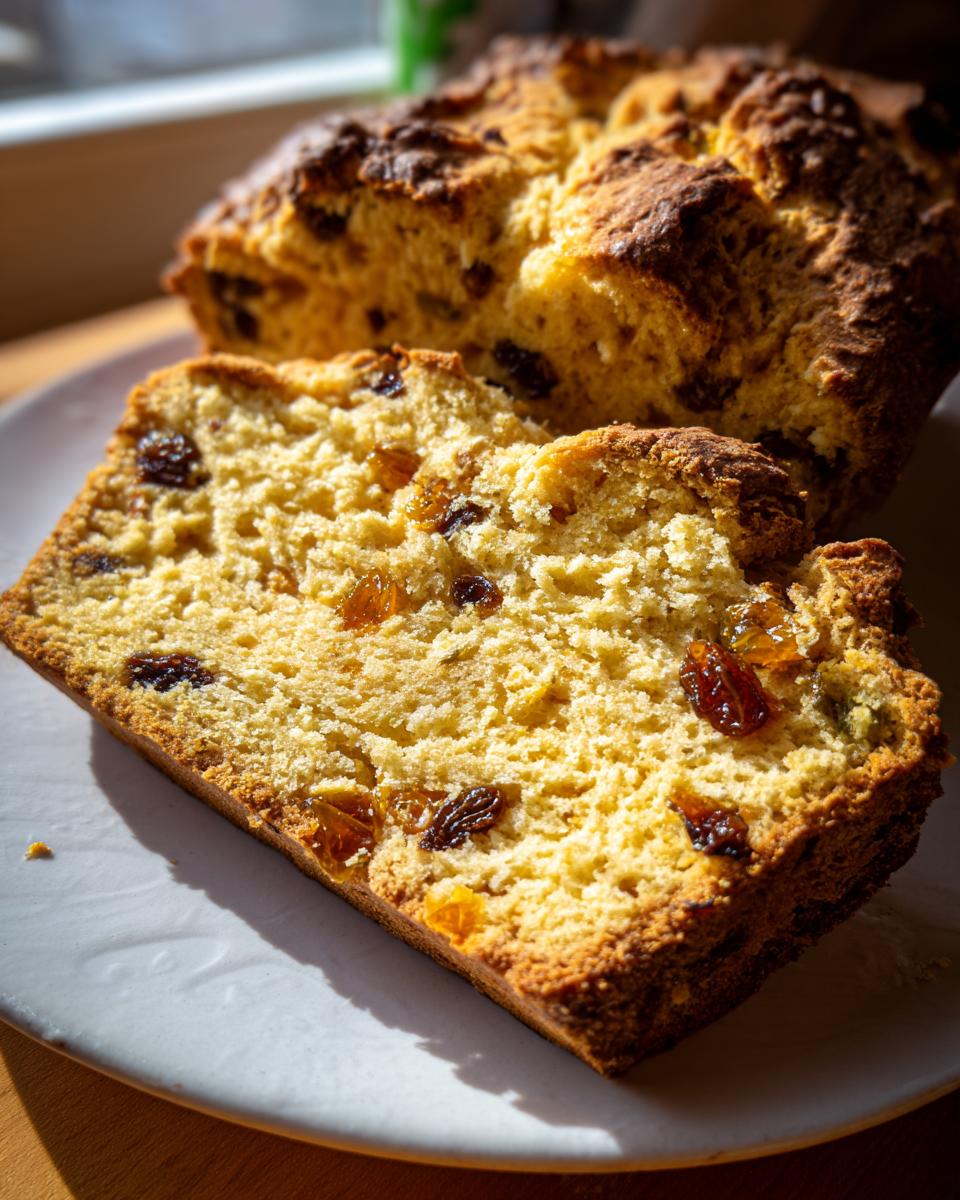
For the fruit, we are adding a touch of sweetness and chewiness that makes this recipe my favorite. Measure out a half cup of golden raisins and a half cup of dried cranberries. Don’t just dump them in—make sure they’re evenly distributed throughout the dry mix later so you don’t end up with one giant clump of dried fruit in the middle of your loaf.
Equipment Needed for Making Irish Soda Bread
You don’t need a huge collection of fancy gear to make amazing Irish soda bread. Honestly, a big bowl and your hands will do most of the work! But having the right vessel for baking is key to getting that signature crust we talked about. I absolutely love baking mine in a cast-iron skillet because it holds heat so perfectly, but don’t worry if you don’t have one—a regular baking sheet works too.
Preparing Your Bake Space and Tools
First thing’s first: get that oven heating up to 400 degrees Fahrenheit. Get it hot! While it’s warming, you need to prep your pan. If you’re using that cast-iron skillet I mentioned, just take a generous knob of cold butter and smear it all over the bottom and sides. If you skip this, you’ll have a sticky mess! If you’re using a standard baking sheet instead, you can lay down a sheet of parchment paper for easy cleanup.
Step-by-Step Instructions for Classic Irish Soda Bread
Now we get to the fun part—turning flour and buttermilk into a beautiful, rustic loaf! Remember, because this is a quick bread, speed and gentle handling are your best friends. We want to activate that baking soda just enough, but not so much that we develop tough gluten. Follow these steps exactly, and you’ll have the perfect Irish soda bread.
Mixing the Dry Ingredients and Cutting in Butter
In your biggest mixing bowl, whisk together all the dry stuff we talked about: the flour, sugar, salt, and baking soda. Give it a good whisk so everything is evenly distributed; you don’t want a pocket of salt later! Next, take those cold, diced butter pieces and drop them right into the flour mixture. You need to work this in fast. Use your fingertips, or if you have one, a pastry blender works wonders. Rub that butter into the flour until the mixture looks coarse, like rough breadcrumbs or sand. If you see some pea-sized chunks of butter left, that’s fantastic—those melt and create steam, which helps make the crumb tender!
Combining Wet and Dry Ingredients for Irish Soda Bread Dough
Once the butter is worked in, stir in your raisins and cranberries so they get coated in the flour. Now, make a little well right in the center of your dry mix. In a separate small bowl, give your egg and buttermilk a quick whisk together—just until they look combined. Pour this liquid right into the well you made. Now, here is the most important part for making tender Irish soda bread: stir it *just* until the dry bits disappear. I mean it! Stop stirring the second you don’t see streaks of dry flour anymore. The dough will look shaggy and messy, and that is exactly what you want. If you mix it too much, you’ll have a brick instead of bread.
Shaping and Scoring Your Quick Bread Loaf
Lightly flour a clean counter space. Gently scrape that shaggy dough out of the bowl. Don’t punch it down or overwork it! You only need to knead it about four or five times—just enough to bring it together into a cohesive mass. Shape it into a nice, round mound, about seven inches across and an inch and a quarter thick. Transfer this rustic shape right onto your buttered skillet. Now, take a floured knife and cut a deep ‘X’ across the top, going down about an inch deep. This isn’t just tradition; it helps the heat penetrate the center and ensures the inside cooks through evenly.
Baking and Finishing Your Tender Irish Soda Bread
Slide that skillet into your preheated 400°F oven. Bake this beauty for 50 to 55 minutes. You’ll know it’s done when it’s deeply golden brown all over, and if you tap the bottom, it sounds hollow. If the top starts looking too dark before the center is done, just quickly tent a piece of aluminum foil over the top to slow the browning. When it comes out, melt those remaining two tablespoons of butter and brush it generously all over the warm crust. That final brush adds flavor and keeps the crust from getting rock hard as it cools. Let it rest in the pan for about ten minutes before moving it to a wire rack to cool slightly. Slice it warm—that’s when it tastes best!
Tips for Success When Baking Irish Soda Bread
Baking a truly great loaf of Irish soda bread comes down to respecting the quick chemistry involved. It’s not like yeast bread where you want to develop strength; here, we want softness! The biggest secret I can share is being gentle once the buttermilk hits the flour. If you overmix, you activate the gluten too much, and suddenly, that tender interior turns chewy and heavy. We are aiming for light and fluffy, not tough!
Handling the Dough Correctly
Keep your hands light when you turn the dough out onto the counter for shaping. Those four or five kneads I mentioned earlier are just to bring the dough together—think of it as a very gentle hug, not a workout! The dough should still feel a little sticky and rough. If you work it too long trying to make it smooth, you’re destroying the air pockets we created when cutting in the butter, and that’s the fastest way to ruin a quick bread.
Achieving the Ideal Crust Texture
Keeping your oven temperature stable at 400°F is vital for that amazing crust. If the oven isn’t hot enough, the baking soda reacts too slowly, and the bread spreads flat before it sets. And don’t skip that final butter brush! While the bread is still piping hot from the oven, brushing melted butter over the top seals in moisture and gives the crust that beautiful, shiny sheen and rich flavor that makes serving this Irish soda bread so satisfying.
Storing and Reheating Your Homemade Irish Soda Bread
This bread is honestly best eaten the day it’s made, still warm from the oven with butter melting into all the nooks and crannies. But let’s be real, a whole loaf rarely lasts that long! Luckily, storing your leftover Irish soda bread is pretty straightforward. You don’t want to throw away that amazing crust texture, so how you store it matters a lot.
Proper Storage Techniques
If you know you’ll eat the rest of the loaf within two days, keep it on the counter. Wrap the remaining bread tightly in plastic wrap, then place it inside a large zip-top bag or an airtight container. Keeping it wrapped prevents it from drying out too fast. If you need to keep it longer than two days, or if your kitchen is really warm, you should move it to the refrigerator. It’ll last about a week this way, though the crust won’t be quite as crisp.
Reheating for Freshness
To bring back that fresh-baked feel, skip the microwave—it just makes quick breads rubbery! Instead, slice off what you need and pop those slices directly onto a baking sheet in a 350°F oven for about five to seven minutes. This crisps up the edges beautifully and warms the inside right through. It’s like magic; you won’t believe it’s leftover Irish soda bread!
Frequently Asked Questions About Irish Soda Bread
I get so many questions once people start baking this recipe! It’s usually the little things that trip people up when they first try a quick bread like this. Don’t worry, we’ve all been there. Here are a few things I hear most often about getting this loaf just right.
Can I use regular milk instead of buttermilk
You absolutely can, but you need to give it a little boost to mimic the acid that buttermilk provides. If you don’t have buttermilk, just measure out one and three-quarters cup of regular whole milk, and then stir in one tablespoon of white vinegar or lemon juice. Let it sit on the counter for about five minutes until it looks slightly curdled. That acid is what activates the baking soda, so don’t skip that step!
Why is my Irish soda bread dense
Nine times out of ten, density comes from overworking the dough. Remember how I stressed stirring *just* until combined? If you mix it past that point, you develop the gluten in the flour, and that makes the bread tough and heavy. Also, double-check your baking soda measurement! Too little soda means it won’t rise properly, resulting in a dense loaf.
What is the purpose of cutting the X on top
There are two big reasons for that classic ‘X’ score! Historically, the bread was a staple, and people believed the cuts allowed the fairies or the devil (depending on who you asked!) to escape the loaf. Practically speaking, however, it’s essential for baking. Since we aren’t kneading this dough much, the center is very thick. That deep cut allows the heat to penetrate the middle, ensuring the center cooks all the way through without the outside burning to a crisp.
Serving Suggestions for Your Irish Soda Bread
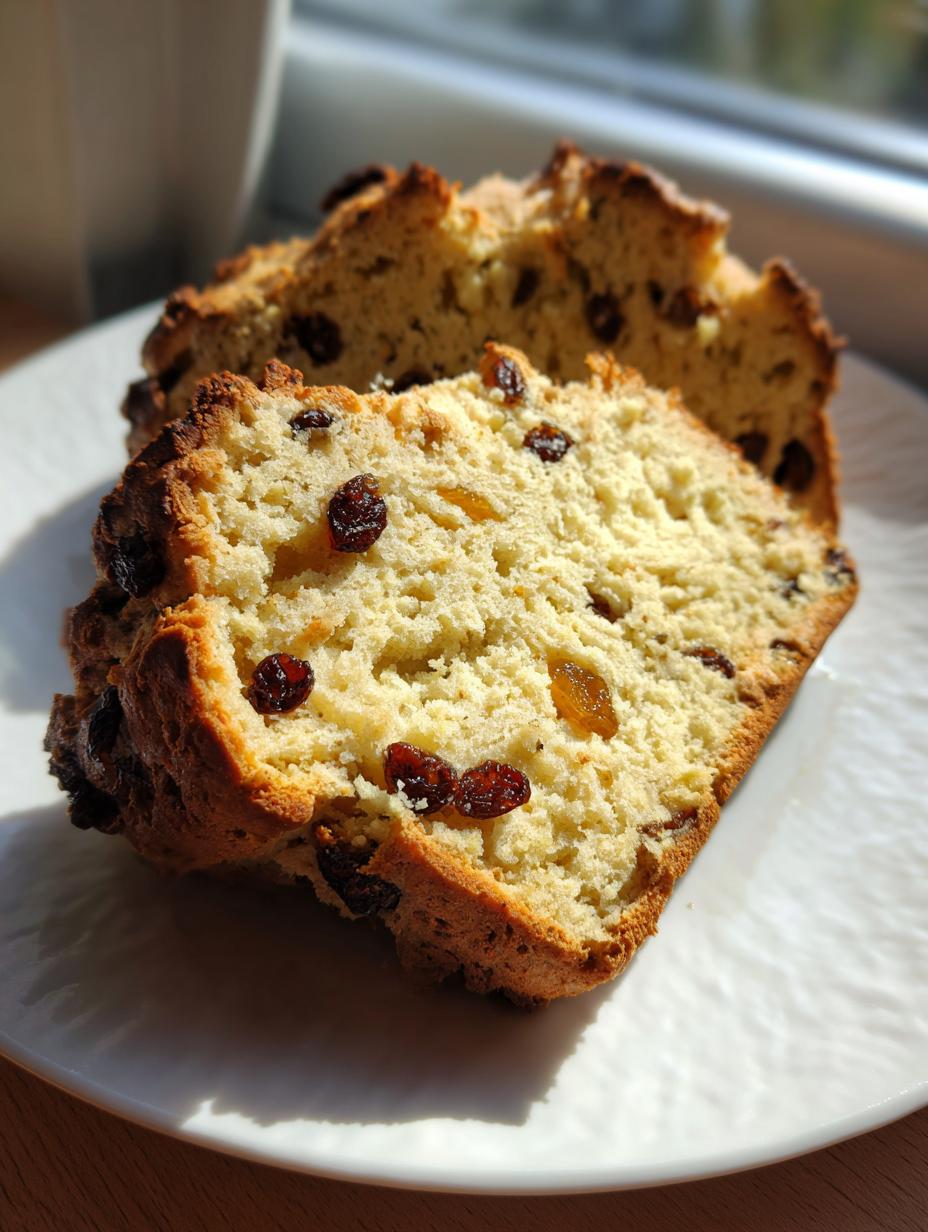
Honestly, the best part about pulling this beautiful, rustic Irish soda bread out of the oven is knowing you get to eat it warm! Because this loaf has just a hint of sweetness from the fruit, it’s incredibly versatile for breakfast, tea time, or even alongside a hearty stew. It really shines when served with something simple that lets the texture of the bread speak for itself.
Pairing with Simple Spreads
You have to try it while it’s still warm! I always keep a few things on hand specifically for this bread. A thick smear of salted butter that melts right into those nooks and crannies is unbeatable. If you prefer something sweeter, a good quality strawberry or raspberry jam is fantastic. And for a slightly tangy contrast to the sweet cranberries, a generous spread of plain cream cheese is absolutely perfect. Enjoy!
Estimating the Nutritional Data for This Irish Soda Bread
I know some of you eagle-eyed bakers always want to know what exactly is in your food, even when it’s just a quick comfort bake like this Irish soda bread. Since this recipe doesn’t use any fancy processed ingredients, the numbers are pretty straightforward, giving you a good idea of what you’re enjoying per slice.
Nutritional Estimates Per Serving
Based on making ten servings from the entire loaf, here is the breakdown of the major components. Keep in mind that these estimates can vary slightly depending on the exact brand of flour or butter you use, but this gives you a solid benchmark for your slice:
| Nutrient | Amount Per Serving |
|---|---|
| Calories | 250 |
| Fat | 7g |
| Carbohydrates | 42g |
| Protein | 5g |
For more quick recipes and baking inspiration, check out my Pinterest boards or read more on Medium.
Print
Amazing Irish soda bread in 1 easy step
- Total Time: 1 hour 10 minutes
- Yield: 10 servings 1x
- Diet: Vegetarian
Description
This classic Irish soda bread is crisp on the outside and tender inside, made with buttermilk, raisins, and cranberries for a touch of sweetness. It is a simple, no-yeast loaf ready in under an hour.
Ingredients
- 4 cups all-purpose flour
- ¼ cup sugar
- 1 teaspoon baking soda
- 1 teaspoon kosher salt
- 6 tablespoons cold salted butter, divided and diced
- ½ cup golden raisins
- ½ cup dried cranberries
- 1 large egg
- 1 ¾ cups buttermilk
- Extra butter for greasing the pan
Instructions
- Preheat oven to 400°F. Butter a 10-inch cast-iron skillet or line with parchment.
- In a large bowl, whisk together flour, sugar, baking soda, and salt.
- Using your fingers or a pastry blender, work 4 tablespoons cold butter into the flour mixture until crumbly.
- Stir in raisins and cranberries, then make a well in the center.
- In a small bowl, whisk together egg and buttermilk. Pour into the flour mixture and stir just until combined; the dough should be slightly shaggy.
- Turn the dough onto a floured surface and gently knead 4 to 5 times until no dry flour remains.
- Shape into a 7-inch round loaf, about 1¼ inches thick, and transfer to the prepared skillet.
- Dust a knife with flour and cut a large X across the top of the loaf, about 1 inch deep.
- Bake for 50 to 55 minutes, or until golden brown and a toothpick inserted in the center comes out clean. Tent with foil if the top browns too quickly.
- Melt the remaining 2 tablespoons of butter and brush over the warm loaf. Cool 10 minutes before transferring to a rack. Slice and serve warm.
Notes
- Serve warm with butter, jam, or cream cheese for the best flavor and texture.
- Prep Time: 15 minutes
- Cook Time: 55 minutes
- Category: Bread
- Method: Baking
- Cuisine: Irish
Nutrition
- Serving Size: 1 slice
- Calories: 250
- Sugar: N/A
- Sodium: N/A
- Fat: 7g
- Saturated Fat: N/A
- Unsaturated Fat: N/A
- Trans Fat: N/A
- Carbohydrates: 42g
- Fiber: N/A
- Protein: 5g
- Cholesterol: N/A