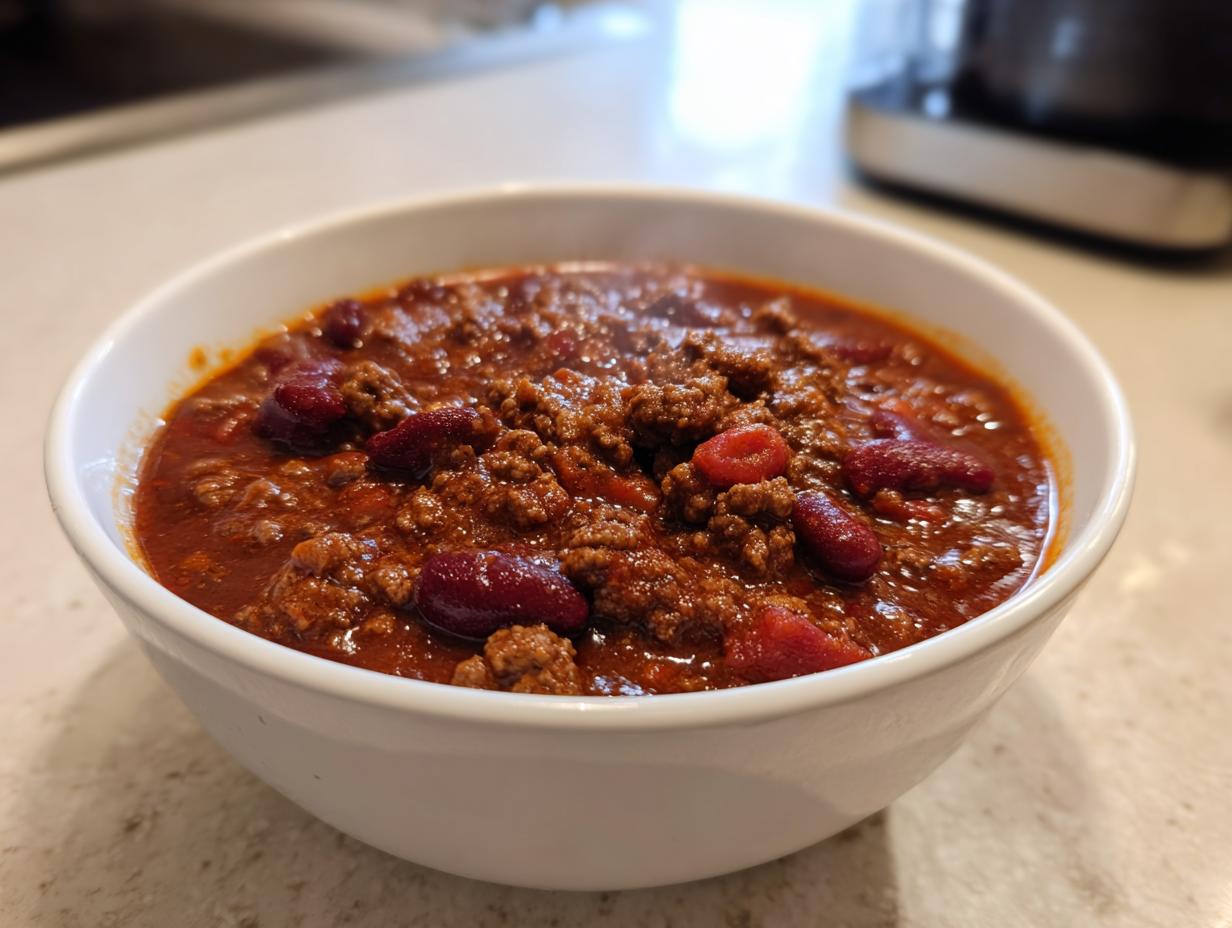
When I talk about Homemade Chili, people immediately think heavy, greasy, and something you only eat once every blue moon. But that’s not my style! Hi, I’m Jordan Bell, hailing all the way from Asheville, NC. After my own journey shedding about 80 pounds, I realized comfort food didn’t have to mean sacrificing my goals. That’s why my blog, Easy Detox Recipes, is all about taking those rich, satisfying Southern staples and cleaning them up without losing any of the soul.
This recipe is the perfect example of that philosophy. It’s pure, unadulterated comfort food that tastes like it simmered all day long, but it comes together fast enough for a crazy Tuesday night. You get that deep, smoky flavor you crave from a great Homemade Chili without all the unnecessary filler. Trust me, this is the recipe that convinced my family that clean eating could still be incredibly delicious and satisfying.
Why This Homemade Chili Stands Out
What makes this chili different from the gloppy stuff you get at a fair? It’s the flavor concentration, my friends. We skip fillers and lean hard on simple, whole ingredients—especially the spice bloom. I learned the hard way that too much fat doesn’t equal flavor; it just equals regret later! When I was working toward my weight loss goals, I needed real Southern comfort food that didn’t weigh me down. This chili delivers that deep, smoky richness we love, but thanks to the tomato balance and the right spices, you get pure flavor payoff.
Quick Prep for Your Homemade Chili
You genuinely won’t believe how fast this comes together. We’re talking 15 minutes of prep time, max! That means you can get the aromatics going right after work, and while it simmers, you can actually sit down and relax. It’s perfect for those nights when you need a hearty, satisfying meal but don’t have hours to babysit a pot on the stove.
Gathering Ingredients for Homemade Chili
I always tell people that the secret to great chili isn’t some crazy, rare spice; it’s treating the simple stuff right. For this Homemade Chili, we need clear instructions on how to handle things before they even hit the pot. You want your peppers and onions perfectly diced so they melt down nicely, and you absolutely must rinse those beans! Nobody wants that canned goo interfering with our deep tomato base.
Don’t stress about running out to the specialty store, though. Everything here is easy to find, which is key for a true weeknight dinner recipe. I’ve laid out every single measurement we need below in the table. Make sure you read those prep notes carefully—they are just as important as the amount of cumin you use!
Essential Components for Flavorful Homemade Chili
This list covers everything from the ground meat to the specific flavor boosters like chipotle powder. Pay close attention to the preparation notes in the table; they tell you exactly how to get the texture right. For example, the beans need to be drained and rinsed, and the tomatoes need to be diced. We are aiming for maximum flavor extraction here, so precision matters!
Ingredient Table
| Ingredient | Amount | Preparation Note |
|---|---|---|
| Ground Beef or Turkey | 2 pounds | Can be pre-cooked and frozen |
| Green Peppers | 2 small | About 2 cups diced |
| Yellow Onion | 1 small | About 1 ½ cups diced |
| Diced Tomatoes | 2 cans (15-ounce) | Undrained |
| Tomato Sauce | 1 can (15-ounce) | N/A |
| Tomato Paste | 1 can (6-ounce) | N/A |
| Water | 15 ounces | N/A |
| Kidney Beans | 2 cans (15-ounce) | Drained and rinsed well |
| Chili Powder | 3 tablespoons | N/A |
| Garlic Powder | 2 tablespoons | N/A |
| Onion Powder | 2 tablespoons | N/A |
| Cumin | 3 tablespoons | N/A |
| Paprika | 1 tablespoon | N/A |
| Chipotle Powder | 1 teaspoon | N/A |
| Cayenne Pepper | ½ teaspoon | N/A |
| Salt | ½ tablespoon | N/A |
| White Pepper | 1 teaspoon | N/A |
| Baking Soda | ½ teaspoon | Optional, added near the end |
Step-by-Step Instructions for Perfect Homemade Chili
Okay, this is where the magic happens. You’ve got your ingredients ready, and now we move from prep work to actual cooking. Remember what I always preach: do not let anything burn! If you keep things moving, especially during the spice part, you’ll avoid that bitter taste that ruins a whole pot of chili. We’ll tackle building that incredible base first, and then we move into the long, slow simmer.
Building the Flavor Base in Your Homemade Chili
First up, grab your big Dutch oven—we need space for this flavor explosion. Get those diced peppers and onions in there over medium heat. You want them soft, translucent, and just starting to get those little golden spots around the edges. That caramelization is pure sweetness, which balances the tomatoes later. Don’t rush this part; maybe five to seven minutes.
Next, turn the heat down just a hair and toss in all your dry seasonings—the chili powder, cumin, garlic powder, everything except that baking soda we save for the end. You need to cook these spices for about a minute or two, stirring constantly. This process, called blooming, wakes up the oils in the spices and makes them seriously fragrant. If you smell them getting too toasty or smelling burnt, pull the pot off the heat for just a second! That deep, smoky aroma is your reward for paying attention here.
Simmering and Finishing the Homemade Chili
Once those spices are singing, throw in your ground meat. Cook it until it’s mostly browned. It doesn’t have to be perfectly cooked through because it’s going to simmer for a while anyway. Now, pour in your tomato sauce, the diced tomatoes (juice and all!), the tomato paste, and the water. Give it a good stir and bring this whole beautiful mess up to a gentle simmer on medium-low heat. Let it bubble quietly for about 15 minutes; this lets the meat absorb the spice blend.
After that first simmer, drain and rinse your kidney beans really well—we don’t want that starchy liquid in our clean chili! Add them in. Now for the weird but crucial step: stir in that optional baking soda. It’s going to bubble up like crazy for a moment, which is totally normal! That fizz neutralizes some of the tomato acidity, making the chili smoother on your stomach. Keep stirring over medium heat until the bubbling calms down. Once the bubbles disappear, you’re done! Take it off the heat, and get ready to eat.
Tips for Absolute Success with Homemade Chili
I’ve made this Homemade Chili so many times I could do it blindfolded, but even I still follow a few rules to make sure it’s perfect every time. The biggest lesson I learned when trying to clean up my Southern recipes was that you can absolutely use pre-cooked ground beef if you’re in a rush! This is a lifesaver if you batch cook meat on the weekend. Just make sure you still brown the spices thoroughly beforehand so you don’t lose that flavor depth.
And remember that acidity note? That little bit of baking soda is my secret weapon for keeping things smooth, especially if you’re using a lot of canned tomatoes. If you skip it, the chili might taste a little sharp when you first serve it, but honestly, it usually mellows out overnight. Don’t sweat the small stuff, but pay attention to your stirring!
Ingredient Substitutions for Your Homemade Chili
If you’re not feeling the ground beef, turkey works beautifully here; it keeps the fat content down, which is great for my lighter detox meals. Just know that turkey might require a tiny bit more cooking time initially. As for the beans, kidney beans are classic for that Southern comfort vibe, but if you prefer pinto or even black beans, go for it! The key here is to keep that spice-to-tomato ratio the same, because that’s where the real flavor lives.
Storing and Reheating Your Homemade Chili
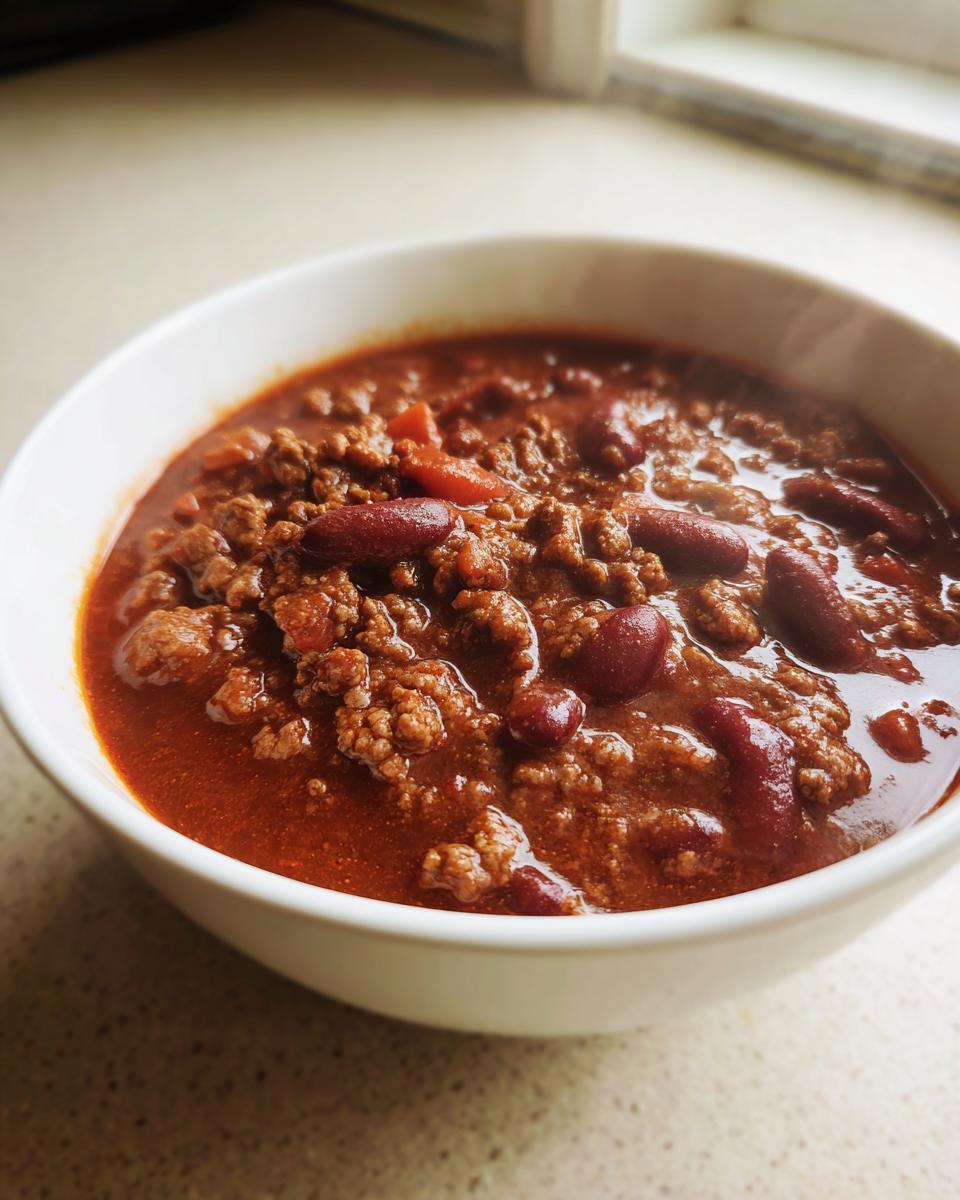
The best part about a big batch of Homemade Chili is that it tastes even better the next day! When I’m meal prepping, I always make sure to triple this recipe just so I have lunches ready for the week. It holds up incredibly well, and the flavors really marry together overnight—that’s when the cumin and chipotle really shine through.
Storing it properly means you can enjoy it for days without worry. Just make sure it cools down completely before you seal up your containers. Nobody wants soggy leftovers!
Storage and Reheating Guide
| Container | Duration | Reheating Tip |
|---|---|---|
| Refrigerator (Airtight) | Up to 5 days | Stovetop is best; add a splash of water if too thick. |
| Freezer (Freezer-safe bag/container) | Up to 3 months | Thaw overnight in the fridge before reheating on the stove or microwave. |
Frequently Asked Questions About Homemade Chili
I get so many great questions about this recipe once people start making it. It’s one of those weeknight dinner staples that everyone wants to customize just a little bit. Don’t hesitate to tweak things—that’s what cooking is all about! I’ve pulled a few of the most common inquiries from my comments section to clear things up right here.
Can I make this Homemade Chili ahead of time for better flavor?
Yes, please do! This is the ultimate make-ahead meal. The flavors in this Homemade Chili really deepen and marry together beautifully overnight in the fridge. When you reheat it, it tastes even richer than when it was first cooked. I usually make a huge batch on Sunday specifically so I have grab-and-go lunches ready for the week. It holds up wonderfully and doesn’t get watery at all.
How do I adjust the heat level in this Homemade Chili?
This recipe is built to be flavorful but not scorching hot—I kept the cayenne and chipotle powders pretty moderate since I’m focused on cleaner eating now, not just pure fire! If you like things spicier, you can easily double the chipotle powder or add an extra half teaspoon of cayenne. For an even deeper smoky heat, try swapping the chipotle powder for smoked paprika and adding a dash of hot sauce right at the end when you serve it. That gives everyone control over their final spice level.
Sharing Your Homemade Chili Experience
I truly love hearing when one of my clean comfort recipes makes it onto your dinner table! If this easy Homemade Chili hit the spot for your family this week, please don’t keep that goodness to yourself. Head down to the comments and let me know how you served it—did you use cheese, sour cream, or maybe some fresh cilantro?
A quick rating or share helps other folks trying to eat better while still enjoying amazing Southern food find their way here. Happy cooking, y’all!
Print
Amazing 15-min Homemade Chili flavor
- Total Time: 60 minutes
- Yield: 6-8 servings 1x
- Diet: N/A
Description
Best Homemade Chili. This recipe delivers a rich, flavorful chili using simple ingredients for a satisfying meal.
Ingredients
- 2 pounds ground beef or turkey
- 2 small green peppers (about 2 cups diced)
- 1 small yellow onion (about 1 ½ cups diced)
- 2 cans diced tomatoes (15-ounce cans)
- 15-ounce can tomato sauce
- 6-ounce can tomato paste
- 15 ounces water
- 2 cans kidney beans, drained and rinsed (15-ounce cans)
- 3 tablespoons chili powder
- 2 tablespoons garlic powder
- 2 tablespoons onion powder
- 3 tablespoons cumin
- 1 tablespoon paprika
- 1 teaspoon chipotle powder
- ½ teaspoon cayenne pepper
- ½ tablespoon salt
- 1 teaspoon white pepper
- ½ teaspoon baking soda (optional)
Instructions
- In a large dutch oven, saute diced peppers and onions until translucent and they start to caramelize.
- Add seasonings (minus the baking soda) and cook for 1 to 2 minutes, stirring continuously. Make sure they do not burn.
- Add ground meat and brown until just done. It is acceptable if it still has some pink before you add the rest of the ingredients.
- Pour in the tomato sauce, diced tomatoes, water, and tomato paste.
- Bring to a simmer over medium low heat and cook for about 15 minutes. Then add the drained beans.
- Stir in the baking soda. The sauce will start to bubble up. Stir over medium heat until the bubbles have gone away.
- Remove from heat and serve.
Notes
- Do not let anything burn; keep stirring throughout the process.
- You can prepare ground beef in large batches beforehand and freeze it for later use.
- Pre-cooked ground beef works well in this recipe.
- Adding baking soda helps reduce the acidity from the tomatoes.
- Prep Time: 15 minutes
- Cook Time: 45 minutes
- Category: Main Dish
- Method: Stovetop
- Cuisine: American
Nutrition
- Serving Size: 1 serving
- Calories: 450
- Sugar: 10g
- Sodium: 650mg
- Fat: 25g
- Saturated Fat: 9g
- Unsaturated Fat: 16g
- Trans Fat: 0g
- Carbohydrates: 25g
- Fiber: 6g
- Protein: 35g
- Cholesterol: 90mg