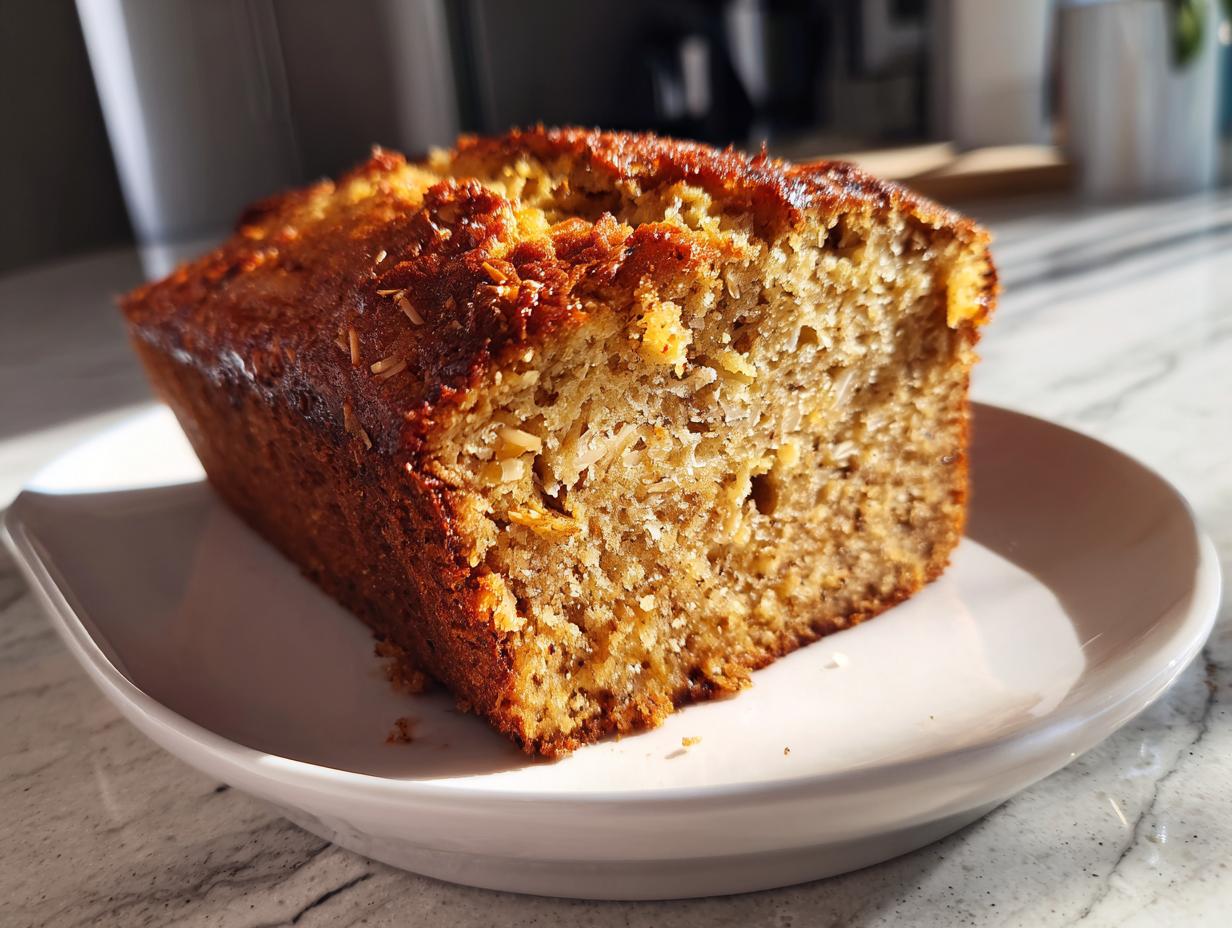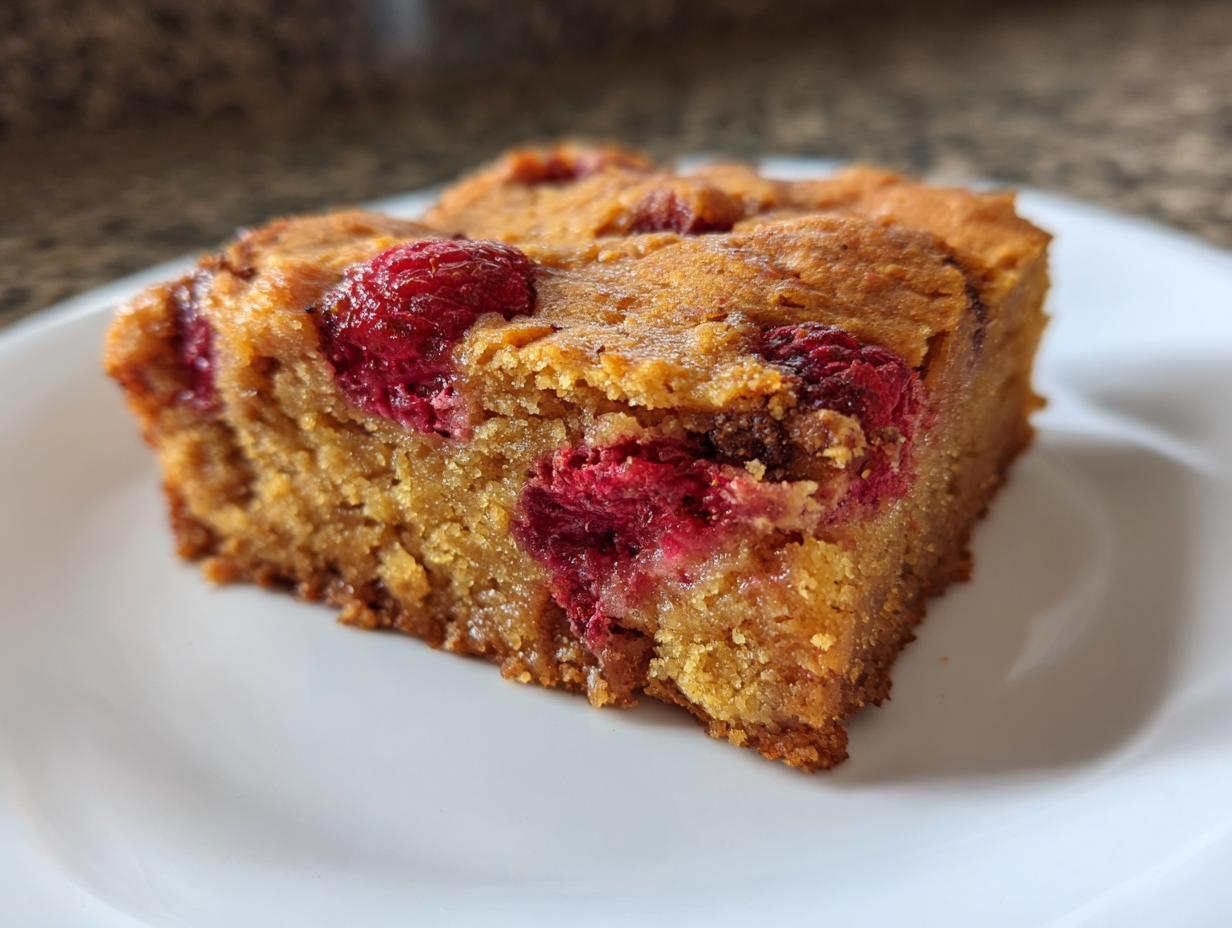
I’m going to let you in on a little secret: making truly amazing gluten-free raspberry blondies that aren’t crumbly or dry is not hard at all! Seriously, forget everything you thought you knew about gluten-free baking being fussy. I’ve spent years in the kitchen trying to nail that perfect, chewy texture without wheat flour, and I finally cracked the code using thick cashew butter and coconut flour.
These aren’t just good for being gluten-free; they are genuinely fantastic blondies, bursting with tart raspberry goodness. They come together faster than you can believe, making them my go-to treat when a craving hits hard. Trust me, once you try this recipe, you’ll never look back!
Essential Ingredients for gluten-free raspberry blondies
When you’re baking something special like these gluten-free raspberry blondies, the ingredients are everything. Since we aren’t using traditional flour, we have to rely on a few powerhouse items to give us that chewy texture we all crave. The cashew butter isn’t just for flavor; it’s the primary fat and binder here, giving us that dense, fudgy base that regular blondies usually get from brown sugar and butter.
And then there’s the coconut flour. Oh, coconut flour! It’s a thirsty little ingredient, which is why measuring it correctly is absolutely critical. It absorbs so much liquid, and that’s what helps us avoid a dry, crumbly mess. These two ingredients, combined with the sweet tang of fresh raspberries, are what make this recipe sing. If you want to see more of my favorite baking tips, check out my Medium page for extra insights.
Here’s what you’ll need gathered before you start mixing:
| Item | Amount |
|---|---|
| Cashew Butter (Thick) | 1/2 cup |
| Coconut Oil (Melted) | 1/4 cup |
| Coconut Sugar | 3/4 cup |
| Egg | 1 large |
| Vanilla Extract | 1 tablespoon |
| Coconut Flour | 1/2 cup |
| Baking Soda | 3/4 teaspoon |
| Salt | 1/4 teaspoon |
| Fresh Raspberries | 1 cup |
Clarity on Measurements and Preparation
Let’s talk about that coconut flour again because this is where most people accidentally ruin their blondies. You absolutely cannot scoop it straight out of the bag with your measuring cup! That compacts it way too much. You need to use a spoon to lightly fluff up the flour in its container, then gently spoon it into your 1/2 cup measure, and then level it off with a straight edge, like a knife. It should feel light!
Also, please, please use fresh raspberries if you can get them. If you use frozen ones, they release tons of extra water when they thaw in the batter, and that throws off the whole balance we worked so hard to achieve with the cashew butter and coconut flour. If you absolutely must use frozen, don’t thaw them—just toss them in straight from the freezer, but know your blondies might bake up a little softer.
Equipment Needed for gluten-free raspberry blondies
You don’t need a giant stand mixer for these amazing gluten-free raspberry blondies! Keep it simple. You’ll need a sturdy whisk, a large mixing bowl, a rubber spatula for folding, and your 8×8-inch baking pan. That’s it! See? Easy peasy baking!
Preparing Your Baking Pan
Because we want those perfect squares, pan prep is super important. Take your 8×8 pan and line it with parchment paper, making sure the paper hangs up over two opposite sides like little handles. This is your escape route later! Then, take a tiny bit of that melted coconut oil—or some cooking spray—and just lightly grease the exposed edges of the pan. That way, the batter won’t stick anywhere when it bakes up beautifully!
Step-by-Step Instructions for gluten-free raspberry blondies
Okay, now for the fun part—bringing these glorious gluten-free raspberry blondies to life! Since we’re not dealing with gluten development, we don’t have to worry about overmixing too much, but we do need to be gentle with the fruit. Grab your whisk and let’s get this batter going. It moves fast, so make sure your oven is preheated to 350°F while you work!
Mixing the Wet Components
First things first, get your big bowl ready. We need to combine the rich, thick cashew butter with the melted coconut oil. It might look a little clumpy at first, but just keep whisking! Next, stream in your coconut sugar. Keep whisking until that mixture looks smooth and creamy—it should look a bit like thick caramel sauce. Now, crack in your egg and pour in that lovely vanilla extract. Whisk vigorously until everything is totally emulsified and beautifully smooth. We’re building the base here, so take a second to make sure there are no weird lumps of butter or sugar hiding out.
Incorporating Dry Ingredients and Folding in Fruit
Time for the coconut flour, baking soda, and salt. Dump those dry guys right into the wet mixture. Now, switch from the whisk to a rubber spatula for this part. You only want to stir until you no longer see streaks of dry flour. Seriously, stop stirring the second it comes together! If you keep going, the coconut flour can get dense really fast. The batter will be super thick—almost like cookie dough, not pourable cake batter. That’s perfect! If you are looking for other great dessert ideas, check out my dark chocolate nut bars recipe.
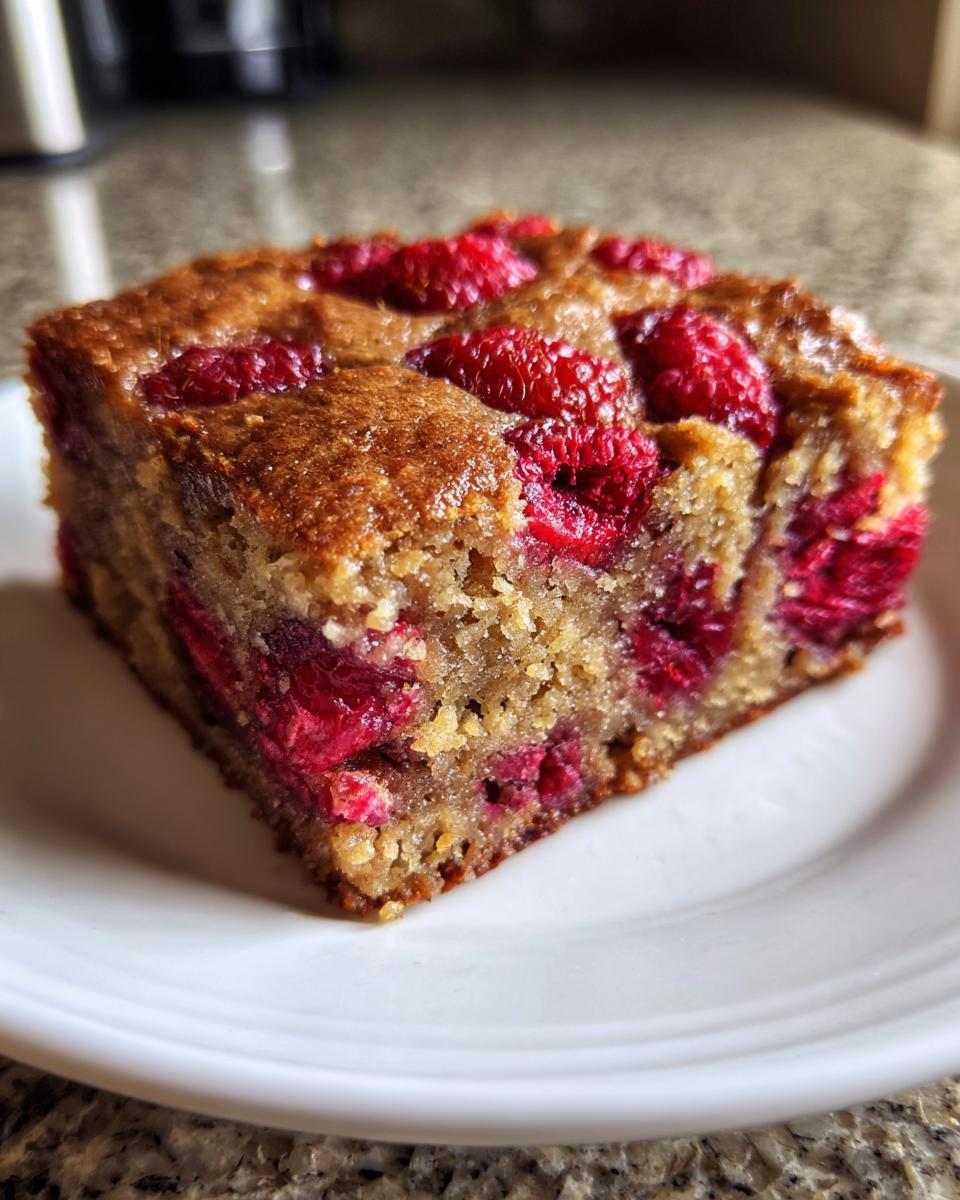
Now, the grand finale for the mixing stage: the raspberries. Gently toss your cup of fresh berries right into that thick batter. Use your spatula to fold them in carefully. You are not making jam here! We want whole or mostly whole raspberries scattered throughout. Fold just enough to distribute them evenly. Remember, if you crush them now, you’ll end up with pink streaks instead of beautiful pockets of fruit.
Baking and Setting the gluten-free raspberry blondies
Take that thick batter and spread it evenly into your prepared 8×8 pan. Use the back of your spatula or a small offset spatula to press it down; it won’t spread much on its own. Into the 350°F oven it goes for about 20 minutes. Don’t walk away! You’re looking for two things: the edges should look set and maybe just slightly golden brown, and the center should look dry on top, not shiny or wet. A toothpick inserted near the center should come out with moist, sticky crumbs attached—not wet batter. If it comes out totally clean, you’ve gone too far and they might be dry! Pull them out right when they look perfect.
Tips for Perfect gluten-free raspberry blondies
You’ve baked them, they smell amazing, and resisting cutting into them right away is the hardest part of making these gluten-free raspberry blondies! But I promise you, a little patience now pays off big time in texture later. The difference between a slightly gooey, perfect blondie and a crumbling mess is often just a few minutes of cooling time.
The unique composition of this recipe—using cashew butter and coconut flour instead of traditional flour and eggs—means the structure is delicate when hot. As they cool, the fats solidify, and the coconut flour sets up properly. If you try to slice them warm, you’ll just end up with a pile of delicious, but messy, goo. For more visual inspiration on recipes, feel free to browse my Pinterest boards.
The Importance of Complete Cooling
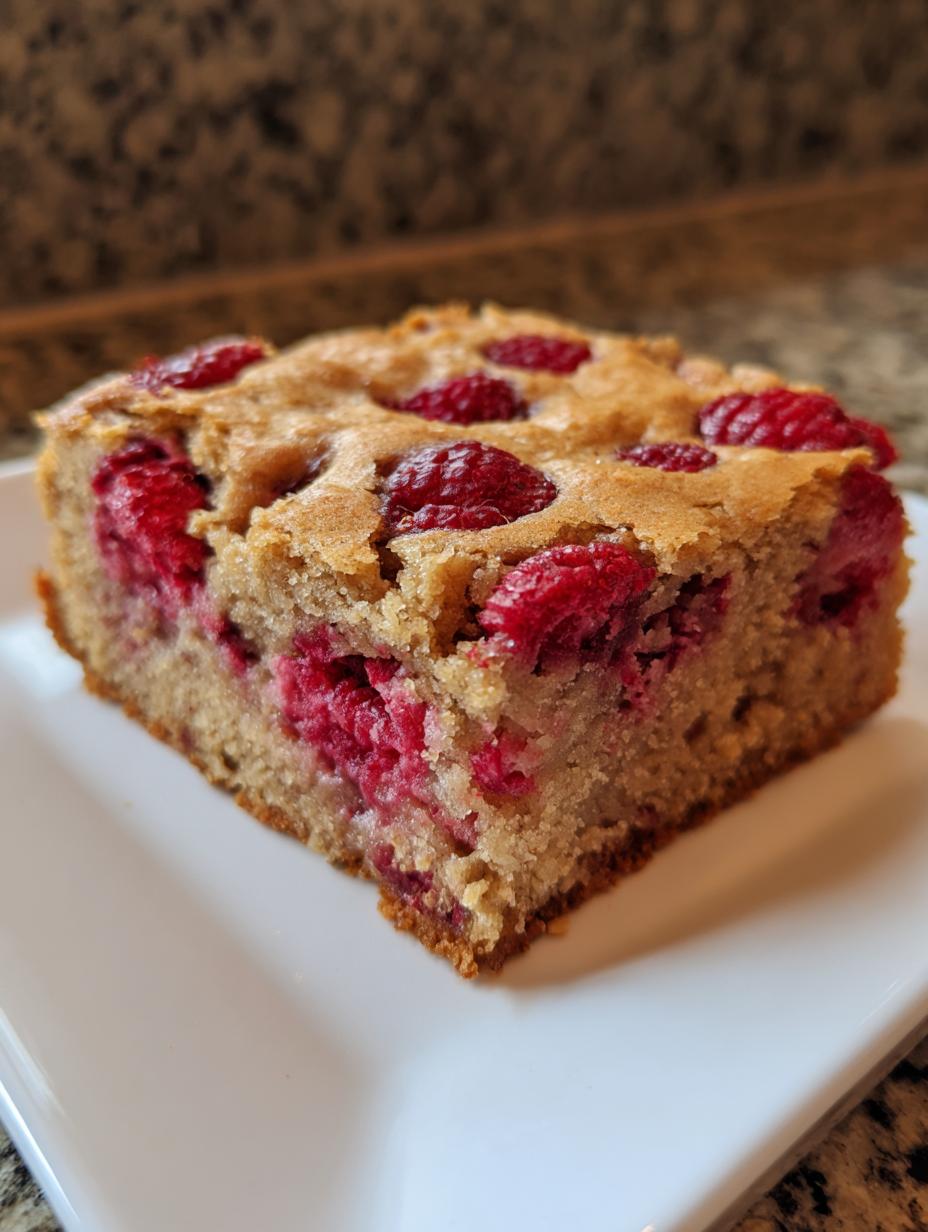
This is non-negotiable for clean squares! You need to let these blondies cool down completely in the pan on a wire rack. I know, I know, the kitchen smells incredible, but if you try to lift them out with the parchment handles while they are even slightly warm, they will sag and break right in the middle. We want those perfect 16 portions! Give them at least an hour, maybe even two, until the pan feels room temperature before you even think about lifting them out. Once they are totally cool, the structure of your gluten-free raspberry blondies will be sturdy enough to slice cleanly. It’s worth the wait, trust me on this one! If you are looking for another great baked treat, try these banana oatmeal bars.
Storing and Reheating Your gluten-free raspberry blondies
The great thing about using cashew butter and coconut flour is that these gluten-free raspberry blondies actually keep really well! They are quite rich, so they don’t dry out nearly as fast as some other gluten-free recipes I’ve tried. You have two options for keeping them fresh, depending on how quickly you plan to demolish them. I usually make a double batch just so I have some ready for afternoon snacks! If you are interested in other baking projects, check out my recipe for allulose keto brownies.
If you plan on eating them within three days, leaving them out on the counter is totally fine. If you need them around longer, or if your kitchen is super warm, the fridge is your best bet. They firm up a bit in the cold, but they are still delicious!
| Storage Location | Maximum Shelf Life |
|---|---|
| Room Temperature | Up to 3 days |
| Refrigerator | Up to 1 week |
Best Practices for Storing
No matter where you keep them, the key word is airtight! If you just toss them on a plate and cover them with foil, they’ll dry out faster than you can blink. You need a good container with a tight-fitting lid. If you stack them, put a small square of parchment paper between the layers. This stops the raspberries on one blondie from sticking to the top of the next one. Easy cleanup, perfect squares every time!
Common Questions About gluten-free raspberry blondies
I get so many messages about tweaks and substitutions for this recipe, which is wonderful! It means you’re all excited to bake them. Since we’re working with coconut flour and nut butter, we have to be a little careful about changing things up, but I’ve got the answers to the most common things I hear about making these gluten-free raspberry blondies.
It’s important to remember that this recipe is designed around the texture provided by the cashew butter. It’s naturally very thick and creamy, which helps mimic the density of traditional flour-based blondies. If you change that base fat/binder, you change the whole structure!
Can I Substitute the Cashew Butter
This is the biggest question! You can definitely try almond butter, and that works reasonably well because it’s also thick. However, peanut butter is usually too oily and thin, and it will change the flavor profile significantly, so I don’t recommend that for these raspberry blondies. If you use sunflower seed butter, be aware that it might be slightly runnier, and you might need to chill the batter for an extra 10 minutes before spreading it in the pan to help it set up.
How to Ensure Chewy Texture
If you want those perfectly chewy blondies, you have to pay attention to two things. First, don’t overbake! I stress this all the time. You want moist crumbs on the toothpick, not a dry one. Second, the coconut sugar is key here, not that white granulated stuff. Coconut sugar holds onto moisture better than white sugar, and that molasses content helps give us that wonderful, dense chewiness we’re looking for in our cashew butter blondies.
Sharing Your gluten-free raspberry blondies Success
I truly hope you love making and eating these as much as I do! They are such a happy little treat. Once you’ve pulled yours out of the oven and they’ve cooled down completely, I’d absolutely love to hear about them! Let me know in the comments below how they turned out for you, or if you tried any fun variations!
Print
Amazing 16 gluten-free raspberry blondies secrets
- Total Time: 30 minutes
- Yield: 16 blondies 1x
- Diet: Gluten Free
Description
Soft, chewy gluten-free raspberry blondies made with cashew butter and coconut flour for a simple, berry-flavored dessert.
Ingredients
- 1/2 cup thick cashew butter
- 1/4 cup melted coconut oil
- 3/4 cup coconut sugar
- 1 large egg
- 1 tablespoon pure vanilla extract
- 1/2 cup coconut flour
- 3/4 teaspoon baking soda
- 1/4 teaspoon fine salt
- 1 cup fresh raspberries
Instructions
- Preheat oven to 350°F. Line an 8×8-inch baking pan with parchment paper and lightly grease the edges.
- In a large bowl, whisk together cashew butter, melted coconut oil, coconut sugar, egg, and vanilla until smooth.
- Add coconut flour, baking soda, and salt. Stir until just combined into a thick batter.
- Gently fold in the raspberries, being careful not to crush them.
- Spread the batter evenly into the prepared pan using a spatula.
- Bake for 20 minutes, or until the top is lightly golden and edges are set.
- Let the blondies cool completely in the pan before cutting into 16 squares.
- Store in an airtight container at room temperature for up to 3 days or in the refrigerator for up to a week.
Notes
- Store in an airtight container at room temperature for up to 3 days or in the refrigerator for up to a week.
- Prep Time: 10 minutes
- Cook Time: 20 minutes
- Category: Dessert
- Method: Baking
- Cuisine: American
Nutrition
- Serving Size: 1 blondie
- Calories: 145
- Sugar: Unknown
- Sodium: Unknown
- Fat: 9g
- Saturated Fat: Unknown
- Unsaturated Fat: Unknown
- Trans Fat: Unknown
- Carbohydrates: 14g
- Fiber: Unknown
- Protein: 3g
- Cholesterol: Unknown