
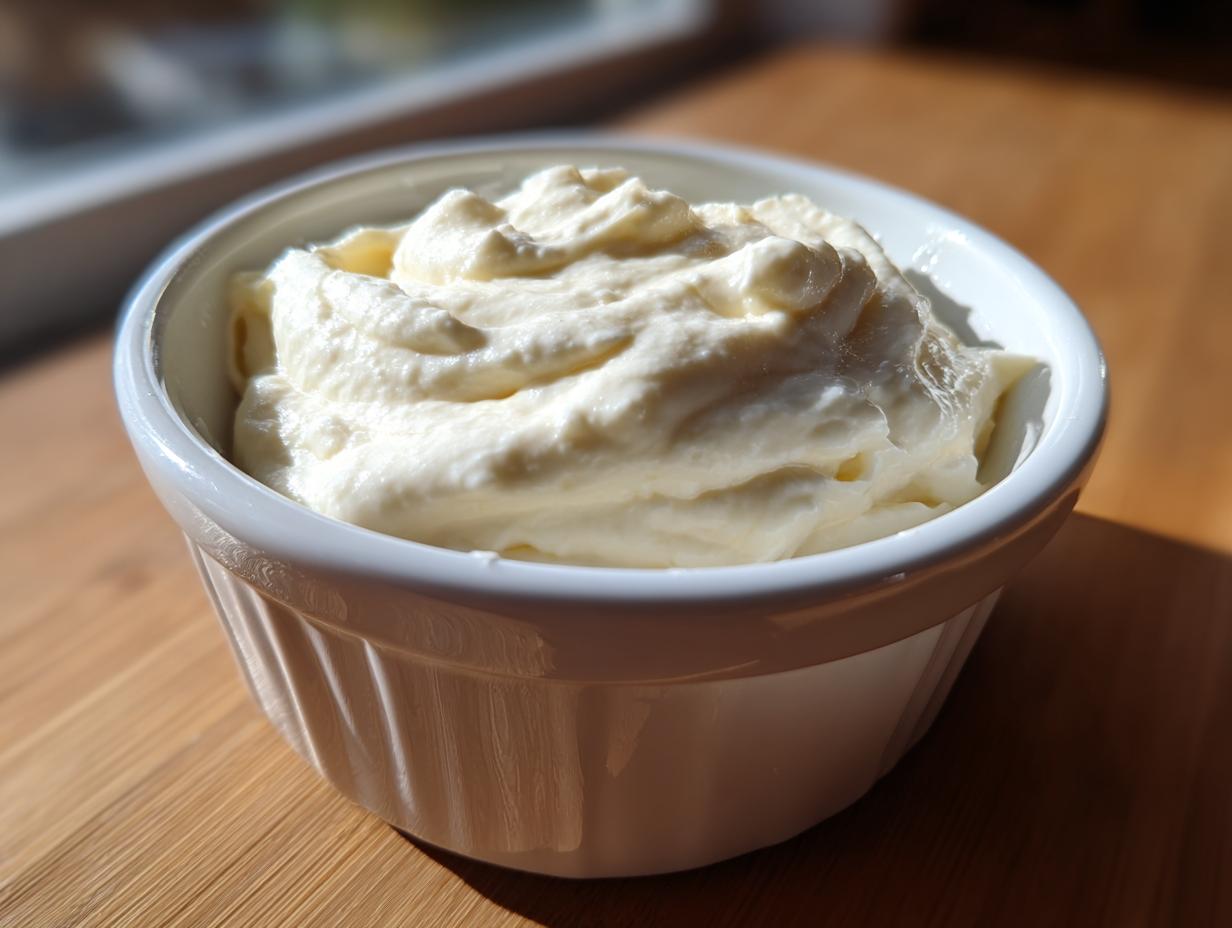
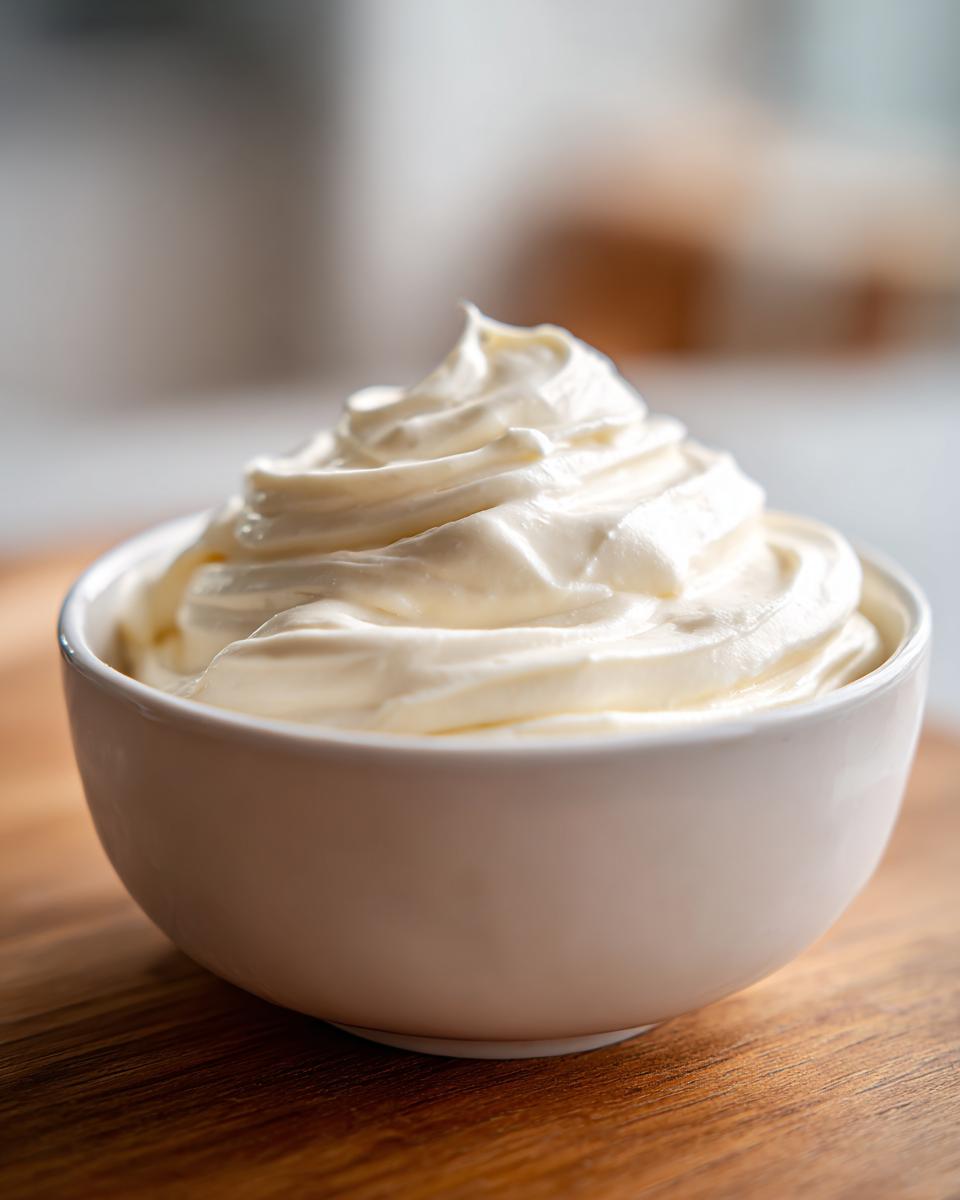
If you’re anything like me, you’ve probably bought jarred sauces that promised the world but delivered only disappointment. I’ve spent years perfecting fast, flavorful condiments, and trust me, this garlic aioli is my absolute champion! Forget those complicated recipes that require hours of emulsifying oil—we’re making a rich, tangy, show-stopping sauce in literally ten minutes flat.
What makes this recipe a non-negotiable in my kitchen? It uses Greek yogurt! That little swap keeps the sauce wonderfully creamy but cuts down on the heaviness you usually get. It provides that perfect bold flavor profile that makes everything taste instantly better. It’s seriously my go-to for fries, roasted potatoes, or just sneaking a spoonful when no one’s looking. You won’t believe how much flavor we pack into such a short time.
Gathering Your Ingredients for the Best Garlic Aioli
Okay, so we’re aiming for the best garlic aioli here, right? That means we can’t just throw anything in the bowl! Even though this comes together so fast, the quality of what you put in really makes a huge difference in the final, bold flavor. I always tell people, if you’re going to use garlic, make sure it’s fresh—that jarred stuff just doesn’t have the same punch, and we need punch!
Don’t worry, you probably have most of this stuff sitting in your fridge right now. We’re sticking to simple pantry staples, but we’re treating them right. The balance between the tang from the lemon and yogurt and the richness of the mayo is what makes this recipe sing. Let’s get everything measured out before we start whisking!
Listing Essential Components for Authentic Garlic Aioli
When you look at the list below, pay special attention to the garlic. This is where things can go wrong if you rush! For this recipe, you absolutely need to mince or grate your garlic very finely. If you use big chunks, you’ll get an overwhelming burst of raw garlic in one bite, and we want that flavor distributed evenly throughout the sauce. A microplane grater works wonders here, but a sharp knife and some patience work too!
Ingredient Table for Garlic Aioli
Here are the exact amounts I use to get that perfect texture and flavor balance. Remember, this is about three-quarters of a cup of sauce, which is plenty for a big batch of fries or a couple of sandwiches.
| Ingredient | Amount | Preparation Note |
|---|---|---|
| Garlic | 6 cloves | Minced or grated very finely |
| Lemon Juice | 2 tablespoons | Freshly squeezed only! |
| Dijon Mustard | 1/2 teaspoon | For a little backbone |
| Greek Yogurt | 1/2 cup | Use whole-milk for the best creaminess |
| Mayonnaise | 1/4 cup | Your favorite brand is fine |
| Kosher Salt | 1/2 teaspoon | Plus more to taste later |
| Black Pepper | 1/4 teaspoon | Freshly ground is best |
Why You Will Love This Quick Garlic Aioli Recipe
I know you’re busy, so let me tell you why this sauce is about to become your new best friend. It’s fast, it’s packed with flavor, and it’s surprisingly light! You seriously won’t believe how much zest you get from just a few simple ingredients whisked together.
- Speed Demon: We’re talking ten minutes, start to finish. No waiting around for eggs to come to temperature or things to emulsify.
- Bold & Tangy Flavor: That hit of fresh lemon juice mixed with the garlic makes this sauce wake up whatever you put it on. It’s intense!
- Lighter Texture: Thanks to that Greek yogurt swap, you get that creamy mouthfeel without the overwhelming richness of traditional aioli.
- Total Versatility: This isn’t just for fries! Seriously, slather it on everything—sandwiches, grilled chicken, even roasted broccoli.
Step-by-Step Instructions for Making Garlic Aioli
Now for the fun part! You’re going to be amazed at how simple this is. Seriously, there’s no fancy technique required here—just a bowl and a whisk. I like using a medium-sized bowl because it gives me enough room to really incorporate everything without splashing my counter, which, let’s be honest, happens to me often! Yogurt is key here!
Combining Wet Ingredients for Smooth Garlic Aioli Base
First things first, we need to build that creamy foundation. Grab your Greek yogurt, the mayonnaise, the Dijon mustard, and all that freshly squeezed lemon juice. Put them all into your bowl at once. Now, take your whisk and mix it vigorously. You need to beat this mixture until it looks completely uniform—no streaks of yogurt hiding next to the mayo. It should be pale, smooth, and look almost fluffy. This step is important because if you have lumps here, they will definitely show up when you add the thick garlic later on. Take your time until it’s perfectly blended!
Incorporating Garlic and Final Seasoning Adjustments
Once your base is looking gorgeous and smooth, it’s time to bring in the star: the garlic! Add your finely minced or grated garlic right into that creamy mixture. Don’t forget the salt and pepper, too. Stir everything together slowly at first, just until you see the garlic disappear evenly throughout the sauce. Now, this is the most important part for any home cook: you have to taste it! Grab a clean spoon and give it a good sample. Does it need more zip? Add a tiny squeeze more lemon juice. Is it a little flat? Sprinkle in a pinch more salt. Don’t be shy about adjusting it until it tastes exactly how you want that bold flavor to hit.
The Crucial Flavor Development Step for Your Garlic Aioli
Resist the urge to eat it all right now! I know, I know, it smells amazing, but this sauce needs time to mature. You’ve just mixed all these powerful flavors—lemon, sharp garlic, tangy yogurt—and they are currently fighting a little bit in the bowl. We need them to become friends! Cover that bowl tightly with plastic wrap or a lid. Pop it into the refrigerator for at least 30 minutes. I usually aim for an hour if I can manage it. This chilling time allows the garlic flavor to permeate the entire sauce, making it deeper and less harsh. Trust me, skipping this step is a rookie mistake; the wait makes all the difference for your garlic aioli!
Expert Tips for Preparing Superior Garlic Aioli
I’ve made this sauce so many times I could probably do it blindfolded, but I still run into little hiccups sometimes! The key to feeling confident making any sauce is knowing how to troubleshoot on the fly. Don’t stress if your first batch isn’t perfect; a few quick tweaks can save the day and boost that flavor profile we’re aiming for.
Achieving Optimal Garlic Flavor in Your Garlic Aioli
You have to use fresh garlic, period. Jarred minced garlic is usually swimming in oil or brine, and it just tastes dull next to the real thing. If you want that really intense, sharp garlic hit—the kind that makes you sit up and pay attention—use a microplane grater. It turns the clove into almost a paste, releasing all those potent oils right into the sauce. If you just mince it with a knife, the flavor will be present but much milder, giving you a slightly less bold final product. Choose your weapon based on how much garlic fire you want! You can see more of my kitchen tips here.
Adjusting Consistency and Tanginess of Garlic Aioli
Life happens, and sometimes you grab yogurt that’s thicker than usual, or maybe you squeezed a lemon that was surprisingly small. If your sauce ends up too thick for dipping—maybe it’s stiff like hummus—don’t panic! Just whisk in a teaspoon of cold water or a tiny splash more lemon juice until it loosens up to that perfect drizzle consistency. If it’s too tangy for your liking after chilling, you can always stir in another small spoonful of mayonnaise to balance out the acidity. It’s all about tasting and tweaking until it’s exactly right for your taste buds.
Storing and Serving Your Homemade Garlic Aioli
This sauce is just too good to rush through! Since we are using fresh ingredients like yogurt and lemon juice, proper storage is important to keep that bold flavor around for a few days. The good news is that because it’s so packed with flavor, a little bit goes a long way, so you won’t need a huge amount every time you use it.
When it comes to serving, remember that the flavor profile deepens as it sits in the fridge, so it tastes even better on day two than it did right after chilling! Always give it a quick stir before serving, just in case any separation occurs.

Storage and Reheating Instructions for Leftover Garlic Aioli
You need to keep this sauce cold to keep it fresh. I always transfer any leftovers into a small, airtight glass container—plastic works too, but I prefer glass for dips. Make sure it’s sealed tightly so it doesn’t pick up any weird fridge smells!
| Storage Detail | Guideline |
|---|---|
| Refrigeration Required | Yes, keep covered tightly |
| Maximum Shelf Life | Up to 5 days |
| Serving Temperature | Serve chilled or at cool room temperature |
| Freezing Advice | Not recommended; yogurt separates |
Serving Suggestions for Your Bold Garlic Aioli
Honestly, you could eat this with a spoon, but I’ve got some fantastic pairings that really let this garlic aioli shine without needing any extra salt or spice. It’s so versatile! For more serving ideas, check out my Pinterest boards.
- Try it drizzled generously over hot, crispy sweet potato fries—the tang cuts the sweetness perfectly.
- It makes an incredible spread for turkey or roast chicken sandwiches instead of plain mayo.
- Use it as a dipping sauce for homemade artichoke hearts or crispy green beans.
- Mix a spoonful into mashed potatoes for an instant garlic-infused upgrade! If you like potatoes, check out my recipe for rosemary garlic mashed potatoes.
Frequently Asked Questions About Creamy Garlic Aioli
I get tons of questions about this recipe because everyone wants that perfect, bold flavor without the fuss. Since we are relying on yogurt and mayo for our creamy texture, some substitutions are tricky, but I’ve got answers for the most common concerns about shelf life and ingredients!
Can I Make This Garlic Aioli Without Mayonnaise?
That’s a tough one if you want the classic richness! The mayonnaise provides essential fat and body that helps carry the garlic flavor. If you absolutely cannot use mayo, you can try replacing it with an equal amount of full-fat sour cream or even more Greek yogurt. However, be warned: it won’t be quite as rich, and the final texture of your creamy sauce might be thinner. You’ll definitely need to chill it longer to help it firm up.
How Long Does Homemade Garlic Aioli Last in the Refrigerator?
Because this recipe relies on fresh dairy (yogurt) and lemon juice, it doesn’t last as long as store-bought versions that use preservatives. I always tell people to aim for consumption within five days when stored tightly covered in the fridge. If you notice any sour smell or see any discoloration, toss it immediately. It’s better to make a smaller batch more frequently than to risk keeping it past its prime! For more healthy tips, see my weight loss and wellness section.
Nutritional Snapshot of This Garlic Aioli
I know some of you are tracking macros or calories, and that’s totally fair! But because everyone’s mayonnaise, yogurt, and even the size of their garlic cloves differ slightly, the exact numbers can change wildly from kitchen to kitchen. I want you to focus on the flavor, not stressing over tiny variations in the numbers.
Disclaimer Regarding Garlic Aioli Nutrition Data
Please remember that the nutritional information provided here is only an estimate. These figures can vary significantly depending on the specific brands of mayonnaise and Greek yogurt you choose, as well as the exact measurements of salt and lemon juice you use when you adjust the seasoning to your liking!
Share Your Experience Making This Garlic Aioli
Whew! That’s everything you need to know to whip up the best, boldest, and quickest garlic aioli of your life. I truly hope this sauce makes your next meal instantly better. Did you try it on fries or maybe something wilder? Let me know how it went!
Drop a star rating below and tell me in the comments if you added anything extra—maybe a pinch of smoked paprika? I love seeing how you all make this recipe your own!
Print
Amazing 10-min Garlic aioli flavor burst
- Total Time: 10 min
- Yield: About 3/4 cup 1x
- Diet: Vegetarian
Description
Make this creamy garlic aioli with Greek yogurt and mayo for a tangy, bold condiment perfect for dipping, spreading, or topping sandwiches in just 10 minutes.
Ingredients
- 6 cloves garlic, minced or grated
- 2 tablespoons freshly squeezed lemon juice
- 1/2 teaspoon Dijon mustard
- 1/2 cup whole-milk Greek yogurt
- 1/4 cup mayonnaise
- 1/2 teaspoon kosher salt, plus more to taste
- 1/4 teaspoon freshly ground black pepper
Instructions
- In a medium bowl whisk together the Greek yogurt, mayonnaise, lemon juice, and Dijon mustard until smooth.
- Add the minced garlic, salt, and black pepper. Stir until evenly distributed.
- Taste and adjust seasoning with more salt, pepper, or lemon juice as desired.
- Cover and chill in the refrigerator for at least 30 minutes to let the flavors meld.
- Serve chilled as a spread or dip.
Notes
- This aioli is versatile for fries, grilled meats, and sandwiches.
- The Greek yogurt keeps the sauce creamy without being heavy.
- Prep Time: 10 min
- Cook Time: 0 min
- Category: Condiment
- Method: Whisking
- Cuisine: N/A
Nutrition
- Serving Size: N/A
- Calories: ~80
- Sugar: N/A
- Sodium: N/A
- Fat: ~7g
- Saturated Fat: N/A
- Unsaturated Fat: N/A
- Trans Fat: N/A
- Carbohydrates: ~2g
- Fiber: N/A
- Protein: ~3g
- Cholesterol: N/A
