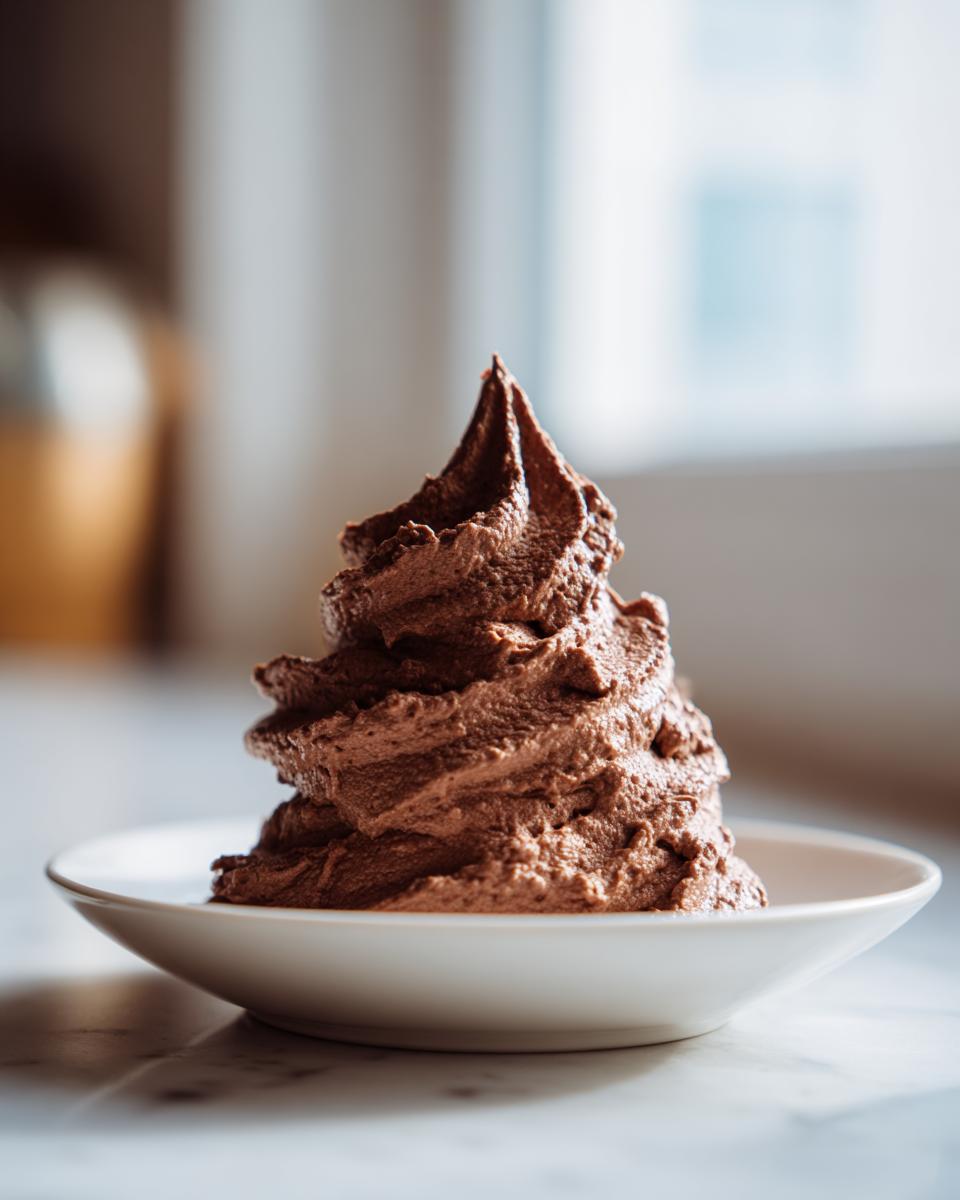
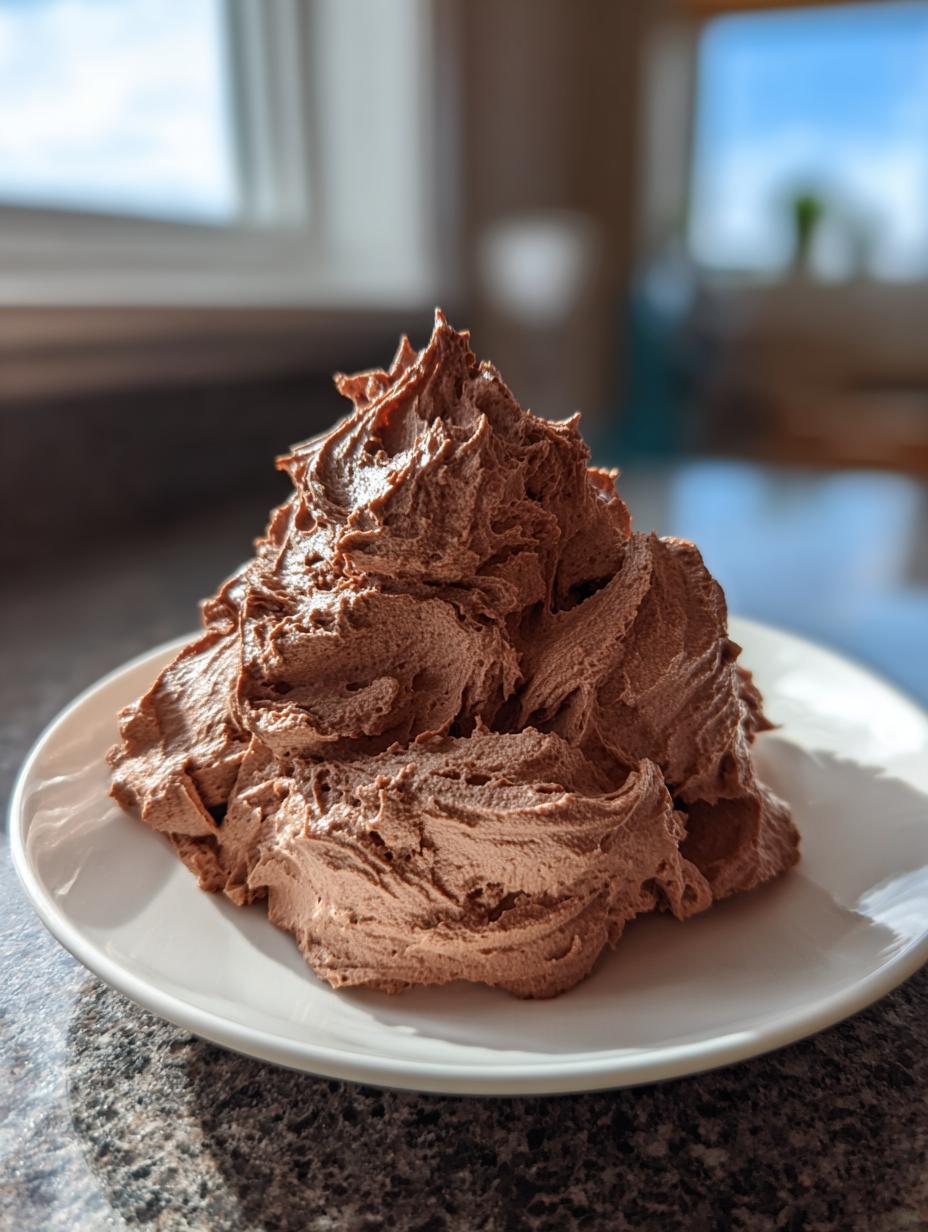
If you’re anything like me, sometimes you need a rich, decadent topping *right now*. You know those moments when you’re staring down a lonely slice of cake or your hot chocolate is just begging for something extra? That’s why I perfected this recipe for Chocolate Whipped Cream. Seriously, this is the fastest, fluffiest topping you will ever make. We’re talking five minutes, tops!
I used to rely on those canned sprays, but honestly, they taste like air and regret. I needed something homemade that really delivered that deep cocoa flavor without needing a complicated double boiler or hours of chilling. After years of messing around with different ratios for my layer cakes and quick desserts, I landed on this magical combination that whips up beautifully every single time.
The secret isn’t fancy equipment; it’s knowing the cream has to be ice cold! When you see how quickly this rich, dark topping comes together, you’ll never go back to the store-bought stuff, trust me. It’s pure, velvety magic made right in your own kitchen.
Essential Ingredients for Rich Chocolate Whipped Cream
When you’re making something as simple as Chocolate Whipped Cream, the quality of your ingredients really shines through. You don’t have many players on the field here, so we need to make sure they are the best they can be! Forget anything that isn’t cold or full-fat; this recipe relies on structure and richness.
I learned the hard way that using room-temperature cream results in soup, not peaks. So, pay close attention to the chilling step—it’s non-negotiable for achieving that gorgeous, stiff texture we want!
Ingredient Specifications for Chocolate Whipped Cream
Here’s what you need, and how to check it before you start mixing:
- Heavy Whipping Cream: It must be heavy cream, chilled straight from the fridge. I mean, *cold*.
- Unsweetened Cocoa Powder: This brings the deep chocolate flavor. I always sift mine right over the bowl—it prevents those annoying little lumps.
- Powdered Sugar: Don’t swap this for granulated sugar! Powdered sugar dissolves instantly and helps stabilize the cream so it stays fluffy longer.
- Pure Vanilla Extract: Just a splash for depth. Trust me, the pure stuff makes a difference here.
Equipment Needed for Your Chocolate Whipped Cream
The tools are just as important as the ingredients, especially when it comes to temperature control. You only need a few things, but they need to be frigid!
- A medium mixing bowl (preferably metal or glass, which holds cold better than plastic).
- Electric mixer beaters or a whisk attachment.
- The most crucial step: Putting your bowl and beaters in the freezer for 10 minutes before you start! That initial chill is what kicks off the process perfectly.
Step-by-Step Instructions for Fluffy Chocolate Whipped Cream
Okay, this is where the magic happens, and I promise you, it’s faster than making toast! Since we’ve already pre-chilled our bowl and beaters—go you!—we are ready to assemble the ingredients for this incredible Chocolate Whipped Cream. Don’t walk away from the mixer during this process; it goes from perfect to over-whipped in a blink!
First things first, get everything into that frosty cold bowl. Pour in your ice-cold heavy cream, followed by the cocoa powder, the powdered sugar, and that little splash of vanilla. See how easy that is? No melting chocolate, no fuss.
Now, grab your electric mixer. Start slow! I always begin on the lowest speed setting. You want the mixer to gently incorporate the dry ingredients—the cocoa and sugar—into the cream without instantly creating a cocoa cloud that covers your entire kitchen. That’s the messy rookie mistake!
Mix on low speed just until everything looks wet and combined, maybe 30 seconds. Once you don’t see any dry pockets of sugar or powder, crank that mixer up to high speed. This is where the air gets whipped in, giving our Chocolate Whipped Cream its fantastic volume.
Watch it closely! You’re looking for soft peaks first. This means when you lift the beater, a peak forms, but it flops over immediately. Keep going a little longer until those peaks stand up on their own but the tips curl slightly—that’s the perfect texture for spreading on a cake or piping onto cupcakes. If you keep beating past this point, you’ll end up with butter, and nobody wants that when they were aiming for fluffy topping!
As soon as it looks stiff, fluffy, and beautifully dark, turn the mixer off immediately. That’s your Chocolate Whipped Cream ready to go. If you aren’t using it right away, get it back into the fridge, but honestly, it tastes best scooped onto whatever you’re eating within the first hour!
Why You Will Love This Quick Chocolate Whipped Cream
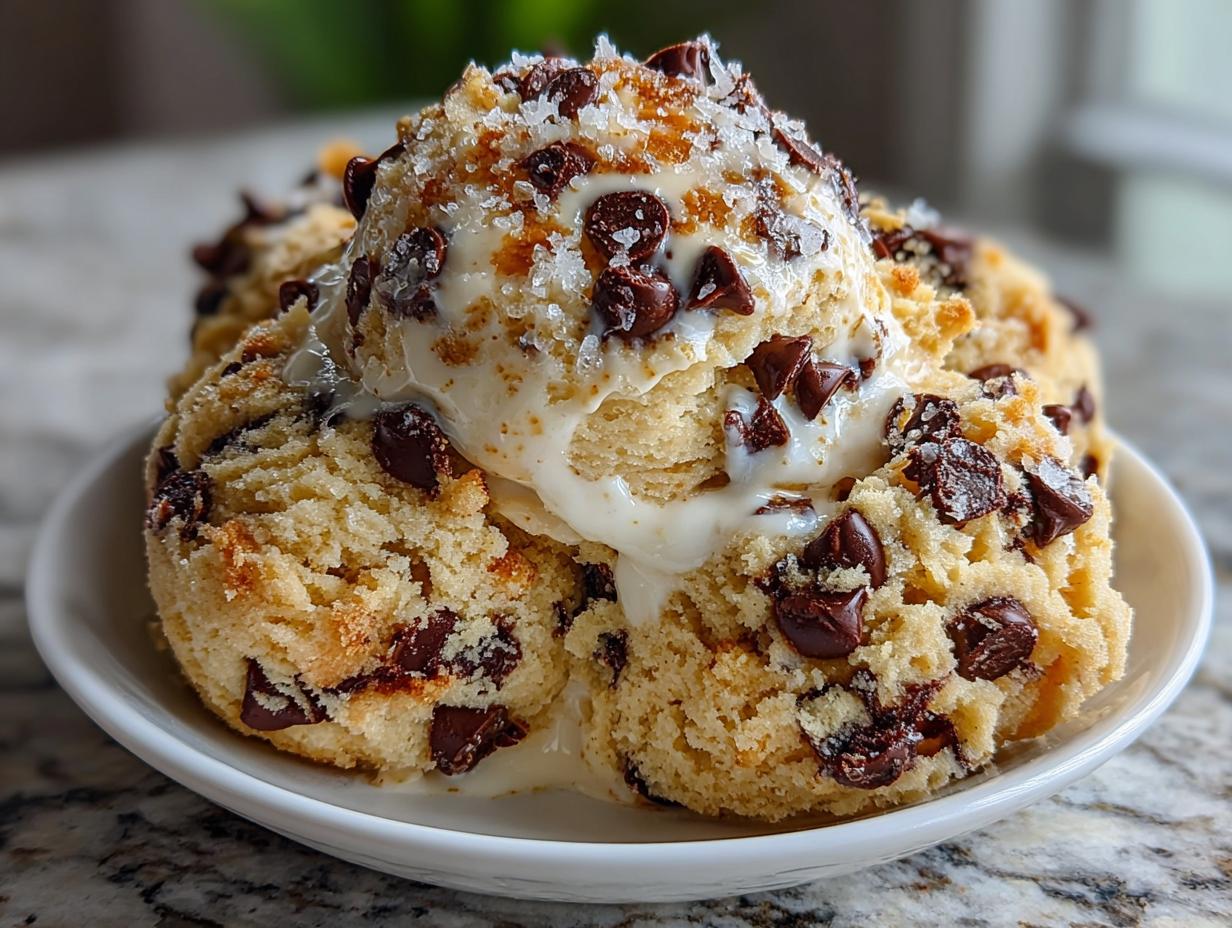
I’m telling you, once you see how effortlessly this comes together, you’ll be making it all the time. It’s my go-to topping for everything from brownie sundaes to my morning coffee. It’s rich, it’s decadent, and it tastes like you spent way more time on it than you actually did.
The best part about having this recipe for Chocolate Whipped Cream in your back pocket is that it solves almost any dessert emergency. It’s the ultimate upgrade for almost zero effort. Here’s why this recipe is going to become your new favorite:
- It’s lightning fast! Seriously, five minutes is all you need from start to finish.
- The texture is unbeatable—it’s light and airy but still holds its shape perfectly for piping.
- It delivers deep, authentic chocolate flavor without any cooked sugar taste.
- It’s so versatile; use it as a topping, a filling, or just eat it with a spoon (don’t judge, I do it!).
Tips for Achieving Stiff Peaks in Your Chocolate Whipped Cream
If you want that gorgeous, sturdy Chocolate Whipped Cream that doesn’t collapse the second it hits the dessert, you have to respect the cold. This is the absolute key to success, more important than measuring exactly!
First, that 10-minute chill time for your bowl and beaters? Do it. Metal bowls work best because they transfer the cold quickly. If you skip this, the fat in the cream warms up too fast, and you won’t incorporate enough air before it starts breaking down.
Second, when you start mixing, remember what I said about starting slow. You need to gently introduce the cocoa and sugar so they don’t fly everywhere. Once you bump the speed up to high, watch like a hawk! Stop the second those peaks look firm, even if the texture seems slightly softer than you’d like. It will firm up a tiny bit more as it sits.
If you happen to overbeat it slightly—oops!—just stir in a tiny splash more of *cold* heavy cream by hand with a spatula. That usually brings it back from the edge of butter territory just enough to save your batch.
Ingredient Notes and Substitutions for Chocolate Whipped Cream
I always get questions about tweaking this recipe, and while I love a good kitchen experiment, for this ultra-quick Chocolate Whipped Cream, I urge you to stick close to the measurements. The balance of fat to sugar is what gives us that perfect, stable texture.
That note about sifting the cocoa powder? That’s crucial! Cocoa powder tends to clump up terribly, and if those clumps hit the mixer when it’s going fast, you’ll end up with tiny, bitter chocolate rocks in your fluffy topping. Sifting ensures you get that smooth, uniform color and flavor throughout your Chocolate Whipped Cream.
If you absolutely must substitute the powdered sugar, you can try using an equal amount of superfine (caster) sugar, but you might need to beat it slightly longer to ensure it dissolves completely. I wouldn’t recommend liquid sweeteners like honey or maple syrup, though, because they will thin out the cream and prevent it from whipping up properly. Stick to the sugar for the best structure!
Serving Suggestions for Your Homemade Chocolate Whipped Cream
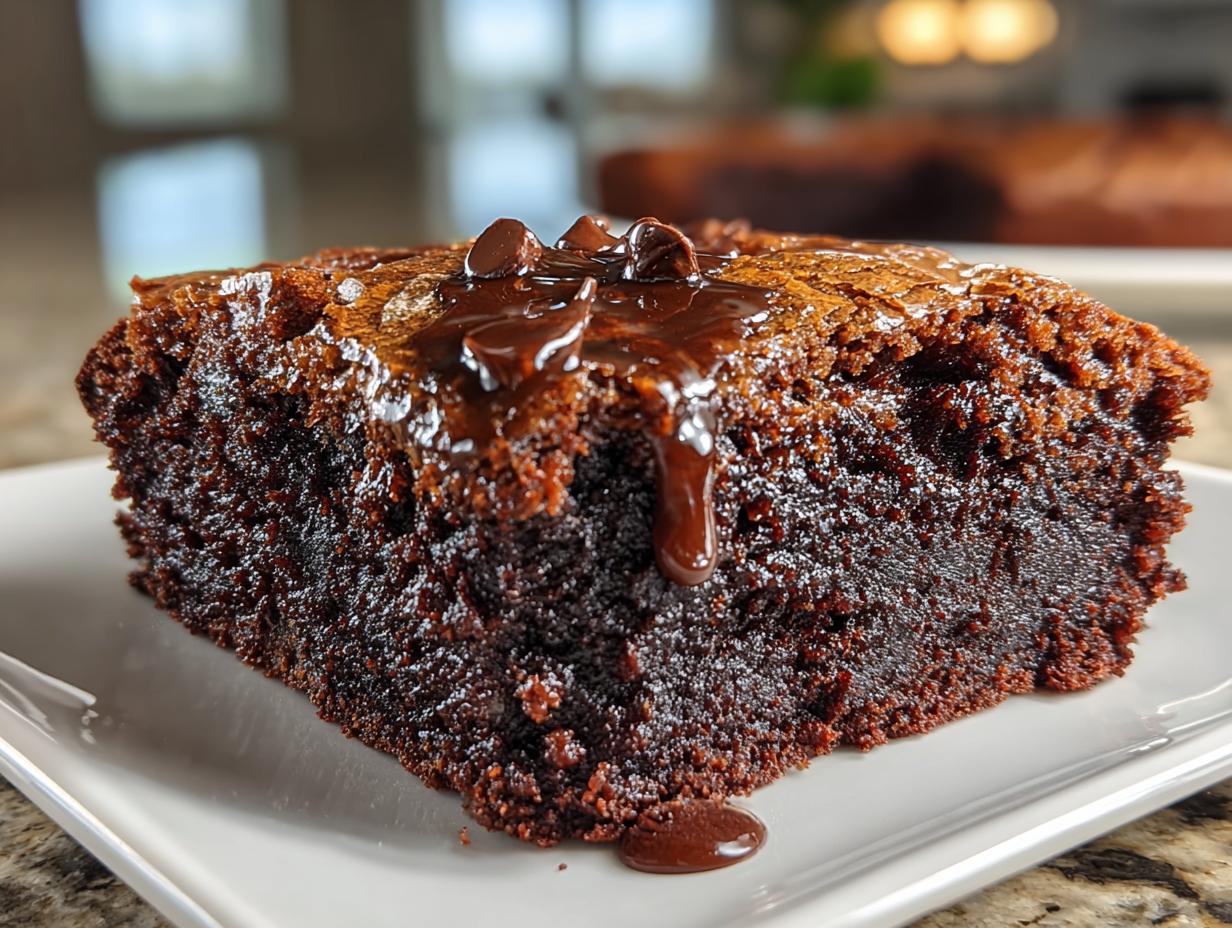
Once you have this gorgeously rich Chocolate Whipped Cream ready, the possibilities are seriously endless! I always make a double batch because it disappears so fast in my house. It’s perfect dolloped generously over a slice of plain pound cake or a warm fruit cobbler—the contrast between the warm dessert and the cold, fluffy cream is just heavenly.
My favorite way to use it, especially in the winter, is on top of homemade hot chocolate. Forget those sad little marshmallows; this makes your drink feel like a five-star dessert experience. It’s fantastic layered between cake sponges when you’re making a quick chocolate dessert, or even used as a lighter frosting for cupcakes if you need something fast. Seriously, anything that needs a little lift deserves a cloud of this Chocolate Whipped Cream on top.
Storing Leftover Chocolate Whipped Cream
Now, this is where you have to be honest with yourself. If you can manage to have leftovers, congratulations! Because this recipe uses pure cream and powdered sugar—which helps stabilize it—it keeps pretty well in the fridge. You need to store your leftover Chocolate Whipped Cream in a truly airtight container. I usually use a small glass container and press a piece of plastic wrap right onto the surface of the cream before sealing the lid.
If you keep it sealed tight and cold, it should be perfectly fine for up to 24 hours. After that, it might start to deflate or get a little watery around the edges. If you notice it looks a bit soft the next day, don’t panic! Just give it a quick whisk by hand for about 10 seconds, and it usually firms right back up. If it starts looking grainy or separates significantly, it’s best to just whip up a fresh, small batch instead.
Frequently Asked Questions About Chocolate Whipped Cream
I get so many messages about this recipe once people try it—it’s just that good! Most questions revolve around texture and how to keep that perfect fluffiness. Here are the common things folks ask me about their Chocolate Whipped Cream:
Q1. My cream won’t whip up stiff; it just stays runny, what did I do wrong?
Nine times out of ten, it’s the temperature! Your heavy cream *must* be seriously cold, straight from the back of the fridge. Also, make sure you chilled your mixing bowl and beaters for at least 10 minutes beforehand. If the bowl is warm, the fat in the cream melts before it can trap air, and you get liquid chocolate soup instead of Chocolate Whipped Cream.
Q2. Can I make this ahead of time for a party?
You absolutely can, but I recommend making it no more than 12 hours in advance. It’s best served fresh. If you make it the night before, store it in a very airtight container in the coldest part of your fridge. Just know that you might need to give it a quick, gentle whisk by hand before serving to refresh the texture.
Q3. Can I use regular granulated sugar instead of powdered sugar in my Chocolate Whipped Cream?
You can try, but I strongly advise against it if you want the best result. Powdered sugar (confectioners’ sugar) contains a little cornstarch, which acts as a stabilizer, helping the Chocolate Whipped Cream hold its peaks longer. Granulated sugar takes much longer to dissolve completely, and if it doesn’t dissolve, you end up with a grainy texture rather than smooth fluff.
Q4. How do I make the chocolate flavor stronger?
For a deeper, richer flavor, try sifting your cocoa powder first, as I mentioned in the notes. If you want even *more* intensity, you can substitute half a teaspoon of the vanilla extract with a tiny splash of instant espresso powder dissolved in a drop of hot water. It won’t taste like coffee, but it really boosts that dark chocolate note!
Understanding the Nutrition of Chocolate Whipped Cream
I know some of you are counting calories or keeping an eye on macros, and while this is a topping, not a health food, it’s good to know what you’re working with! Since this recipe is so simple, the nutrition largely comes from the heavy cream and the sugar we add. I whipped up this quick table based on standard ingredient breakdowns for a serving of this delicious Chocolate Whipped Cream.
Keep in mind these numbers are estimates since brands vary, but they give you a solid idea for portion control!
| Nutrient | Estimated Amount (per 2 Tbsp) |
|---|---|
| Calories | 70 |
| Fat | 6g |
| Carbohydrates | 2g |
| Protein | 1g |
This is why I love it—it’s mostly fat, which means it’s satisfying, and it’s low in carbs compared to many store-bought toppings. Enjoy it guilt-free!
Share Your Success Making Chocolate Whipped Cream
I truly hope this recipe brings a little bit of five-minute luxury to your desserts! Once you see how easy it is to whip up this perfect Chocolate Whipped Cream, I’d love to hear all about it. You can see more quick dessert ideas on my Pinterest!
Did you use it on brownies or maybe just eat it with a spoon? Let me know in the comments below how it turned out for you and if you tried any of my stiff-peak tips! For more quick recipes, check out my Medium page.
Print
5 Min Amazing Chocolate Whipped Cream
- Total Time: 5 minutes
- Yield: About 1½ cups 1x
- Diet: Vegetarian
Description
This rich and fluffy chocolate whipped cream takes just 5 minutes to make. It is a simple topping for cakes, cupcakes, or hot chocolate.
Ingredients
- 1 cup heavy whipping cream, chilled
- 2 tablespoons unsweetened cocoa powder
- 2 tablespoons powdered sugar
- 1 teaspoon pure vanilla extract
Instructions
- Place a medium mixing bowl and beaters in the refrigerator for 10 minutes to chill.
- Add cold heavy cream, cocoa powder, powdered sugar, and vanilla to the chilled bowl.
- Using an electric mixer, beat on low speed until ingredients combine, then increase to high speed.
- Continue beating until soft peaks form and the whipped cream holds its shape, about 2–3 minutes.
- Stop beating once the texture is fluffy and spreadable.
- Serve immediately or refrigerate for up to 24 hours before using.
Notes
- For a richer flavor, sift the cocoa powder before adding.
- Keep refrigerated until ready to serve.
- Prep Time: 5 minutes
- Cook Time: 0 minutes
- Category: Topping
- Method: Mixing
- Cuisine: American
Nutrition
- Serving Size: 2 tablespoons
- Calories: 70
- Sugar: Unknown
- Sodium: Unknown
- Fat: 6g
- Saturated Fat: Unknown
- Unsaturated Fat: Unknown
- Trans Fat: Unknown
- Carbohydrates: 2g
- Fiber: Unknown
- Protein: 1g
- Cholesterol: Unknown