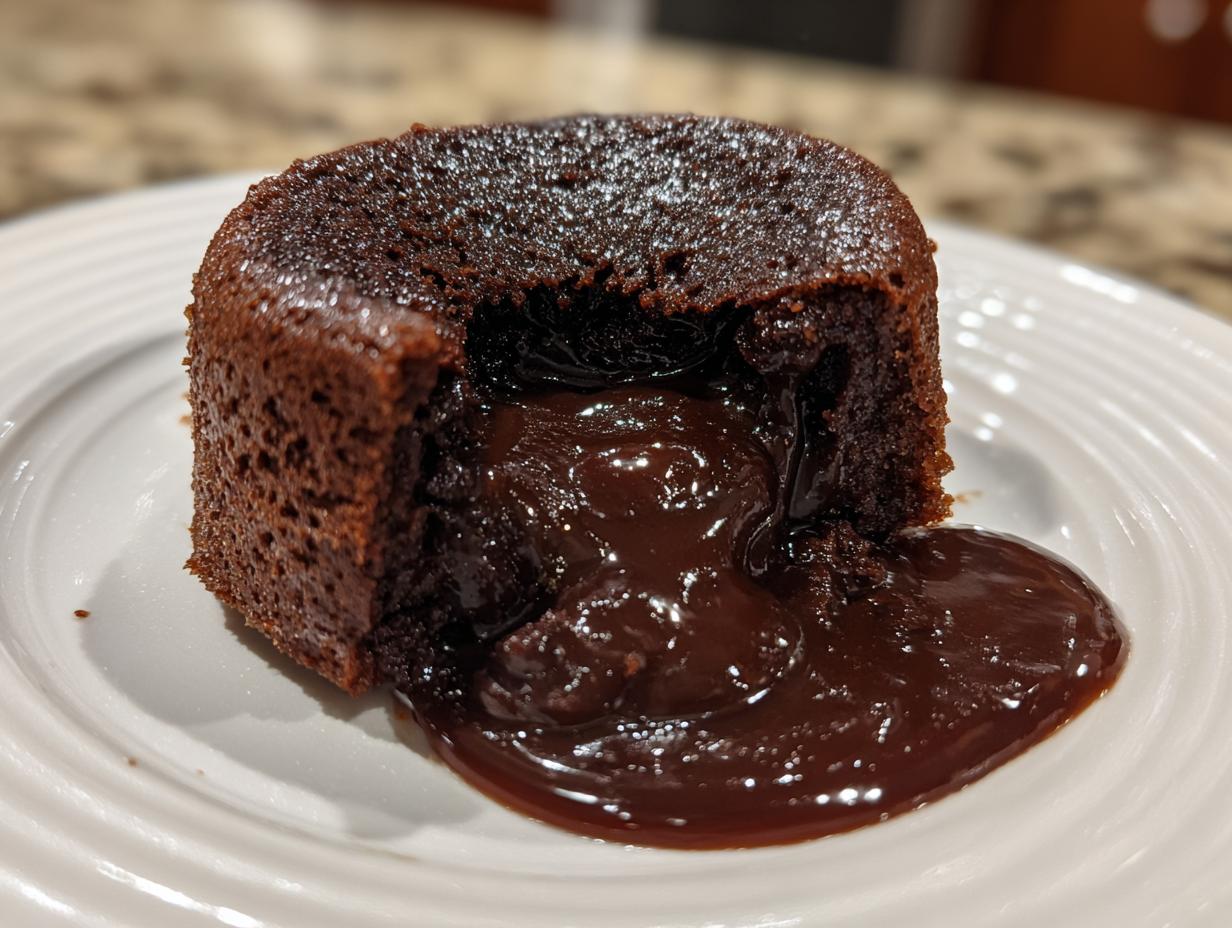
Oh my goodness, stop what you’re doing right now! If you think making a restaurant-quality dessert that oozes chocolate goodness is complicated, I’m here to tell you you’re wrong! These Chocolate Melting Cakes are my absolute go-to when I need something ridiculously decadent in under 30 minutes. Seriously, it’s just five simple ingredients, and the best part? They are completely dairy-free!
I stumbled onto this recipe when I was trying to bake for a friend who couldn’t have any dairy. I thought I’d have to sacrifice that rich, flowing center, but nope! After a few messy tests (I might have burned the first batch trying to rush it), I nailed the timing. This method gives you those perfect crisp edges and a molten middle that just sings. You are going to be obsessed with how easy these gooey chocolate cakes are!
Gathering Your Ingredients for Perfect Chocolate Melting Cakes
Okay, the beauty of these Chocolate Melting Cakes is that you probably have most of this stuff already! We are keeping this super tight—only five things total to make four incredible desserts. When you’re working with so few ingredients, you absolutely have to make sure the ones you use are good quality. That’s where the magic happens, trust me.
Let’s walk through exactly what you need to pull together these fantastic, gooey chocolate cakes. Don’t substitute willy-nilly here; these ratios are important for that perfect flow!
Essential Components for Rich Chocolate Melting Cakes
First up, the star: 4 ounces of dark chocolate, chopped. I insist on 70% cacao. If you go much lower, the cake gets too sweet and doesn’t melt as beautifully. Since this is a dairy-free dessert, our fat source is 1/2 cup of coconut oil. It melts seamlessly and gives the cakes a wonderful richness that butter usually provides. Don’t skip the oil! Then, we need 1/4 cup of maple syrup for sweetness—it blends in so much better than granulated sugar here. Finally, for structure, we use 3 tablespoons of almond flour and 1/4 cup of cocoa powder. That’s it! Four ounces of chocolate, coconut oil, maple syrup, almond flour, and cocoa powder—the foundation for the best Chocolate Melting Cakes you’ll ever make!
Equipment Checklist for Your Chocolate Melting Cakes
You don’t need a stand mixer for this one, which is a huge win! Grab a small saucepan to gently melt things down. You’ll need a whisk to make sure everything is smooth when we combine the wet ingredients. Most importantly, gather four 6-ounce ramekins. These little ceramic dishes are what give the cakes their classic shape. Make sure they are completely clean before you get oiling them up!
Step-by-Step Instructions for Amazing Chocolate Melting Cakes
Now for the best part—turning those five ingredients into restaurant-worthy Chocolate Melting Cakes! This process is ridiculously fast once you get started, which is why I love them for last-minute desserts. Just remember the key here is low and slow when melting, and fast when baking. Don’t walk away from the oven!
Preparing the Ramekins and Oven Setup
First things first, let’s get the oven ready. Preheat that baby to 375 degrees Fahrenheit. This higher heat is crucial for setting the outside quickly while leaving the inside liquid. While the oven is warming up, tackle your ramekins. You need to grease all four of your 6-ounce dishes really well with some of that coconut oil. I mean, coat the bottom and go all the way up the sides. This isn’t the time to be shy with the grease; we need these cakes to slide out like a dream later!
Once they are oiled, set the ramekins right onto a sturdy baking sheet. This makes moving them in and out of the hot oven so much easier. Trust me, trying to carry four slippery ramekins individually is a recipe for disaster!
Creating the Smooth Chocolate Melting Cakes Batter Base
Time to melt! Put your chopped dark chocolate and the rest of your coconut oil into that small saucepan. Place it over the absolute lowest heat you can manage. We are not boiling this; we are just coaxing it into becoming liquid gold. Stir it constantly until it’s completely smooth and glossy. As soon as it’s uniform, take it off the heat immediately. We don’t want any scorching!
Now, grab your whisk. While the mixture is still warm off the stove, whisk in the maple syrup. Whisk until it looks fully incorporated and shiny again. This is the sweet, rich base of your gooey chocolate cakes.
Achieving the Right Consistency for Your Chocolate Melting Cakes
Once the wet ingredients are happy together, it’s time to add the dry stuff for structure. Gently stir in the almond flour and the cocoa powder. You are going to notice right away that this batter thickens up fast! Keep stirring until it’s just combined and looks like a thick, rich pudding. Don’t overmix it once the flour goes in; we aren’t looking for elasticity here, just uniformity. Divide that glorious batter evenly among your four prepared ramekins. They should look about two-thirds full.
Baking and Inverting Your Gooey Chocolate Melting Cakes
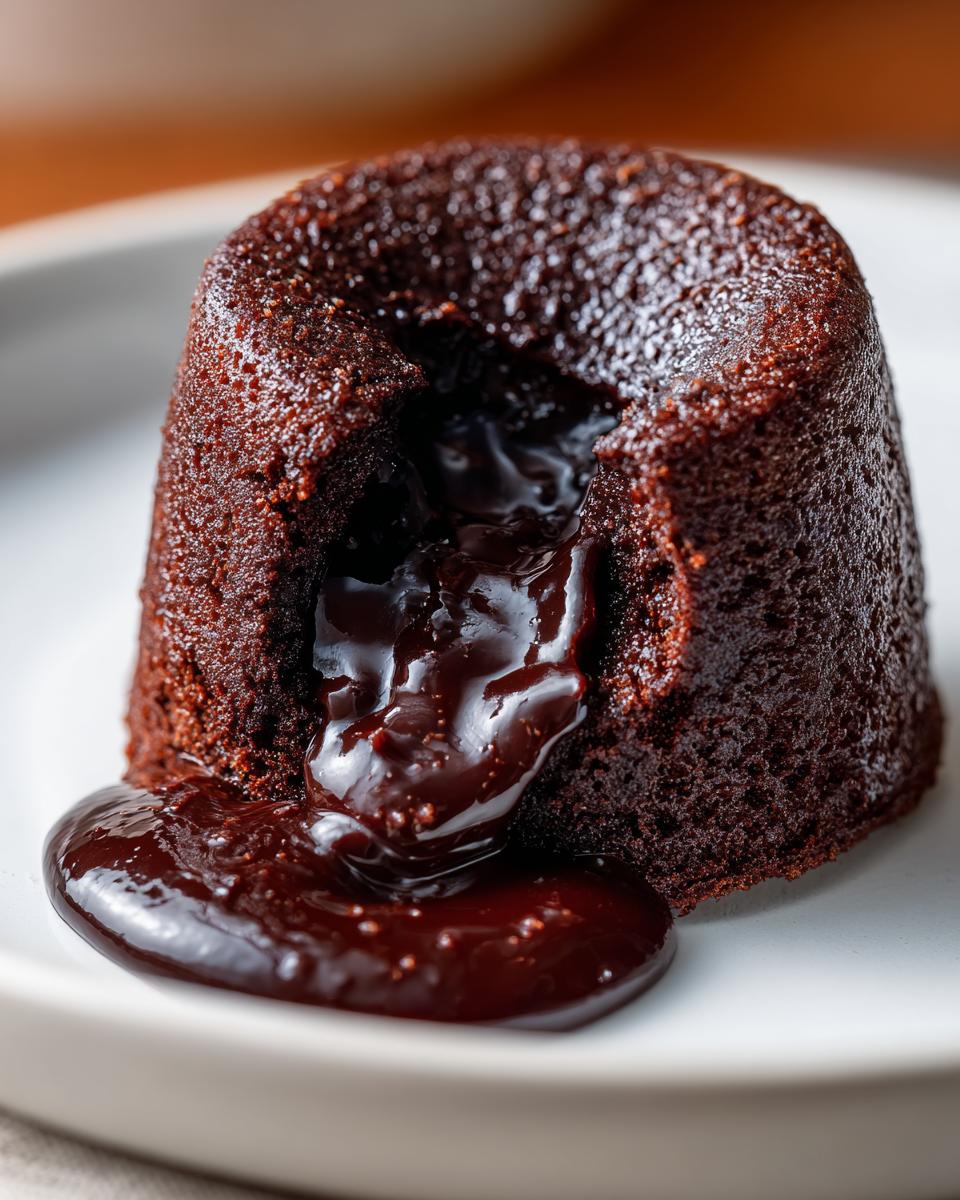
Slide that baking sheet into your 375°F oven. Set a timer for 13 minutes, but be ready to watch closely. The goal for perfect Chocolate Melting Cakes is that the edges look set, maybe slightly pulled away from the ramekin walls, but the very center still jiggles slightly when you gently nudge the pan. If you bake them until they don’t jiggle, you’ve got a lovely little chocolate muffin, not a molten center!
When they look just right—usually around 14 or 15 minutes—pull them out. You must let them cool for just one minute! Seriously, sixty seconds. Then, very carefully, run a thin knife around the edge of each cake to loosen it. Place your serving plate upside down over the ramekin, hold them tight, and flip! Give the bottom of the ramekin a gentle tap, and your perfect, steaming Chocolate Melting Cake should slide right out. Serve these immediately because that molten center waits for no one!
Tips for Guaranteed Success with Chocolate Melting Cakes
Listen, I know the pressure is on when you’re aiming for that perfect lava flow. My first few tries at these Chocolate Melting Cakes were either solid hockey pucks or beautiful messes I couldn’t get out of the dish. But don’t panic! A few little tricks I learned through trial and error will ensure you get that rich, gooey chocolate center every single time you make these amazing dairy-free desserts. For more baking inspiration, check out my baking tips on Medium.
Understanding the Bake Time for Molten Centers
This is the make-or-break moment, folks. If you have to guess, always underbake slightly rather than overbake. Remember, they keep cooking for a minute or two after you pull them out because they are still piping hot inside. When I check mine, I look for the edges to be firm—they should look dry enough that they won’t collapse. But when I gently shake the baking sheet, the absolute middle needs to wobble like Jell-O. If you stick a toothpick in, it should come out coated in wet batter, not clean. That jiggle means you’ve nailed the timing for your Chocolate Melting Cakes!
Ingredient Notes and Dairy-Free Substitutions
The coconut oil is doing some heavy lifting here since we aren’t using butter. It melts beautifully and keeps these cakes incredibly moist, which is essential when you’re relying on a liquid center. As for the almond flour, it brings just enough structure without weighing the cake down like regular wheat flour would. It helps the edges set up nicely while keeping the interior light. While you *could* try other nut flours, almond flour is the best choice here for the texture we want in these gooey chocolate cakes. Stick to the recipe details; these five ingredients are chosen for a reason! If you are looking for other dairy-free dessert ideas, you might enjoy my recipe for Allulose Keto Brownies.
Frequently Asked Questions About Chocolate Melting Cakes
I get so many questions after people try these for the first time because they can’t believe how easy they are! Here are the main things folks ask me about perfecting their Chocolate Melting Cakes.
Can I Make These Chocolate Melting Cakes Ahead of Time?
This is tricky because the entire point of these Chocolate Melting Cakes is that gooey center, right? If you bake them ahead of time, they will set up completely. You *can* prepare the batter and keep it chilled in the ramekins for up to a day. But if you do that, you’ll need to add about 5 to 7 minutes to your baking time, and honestly, you might not get that perfect flow anymore. For the best results, I strongly recommend mixing and baking these fresh! They are so fast, you don’t really need to prep them much in advance. For more quick recipes, check out my Quick Snack Board.
What is the Best Chocolate Percentage for These Cakes?
I found through my testing that 70% cacao dark chocolate is the sweet spot for these gooey chocolate cakes. If you go below 60%, they taste overly sweet, and sometimes the texture gets a little grainy when melted. If you go way up to 85% or higher, the flavor gets intensely bitter, and it can sometimes inhibit the melt. So, stick to that 70% mark—it gives you that deep, rich chocolate flavor without overpowering the maple syrup. It’s the perfect balance for these dairy-free desserts!
Are These Cakes Gluten-Free?
Yes, absolutely! Because we are using almond flour instead of traditional wheat flour, these are wonderful gluten-free Chocolate Melting Cakes. Almond flour is what gives us just enough structure around the edges to hold everything together without interfering with the molten interior. If you have a severe allergy, just double-check that your cocoa powder and chocolate are also processed in a gluten-free facility, but the core recipe is naturally gluten-free! You can find more gluten-free options on my Pinterest page.
Storing and Reheating Your Leftover Chocolate Melting Cakes
Look, I get it—sometimes life happens, and you don’t finish all four of your amazing Chocolate Melting Cakes in one sitting. That’s okay! But you absolutely need to know how to store them if you want to recapture that gooey magic later. If you just leave them on the counter, they’ll firm up completely, and we don’t want that sad, dry ending!
The key to success here is quick refrigeration and careful reheating. If you follow these steps, you can still enjoy these rich desserts the next day!
Proper Storage for Best Results
If you have leftovers, you must get them into the fridge as soon as they cool down slightly after inverting. Don’t leave them sitting out at room temperature for too long! Pop those cakes into an airtight container. If you don’t have a container big enough, plastic wrap pressed directly onto the surface of the cake works in a pinch, but an airtight seal is always better to prevent them from drying out.
Here’s the quick rundown on how long they last:
| Storage Duration | Method |
| Up to 2 Days | Store airtight in the refrigerator. |
| Reheating | Warm briefly in a preheated oven (350°F) until just warmed through. |
Reheating to Restore Gooey Centers
Forget the microwave if you can! While the microwave is fast, it heats unevenly and will likely turn your edges rubbery or cause the center to explode rather than flow gently. The oven is your best friend for reheating these Chocolate Melting Cakes.
Preheat your oven to 350 degrees Fahrenheit. Pop the cooled cake directly onto a small baking sheet or piece of foil. We are only warming them through, not re-baking them! Start checking them after about 6 to 8 minutes. You want the edges to feel warm to the touch and the center to have just started to soften again. Pull them out right when you see that slight wobble return, and serve them immediately with fresh berries!
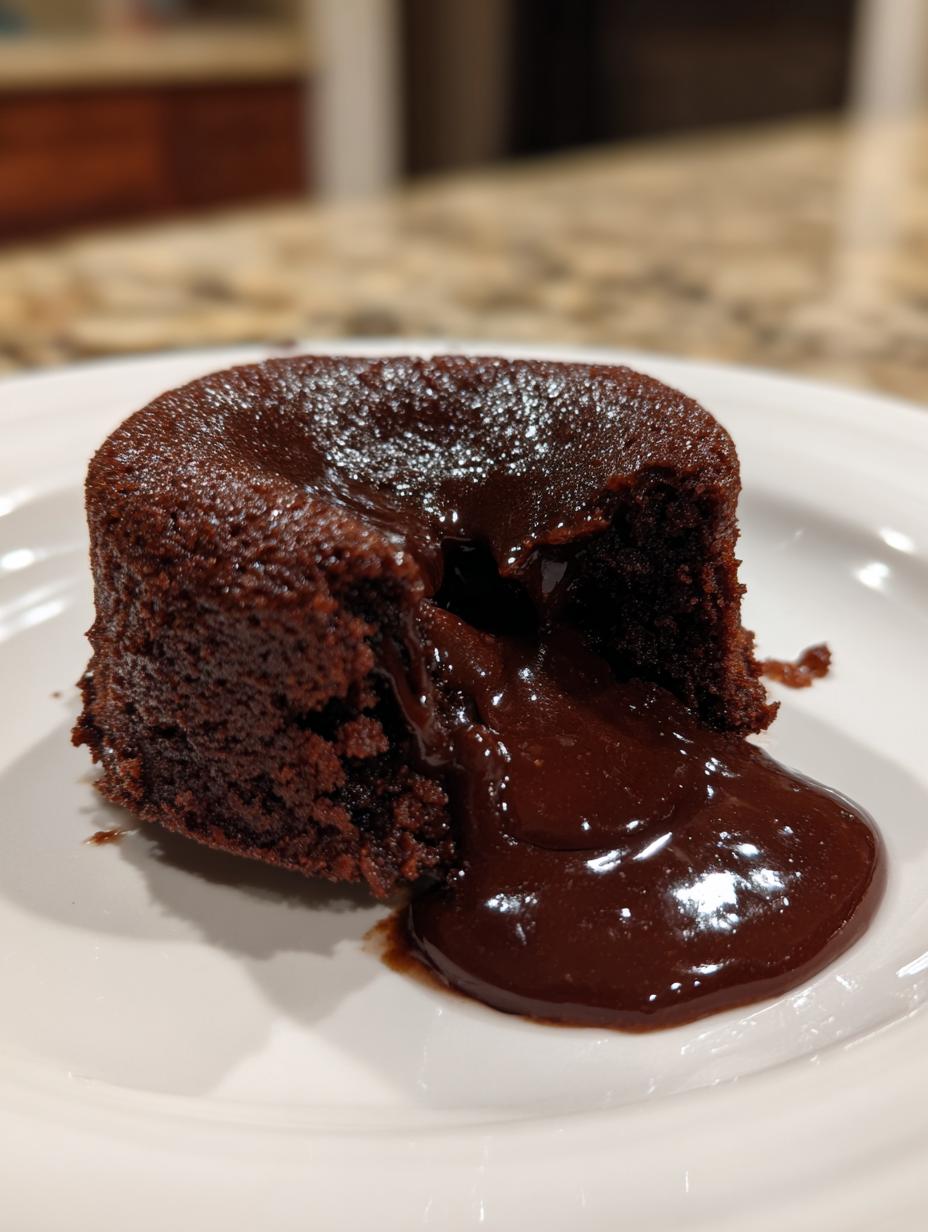
Serving Suggestions for Your Rich Chocolate Melting Cakes
When these little chocolate beauties come out of the oven, they are so stunning on their own, but a little something extra makes them truly unforgettable! Because the cake is so rich and decadent—thanks to that melted center—you actually want pairings that are light and bright to cut through the richness.
My absolute favorite way to serve them is with a handful of fresh raspberries or sliced strawberries. The tartness of the berries is just the perfect counterpoint to the deep, dark chocolate flavor. If you want something simple, a light dusting of powdered sugar over the top looks elegant, or even just a little sift of extra cocoa powder works wonders. For another sweet, dairy-free option, try my Dark Chocolate Nut Bars.
For a little texture contrast, try serving it alongside a small scoop of dairy-free vanilla bean ice cream. It melts just slightly onto the warm cake, creating a lovely sauce. Honestly, though, these cakes are so satisfying, sometimes I just serve them naked right out of the ramekin. They truly don’t need much fuss!
Print
5 Amazing Chocolate Melting Cakes Now
- Total Time: 25 minutes
- Yield: 4 cakes 1x
- Diet: Vegetarian
Description
Warm chocolate melting cakes with gooey centers made from five simple ingredients. These treats offer crisp edges and flowing molten middles for a rich, dairy-free dessert.
Ingredients
- 4 ounces dark chocolate 70% cacao chopped
- 1/2 cup coconut oil
- 1/4 cup maple syrup
- 3 tablespoons almond flour
- 1/4 cup cocoa powder
Instructions
- Preheat oven to 375°F.
- Grease four 6-ounce ramekins with coconut oil. Place on baking sheet.
- Melt chocolate and coconut oil in saucepan over low heat. Stir until smooth. Remove from heat.
- Whisk maple syrup into melted chocolate until combined.
- Stir in almond flour and cocoa powder until batter forms thick consistency.
- Divide batter evenly among ramekins.
- Bake 13 to 15 minutes until edges set but centers jiggle slightly.
- Cool 1 minute. Run knife around edges. Invert onto plates. Serve immediately.
Notes
- Coconut oil provides richness without dairy.
- Serve fresh from the oven for the best molten center.
- Almond flour gives subtle structure to the cake.
- Prep Time: 10 minutes
- Cook Time: 15 minutes
- Category: Dessert
- Method: Baking
- Cuisine: American
Nutrition
- Serving Size: 1 cake
- Calories: 350
- Sugar: Unknown
- Sodium: Unknown
- Fat: 28g
- Saturated Fat: Unknown
- Unsaturated Fat: Unknown
- Trans Fat: Unknown
- Carbohydrates: 25g
- Fiber: Unknown
- Protein: 5g
- Cholesterol: Unknown