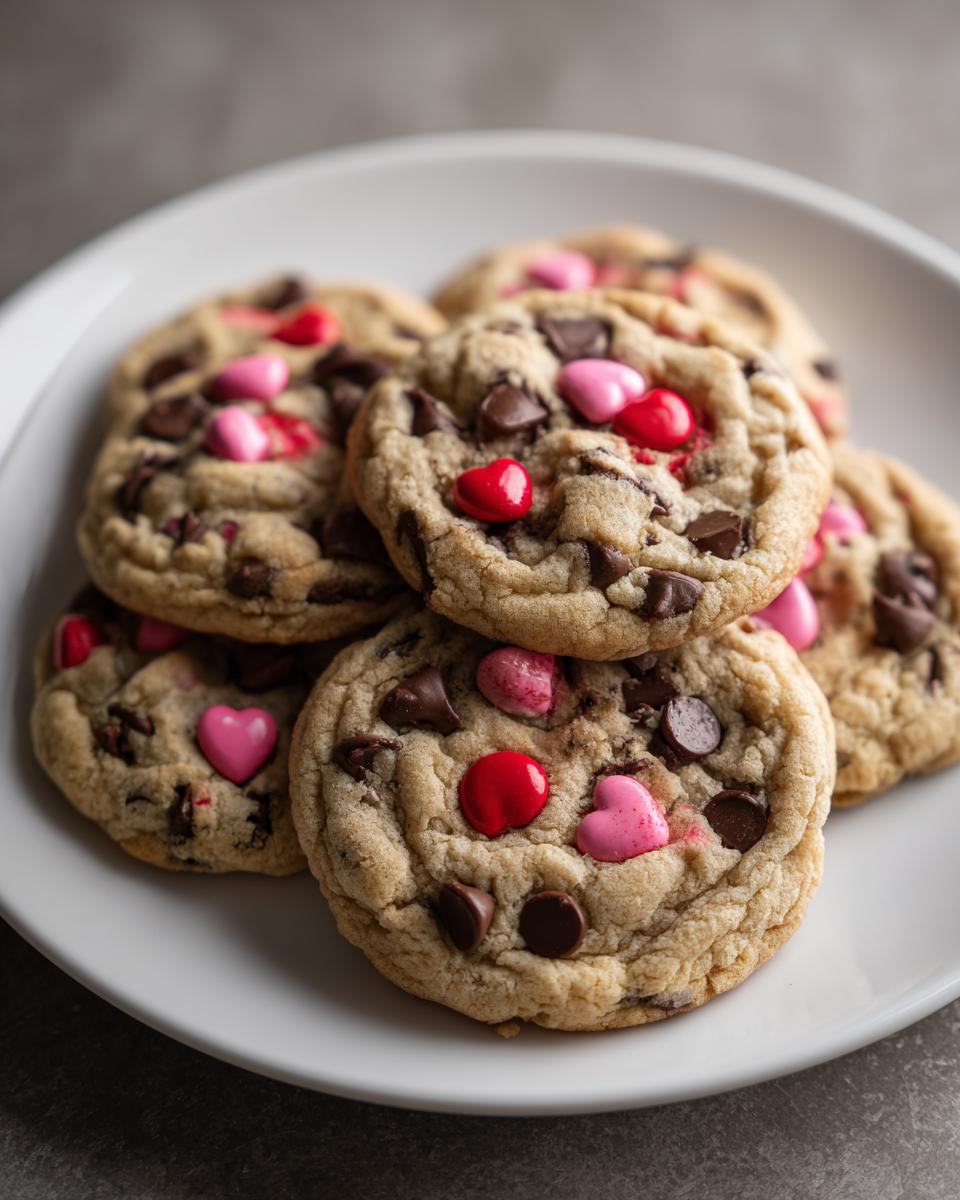
If you’re tired of cookies that turn out cakey or brittle, then you’ve landed in exactly the right place! I’m going to share my absolute favorite recipe for Chewy Heart Cookies. Seriously, these have the perfect bend when you pull them apart, and that chewiness lasts for days—it’s almost unbelievable.
I’ve baked hundreds of batches of chocolate chip cookies over the years, and I finally figured out the secret to that magnificent texture. It’s not just the brown sugar; it’s all about managing moisture and structure. The key isn’t complicated, but you have to trust the process, especially when it comes to adding an extra egg yolk.
That single extra yolk is what gives these Chewy Heart Cookies that superior structure and richness. It adds fat and emulsifiers without adding extra water like a whole egg would. This little trick locks in moisture while baking, ensuring that every single cookie stays soft. Forget those flat, crispy things; we are making the real deal here!

Essential Ingredients for Chewy Heart Cookies
Getting the best Chewy Heart Cookies starts way before they hit the oven. It’s about respecting the ingredient list. I’ve listed everything out below, but pay close attention to how we prep the oats and what we do with the eggs. These aren’t your standard drop cookies, so slight deviations in measurement can change everything! If you want to see more of my baking ideas, check out my latest posts on Medium.
- 1 cup unsalted butter softened (must be perfectly softened, not melted!)
- 3/4 cup granulated sugar
- 2/3 cup light brown sugar packed tight
- 1 large egg plus 1 large egg yolk (don’t skip that extra yolk!)
- 1 tablespoon whole milk
- 2 teaspoons vanilla bean paste (the flecks make it look so professional)
- 1 2/3 cups all purpose flour
- 1 1/4 teaspoons baking soda
- 3/4 teaspoons baking powder
- 1/4 teaspoon kosher salt (don’t use table salt here, trust me)
- 1 1/3 cups old fashioned rolled oats
- 3/4 cup semi sweet chocolate chips
- 1/2 cup red and pink candy coated chocolate buttons (the fun part!)
Measuring Dry Components Accurately
When it comes to the flour, baking soda, baking powder, and salt, precision is everything for texture. Too much flour and you get a hard cookie, too little leavening and they won’t rise right. I always use the ‘spoon and sweep’ method for the flour—spoon it lightly into the measuring cup, then level off the top with a straight edge. That 1 2/3 cups ratio is key to balance out all that fat and sugar we’re using.
Creaming Fats and Sugars for Chewy Heart Cookies
This step is crucial for getting that perfect spread and texture in our Chewy Heart Cookies. The butter needs to be properly softened—you should be able to press your finger into it easily without sinking right through. We cream the butter with both sugars until it’s genuinely light and fluffy. This process traps air, which gives the cookies structure and helps them stay wonderfully chewy instead of flattening into pancakes.
Incorporating Wet Ingredients and Yolks
Once the butter and sugar look pale and cloud-like, we add the wet stuff. I mix in the egg, the milk, and the vanilla paste until it’s just smooth. But the real secret weapon here is that single extra egg yolk. That yolk is pure fat and emulsifier; it binds everything together beautifully and is the number one reason these cookies don’t dry out. It makes them richer and guarantees that superior chewiness we are aiming for!
Step-by-Step Instructions to Make Chewy Heart Cookies
Now that we have our perfect batter base, let’s get these Chewy Heart Cookies into the oven! I always preheat my oven to 375°F while I’m still mixing the wet ingredients. Make sure you line your baking sheets with silicone mats or parchment paper. Silicone mats are my favorite because they really help prevent sticking and promote even baking across the bottom. For more baking inspiration, follow my Pinterest boards.
Preparing the Oats and Dry Mix
This is where we get that amazing texture! Don’t just dump the oats in whole. Take your 1 1/3 cups of old-fashioned rolled oats and pulse them in your food processor for about 30 seconds. You want them to look almost like a coarse flour. This helps them blend right into the cookie structure instead of sticking out awkwardly. While the oats are pulsing, whisk your flour, baking soda, baking powder, and salt together in a separate bowl. This gets rid of any lumps in the leavening agents, which is important!
Combining Wet and Dry Mixtures
Once your butter, sugars, and wet ingredients are perfectly combined, it’s time to bring the dry stuff in. Turn your mixer speed down to the absolute lowest setting. Add the dry ingredients slowly, alternating with the milk if you need to, but the main thing is to mix only until you see the last streaks of flour disappear. Stop immediately! Overmixing at this stage develops gluten, and that’s how you get tough cookies, which is the exact opposite of what we want for our chewy treats.
Shaping and Baking Your Chewy Heart Cookies
Use a rounded tablespoon—or a small cookie scoop if you have one—to drop the dough onto your prepared sheets. Remember to space them out about two inches apart because these cookies spread nicely. Pop them into that 375°F oven for 9 to 10 minutes. You’re looking for edges that are just turning golden brown, but the center should still look a little soft and underdone. That slight under-baking is key to lasting chewiness! If you are looking for other great dessert recipes, try these keto brownies.
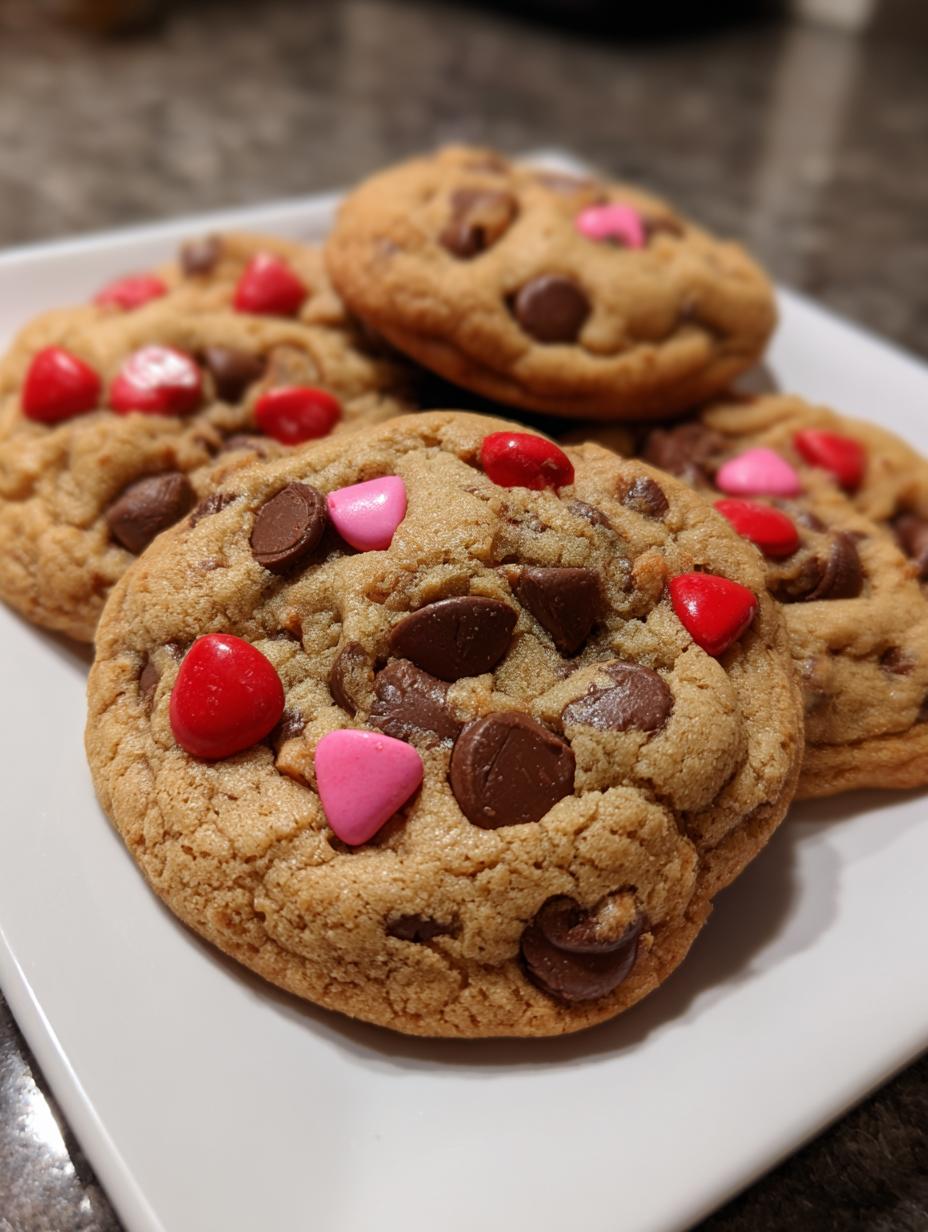
The Final Touch for Festive Chewy Heart Cookies
Don’t touch them right out of the oven! Let them sit right there on the hot tray for two full minutes. This lets the structure set up so they don’t fall apart when you move them. Once they’ve stabilized, now’s the fun part. Gently press those gorgeous red and pink candy buttons right into the tops of the warm cookies. The residual heat melts them just enough so they stick perfectly as they cool down. Voila! Perfect Chewy Heart Cookies.
Expert Tips for Perfect Chewy Heart Cookies
Even with the best recipe, sometimes cookies just don’t cooperate. I’ve learned a few tricks over the years to make sure every batch of these Chewy Heart Cookies comes out exactly right. The biggest enemy of chewiness is usually temperature, either of the ingredients or the oven itself.
If your cookies spread too much, it’s almost always because your butter was too soft or even slightly melted when you creamed it. Remember, we need that butter cool enough to hold air when mixed with the sugar, not greasy! Always double-check your oven temperature with a cheap little thermometer, too. Ovens lie, and a few degrees too hot can dry out the edges before the middle sets.
Another pro tip for maintaining that amazing texture in your Chewy Heart Cookies: chill the dough! If you have time, cover the bowl and pop the dough into the fridge for 30 minutes before scooping. This slows down the spreading just a touch, concentrating the flavor and ensuring a thicker, chewier center. It’s a simple step, but it makes a huge difference in the final bake. For more baking tips, check out my recipe for banana oatmeal bars.
Storing and Reheating Your Homemade Chewy Heart Cookies
The best part about these cookies is that they stay soft for ages, thanks to that extra egg yolk! But even the best cookies need proper storage to maintain their texture. You don’t want them getting stale or losing that lovely chew. The key is keeping the air out.
If you plan to eat them within three days, just stack them up in a single layer in a good airtight container. If you need them to last longer, you can freeze them, which is great for making ahead of time! If you are interested in other ways to preserve food, see my guide on how to freeze peaches.
Storage Guidelines for Maximum Freshness
For room temperature storage, make sure the container is completely sealed. If you stack them, try putting a small piece of parchment paper between the layers, especially since the candies on top might stick together when they cool completely. They should remain delightfully soft for up to five days this way. If you’re freezing your Chewy Heart Cookies, wrap the cooled cookies tightly in plastic wrap first, then place them in a freezer-safe bag or container. They’ll be perfect for up to three months!
Here is a quick reference for keeping them perfect:
| Storage Method | Duration | Tip for Best Texture |
|---|---|---|
| Airtight Container (Room Temp) | Up to 5 days | Use parchment between layers. |
| Freezer (Wrapped) | Up to 3 months | Thaw on the counter for 30 minutes. |
To reheat, just pop a cookie on a microwave-safe plate for about 10 seconds. It warms up the chocolate chips and brings back that just-baked softness instantly!
Common Questions About Chewy Heart Cookies
I get so many messages asking for troubleshooting tips once people start trying these Chewy Heart Cookies! It’s totally normal; baking is science, and sometimes the variables get tricky. But don’t worry, I’ve answered the most frequent ones right here for you so your next batch is flawless.
Why Are My Cookies Spreading Too Much
This is the number one complaint I hear! If your cookies look like thin pancakes, I can almost guarantee your butter was too warm when you creamed it. Remember, we want softened, not melted. If the butter is too soft, it can’t hold the air you beat into it, and the whole structure melts right away in the oven. Also, double-check your flour measurement. If you scooped the flour directly out of the bag with your measuring cup, you probably packed in too much, which can sometimes lead to a thinner cookie, too!
Can I Use Whole Oats Instead of Ground Oats
You absolutely *can* use them, but you’ll end up with a totally different cookie texture. The recipe calls for pulsing the oats until they are flour-like for a reason. Grinding them helps them fully integrate into the dough, adding structure and chewiness without creating hard little chunks. If you use whole oats, your Chewy Heart Cookies will be much more rustic, maybe a little drier, and you’ll definitely taste more of the oat grain instead of that smooth, rich chocolate chip flavor. For another great oat recipe, check out my masala oats.
How Long Will These Chewy Heart Cookies Stay Soft
This is my favorite question! Because of that extra egg yolk and the way we manage moisture, these cookies are champions of longevity. If stored properly in an airtight container at room temperature, they stay wonderfully soft and chewy for at least five days. Honestly, I think they taste even better on day two! They really hold their softness better than any standard chocolate chip recipe I know.
Estimated Nutritional Information for Chewy Heart Cookies
I always tell people not to look too closely at the nutrition facts when you’re baking something this good. These are homemade treats, and while we measure carefully, the numbers are always an estimate based on the ingredients listed! We focused on flavor and chewiness here, not calorie counting, so proceed with joy!
Here’s a breakdown of what you can generally expect per cookie, based on a yield of 36:
| Nutrient | Amount (Approx.) |
|---|---|
| Serving Size | 1 cookie |
| Calories | 145 |
| Fat | 7g |
| Carbohydrates | 19g |
| Protein | 2g |
Remember, since we used dark brown sugar and milk, the exact sugar and cholesterol counts can vary slightly depending on your specific brands, but this gives you a good baseline for these fantastic cookies! If you are looking for a healthier alternative, try this healthy cookies recipe.
Print
Absolute Chewy Heart Cookies Secret 1
- Total Time: 1 hour
- Yield: 36 cookies 1x
- Diet: Vegetarian
Description
Bake soft and chewy chocolate chip cookies featuring ground oats and festive red and pink chocolate candies. This recipe uses an extra egg yolk for superior chewiness that lasts.
Ingredients
- 1 cup unsalted butter softened
- 3/4 cup granulated sugar
- 2/3 cup light brown sugar packed
- 1 large egg
- 1 large egg yolk
- 1 tablespoon whole milk
- 2 teaspoons vanilla bean paste
- 1 2/3 cups all purpose flour
- 1 1/4 teaspoons baking soda
- 3/4 teaspoons baking powder
- 1/4 teaspoon kosher salt
- 1 1/3 cups old fashioned rolled oats
- 3/4 cup semi sweet chocolate chips
- 1/2 cup red and pink candy coated chocolate buttons
Instructions
- Preheat the oven to 375°F and line two heavy duty baking sheets with silicone mats or parchment paper.
- Pulse the rolled oats in a food processor for 30 seconds until they reach a fine, flour-like consistency.
- Cream the softened butter, granulated sugar, and brown sugar in a large bowl until the mixture is light and fluffy.
- Beat in the whole egg, extra egg yolk, milk, and vanilla bean paste until the batter is smooth.
- Whisk the flour, baking soda, baking powder, and salt in a separate bowl to remove any lumps.
- Incorporate the dry ingredients into the butter mixture on low speed until just combined.
- Fold in the ground oats and the semi sweet chocolate chips using a sturdy spatula.
- Scoop rounded tablespoons of dough onto the prepared sheets, spacing them two inches apart to allow for spreading.
- Bake for 9 to 10 minutes until the edges are golden brown while the centers remains slightly soft.
- Remove from the oven and let the cookies sit on the hot tray for 2 minutes to stabilize.
- Gently press the red and pink chocolate buttons into the tops of the warm cookies so they adhere without cracking.
Notes
- Always wash hands and surfaces thoroughly after handling raw eggs to prevent the spread of bacteria.
- Prep Time: 15 minutes
- Cook Time: 45 minutes
- Category: Dessert
- Method: Baking
- Cuisine: American
Nutrition
- Serving Size: 1 cookie
- Calories: 145
- Sugar: Unknown
- Sodium: Unknown
- Fat: 7g
- Saturated Fat: Unknown
- Unsaturated Fat: Unknown
- Trans Fat: Unknown
- Carbohydrates: 19g
- Fiber: Unknown
- Protein: 2g
- Cholesterol: Unknown