If you’ve ever wanted that deep, sweet, savory kick that instantly elevates a simple burger or a boring dip, then you absolutely need to master making perfect caramelized onions. I’m not talking about the quick, slightly browned ones you whip up in ten minutes—those are fine, but they aren’t the real deal. We are going for that slow-cooked, jammy, mahogany magic here.
Trust me, once you nail this low-and-slow technique, you’ll never buy those sad jars from the store again. These golden beauties are my secret weapon for making weeknight meals feel fancy. It takes time, sure, but the hands-off nature of the cooking means you can mostly just let them hang out on the stove while you prep everything else. It’s totally worth the wait!
Gather Your Ingredients for caramelized onions
The beauty of making deeply flavorful caramelized onions is that the ingredient list is wonderfully short. You don’t need a pantry full of exotic spices or fancy liquids. You just need patience and the right starting materials. We are using five small sweet onions for this batch—that seems like a lot, but they shrink down dramatically as they cook, so don’t be shy!
You also need just a little bit of fat to get things moving, and that’s where the butter and oil come in. We use both because the butter gives us that rich flavor, and the oil helps keep the butter from burning too quickly before the onions release their liquid. Remember, this process takes about an hour, so having the right foundation is key. If you are looking for other savory topping ideas, check out my miso butter compound recipe.
Sweet Onions Selection
You absolutely must use sweet onions here, like Vidalia or Walla Walla, if you can find them. Regular yellow onions work in a pinch, but they are much sharper and can sometimes taste slightly bitter if you cook them this long. Sweet onions have higher sugar content naturally, which means they brown beautifully and turn into that gorgeous, jammy texture we’re aiming for.
Make sure you slice them thinly and evenly! If you have thick chunks mixed with thin slivers, the thin ones will burn before the thick ones even start to soften. I like to use my mandoline for perfect, consistent slices, but a sharp knife works just fine if you take your time.
Fats and Seasoning for caramelized onions
For the fat base, we’re using one tablespoon of unsalted butter and one tablespoon of olive oil. That small amount of fat is enough to coat the onions nicely at the start. We only use a quarter teaspoon of salt initially, too. A little salt helps draw the moisture out of the onions faster, which is important for the initial softening stage before we turn the heat way down.
Don’t worry about adding more salt later! Once these caramelized onions are done, you can always season them more aggressively, but adding too much salt early on can actually draw out too much water and slow down the browning process we need later. Keep it simple! For more cooking tips, you can follow my Pinterest board.
Essential Equipment for Slow-Cooked caramelized onions
You don’t need a fancy kitchen setup for this, thank goodness! The most crucial piece of gear for perfect caramelized onions is a heavy-bottomed skillet. I swear by my 10-inch cast iron skillet because it holds heat so evenly, which is vital when you are cooking something low and slow for an hour. If you don’t have cast iron, a good, heavy non-stick pan will work just fine.
Also, grab a sturdy wooden spoon or a heat-safe rubber spatula. You’ll be stirring these onions quite a bit, especially towards the end, so you need something that can scrape the bottom well without scratching your pan.
Step-by-Step Instructions to Achieve Deeply caramelized onions
Okay, this is where the magic—and the waiting—happens. Don’t rush this part! If you try to speed up the process by cranking the heat, you’ll end up with burnt, bitter onions instead of those sweet, golden jewels we want. We are aiming for about an hour total cooking time, split into stages.
Initial Sauté and Heat Management
First, get your large skillet—cast iron is my favorite for even heating—set over medium heat. You want it hot enough that the fats melt quickly but not so hot that they start smoking immediately. Toss in your tablespoon of butter and the olive oil. Give that a minute to melt and swirl around until everything is shimmering nicely. Now, dump in all those thinly sliced sweet onions and sprinkle in that initial quarter teaspoon of salt.
Stir everything together really well so every single slice is coated in that fat mixture. We let this cook for about five minutes over medium heat. You aren’t looking for color yet; you just want the onions to start sweating out their water and turning soft and translucent. They’ll look much less imposing than when you started!
Reducing Heat for True caramelized onions
Once they are soft, it’s time to make the crucial temperature adjustment. Sprinkle that small amount of salt over the softened onions—this helps draw out the last bit of moisture needed for the next stage. Then, immediately turn the heat down to medium-low. This is the key to making real caramelized onions; low and slow is the only way to go.
Now, the onions need to cook undisturbed for a while, but not totally undisturbed! You need to stir them every few minutes. If you walk away for ten minutes, they will absolutely stick and burn on the bottom. We are looking for a slow, gradual deepening of color over the next hour.
Preventing Sticking with Water
About halfway through the cooking time, maybe around the 30-minute mark, you’ll notice the bottom of the pan developing some sticky brown bits. That’s called the *fond*, and it is pure flavor! If the pan looks super dry or you see the onions starting to scorch instead of just browning, don’t panic. Just stir in one tablespoon of water.
This step is called deglazing, and it’s crucial. The water loosens all those flavorful little brown bits stuck to the bottom, mixing them back into the onions. It keeps your caramelized onions from tasting burnt while helping them achieve that deep color naturally. For more cooking insights, see my Medium articles.
The Slow Cook: Developing Flavor in your caramelized onions
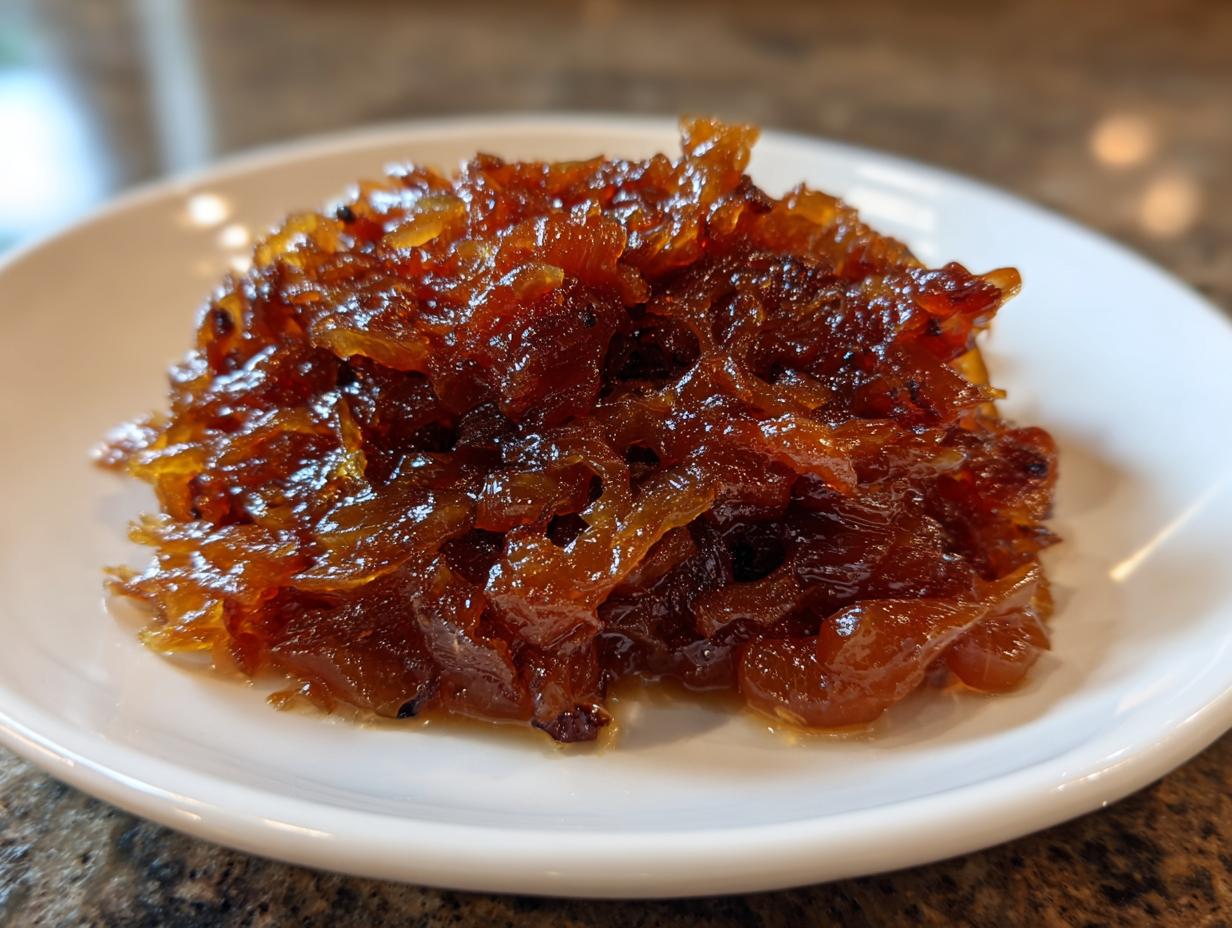
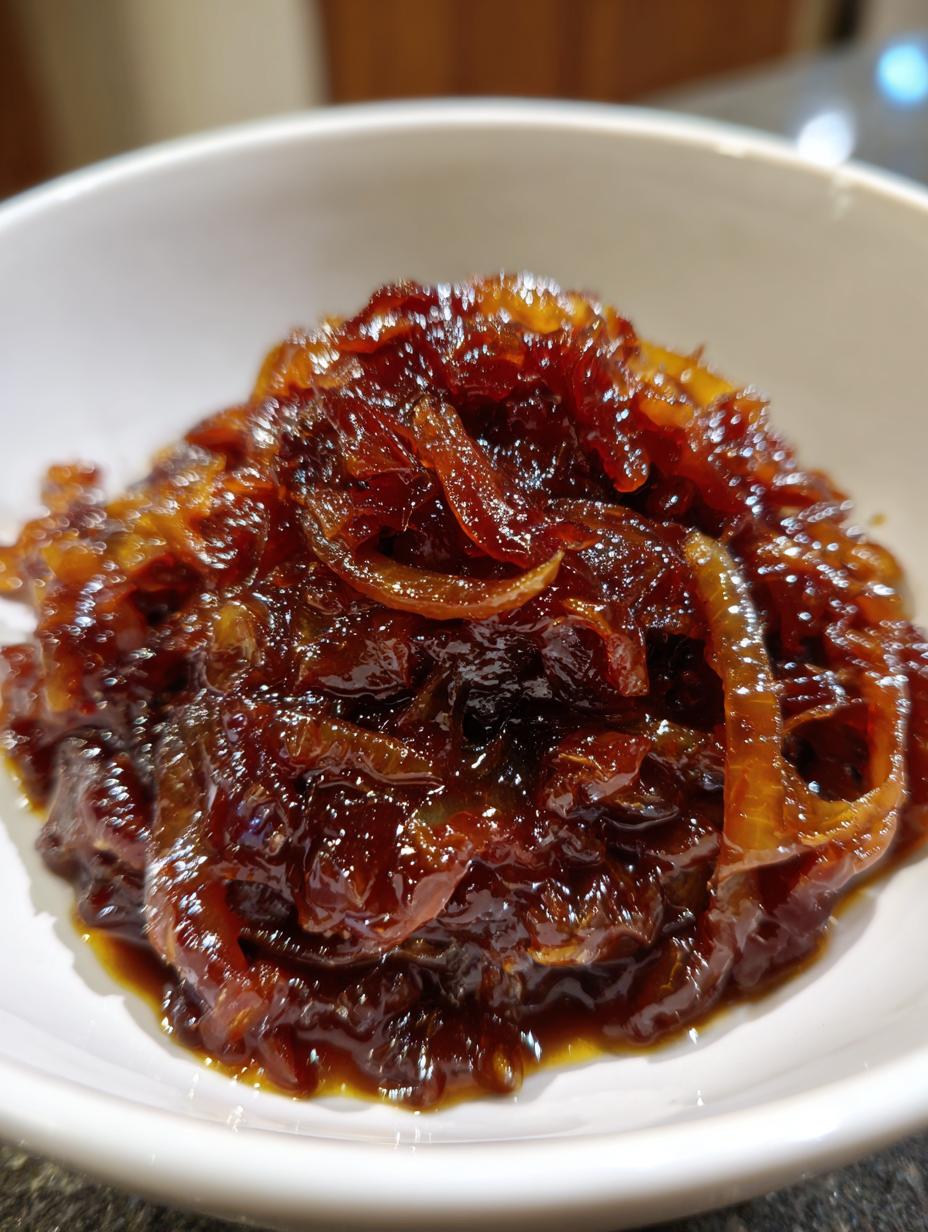
Keep stirring every few minutes for the remainder of the cooking time, which should be another 20 to 30 minutes. You’ll see them transform from pale yellow to golden brown, then to a deep amber, and finally, that rich mahogany color we’re hunting for. This long, slow cooking breaks down the complex sugars in the sweet onions, giving you that incredible depth of flavor that makes these caramelized onions so special.
If you’re using a big batch of onions, this might take closer to 70 minutes total, but stick with it until you see that deep color. Don’t pull them off the heat early just because they look brown; they need that final deep hue for the best taste! If you are interested in other slow-cooked recipes, try my slow cooker beef ramen.
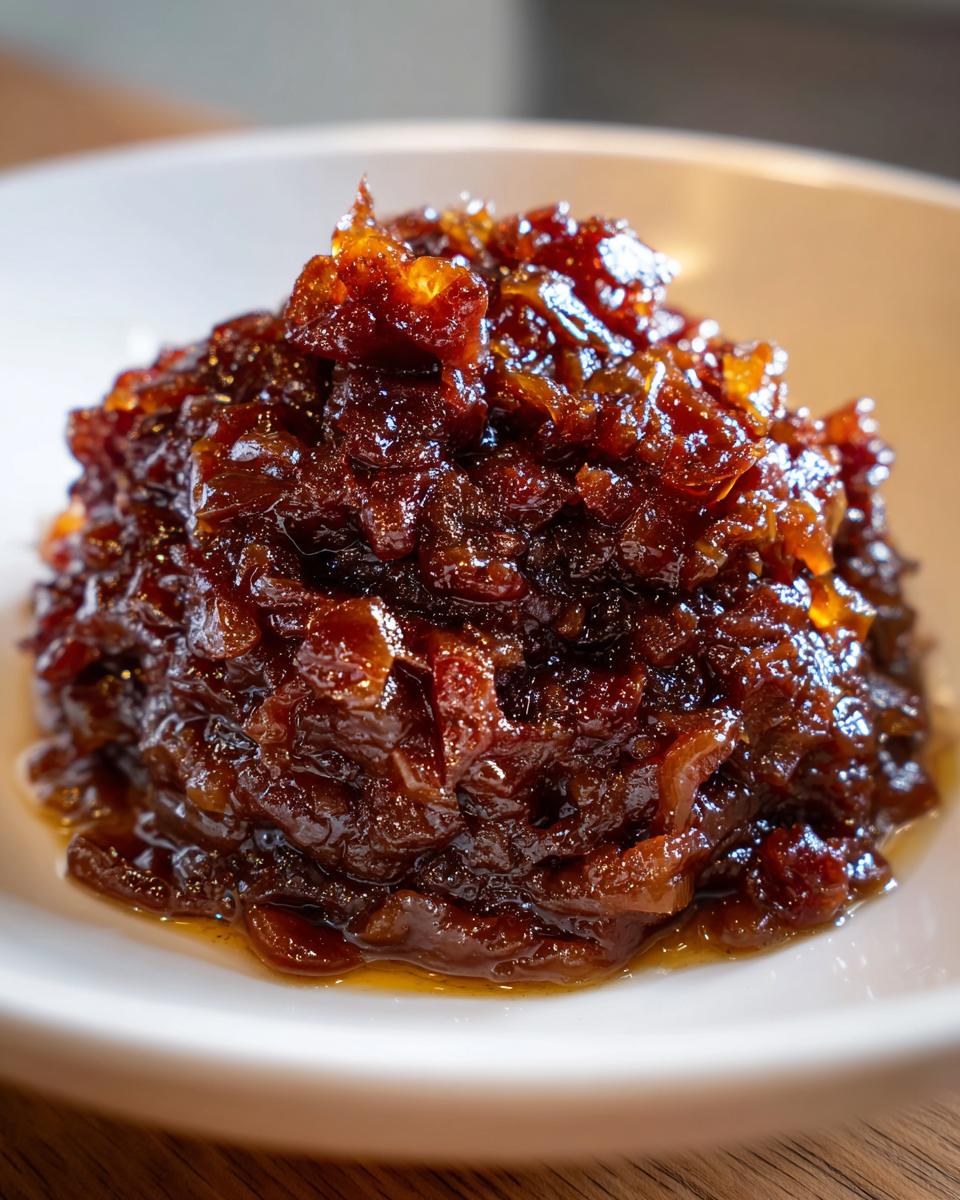
Finalizing the Texture
When they are done, they won’t resemble sliced onions anymore. They should have melted down into a soft, jam-like consistency that is thick and spreadable. Once you hit that deep mahogany color, remove the pan from the heat immediately so they stop cooking. Let them cool down just a bit before you serve them or store them. You want to make sure everything reaches a safe serving temperature, but honestly, they taste best when they aren’t piping hot!
Tips for Success When Making caramelized onions
I’ve scorched more batches of onions than I care to admit when I was first learning this method! The biggest mistake people make when trying to achieve perfect caramelized onions is impatience. Seriously, if you try to rush this by turning the heat up past medium-low, you will burn the sugars and end up with that harsh, acrid taste that ruins everything.
My best tip, besides frequent stirring, is to monitor the pan dryness. If you see the onions start to stick aggressively and they aren’t easily scraping loose, add that tablespoon of water right away. This prevents scorching and keeps the moisture content high enough for proper caramelization. Never walk away for more than five minutes during the last half hour of cooking!
Also, remember that the onions will continue to cook slightly even after you take them off the heat because the residual heat in the pan is intense. Pull them when they look *just* shy of your final goal color. This little buffer ensures you get the sweetest, most perfectly caramelized onions every single time without ever tasting bitter. For another great savory side, check out my recipe for Texas Roadhouse sauteed mushrooms.
Serving Suggestions for Savory Topping
Now that you’ve spent an hour coaxing these gorgeous, sweet onions into existence, it’s time to enjoy them! Honestly, once they are done, they are fantastic right off the spoon, but they shine brightest as a topping. They add instant depth to any simple meal.
My favorite way to use these is piled high on a juicy grilled burger. The sweetness cuts right through the richness of the beef. They are also amazing layered over a perfectly cooked steak—it feels totally gourmet! If you’re feeling less meaty, mix a big spoonful into cream cheese or sour cream for an incredibly flavorful dip base. You won’t need much else for seasoning! Try them on my cucumber cream cheese bites.
Storing and Reheating Your Batch
Because this recipe takes about an hour to make, I always try to double the batch, even if I only need one serving right now. They keep beautifully! Once they are completely cooled, transfer the slow-cooked onions into a tightly sealed airtight container. You can keep them tucked away in the refrigerator for about a week, and they still taste fantastic.
Reheating is super simple. You can warm them gently in a small saucepan over very low heat, stirring often. If they seem a little stiff when cold, add just a tiny splash of water or broth to loosen them up while heating. They don’t take long at all to warm through, usually just three or four minutes.
Storage Table
| Storage Type | Duration | Temperature |
|---|---|---|
| Airtight Container | Up to 7 days | Refrigerator |
| Freezer Bag (Flat) | Up to 3 months | Freezer |
Frequently Asked Questions About caramelized onions
I get so many questions about this recipe, especially since everyone wants to know how to avoid burning them! Here are a few things folks ask me all the time about making these savory toppings.
How long does it take to make truly caramelized onions?
To get that deep, jammy color and incredible sweetness, you need patience. The actual hands-on cooking time is about 5 to 10 minutes at the beginning, but the slow cook phase needs a full 50 to 60 minutes on medium-low heat. So, plan for about 70 minutes total from start to finish for the best results.
Can I substitute the butter in this recipe?
You certainly can! While I love the flavor the butter adds to the base, if you need to keep it dairy-free, you can use all olive oil, or even avocado oil. Just make sure you use two full tablespoons of oil instead of one butter and one oil. The key is having enough fat to coat the onions evenly so they don’t stick right away.
What is the secret to achieving deep color in caramelized onions?
The absolute secret to getting that beautiful, deep mahogany color in your caramelized onions is keeping the heat low and stirring often! If you rush the process or let the heat climb too high, the sugars will burn instead of naturally caramelizing. So, reduce that heat right after the initial sauté, and scrape up the browned bits from the bottom every few minutes. That patience is what transforms those onions into the best savory topping you’ve ever made!
Print
Master 1 Amazing caramelized onions Secret
- Total Time: 70 minutes
- Yield: 4 servings 1x
- Diet: Vegetarian
Description
Make perfectly sweet caramelized onions using a low and slow method. These golden onions provide rich flavor for burgers, steaks, and dips.
Ingredients
- 5 small sweet onions, thinly sliced
- 1 tablespoon unsalted butter
- 1 tablespoon olive oil
- 1/4 teaspoon salt
- 2 tablespoons water
Instructions
- Place a large cast iron or non-stick skillet over medium heat.
- Add the unsalted butter and olive oil to the pan until the butter is melted.
- Stir in the sliced sweet onions and coat them thoroughly with the oil mixture.
- Sauté the onions for 5 minutes until they begin to soften and turn translucent.
- Sprinkle the salt over the onions and reduce the heat to medium-low.
- Cook the onions for 50 to 60 minutes, stirring every few minutes to prevent sticking.
- If the onions begin to scorch or the pan looks dry, stir in 1 tablespoon of water to deglaze.
- Continue cooking until the onions reach a deep mahogany color and a jam-like consistency.
- Make sure all vegetables reach a safe serving temperature and are softened completely.
- Remove the pan from the heat and allow the onions to cool slightly before serving.
Notes
- These onions work well as a topping for burgers, steaks, or mixed into dips.
- Stirring frequently prevents the onions from burning during the long cooking process.
- Prep Time: 10 minutes
- Cook Time: 60 minutes
- Category: Condiment
- Method: Stovetop
- Cuisine: American
Nutrition
- Serving Size: 1 serving
- Calories: 105
- Sugar: N/A
- Sodium: N/A
- Fat: 7g
- Saturated Fat: N/A
- Unsaturated Fat: N/A
- Trans Fat: N/A
- Carbohydrates: 11g
- Fiber: N/A
- Protein: 1g
- Cholesterol: N/A