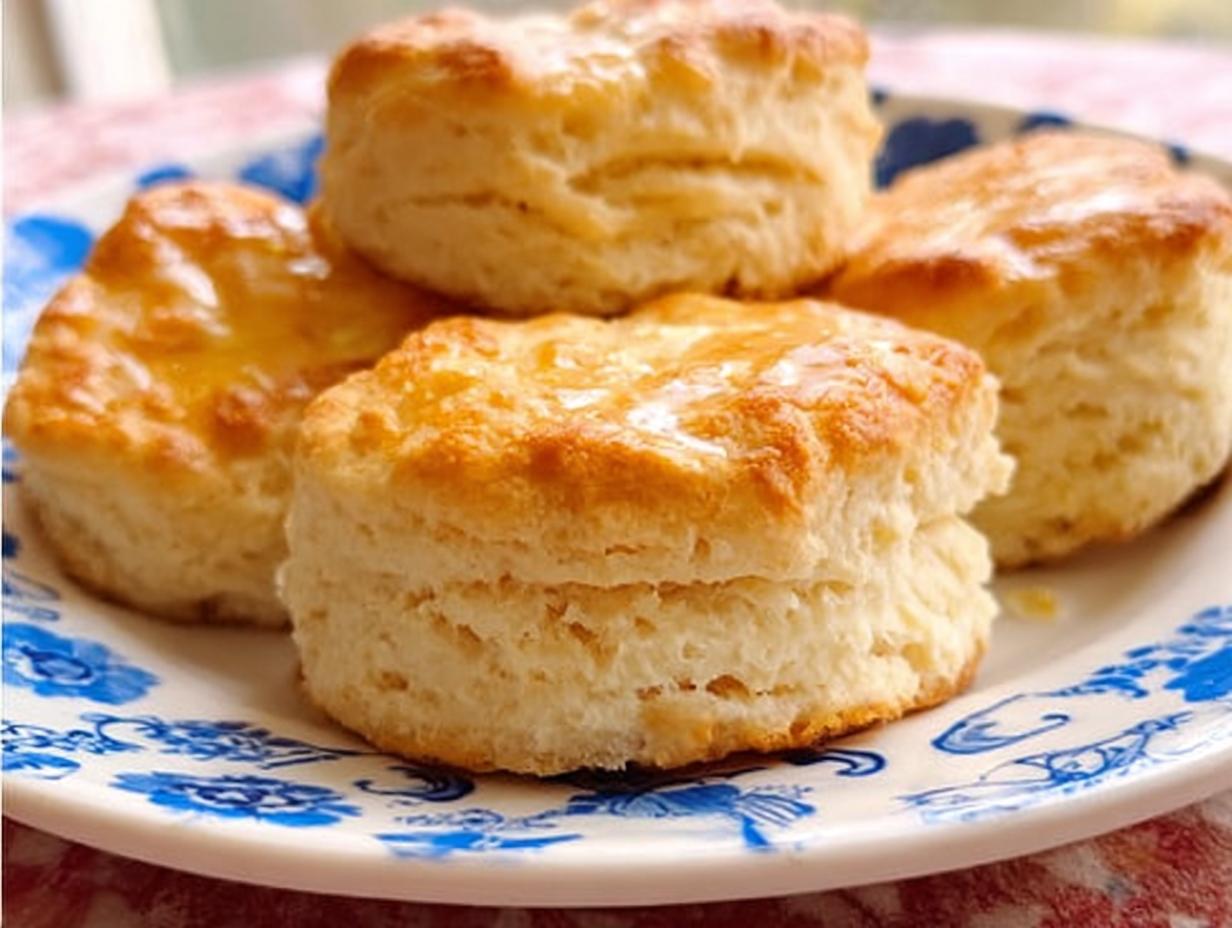
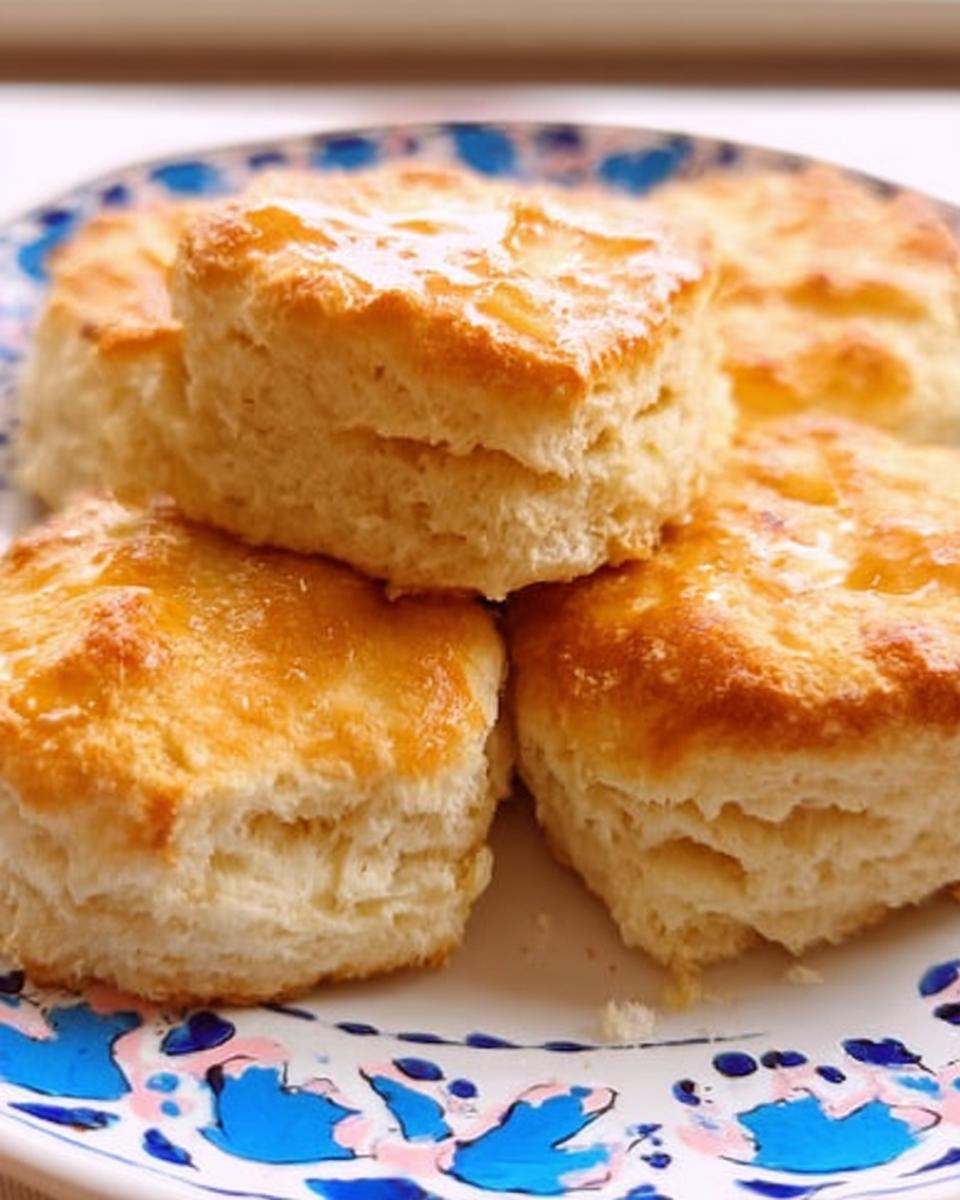
Oh, biscuits! There’s just something about a warm, fluffy biscuit fresh out of the oven that makes everything feel right in the world, isn’t there? This buttermilk biscuits recipe is my absolute go-to whenever I need a little comfort. I remember the first time I truly mastered them; I was about 10 years old and trying to impress my grandma. Let’s just say they weren’t *quite* as fluffy back then, but after a lot of practice with cold butter and secret folding techniques, these beauties are pure magic. They’re surprisingly easy to whip up, even on a busy morning, and seriously, the smell alone is worth it. Get ready for the best homemade biscuits you’ve ever tasted!
Why You’ll Love This Buttermilk Biscuits Recipe
- Super speedy! Seriously, you can have these on the table in under 30 minutes from start to finish. Perfect for breakfast or dinner emergencies.
- Almost no effort: Just a few simple ingredients and easy steps – no fancy techniques needed. I promise!
- Unbelievably fluffy: The secret is keeping everything cold and not overworking the dough. It makes *such* a difference for that melt-in-your-mouth texture.
- Pure buttery bliss: That golden finish and rich flavor? Chef’s kiss!
- So versatile: Serve them with gravy, jam, butter, or pile them high with your favorite dinner.
Ingredients for the Perfect Buttermilk Biscuits
Alright, let’s talk ingredients! The beauty of this buttermilk biscuits recipe is that it uses super common pantry staples. The key? Making sure your butter and buttermilk are nice and cold. Trust me, that’s the secret sauce for flaky layers!
- 2 ½ cups all-purpose flour
- 1 tablespoon baking powder
- 1 teaspoon baking soda
- 1 teaspoon salt
- 8 tablespoons (1 stick) cold unsalted butter, cut into small cubes
- 1 cup cold buttermilk
- 2 tablespoons melted butter for brushing (optional, but oh-so-good!)
Step-by-Step Instructions for Fluffy Buttermilk Biscuits
Okay, time to get our hands a little floured! Making these fluffy buttermilk biscuits is really more about pampering the dough than tough labor. The most important thing to remember? Keep everything COLD. Cold butter, cold buttermilk, even a cold hand if you’re really worried! This helps create those gorgeous, flaky layers we’re all after.
- Prep & Dry Ingredients: First things first, preheat your oven to a nice, hot 425°F. Then, grab a big bowl. Whisk together your flour, baking powder, baking soda, and salt until they’re all happily blended. This ensures your leavening agents are evenly distributed, so you don’t get any weird flat spots or dense bits.
- Cut in the Butter: Now for the magic! Add those little cubes of cold, cold butter to the flour mixture. You can use a pastry blender, two forks, or even just your fingertips. What you’re looking for is a texture that’s like coarse crumbs, with some smaller, pea-sized bits of butter still hanging around. Those little butter pockets are what steam and create flakiness! I always find that using a pastry blender helps me get the perfect crumbly texture without warming the butter too much.
- Add the Buttermilk: Pour in your cold buttermilk and stir *gently* with a fork or spatula, just until the dough starts to come together in a shaggy mess. Seriously, don’t go crazy here! Overmixing is the enemy of tender biscuits. We want just enough to bring it together.
- Folding for Layers: Turn that shaggy dough out onto a lightly floured surface. Gently pat it into a rectangle, about an inch thick. Now, here’s a little trick that makes a big difference: fold the dough over itself, like a letter. Pat it down again to about an inch thick. Do this one or two more times. This creates those wonderful layers we love so much.
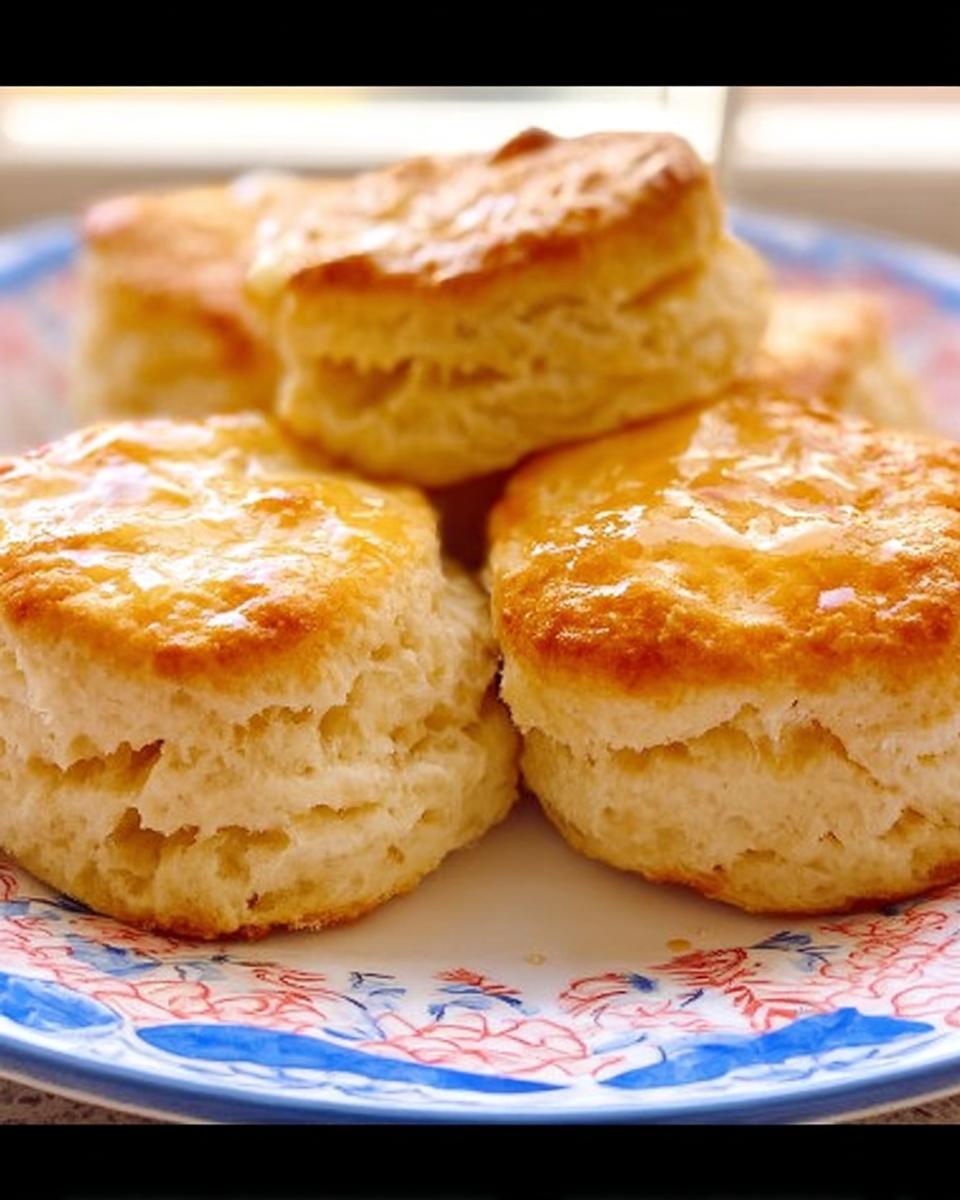
- Cut and Place: Gently pat the dough down one last time to about 1-inch thickness. Use a round biscuit cutter or even a rimmed glass to cut out your biscuits. Press straight down; don’t twist the cutter, or you’ll seal the edges and they won’t rise as well. For maximum fluffiness, place your biscuits close together on a baking sheet lined with parchment paper. They’ll help each other rise up tall and proud!
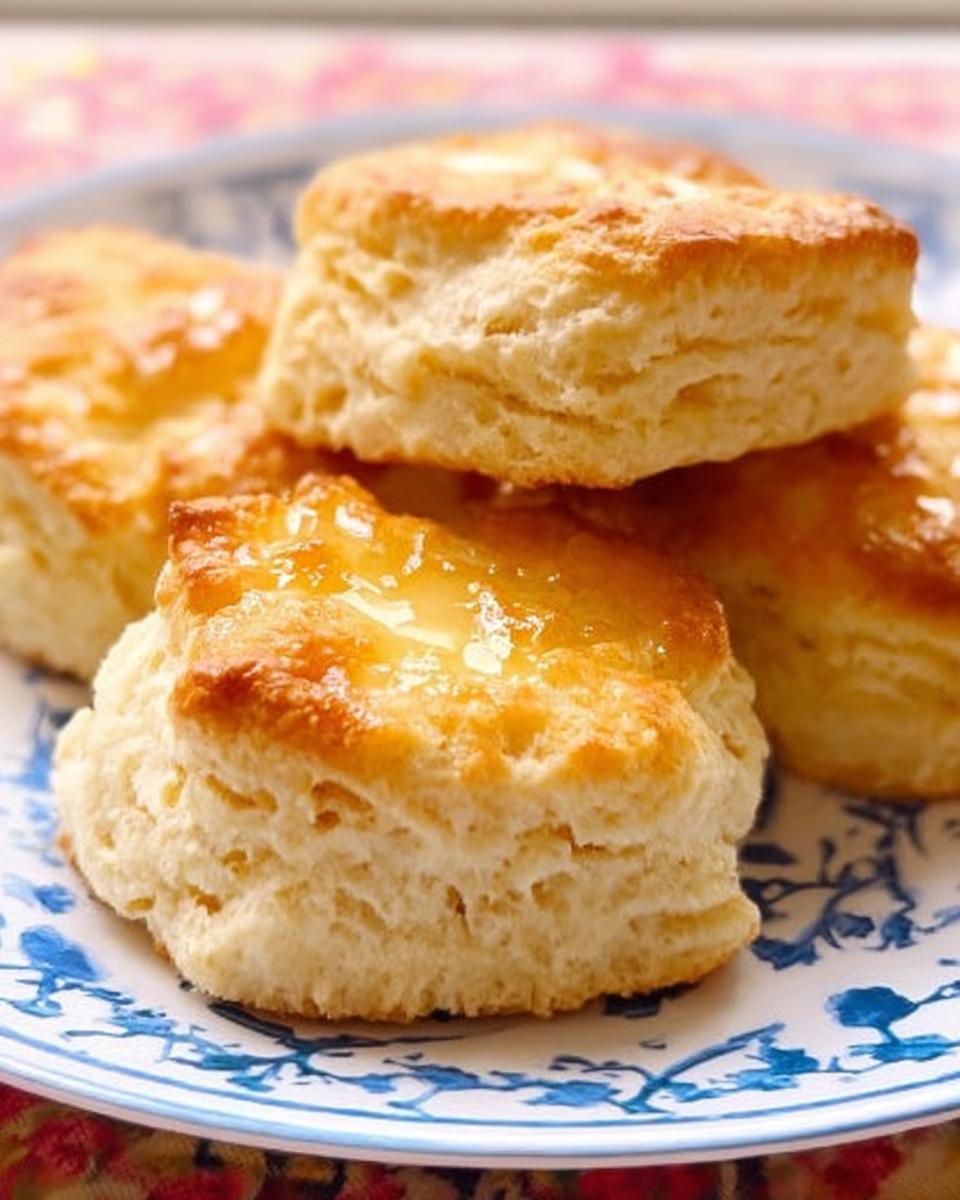
- Butter Magic & Bake: Lightly brush the tops of the biscuits with your melted butter. This is optional, but it gives them that lovely golden sheen and extra bit of deliciousness. Pop them into your preheated oven and bake for about 13 to 16 minutes. You’re looking for lovely golden-brown tops and for them to sound cooked through when you gently tap them.
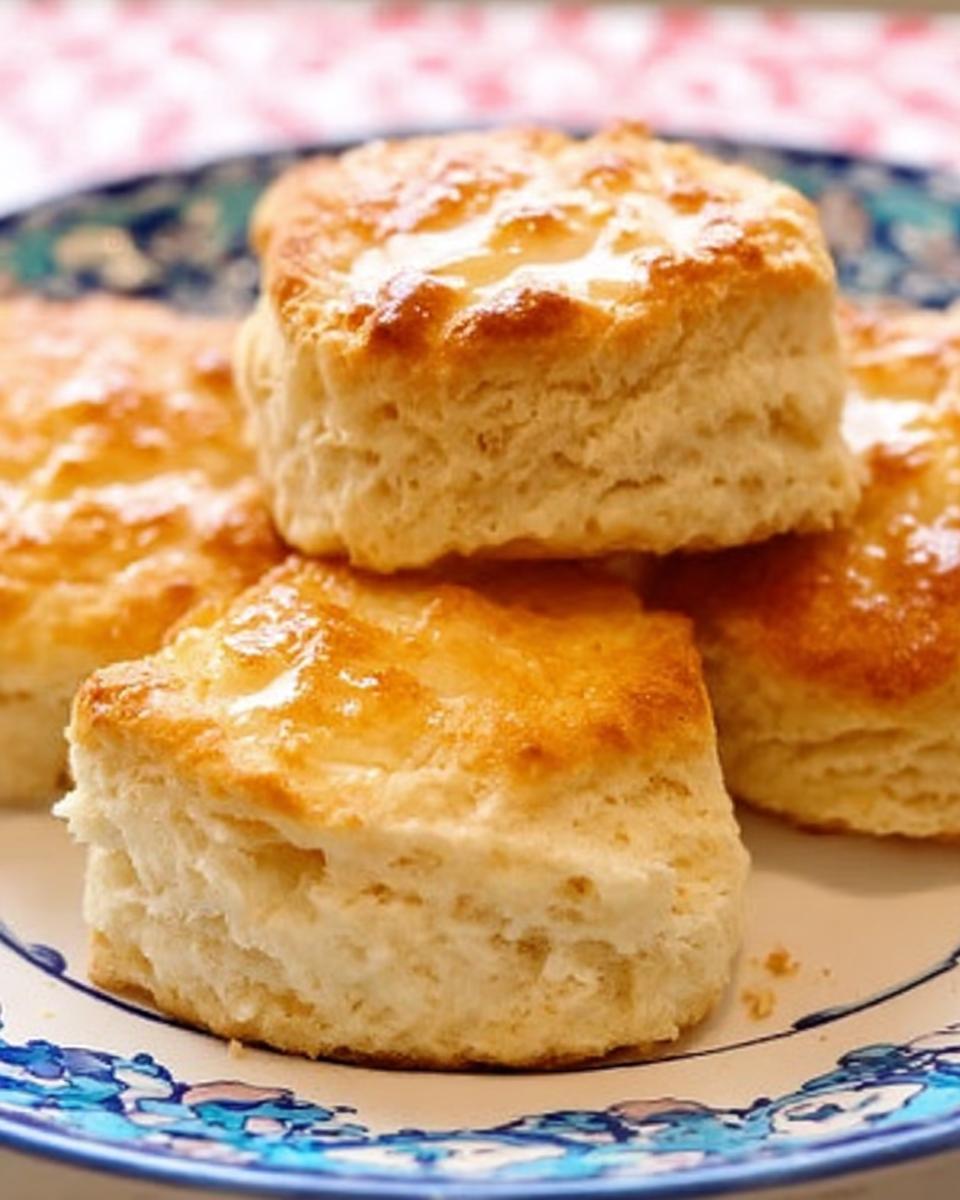
- Finishing Touch: As soon as they come out of the oven, give them another little brush with some more melted butter. It’s the perfect finishing touch while they’re still piping hot. Serve immediately and watch them disappear! For more biscuit ideas, check out these easy gluten-free biscuits too!
What to Serve with Your Buttermilk Biscuits
These fluffy buttermilk biscuits are so good, they could honestly stand on their own! But if you’re looking to make a full meal, they are just *perfect* alongside so many things. Here are a few of my favorites:
- Hearty Stews: Dunking a warm biscuit into a rich, savory stew is pure comfort food heaven. They’re perfect for soaking up all those delicious broths! You *have* to try them with some of these cozy soup recipes.
- Savory Gravies: This is a classic for a reason! A generous smothering of homemade sausage gravy over your biscuits makes for the ultimate breakfast or brunch. My easy sausage gravy recipe is a winner every time.
- Fried Chicken: Can you even have Southern food without fried chicken and biscuits? They’re a match made in culinary heaven. The crispy chicken and the soft biscuit are just divine together.
- Fresh Salads: Sometimes, you just want something light to balance out the richness. A simple green salad with a tangy vinaigrette is a refreshing contrast and makes the meal feel a bit lighter.
Storing and Reheating Your Buttermilk Biscuits
Okay, so if you manage to have any of these glorious buttermilk biscuits leftover (which is a miracle in my house!), storing them is super easy. Just pop them into an airtight container at room temperature for up to 2 days. Honestly, they’re best eaten fresh, but if you need to store them longer, the fridge works too, though they can get a little tougher. For reheating, ditch the microwave if you can! A quick 5-8 minutes in a 350°F oven or toaster oven works wonders to bring back that lovely warmth and hint of crispiness. Sometimes I even wrap them loosely in foil while reheating to keep them from drying out too much.
Frequently Asked Questions About Buttermilk Biscuits
Got questions about whipping up these amazing buttermilk biscuits? I get it! Baking can be a little fussy sometimes, but these little guys are pretty forgiving. Here are a few things folks often ask:
Can I use regular milk instead of buttermilk?
You *can*, but it really won’t be the same! Buttermilk’s acidity reacts with the baking soda to give biscuits their lift and tender crumb. If you’re in a pinch, you can make a “DIY buttermilk” by mixing 1 cup of regular milk with 1 tablespoon of lemon juice or white vinegar and letting it sit for about 5 minutes. It’s not quite the same as the real thing, but it’ll do!
Why are my biscuits tough or dense?
Oh, the dreaded tough biscuit! This usually happens for one of two reasons: either you overmixed the dough (too much mixing develops the gluten, making them tough) or your butter wasn’t cold enough. Remember, we want to handle this dough gently and keep everything as cold as possible. Give it a try again, and really focus on minimal mixing and cold ingredients!
Can I freeze the biscuit dough?
You bet! You can definitely prep the dough, cut out your biscuits, and freeze them. Place them on a baking sheet, freeze until solid, then transfer them to a freezer bag. When you’re ready to bake, just pop them straight onto a baking sheet (no need to thaw!) and add a few extra minutes to the baking time. They make for super easy biscuits whenever the craving strikes!
Enjoy Your Delicious Homemade Buttermilk Biscuits!
I really hope you give this easy buttermilk biscuits recipe a try! They’re truly my favorite way to make homemade biscuits, and I bet they’ll be yours too. Let me know in the comments below how they turn out for you, and if you have any favorite ways to serve them!
Print
Fluffy Buttermilk Biscuits Recipe
- Total Time: 25 minutes
- Yield: 8 biscuits 1x
- Diet: Vegetarian
Description
Make soft fluffy buttermilk biscuits from scratch with simple ingredients and a golden buttery finish. Easy homemade recipe ready in under 30 minutes.
Ingredients
- 2 1/2 cups all purpose flour
- 1 tablespoon baking powder
- 1 teaspoon baking soda
- 1 teaspoon salt
- 8 tablespoons cold unsalted butter, cut into small cubes
- 1 cup cold buttermilk
- 2 tablespoons melted butter for brushing
Instructions
- Preheat oven to 425°F and line a baking sheet with parchment paper.
- In a large bowl, whisk together flour, baking powder, baking soda, and salt until evenly combined.
- Add the cold butter cubes and use a pastry cutter or your fingers to work the butter into the flour until the mixture resembles coarse crumbs with small pea-sized pieces.
- Pour in the cold buttermilk and gently stir until a shaggy dough forms. Do not overmix.
- Turn the dough onto a lightly floured surface and gently pat it into a rectangle about 1 inch thick.
- Fold the dough over itself 2 to 3 times to create layers, then pat it back down to 1 inch thickness.
- Use a round cutter or glass to cut out biscuits and place them close together on the prepared baking sheet.
- Brush the tops lightly with melted butter.
- Bake for 13 to 16 minutes until the tops are golden brown and the biscuits are cooked through.
- Remove from oven and brush with additional melted butter before serving warm.
Notes
- Handle the dough gently and keep the butter cold to ensure flaky layers and soft texture.
- Prep Time: 10 minutes
- Cook Time: 15 minutes
- Category: Baking
- Method: Baking
- Cuisine: American
Nutrition
- Serving Size: 1 biscuit
- Calories: 210
- Sugar: 2g
- Sodium: 0mg
- Fat: 12g
- Saturated Fat: 0g
- Unsaturated Fat: 0g
- Trans Fat: 0g
- Carbohydrates: 22g
- Fiber: 1g
- Protein: 4g
- Cholesterol: 0mg