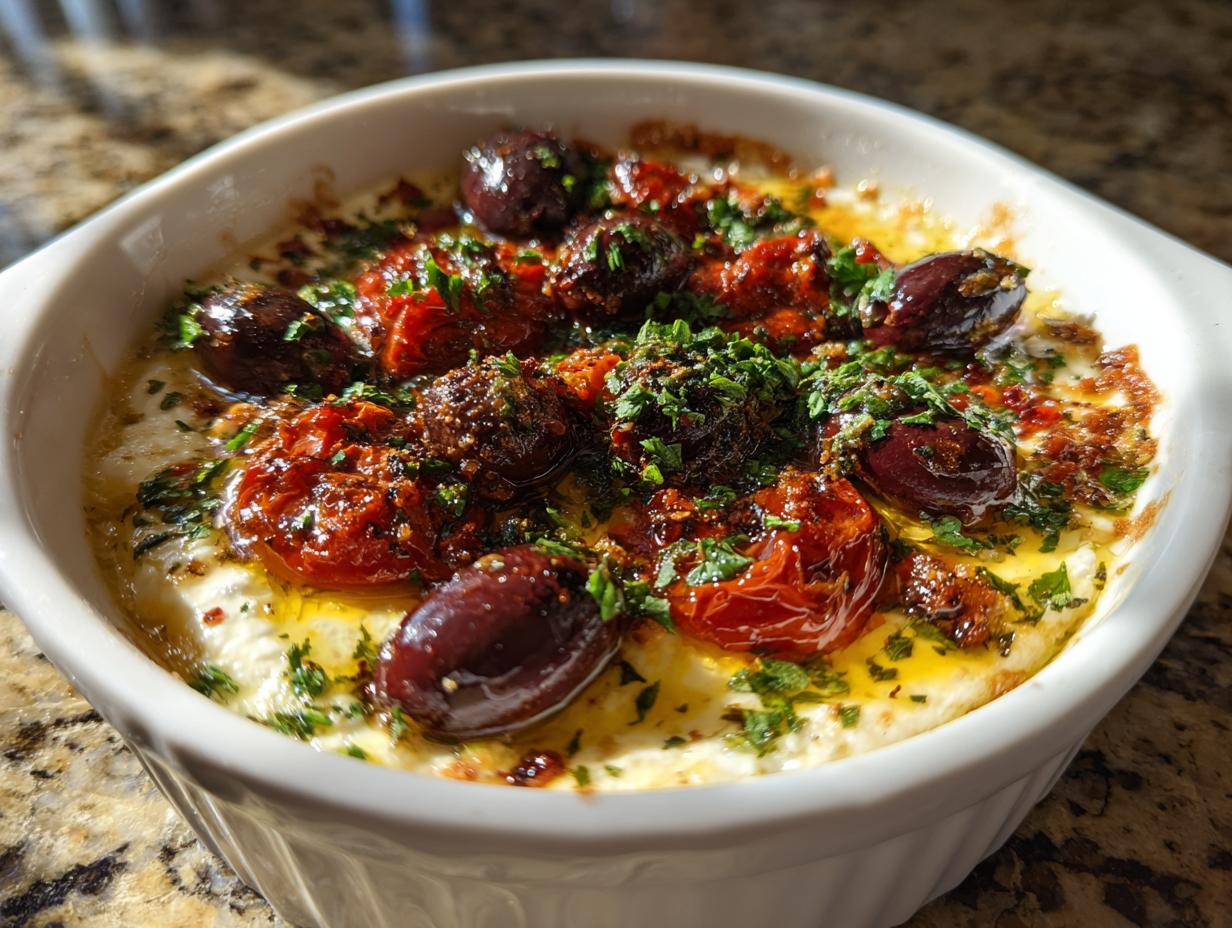
You guys, let me tell you, if you need a show-stopping appetizer that takes practically zero effort, this Baked Feta with Olives is your new best friend. Seriously, forget those complicated dips that need hours of simmering. This Mediterranean beauty comes together in about 20 minutes, and the flavor payoff is huge! I’ve made this for every casual get-together for years now, and people always ask for the recipe.
The magic here is the heat transforming that salty, crumbly feta into something warm, creamy, and utterly luxurious. It’s the perfect canvas for the sharp olives and sweet tomatoes. Don’t overthink it; the beauty of Baked Feta with Olives is its simplicity. We aren’t doing fussy reductions or fancy knife skills here. We’re just layering delicious things and letting the oven do the hard work.
When I first tried baking feta, I was nervous I’d end up with a dried-out brick, but I found the sweet spot for the temperature and timing, and now I swear by it. Trust me on the quality of your ingredients, though, because there are so few of them! Once you master this simple technique, you’ll be making this Baked Feta with Olives every weekend. You can find more quick appetizer ideas on our blog.
Essential Ingredients for Your Baked Feta with Olives
When you’re working with something as simple as Baked Feta with Olives, the quality of what you put in really matters. Since there are only a handful of components, don’t skimp! You want big, bold Mediterranean flavors to shine through, and that starts with picking the right stuff.
Selecting the Best Feta and Olives
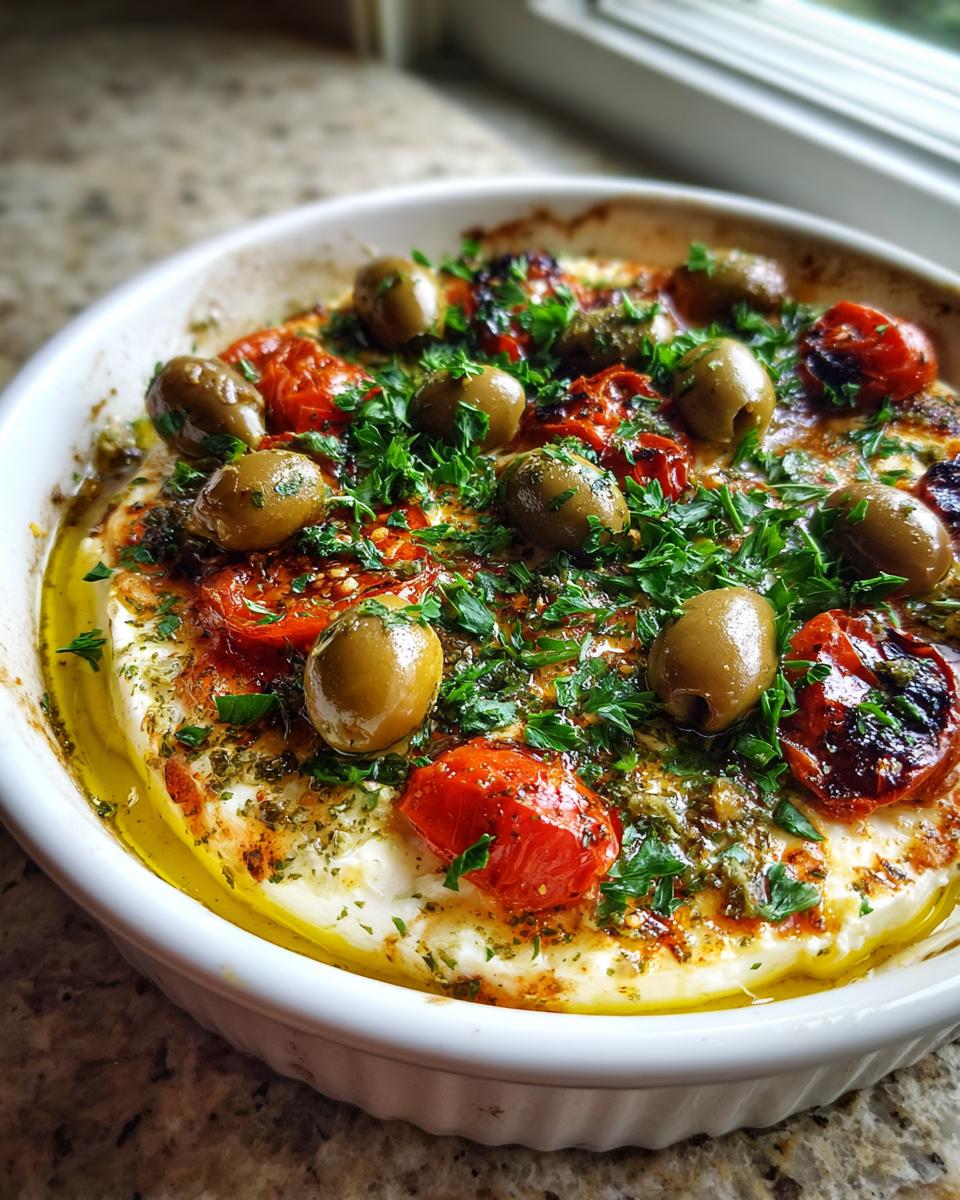
Listen, the absolute most important thing you need to know is to grab a block of feta, not the crumbles in a bag. Crumbles are usually packed in liquid and don’t have the density we need for baking. A solid 5-ounce block holds its shape until it melts gorgeously. For the olives, grab a mix! I love using Kalamata alongside some bright green ones. Make sure they are pitted, obviously, because nobody wants to bite down on a pit when they are expecting creamy cheese!
Flavor Builders: Herbs and Aromatics
We need depth here, and that comes from those little dried powerhouses. You must use dried oregano, thyme, and rosemary. They get toasted in the oven oil and release this amazing scent. Don’t forget the fresh parsley at the end, though! That bright green finish cuts through the richness perfectly. And garlic, minced fine—it melts right into the oil and becomes sweet, not harsh.
Equipment Needed for Perfect Baked Feta with Olives
You don’t need a whole arsenal of specialized gear for this, which is another reason I love this recipe so much! For perfect Baked Feta with Olives, all you really need are three things. First, grab a small, oven-safe baking dish. It needs to be just big enough to hold that block of feta snugly in the middle—nothing too wide! Second, grab a standard sheet pan to place that dish on. This is non-negotiable safety advice from me! If you are looking for other simple dinner ideas, check out this simple healthy orzo weeknight meal.
Finally, you’ll need a tiny bowl for mixing up your herb oil before pouring it over everything. That’s it! No stand mixer required, no fancy tongs, just simple tools for a seriously delicious result.
Step-by-Step Instructions for Baked Feta with Olives
Alright, let’s get this show on the road! Making truly amazing Baked Feta with Olives is all about setting up correctly so that the baking process is smooth and everything melts just right. Follow these steps exactly, and you’ll have the creamiest appetizer ready in no time.
Preheating and Dish Preparation
First things first: get your oven cranked up to 375 degrees Fahrenheit. Don’t try to rush this step; the heat needs to be ready when the cheese is. Now, here’s my little safety tip that I always preach about—place your small oven-safe baking dish right onto a standard metal sheet pan. Why? Because when that hot olive oil inevitably bubbles up a bit, the sheet pan catches any drips, saving you a huge mess on the bottom of your oven. Trust me on this one; I learned the hard way!
Assembling the Baked Feta with Olives
Take that beautiful block of feta and nestle it right in the center of your prepared dish. It should fit snugly. Next, we scatter! Distribute your mixed olives and those sweet, sliced semi-dried tomatoes all around the cheese. Don’t pile them on top; you want them surrounding the feta so they warm up nicely in the oil. In a separate little bowl, whisk together your olive oil, minced garlic, dried oregano, thyme, rosemary, and a good grind of fresh black pepper. Whisk it well so the herbs get coated. Now, pour that fragrant oil mixture evenly over the feta and all those surrounding goodies. Make sure the top of the feta gets a nice drizzle!
Baking Time and Final Touches
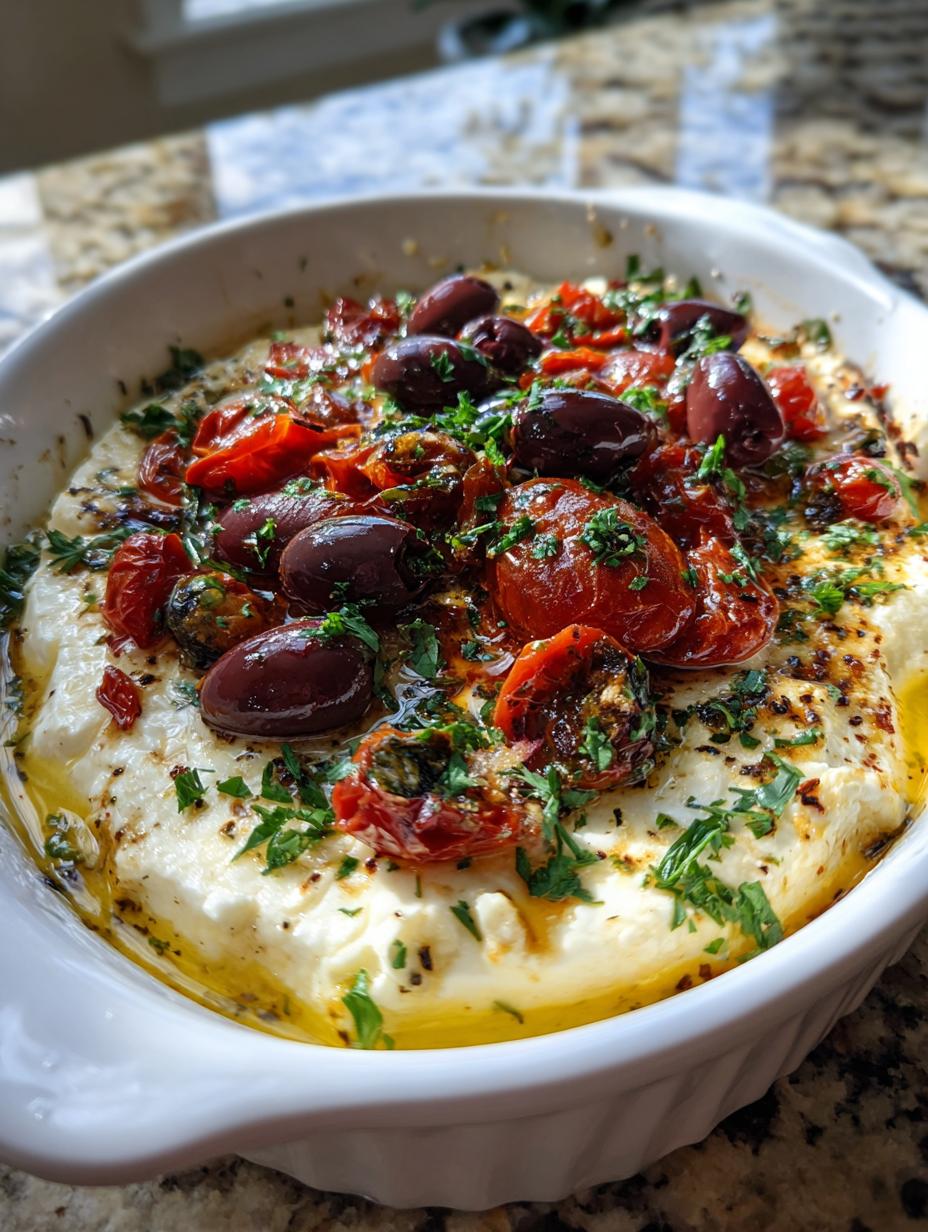
Slide that sheet pan into the preheated oven. You need to bake this uncovered for about 15 to 18 minutes. That’s the sweet spot! You are looking for two things: the feta should look noticeably softened—it will lose its sharp edges and start to slump a bit—and the edges of the cheese or the oil might just start to brown ever so slightly. Pull it out carefully! Once it’s out, immediately sprinkle that fresh chopped parsley over the top. If you like a little kick, now is the time to add a pinch of red pepper flakes. Serve it piping hot with your bread so everyone can dive in immediately!
Expert Tips for Success with Baked Feta with Olives
I’ve definitely made this recipe enough times now to know the little tricks that push it from “good” to “OMG, what is this magic?” When you’re making Baked Feta with Olives, the goal is always that luxurious, melty texture. It’s not a hard dish, but a few small details make a huge difference in the final result.
Achieving Optimal Creaminess
This is my number one rule, and I’m not kidding: you must serve this immediately! The texture of Baked Feta with Olives changes drastically the longer it sits. When it comes out of the oven, it’s this perfect creamy, warm dip that soaks right into the bread. If you let it cool for even ten minutes, it firms up again. So, time your bread slicing and your oven timing perfectly. Have everything else ready to go before that cheese hits the heat! For more recipe inspiration, check out our Pinterest page.
Ingredient Balance Check
Before you slide that pan into the oven, give your oil mixture one last smell check. The dried herbs are powerful, but you want to make sure they smell fragrant, not dusty. I usually give it an extra crank of black pepper right before pouring because the saltiness from the feta and olives can handle it. If you think you might want that little pop of heat, add the red pepper flakes into the oil mixture now instead of sprinkling them on top later. Mixing them in ensures the spice distributes evenly rather than just hitting one spot.
Serving Suggestions for This Warm Dip
Once this golden, salty goodness comes out of the oven, you need the perfect vehicle to scoop up every last bit! Honestly, you can serve this alongside almost any Mediterranean spread, but the key is something sturdy enough to handle the warm, oily cheese without breaking apart.
Bread Choices for Dipping
My absolute favorite pairing is thick slices of crusty sourdough bread. You can toast them lightly if you want a bit of crunch, but even soft, fresh sourdough soaks up that herb oil beautifully. Another great option, especially if you’re having a party, is using mini baguette slices. They look a little fancier on a platter. If you have pita bread lying around, warming that up works too! Just make sure you have plenty of bread available—this dip disappears fast! If you need a recipe for homemade bread, try this easy focaccia bread recipe.
Storing and Reheating Your Baked Feta with Olives
It happens—sometimes you make too much of this amazing Baked Feta with Olives, or maybe you just couldn’t finish the whole thing in one sitting. Don’t worry about leftovers! The texture will be a bit firmer once it cools down, but it’s still delicious the next day. You just need to treat it gently when you bring it back to life.
Storage Guidelines and Duration
Once the dish has cooled down to room temperature—and I mean completely cooled—cover it tightly. I usually use plastic wrap followed by aluminum foil if I’m not using a lid, just to make sure no fridge air gets in there. Keep your leftovers in the refrigerator. Honestly, I wouldn’t keep the Baked Feta with Olives for more than three days, just because the texture of the feta changes so much once it’s been chilled. For another great appetizer, consider our Mexican Corn Dip.
Gentle Reheating Methods
To get that creamy texture back, low and slow is the way to go. The best method is popping it back into a 300-degree oven for about 10 minutes until it softens. If you are desperate, the microwave works, but you have to use short bursts—like 15 seconds at a time—and watch it closely. Microwaving too long will make the feta rubbery instead of creamy, which is the opposite of what we want from our delicious Baked Feta with Olives!
Frequently Asked Questions About Baked Feta with Olives
I get so many questions because people love making Baked Feta with Olives, but they always want to tweak it a little bit! Here are the things I hear most often when folks are getting ready to bake their first batch.
Can I substitute the herbs in this Baked Feta with Olives?
You absolutely can play with your herbs, but remember that dried herbs are much more concentrated than fresh ones. The recipe calls for dried oregano, thyme, and rosemary because they infuse the oil beautifully during the baking time. If you only have fresh herbs, you need to use about three times the amount, and you should definitely add them right at the end with the parsley garnish, not in the oil before baking. Fresh herbs added early can sometimes turn bitter when baked for that long!
What kind of baking dish works best?
The size of your dish is really important for getting that perfect melt. Since we are using a standard 5-ounce block of feta, you want something small—think about 4 to 6 inches across. It should hold the block snugly in the middle with just enough room around the edges for the olives and tomatoes to sit without being totally crowded. If your dish is too big, the cheese will just spread out too thin and dry up before it gets creamy. A small ceramic ramekin or a small cast-iron skillet works wonderfully for this Baked Feta with Olives recipe! If you are looking for a different savory bake, check out this savory cottage cheese breakfast muffins recipe.
I hope those tips help you get started! Go ahead and try it out; you won’t regret how simple this appetizer is.
Nutritional Estimate for Baked Feta with Olives
Now, I know we don’t bake this for its health merits—it’s pure comfort food! But for those of you tracking things, I ran the numbers on our standard Baked Feta with Olives recipe. Remember, this is just an estimate based on the ingredients listed, and it assumes you’re splitting the whole dish into four satisfying servings. Since it’s rich in cheese and olive oil, the fat content is higher, but you get a nice little protein boost too!
Estimated Nutritional Data Table
Here’s a quick look at what you can expect per serving. I always suggest using a small chart here so people can quickly see the breakdown!
- Calories: 210
- Fat: 18g
- Protein: 6g
- Carbohydrates: 5g
Enjoy every cheesy, savory bite!
Print
Amazing Baked Feta with Olives in 20 min
- Total Time: 20 minutes
- Yield: 4 servings 1x
- Diet: Vegetarian
Description
This baked feta with olives and herbs is a warm, savory appetizer that’s perfect with crusty bread. Simple, flavorful, and ready in 20 minutes.
Ingredients
- 5 ounces block feta cheese
- 1 cup mixed pitted olives
- ½ cup semi-dried tomatoes, sliced
- 2 garlic cloves, minced
- ¼ cup extra virgin olive oil
- ½ teaspoon dried oregano
- ¼ teaspoon dried thyme
- ¼ teaspoon dried rosemary
- Freshly ground black pepper, to taste
- 1 tablespoon chopped fresh parsley, for garnish
- Pinch of red pepper flakes (optional)
- Crusty bread or mini baguette slices for serving
Instructions
- Set oven to 375°F and place a small oven-safe baking dish on a sheet pan.
- Place the block of feta in the center of the dish. Scatter olives and semi-dried tomatoes around it.
- In a small bowl, combine olive oil, garlic, oregano, thyme, rosemary, and pepper.
- Pour the oil mixture evenly over the feta and toppings. Bake uncovered for 15–18 minutes, until the feta softens and edges begin to brown lightly.
- Remove from oven, sprinkle with chopped parsley and red pepper flakes if using. Serve warm with slices of crusty bread for dipping.
Notes
- Serve immediately while warm for the creamiest texture.
- Prep Time: 5 minutes
- Cook Time: 15 minutes
- Category: Appetizer
- Method: Baking
- Cuisine: Mediterranean
Nutrition
- Serving Size: 1 serving
- Calories: 210
- Sugar: N/A
- Sodium: N/A
- Fat: 18g
- Saturated Fat: N/A
- Unsaturated Fat: N/A
- Trans Fat: N/A
- Carbohydrates: 5g
- Fiber: N/A
- Protein: 6g
- Cholesterol: N/A