
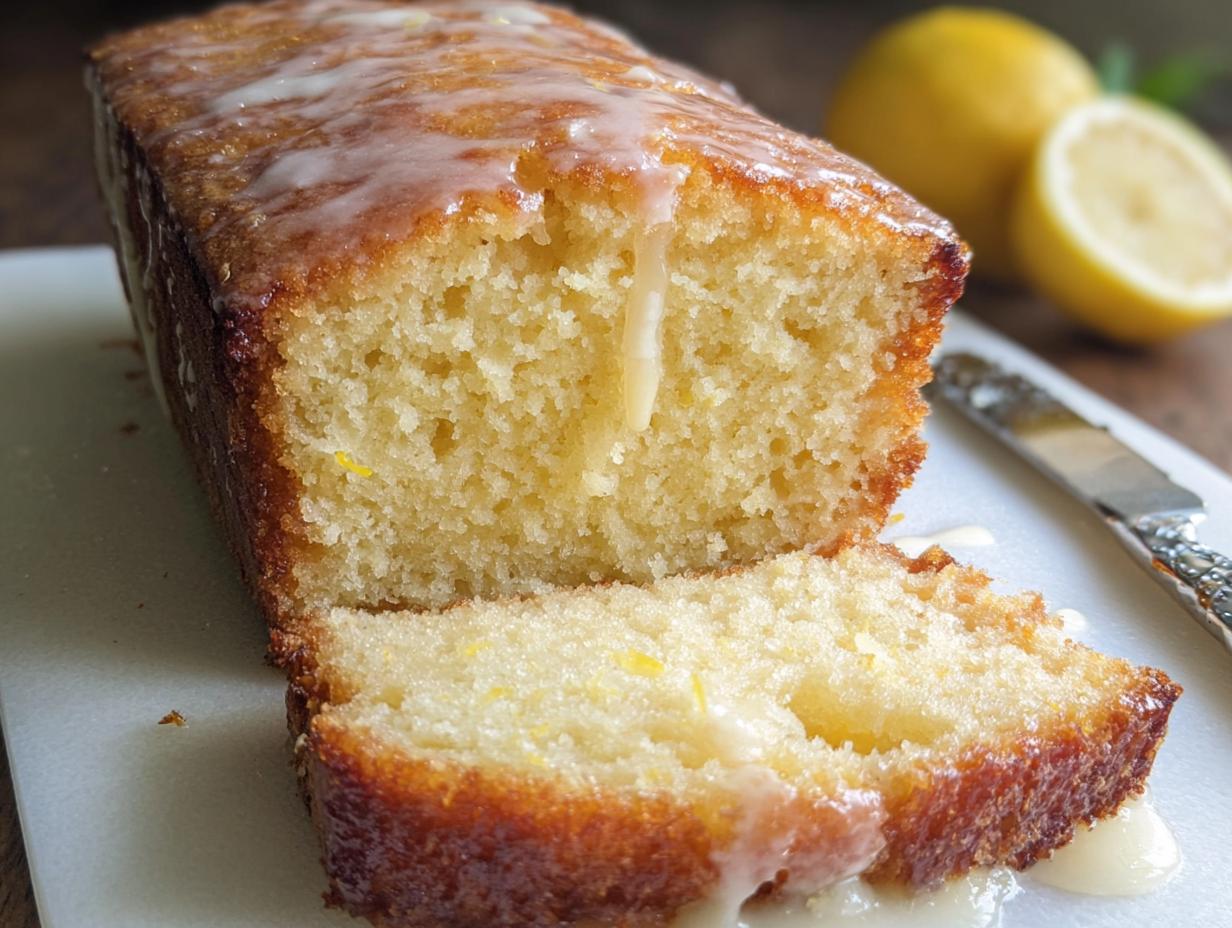
Oh, you are going to absolutely *adore* this recipe. I’ve baked a million quick breads in my life—muffins, zucchini loaves, the whole range—but when I need pure, bright sunshine in a slice, nothing beats this lemon bread. Seriously, forget those dry, crumbly loaves you sometimes get. This one is pure magic!
The secret isn’t some complicated technique; it’s just balancing the wet ingredients perfectly so you get that incredible, buttery tenderness every single time. It’s soft, it’s rich, and it smells like a dream while it’s baking. And the glaze? It’s so simple—just powdered sugar and fresh juice—but it sets up beautifully without being too heavy. It’s my go-to for last-minute brunches or when I just need a little pick-me-up. Trust me on this one; once you try this method, you’ll never look back for your perfect lemon bread!

Essential Ingredients for Perfect lemon bread
When you’re making something as delicate as a quick bread, the ingredients have to be spot on. This recipe is forgiving, but you can’t cheat on the basics if you want that melt-in-your-mouth texture. I’ve organized everything by what gets mixed first. Don’t worry about the glaze ingredients yet; we only make those once the loaf is cooled down a bit.
Here is what you need to have ready on your counter before you even think about preheating the oven for your lemon bread.
| Component | Item |
|---|---|
| Dry Mix | Flour, Baking Powder, Salt |
| Wet Mix Base | Sugar, Softened Butter, Lemon Zest |
| Binding Liquids | Eggs, Milk |
Dry Ingredients Checklist
Precision matters here, especially with the flour. Make sure you scoop and level your all-purpose flour correctly—don’t pack it in! We need exactly 2 and 1/4 cups. The baking powder and salt are non-negotiable for lift and flavor balance, so measure those out carefully before you start combining things.
Wet Ingredients and Flavor Builders
The butter absolutely must be softened—not melted, mind you, but soft enough that if you press it, your finger leaves an indent. That’s how you get the proper creaming action later! Also, please, please use fresh lemon zest. That zest is where about 80% of the lemon flavor lives. Don’t even think about bottled juice for the zest component in this lemon bread.
Creating the Simple lemon Glaze
The glaze ingredients—powdered sugar, fresh lemon juice, and a touch of milk—are measured out separately. We only mix these at the very end. You want that sugar to be fine and lump-free for the smoothest finish over the top of your loaf.
Equipment You Need for Your lemon bread
You don’t need a fancy stand mixer for this one, though if you have one, go for it! I usually just use a sturdy hand whisk or my trusty electric hand mixer. Make sure you have a standard 9×5-inch loaf pan ready to go. You’ll also need a couple of mixing bowls—one for the dry stuff and one for the wet. Oh, and don’t forget a good zester for that lemon zest; it makes all the difference!
Step-by-Step Instructions to Bake Your lemon bread
Okay, deep breath! This is where the magic happens, and I promise it’s easier than it looks. We’re aiming for that perfect, tender crumb in our lemon bread, so pay attention to the mixing instructions—that’s where people usually go wrong!
Preparing the Pan and Dry Mix
First things first: get that oven hot! Preheat it to 350 degrees Fahrenheit. While it’s warming up, grab your 9×5-inch loaf pan. Grease it well—I usually use whatever baking spray I have—and then give it a light dusting of flour. Tap out any excess flour so you don’t get white spots on the outside of your beautiful loaf later.
In a separate, large bowl, take your 2 and 1/4 cups of flour, the baking powder, and the salt. Just give those three things a quick whisk together. This mixes everything evenly so you don’t end up with a big clump of baking powder in one spot. Set this bowl aside; it’s waiting patiently for the wet stuff.
Creaming Butter, Sugar, and Zest
Now for the flavor explosion! In your second bowl—the one you’ll use for the main batter—beat that softened butter and the granulated sugar together. You need to beat this until it’s light, fluffy, and pale yellow. It takes a few minutes, but this step traps air, which keeps the bread from being dense. Once it looks fluffy, toss in that tablespoon of fresh lemon zest and stir it in quickly. You’ll immediately smell how amazing this lemon bread is going to be!
In a smaller bowl, just whisk your three large eggs lightly, then stir in the milk. We’re not whipping this; we just want them combined before they meet the butter mixture.
Combining Wet and Dry Batters Smoothly
Here’s the most important part for tenderness: combine the wet and dry ingredients. Pour the egg/milk mixture into the butter mixture, mix just a tiny bit, and then start adding the dry flour mixture. Don’t dump it all in at once! Alternate adding the dry ingredients and mixing gently until everything is *just* combined. I mean it—stop mixing the second you don’t see any more flour streaks. Overmixing develops gluten, and we want tender, not tough!
Scrape the batter into your prepared pan and smooth the top with a spatula. Try to make it even so it bakes uniformly.
Baking Times and Initial Cooling
Pop that pan into the preheated oven. It needs about 55 to 60 minutes. You know it’s done when a toothpick inserted right into the center comes out clean—maybe with a few moist crumbs clinging to it, but no wet batter. Resist the urge to open the oven too early! Once it’s done, let it cool right there in the pan on a wire rack for about 15 minutes. This helps it firm up a bit before you try to flip it out.
Preparing and Applying the lemon Glaze
While the bread is cooling in the pan, make your glaze. Whisk the powdered sugar, the 1 and 1/2 tablespoons of fresh lemon juice, and the extra tablespoon of milk together until it’s smooth and thick. If it looks too thin, add a tiny bit more powdered sugar. Once the loaf is completely cool on the wire rack, drizzle that bright glaze all over the top. You have to wait about 15 minutes for the glaze to set before you slice it, or you’ll just smear it everywhere!
Tips for Making Truly Tender lemon bread
I’ve ruined a few loaves in my time trying to rush things, so let me save you the trouble! The difference between a good loaf and an absolutely divine, buttery lemon bread is usually found in those little details where we get impatient. If you follow these two rules, your texture will be perfect every time.
Avoiding Overmixing
Seriously, this is the number one killer of quick breads. Think of the flour like a sponge. The more you stir it after the liquid hits it, the more structure it builds, and structure equals chewiness. We want tender! As soon as you see those dry streaks disappear when combining the wet and dry, stop the mixer immediately. It’s okay if there are still a few tiny lumps; they’ll smooth out during the baking process. A heavy hand here guarantees a dense result.
Getting Maximum Citrus Flavor
If you want that incredible, punchy lemon flavor to really sing through, try this little trick I learned. After you pull the hot loaf out of the oven—before it even goes on the rack to cool—poke a few holes across the top with a skewer. Then, gently brush about 2 teaspoons of fresh lemon juice right over the top. It soaks in as the bread cools slightly and intensifies that citrus zing right before you add the sweet glaze on top. It’s optional, but wow, does it make a difference in this lemon bread!
Storing and Serving Your citrus loaf
This loaf is certainly big enough to share, but honestly, I always end up eating half of it myself over a few days! Because it has a sugary glaze, you do want to be mindful of how you store it so it doesn’t get sticky or dry out too fast. The best way to enjoy it is always the first day, slightly warm, maybe with an extra pat of butter.
If you’re not eating it all right away, room temperature is your friend. Don’t put it in the fridge unless you absolutely have to, because the cold air dries out quick breads fast. Here’s my go-to storage guide:
| Storage Method | Duration | Reheating Tip |
|---|---|---|
| Room Temperature (Airtight Container) | Up to 3 days | Microwave individual slices for 10 seconds |
| Airtight Container (Refrigerated) | Up to 5 days | Let sit out for 30 minutes before eating |
| Freezer (Wrapped Tightly) | Up to 2 months | Wrap slices individually before freezing |
Understanding the Nutrition in Each Slice of lemon bread
Since this is a rich, buttery loaf, it definitely falls into the treat category! But knowing what you’re eating is always helpful, especially if you’re trying to balance out your week. This recipe yields 12 generous slices, and while I didn’t get exact sugar counts, we can look at the core components that make up the calories and fat content in a standard serving of this delicious lemon bread.
The fat content mostly comes from that beautiful unsalted butter we use to keep things tender, and the carbs come primarily from the flour and the sugar in the bread itself, not even counting the glaze! This is a wonderful breakfast treat or afternoon snack. Here’s a quick rundown based on the main ingredients:
| Nutrient | Estimated Value (Per Slice) |
|---|---|
| Calories | 290 |
| Fat | 13g |
| Carbohydrates | 39g |
| Protein | 4g |
Frequently Asked Questions About this lemon bread Recipe
Whenever I post this recipe online, I get a ton of questions about substitutions. It’s natural! We all bake differently. Here are a few things I hear most often about making this quick bread.
Can I substitute the flour in this lemon bread recipe
If you are trying to make this lemon bread gluten-free, you can certainly try using a good 1-to-1 gluten-free baking blend, but you might need to add a tiny bit more milk since GF flours absorb liquid differently. If you swap all-purpose flour for whole wheat, the texture will be significantly denser—it won’t be as light and tender as the original recipe intends.
How long does this quick bread stay fresh
If you store it correctly in an airtight container at room temperature, it stays wonderfully fresh for about three days. After that, it starts to firm up a little. If you know you won’t finish it fast, wrap individual slices tightly in plastic wrap or foil and freeze them! They thaw out perfectly.
What is the best way to test if my lemon bread is done
The toothpick test is your best indicator for nearly all quick breads. Stick a wooden toothpick, or even a thin wooden skewer, right into the very center of the loaf. If it comes out completely clean, you’re good to go! If you see wet batter, give it another five minutes and test again. That ensures your lemon bread isn’t gummy in the middle.
Share Your Baked lemon bread Success
I truly hope you enjoy making this loaf as much as I do. It’s such a cheerful bake! Once you’ve pulled your golden, glazed creation out of the oven, I would absolutely love to see it. Leave me a comment below telling me how it turned out, or even better, give this recipe a rating so other bakers know how amazing this lemon bread is!
If you want to see more of my baking adventures, check out my Pinterest or follow along on Medium!
Tips for Making Truly Tender lemon bread
I’ve ruined a few loaves in my time trying to rush things, so let me save you the trouble! The difference between a good loaf and an absolutely divine, buttery lemon bread is usually found in those little details where we get impatient. If you follow these two rules, your texture will be perfect every time.
Avoiding Overmixing
Seriously, this is the number one killer of quick breads. Think of the flour like a sponge. The more you stir it after the liquid hits it, the more structure it builds, and structure equals chewiness. We want tender! As soon as you see those dry streaks disappear when combining the wet and dry, stop the mixer immediately. It’s okay if there are still a few tiny lumps; they’ll smooth out during the baking process. A heavy hand here guarantees a dense result.
Getting Maximum Citrus Flavor
If you want that incredible, punchy lemon flavor to really sing through, try this little trick I learned. After you pull the hot loaf out of the oven—before it even goes on the rack to cool—poke a few holes across the top with a skewer. Then, gently brush about 2 teaspoons of fresh lemon juice right over the top. It soaks in as the bread cools slightly and intensifies that citrus zing right before you add the sweet glaze on top. It’s optional, but wow, does it make a difference in this lemon bread!
Storing and Serving Your citrus loaf
This loaf is certainly big enough to share, but honestly, I always end up eating half of it myself over a few days! Because it has a sugary glaze, you do want to be mindful of how you store it so it doesn’t get sticky or dry out too fast. The best way to enjoy it is always the first day, slightly warm, maybe with an extra pat of butter.
If you’re not eating it all right away, room temperature is your friend. Don’t put it in the fridge unless you absolutely have to, because the cold air dries out quick breads fast. Here’s my go-to storage guide:
| Storage Method | Duration | Reheating Tip |
|---|---|---|
| Room Temperature (Airtight Container) | Up to 3 days | Microwave individual slices for 10 seconds |
| Airtight Container (Refrigerated) | Up to 5 days | Let sit out for 30 minutes before eating |
| Freezer (Wrapped Tightly) | Up to 2 months | Wrap slices individually before freezing |
Storing Leftover lemon bread
For the absolute best texture, keep your leftover lemon bread wrapped tightly in plastic wrap, and then place that in an airtight container on the counter for up to three days. If you need it to last longer, the freezer works wonders! Just make sure you wrap individual slices well so you can just pull out what you need. If you do refrigerate it, remember to let it sit on the counter for a good half hour before serving so it softens up again!
Understanding the Nutrition in Each Slice of lemon bread
Since this is a rich, buttery loaf, it definitely falls into the treat category! But knowing what you’re eating is always helpful, especially if you’re trying to balance out your week. This recipe yields 12 generous slices, and while I didn’t get exact sugar counts, we can look at the core components that make up the calories and fat content in a standard serving of this delicious lemon bread.
The fat content mostly comes from that beautiful unsalted butter we use to keep things tender, and the carbs come primarily from the flour and the sugar in the bread itself, not even counting the glaze! This is a wonderful breakfast treat or afternoon snack. Here’s a quick rundown based on the main ingredients:
| Nutrient | Estimated Value (Per Slice) |
|---|---|
| Calories | 290 |
| Fat | 13g |
| Carbohydrates | 39g |
| Protein | 4g |
Frequently Asked Questions About this lemon bread Recipe
Whenever I post this recipe online, I get a ton of questions about substitutions. It’s natural! We all bake differently. Here are a few things I hear most often about making this quick bread.
Can I substitute the flour in this lemon bread recipe
If you are trying to make this lemon bread gluten-free, you can certainly try using a good 1-to-1 gluten-free baking blend, but you might need to add a tiny bit more milk since GF flours absorb liquid differently. If you swap all-purpose flour for whole wheat, the texture will be significantly denser—it won’t be as light and tender as the original recipe intends.
How long does this quick bread stay fresh
If you store it correctly in an airtight container at room temperature, it stays wonderfully fresh for about three days. After that, it starts to firm up a little. If you know you won’t finish it fast, wrap individual slices tightly in plastic wrap or foil and freeze them! They thaw out perfectly.
What is the best way to test if my lemon bread is done
The toothpick test is your best indicator for nearly all quick breads. Stick a wooden toothpick, or even a thin wooden skewer, right into the very center of the loaf. If it comes out completely clean, you’re good to go! If you see wet batter, give it another five minutes and test again. That ensures your lemon bread isn’t gummy in the middle.
Share Your Baked lemon bread Success
I truly hope you enjoy making this loaf as much as I do. It’s such a cheerful bake! Once you’ve pulled your golden, glazed creation out of the oven, I would absolutely love to see it. Leave me a comment below telling me how it turned out, or even better, give this recipe a rating so other bakers know how amazing this lemon bread is!
Print
Amazing 12-slice lemon bread secrets revealed
- Total Time: 1 hour 20 minutes
- Yield: 12 slices 1x
- Diet: Vegetarian
Description
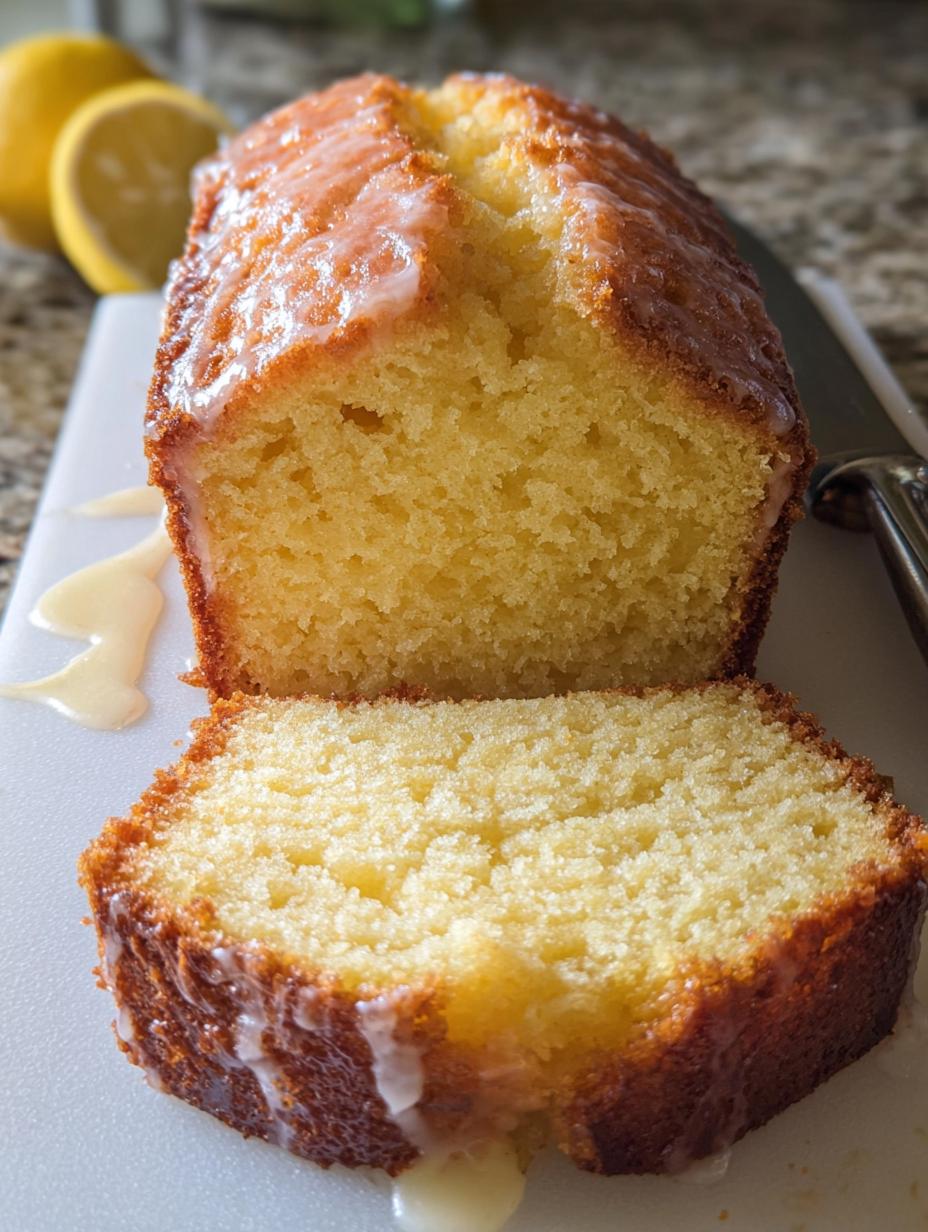
Moist lemon bread bursting with citrus flavor, topped with a simple fresh lemon glaze. It is soft, buttery, and tender.
Ingredients
- 2 ¼ cups all-purpose flour
- 1 ½ teaspoons baking powder
- ¾ teaspoon salt
- 1 cup granulated sugar
- ¾ cup unsalted butter, softened
- 1 tablespoon finely grated lemon zest (from about 1 large lemon)
- 3 large eggs
- ¾ cup milk
- 1 cup powdered sugar (For Glaze)
- 1 ½ tablespoons fresh lemon juice (For Glaze)
- 1 tablespoon milk (For Glaze)
Instructions
- Preheat the oven to 350°F. Grease and lightly flour a 9×5-inch loaf pan.
- In a large bowl, whisk together flour, baking powder, and salt.
- In another bowl, combine the softened butter and sugar until crumbly. Stir in the lemon zest.
- In a separate bowl, lightly beat the eggs, then whisk in the milk.
- Pour the wet ingredients into the dry ingredients and stir just until combined. Do not overmix.
- Pour the batter into the prepared loaf pan and smooth the top.
- Bake for 55 to 60 minutes, or until a toothpick inserted in the center comes out clean.
- Cool in the pan for 15 minutes, then transfer to a wire rack to cool completely.
- For the glaze, whisk together powdered sugar, lemon juice, and milk until smooth and thick. Drizzle over the cooled loaf.
- Let the glaze set for 15 minutes before slicing.
Notes
- For a more intense citrus flavor, brush warm bread with 2 teaspoons of fresh lemon juice before adding the glaze.
- Prep Time: 20 minutes
- Cook Time: 60 minutes
- Category: Bread
- Method: Baking
- Cuisine: American
Nutrition
- Serving Size: 1 slice
- Calories: 290
- Sugar: Data not provided
- Sodium: Data not provided
- Fat: 13g
- Saturated Fat: Data not provided
- Unsaturated Fat: Data not provided
- Trans Fat: Data not provided
- Carbohydrates: 39g
- Fiber: Data not provided
- Protein: 4g
- Cholesterol: Data not provided
