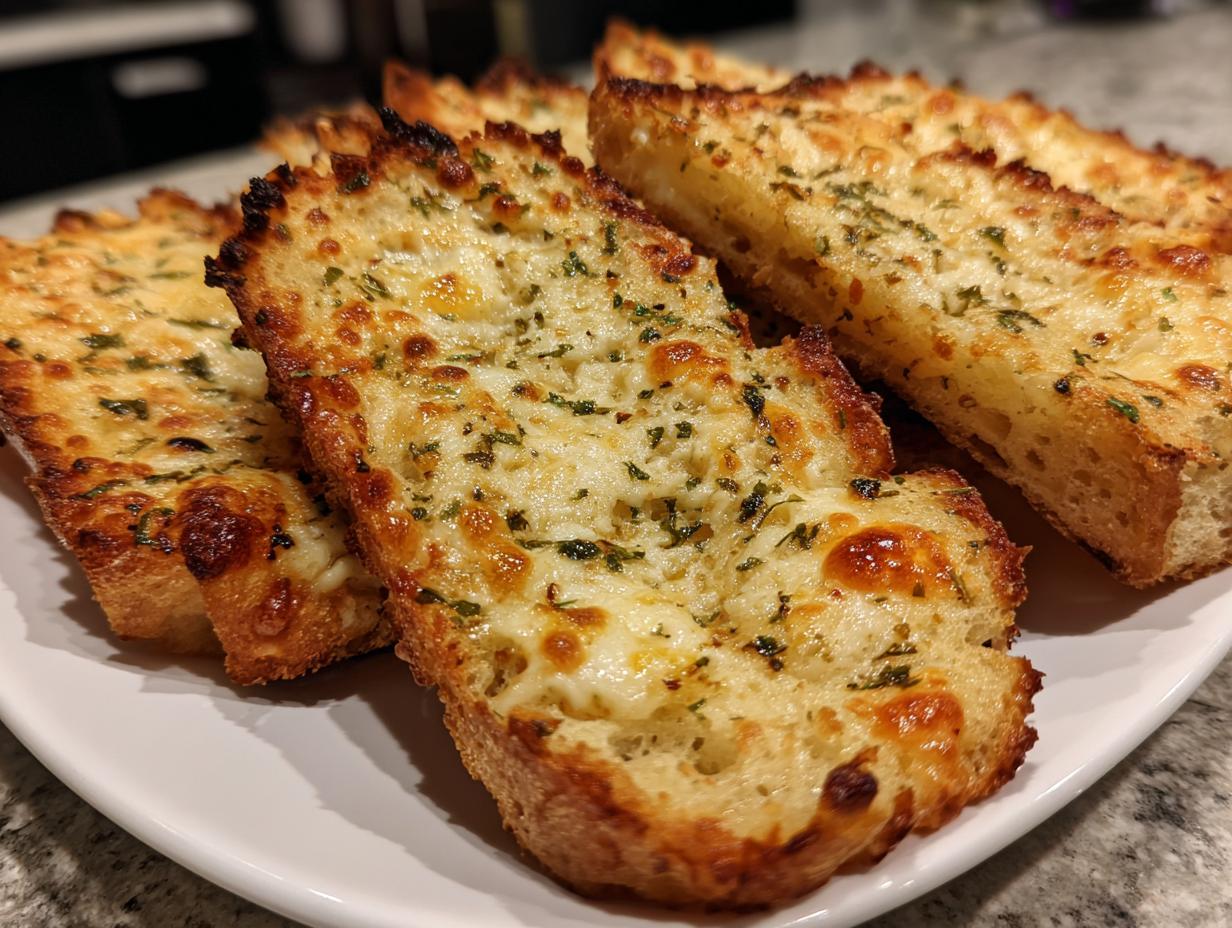
Air Fryer Garlic Bread And Cheese Toast is about to become your new weeknight hero! I’m Jordan Bell, checking in from Asheville, NC. If you’ve followed my journey, you know I lost 80 pounds by figuring out how to make my favorite Southern comfort foods clean and easy. That mission is why I run the Easy Detox Recipes blog.
When you’re trying to eat better, sometimes you just crave that perfect, cheesy, buttery bite—something savory that requires almost zero effort. You don’t want a complicated recipe when you’re tired, right? You need side dishes that deliver huge flavor without derailing your whole plan.
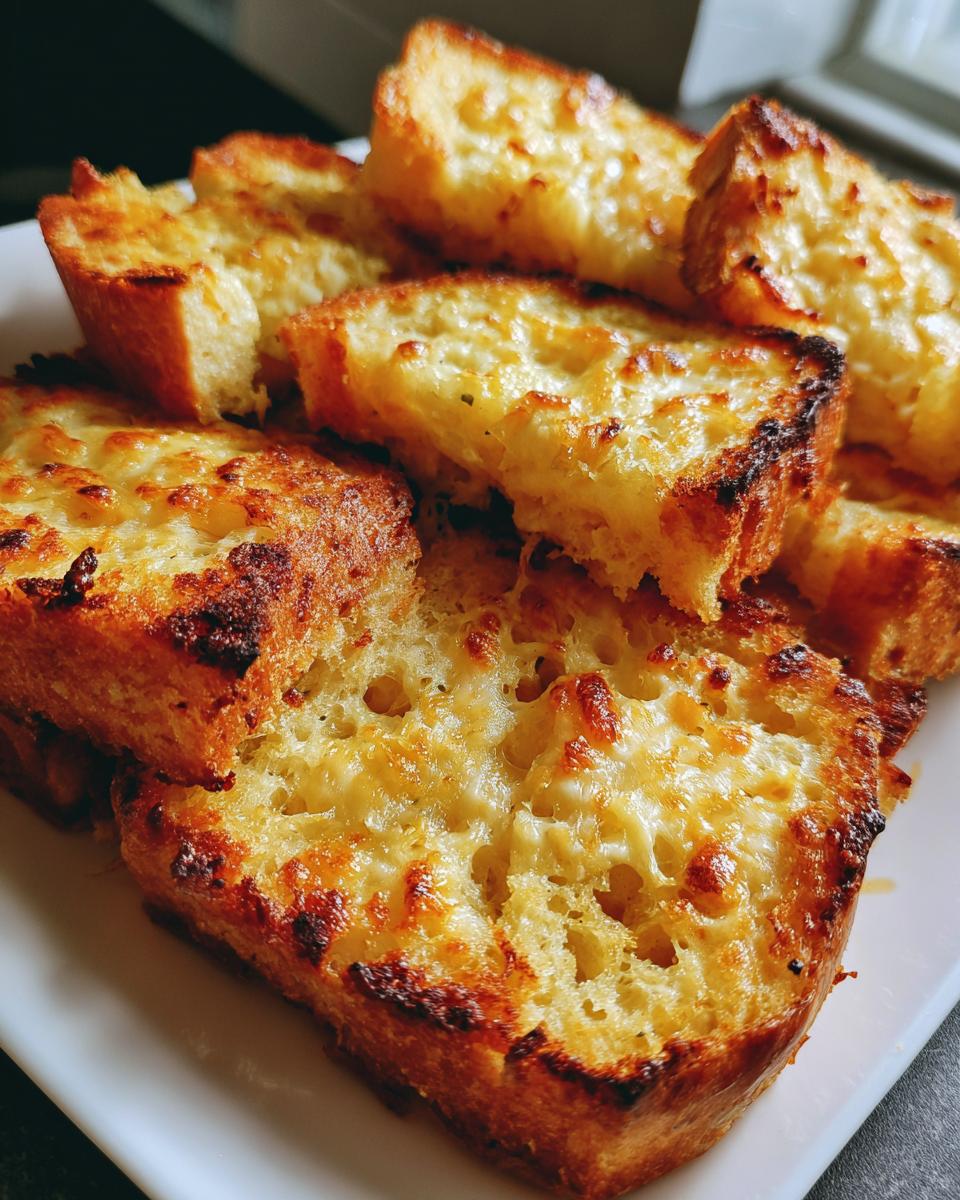
That’s exactly where this cheesy toast steps in. It hits every craving—crispy edges, soft middle, tons of garlic—and it’s done faster than you can set the table. Trust me, this is the simplest, cleanest way to get that perfect golden-brown crunch without heating up your entire kitchen.

Why You’ll Love This Air Fryer Garlic Bread And Cheese Toast
This recipe isn’t just another side dish; it’s a weeknight lifesaver that tastes like you spent way more time on it than you actually did. Seriously, who needs complicated when you have this much flavor popping out of the air fryer basket? It’s the perfect clean comfort food.
- It’s lightning fast! You can have this cheesy bread ready in under 20 minutes total, making it ideal for busy evenings.
- The texture is unmatched—crispy edges meet a wonderfully soft, buttery center.
- You get the best of both worlds: some slices are pure, garlicky goodness, and others are loaded up with melted, bubbly cheese.
- It’s a fantastic way to use up that half baguette sitting on the counter!
Quick Preparation Time
I swear, the longest part of this whole process is softening the butter, and that’s just waiting time! You mix up the garlic butter in about five minutes flat. Then, assembling the slices takes maybe another five minutes. Seriously, ten minutes of hands-on work is all it takes before it goes into the preheated machine. It’s foolproof, I promise.
Perfect Texture Every Time
This is where the air fryer shines, folks. If you tried to do this in a standard oven, you’d end up with dry toast or burnt cheese before the center softened up. The air fryer circulates that heat so beautifully. You get that fantastic snap on the outside crust, but because we cut the bread thick, the inside stays warm and slightly chewy. That contrast is everything!
Gather Your Air Fryer Garlic Bread And Cheese Toast Ingredients
Okay, let’s talk about what you need to make this amazing Air Fryer Garlic Bread And Cheese Toast. The quality of your ingredients really matters here, especially the butter and the cheese blend. You want that rich, savory punch, and that starts right at the beginning.
Don’t eyeball the measurements for the butter mixture, especially the garlic and seasonings. We are creating a flavor paste here, and precision keeps the spread perfectly smooth and easy to work with. Also, make sure your butter is truly room temperature—if it’s cold, it will tear up your soft baguette when you spread it!
Required Components
Everything needs to be measured out before you start mixing. I always lay everything out on the counter first, which is a trick I learned when I was trying to keep my kitchen clean during my weight loss journey. Having everything ready means the assembly process is super fast. Here are the exact components you’ll need for the perfect cheesy toast.
Ingredients Table
| Ingredient | Amount |
|---|---|
| Unsalted butter, softened | One half cup |
| Olive oil | Three tablespoons |
| Garlic, minced or grated | Five cloves |
| Fresh parsley, chopped | Two tablespoons |
| Fresh chives or green onions, chopped | One tablespoon |
| Dried Italian seasoning or dried oregano | One half teaspoon |
| Fine sea salt | One half teaspoon |
| Ground black pepper | One quarter teaspoon |
| Crushed red pepper flakes (optional) | One quarter teaspoon |
| Large baguette or Italian loaf, cut into one inch thick slices | One |
| Low moisture mozzarella cheese, shredded | One cup |
| Sharp cheddar or provolone cheese, shredded | One half cup |
| Firm parmesan style cheese, grated | Two tablespoons |
| Neutral cooking oil spray (avocado or canola) | As needed |
| Extra fresh parsley, chopped (for finishing) | As needed |
| Flaky sea salt (to taste) | As needed |
Essential Equipment for Making Air Fryer Garlic Bread And Cheese Toast
You don’t need a ton of fancy gear for this, which is exactly what I love about making Air Fryer Garlic Bread And Cheese Toast on a busy Tuesday night. The air fryer does most of the heavy lifting, giving you that perfect bake without turning on the big oven. But you do need a few specific things to make sure your butter spread is smooth and your bread doesn’t stick.
Make sure you have a sturdy medium mixing bowl for the butter mixture and one smaller bowl for tossing your cheeses. Most importantly, you need a reliable air fryer basket that fits a single layer of bread slices. Don’t try to cram them in; airflow is key here!
Preparing Your Air Fryer
Before you even think about spreading the butter, you must preheat the air fryer. I set mine to 360°F. This ensures the bread starts crisping immediately rather than steaming. Once it’s up to temperature, take a can of neutral cooking oil spray—avocado or canola works great—and give the basket a very light misting. This prevents any sticking and helps the bottom of the bread get just as golden as the top!
Step-by-Step Instructions for Air Fryer Garlic Bread And Cheese Toast
Alright, let’s get this show on the road! Making the absolute best Air Fryer Garlic Bread And Cheese Toast is all about layering those flavors correctly, and that starts with the butter. Follow these steps exactly, and you’ll have the crispiest, most flavorful side dish imaginable.
Mixing the Garlic Herb Butter
Grab your medium bowl. We need that softened, room-temperature butter—if it’s cold, it will shred your bread later, and we don’t want that! Mash the butter and the olive oil together first until they are smoothly incorporated. Now toss in all your flavor bombs: the five cloves of minced garlic, the fresh parsley and chives, the Italian seasoning, salt, pepper, and those optional red pepper flakes if you like a little kick.
Use a fork and just mash everything together until it looks like a lovely, fragrant green-flecked paste. It should be completely spreadable. If you feel a hard chunk of butter, keep working it until it smooths out. This butter is the heart of the recipe, so take your time making it perfect! If you want to see more of my favorite quick recipes, check out my posts on Medium.
Assembling the Bread Slices
Now for the baguette. Slice it into one-inch thick pieces. This thickness is crucial because it keeps the middle soft while the air fryer crisps the outside. Take your garlic herb butter and spread a generous layer on every single slice, making sure to get right to the edges. This ensures flavor in every bite.
Next, you need to divide them. You’ll want some slices to be classic garlic bread, so set those aside plain. For the cheesy toast slices, take your pre-mixed blend of mozzarella, cheddar, and Parmesan and gently mound a good layer on top of the remaining slices. Don’t pack it down too hard; we want it to melt up bubbly, not get flattened into a brick.
Air Frying to Perfection
Preheat your machine to 360°F. Remember that light spray of neutral oil in the basket? Do that now! You absolutely cannot overcrowd the basket, or the cheese will run together, and the bread won’t get crisp. Work in batches if you have to—it’s better to wait a few extra minutes than have soggy bread.
Carefully lay the slices in a single layer. If you have cheese slices, make sure the cheese is facing straight up and away from the metal basket walls. Set your timer for 5 minutes to start. When the timer goes off, pull the basket out and check. The cheese should be fully melted with a few nice golden spots, and the bread edges should look deep golden brown. If they aren’t quite there, pop them back in for another 1 to 2 minutes, but watch them like a hawk! Those last few seconds can turn golden brown into burnt garlic real fast.
Tips for Success with Your Cheesy Bread
Even though making Air Fryer Garlic Bread And Cheese Toast is super easy, there are a few little things I learned along the way that make the difference between good toast and *amazing* toast. Listen to these tips, and you’ll nail that perfect texture every single time—crispy, garlicky, and never scorched!
Preventing Over-Browning
Garlic burns faster than almost anything else, especially when it’s mixed with butter and sitting in a high-heat environment like the air fryer. If you notice your garlic is turning dark brown or black before the cheese is perfectly melted, don’t panic! Just immediately pull the basket out and reduce the temperature setting by about 25 degrees. Then, pop it back in for a couple more minutes. It slows down the burning process while giving the cheese more time to get bubbly and golden. It’s all about managing that heat!
Importance of Proper Slicing
When I first started making this, I cut the baguette too thin, maybe half-inch slices. Big mistake! Those thin slices turn into crackers way too fast. For the best results with your Air Fryer Garlic Bread And Cheese Toast, you need to cut the bread thickly—aim for a full inch. This thickness is your secret weapon because it allows the outside of the bread to get beautifully crisp and golden, while the inside stays soft, warm, and almost doughy from soaking up all that melted butter. Don’t skip this step if you want that soft center! If you are looking for other great side dishes, check out my recipe for the best homemade bread recipe.
Frequently Asked Questions About Air Fryer Garlic Bread And Cheese Toast
I get so many questions about this recipe because it’s so useful! People want to know how to tweak it for their needs or what to serve it with. Don’t worry if you don’t have every single ingredient listed; we can troubleshoot together. Here are the most common things I hear about making this Air Fryer Garlic Bread And Cheese Toast.
Can I use pre-made garlic spread instead of making the butter mixture?
You totally can, especially if you’re in a huge rush! However, I really encourage you to try making my fresh garlic herb butter at least once. Store-bought spreads often have more stabilizers and less fresh flavor. When you make it fresh, you get that bright flavor from the fresh parsley and chives, which really elevates this from standard garlic bread to something special. The fresh garlic makes a huge difference in the final taste!
How do I prevent the cheese from blowing off the bread in the air fryer?
This is a classic air fryer problem because the fan is so powerful! The key is twofold. First, when you pile the shredded cheese mixture on top of the bread slices, you need to press it down very lightly—just enough so it sticks to the butter. Second, make sure the cheese-topped slices are oriented so the cheese is facing straight up and not touching the sides of the basket. If it’s touching the metal, the airflow can catch the edge and peel it right off!
What main dishes pair well with this quick side dish?
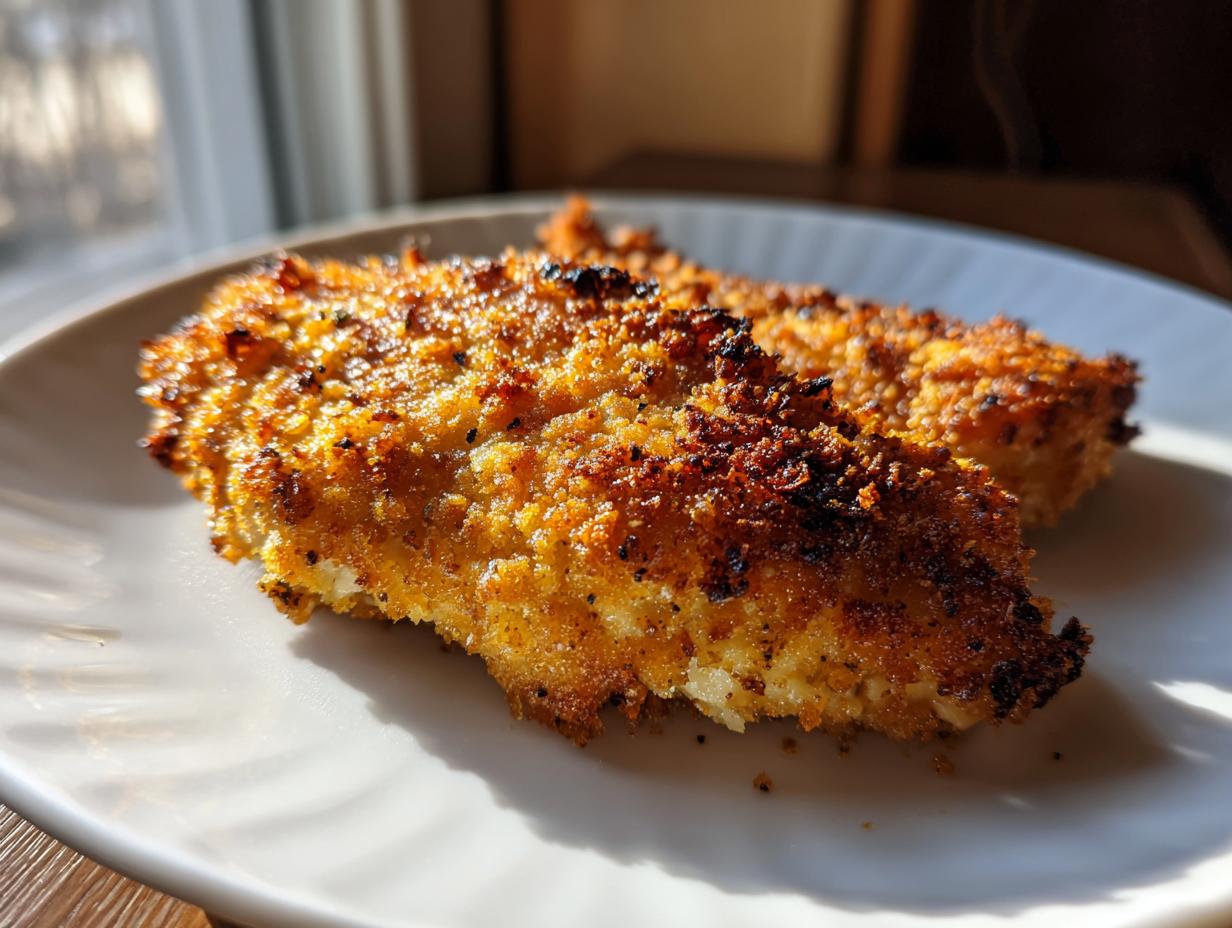
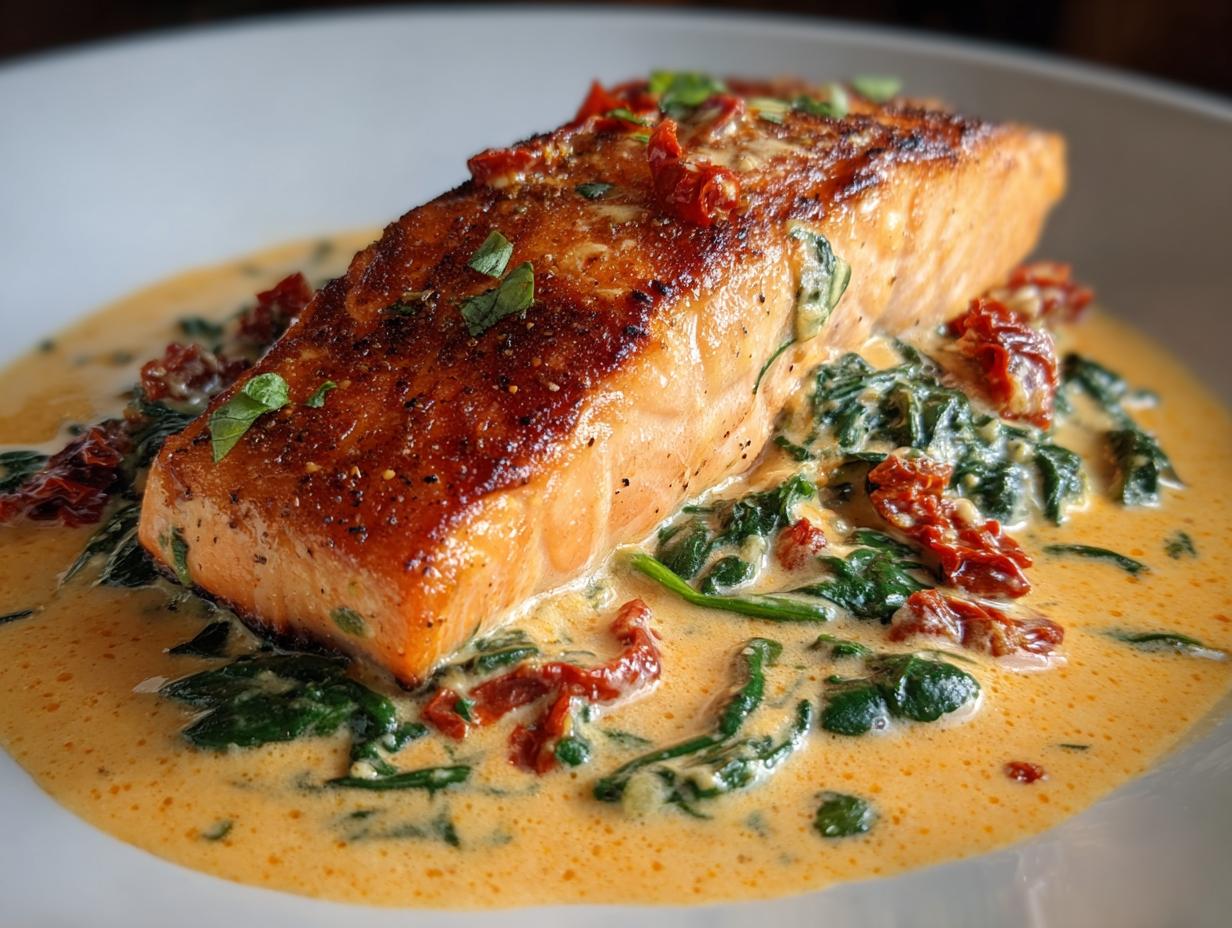
Since I focus on clean Southern comfort food here on Easy Detox Recipes, this cheesy bread pairs perfectly with lighter mains. Skip the heavy fried chicken and try it alongside my baked lemon herb chicken breast or maybe a big bowl of my clean tomato soup. It’s also fantastic with roasted salmon or any lean protein. It’s such a satisfying quick side dish that it doesn’t need a heavy main course to go with it!
Storing and Reheating Your Leftover Air Fryer Garlic Bread And Cheese Toast
I hope you have leftovers, because that means you made a double batch, which is always the right answer! If you do have extra Air Fryer Garlic Bread And Cheese Toast, you need to handle it correctly to keep that crispy texture alive. The absolute biggest rule? Do not, under any circumstances, try to reheat this in the microwave. It will turn your beautiful, crisp bread into a sad, rubbery mess, and the cheese gets all weird and plastic-y. We worked too hard for that!
For short-term storage, the fridge is fine for a few days. If you want to keep it longer, freezing is the way to go. Just make sure the slices are completely cooled before you store them so you don’t end up with condensation. You can also find more tips and inspiration on my Pinterest page.
Storage Table
| Storage Method | Duration | Reheating Temp & Time |
|---|---|---|
| Airtight Container (Refrigerated) | Up to 3 days | 320°F for 3 to 5 minutes |
| Freezer Bag (Frozen) | Up to 2 months | 320°F for 4 to 6 minutes |
Share Your Delicious Air Fryer Garlic Bread And Cheese Toast Experience
I truly hope this cheesy toast makes your busy weeknights a little brighter! Once you try this super simple recipe, I want to hear all about it. Did you go heavy on the cheddar, or did you keep some slices plain? Drop a rating below and let me know in the comments how your Air Fryer Garlic Bread And Cheese Toast turned out! For more clean comfort food ideas, check out my recipe for Chicken Salad Chick Copycat Recipe.
Print
Amazing Air Fryer Garlic Bread And Cheese Toast
- Total Time: about 20 minutes including preheating and two batches
- Yield: 12 to 16 slices, about 6 servings as a side 1x
- Diet: Vegetarian
Description
Air Fryer Garlic Bread And Cheese Toast is buttery, garlicky, and perfectly crisp. This is an easy side dish for busy weeknights.
Ingredients
- One half cup unsalted butter, softened
- Three tablespoons olive oil
- Five cloves garlic, minced or grated
- Two tablespoons fresh parsley, chopped
- One tablespoon fresh chives or green onions, chopped
- One half teaspoon dried Italian seasoning or dried oregano
- One half teaspoon fine sea salt
- One quarter teaspoon ground black pepper
- One quarter teaspoon crushed red pepper flakes (optional)
- One large baguette or Italian loaf, cut into one inch thick slices
- One cup low moisture mozzarella cheese, shredded
- One half cup sharp cheddar or provolone cheese, shredded
- Two tablespoons firm parmesan style cheese, grated
- Neutral cooking oil spray (avocado or canola)
- Extra fresh parsley, chopped (for finishing)
- Flaky sea salt (to taste)
Instructions
- In a medium bowl, mash the softened butter, olive oil, garlic, parsley, chives, Italian seasoning, salt, pepper, and red pepper flakes with a fork until the mixture is smooth and spreadable.
- In a separate bowl, toss the mozzarella, cheddar or provolone, and grated firm cheese until evenly combined. Set this cheese mixture aside.
- Lay the bread slices on a cutting board. Spread each slice generously with the garlic herb butter, reaching all edges.
- Leave some slices plain for classic garlic bread. Mound a small amount of the cheese mixture over the remaining slices, pressing lightly so the cheese adheres.
- Preheat the air fryer to 360°F. Lightly mist the basket with oil spray to prevent sticking and aid browning.
- Arrange a single layer of prepared bread in the basket, ensuring there is space between pieces. Place cheese topped slices so the cheese faces up and does not touch the basket walls.
- Air fry for 5 to 7 minutes until the bread edges are deep golden, the bottoms feel crisp when lifted, and the cheese is fully melted with light brown spots.
- If needed, cook for 1 to 2 additional minutes, watching closely to prevent scorching the garlic or cheese.
- Transfer the hot garlic bread and cheese toast to a serving board. Sprinkle with extra parsley and flaky sea salt. Serve immediately while the centers are soft.
- If serving alongside chicken, cook chicken to an internal temperature of at least 165°F (74°C) for food safety.
Notes
- Use room temperature butter for easy spreading that avoids tearing the bread.
- Cut the bread thickly; this allows the outside to crisp while the center stays soft.
- Do not overcrowd the basket; cooking in batches maintains airflow and prevents cheese from merging.
- If the tops brown too fast, lower the temperature slightly and extend the cook time.
- Reserve some fresh parsley to sprinkle on before serving for bright color.
- Store leftovers in an airtight container in the refrigerator for up to 3 days. Freeze cooled slices for up to 2 months.
- Reheat refrigerated slices in the air fryer at 320°F for 3 to 5 minutes. Add 1 to 2 minutes if reheating from frozen.
- Avoid microwaving, as it softens the bread and makes the cheese rubbery.
- Prep Time: 10 minutes
- Cook Time: 7 minutes per batch
- Category: Side Dish
- Method: Air Fryer
- Cuisine: American
Nutrition
- Serving Size: 1 of 6 servings
- Calories: about 260
- Sugar: N/A
- Sodium: N/A
- Fat: about 15 grams
- Saturated Fat: N/A
- Unsaturated Fat: N/A
- Trans Fat: N/A
- Carbohydrates: about 22 grams
- Fiber: N/A
- Protein: about 9 grams
- Cholesterol: N/A