

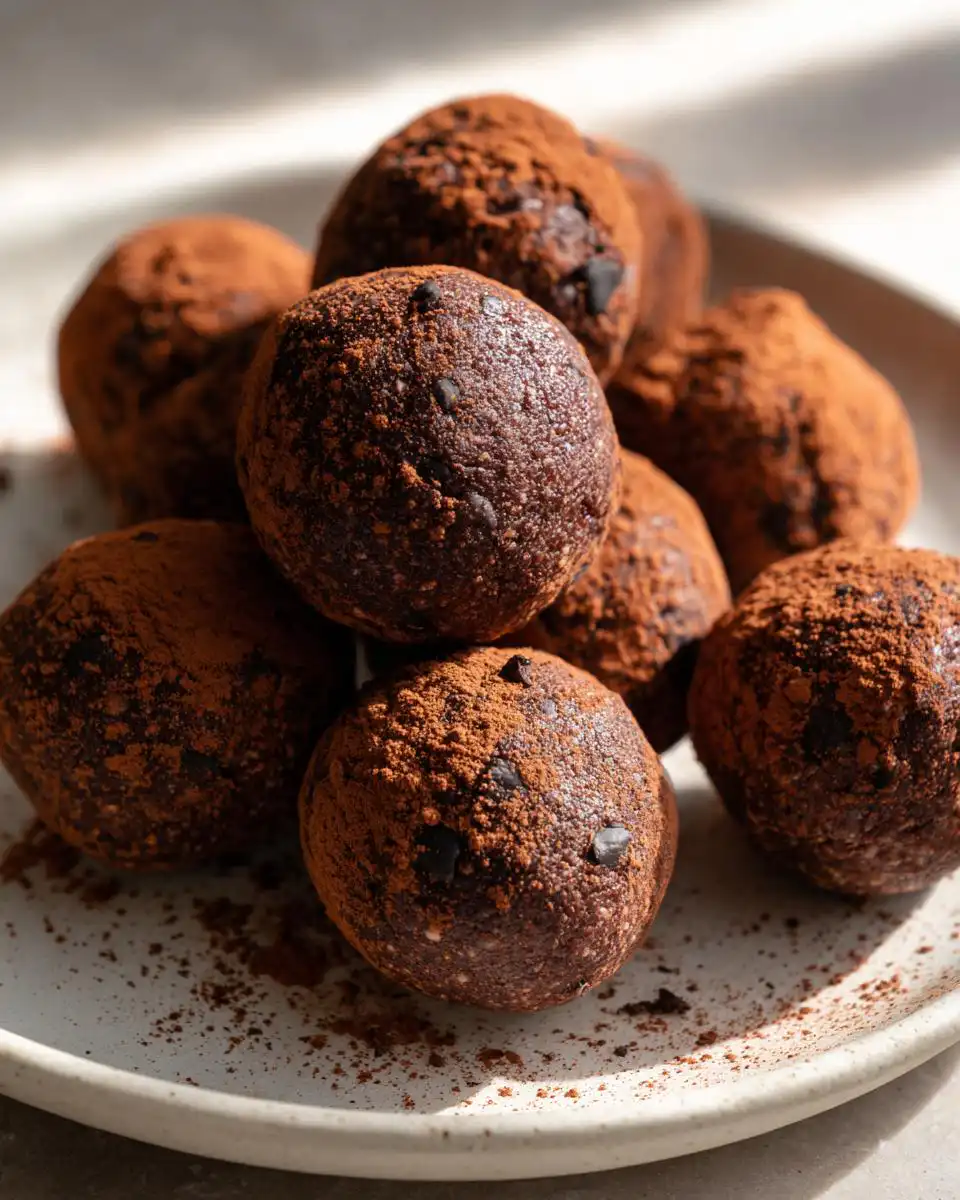
I swear, these are the best no-bake Protein Balls you will ever stick in your mouth. Seriously. Life gets hectic, right? Between trying to remember if I fed the dog and actually sitting down for five minutes, I need snacks that are ready when I am. That’s why I live and die by these things.
The magic here, my friend, is that there is absolutely zero oven time required. Zip. Nada. You mix it up, roll it, and chill it. They are perfect for tossing into my gym bag right before I dash out the door, or just keeping a stash in the fridge for that 3 PM slump when I really shouldn’t be reaching for the chips.
I used to buy those expensive pre-made bars, but honestly, they always tasted like cardboard mixed with chalk. My version of these little chocolate peanut butter delights is so much better—soft, slightly gooey, and packed with power. You’re going to love how quickly these come together for your weekly meal prep!
Essential Ingredients for Your Protein Balls
Okay, listen up, because the success of these no-bake wonders rests entirely on getting the right players in the bowl. We aren’t doing any fancy cooking here, so the quality of our simple ingredients really shines through. When I first started making these, I just threw whatever I had into the mix, and frankly, they turned out crumbly messes. Not anymore!
For these fantastic Protein Balls, we need things that bind well and taste amazing together. We’re relying on structure from the oats, richness from the peanut butter, and that necessary protein punch. Don’t worry about writing everything down right now; I’ve got the whole exact list laid out perfectly for you right below. Just grab your measuring cups and get ready! If you want to see more of my favorite snack ideas, check out my Pinterest board.
Ingredient List and Specifics
Here is the absolute rundown of what you need to make about a dozen perfect little snacks. I’ve tried to keep this list short so you don’t have to run to three different stores. Everything you see listed here is crucial for the texture and flavor profile we are aiming for. Check out the full table below for all the precise measurements!
Ingredient Notes and Substitutions for Protein Balls
Now, let’s talk about the tricky bits. The peanut butter has to be natural—the kind where the oil separates on top. If you use the shelf-stable, highly processed stuff, your Protein Balls will turn out too stiff and dry, trust me on this one. It won’t mix right!
When it comes to the protein powder, I used chocolate because, well, chocolate chips! But feel free to use vanilla if that’s what you have. If you swap protein flavors, you might need to adjust the milk by a tiny splash, as different brands absorb liquid differently. Also, make sure your cocoa powder is unsweetened, or these little guys will be way too sweet! For more healthy snack ideas, see my Medium articles.
Equipment Needed for Quick Protein Balls
Since we aren’t turning on the oven, the equipment list is super simple, which is part of what makes these Protein Balls so great for busy days. You truly only need a few things! Grab a big bowl—the bigger the better so you don’t make a mess when mixing. You’ll also need a sturdy spoon or spatula for stirring everything together until it clumps up nicely.
Make sure you have a tablespoon measuring scoop handy for portioning, and finally, a plate or tray lined with parchment paper. That paper is my secret weapon for clean-up! If you are looking for other quick recipes, check out the main recipe index.
Step-by-Step Instructions for Perfect Protein Balls
Alright, this is where the magic happens, and I promise you, it’s faster than making toast! We are moving quickly here because we don’t want anything to dry out before we get it all mixed. The goal is a thick, slightly sticky dough that holds its shape perfectly when you squeeze it. These instructions will give you the best batch of Protein Balls every single time.
Mixing the Dry Components
First things first, grab that large bowl we talked about. We need to combine all the dry stuff so the flavors distribute evenly before we add the sticky bits. Toss in your rolled oats, your chocolate protein powder, and that unsweetened cocoa powder. Use your spoon or a whisk to stir these around really well. You want to make sure there are no clumps of protein powder hiding anywhere. If they hide now, they’ll show up as dry pockets later, and nobody wants that surprise! For more baking tips, check out my guide on no-bake peanut butter oat cups.
Combining Wet Ingredients and Forming the Dough
Once the dry ingredients are happy together, it’s time for the goo! Add the peanut butter, the honey, the vanilla extract, and just two tablespoons of milk. Now, this is where you need some elbow grease. Start mixing it all together. It’s going to look crumbly and dry at first, and you’ll think, “Oh no, I’ve messed up my Protein Balls!” Don’t panic! Keep mixing, really pushing the wet into the dry. After about a minute or two of good stirring, it should suddenly come together into one big, thick ball of dough. If it seems way too stiff and won’t combine, add milk just one teaspoon at a time until it binds.
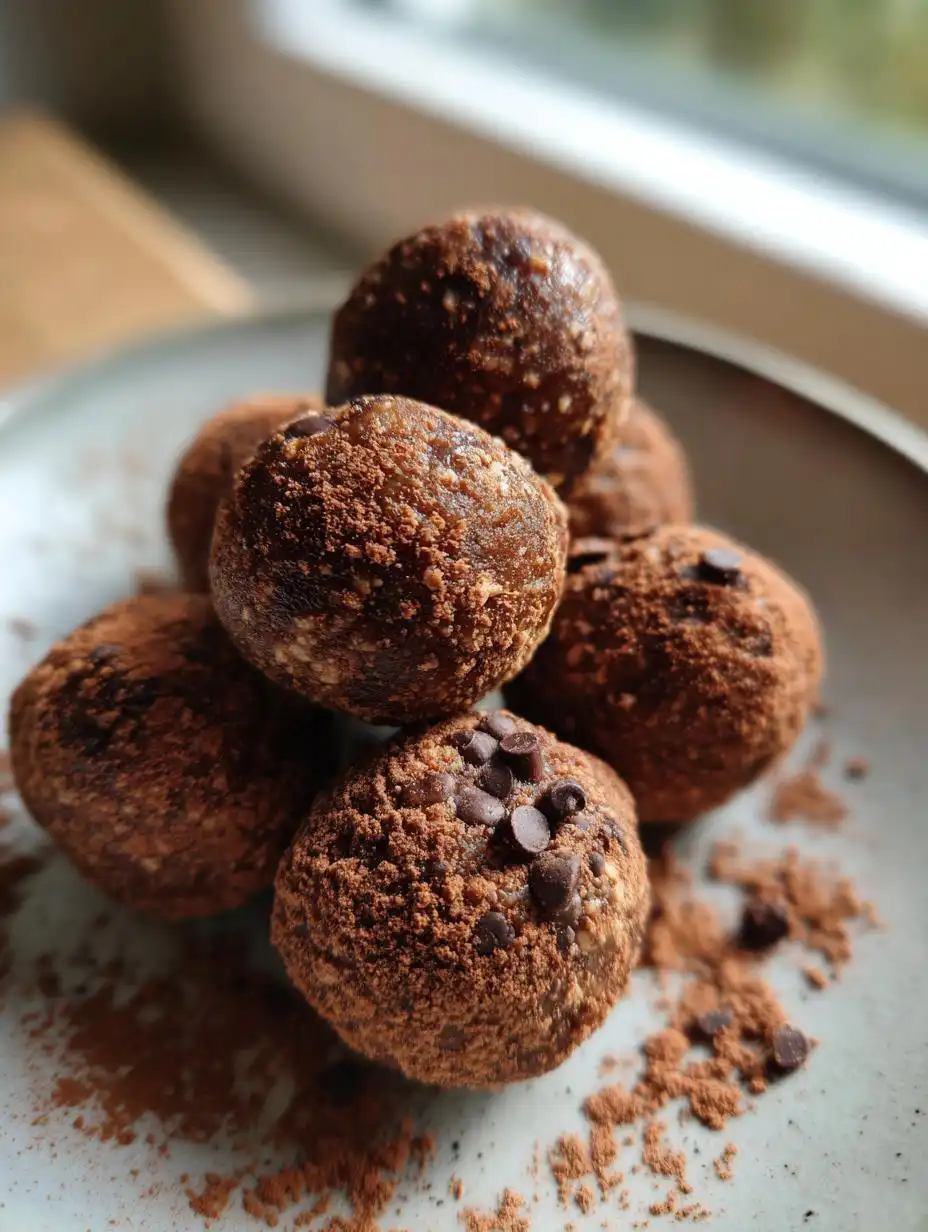
Rolling and Chilling Your Protein Balls
Once you have that beautiful, cohesive dough, gently fold in your mini chocolate chips. Don’t overmix them, or they’ll start melting everywhere! Now, take a tablespoon measure and scoop out portions. Roll each portion between the palms of your hands to form a smooth little sphere. Place these finished Protein Balls onto your parchment-lined tray. This next step is non-negotiable for texture: they absolutely must chill. Pop that tray into the refrigerator for at least 20 minutes. Chilling firms them up so they aren’t sticky when you handle them later and makes them taste so much better!
Tips for Success with No-Bake Protein Balls
If your dough isn’t cooperating, don’t throw it out! That’s the most important thing I’ve learned about these no-bake recipes. The consistency is everything for making perfect Protein Balls that don’t fall apart when you pick them up. If your mix seems too dry, it means your protein powder absorbed more liquid than mine did. You need to carefully add a tiny bit more milk—maybe just a teaspoon at a time—and keep mixing until it holds together when pressed.
On the flip side, if your mixture is too wet and feels sticky, almost like it won’t form a ball, don’t add more peanut butter because that will throw off the whole flavor balance! Instead, add a little extra protein powder or a tablespoon of oats. This absorbs that extra moisture without changing the taste too much. Just work it in slowly until you can roll a test ball that stays firm. If you are looking for other protein muffin recipes, I have a great one!
Remember, these need that chill time! If you try to eat them straight out of the mixing bowl, they’ll just smear all over your fingers. Chilling transforms them from a sticky mess into firm, satisfying Protein Balls ready for action.
Storing and Keeping Your Protein Balls Fresh
This is where these little guys really shine for meal prep devotees like us! Because they are no-bake, they have a fantastic shelf life, provided you keep them cool. I always make a double batch on Sunday night. They stay fresh and delicious all week long, making my mornings so much easier. You just grab a couple of these Protein Balls on your way out the door, and you’re set until lunch.
The key is airtight storage. You don’t want them drying out, but you also don’t want them getting sweaty or sticking together in one giant mass. A good container is your best friend here. They are best served chilled, straight from that cold environment, which really enhances that chocolate chip texture.
Storage and Reheating Information
You don’t need to worry about reheating these at all, thankfully! They are meant to be eaten cold, straight out of the fridge. For the best results and to keep that firm texture, layer them in an airtight container, maybe with a small piece of parchment paper between the layers if you’re worried about sticking. These Protein Balls will hold up beautifully in the refrigerator for a good week. If you really made a huge batch and need them to last longer, you can freeze them! They freeze surprisingly well, and you can just toss a few in your lunch bag in the morning, and they’ll be perfectly thawed by snack time. Try my dark chocolate peanut butter bars for another great make-ahead treat.
Common Questions About Protein Balls
I always get asked the same things when people first try my recipe, so here are the quick answers to make sure your batch of Protein Balls turns out flawlessly. Don’t stress if you have to tweak things a little; everyone’s ingredients are slightly different!
Q1. My dough is too sticky to roll, what gives?
That usually means you need a bit more dry binder. Add another tablespoon of oats or a small spoonful of your protein powder. Mix that in thoroughly until the dough loses that slick stickiness and feels more like playdough. This is the most common issue with no-bake snacks!
Q2. Can I swap the peanut butter for something else?
Yes, you absolutely can! Almond butter works wonderfully and gives a slightly different flavor profile. Just be aware that different nut butters have different oil contents, so you might need to adjust the milk slightly, just like we discussed in the tips section.
Q3. How long do these last if I don’t refrigerate them?
Honestly? Not long. Since these are a no-bake snack and rely on natural ingredients, they need the cold to stay firm and safe. Store them in the fridge for the best results. The fridge keeps your Protein Balls perfect for up to a week!
Q4. Can I add flaxseed or chia seeds?
Oh, great idea! If you want an extra fiber boost, feel free to mix in a tablespoon of ground flaxseed or chia seeds along with your dry ingredients. They absorb moisture, so you might need that extra splash of milk to keep your Protein Balls from getting too dry.
Quick Reference Nutritional Estimate for Protein Balls
I know a lot of you are tracking macros, especially when you’re making these for serious meal prep sessions. It’s good to know exactly what you’re fueling up with! Keep in mind that since protein powders vary wildly from brand to brand, these numbers are just a general guide for the batch size we made. Your actual results for these Protein Balls might shift slightly based on how much honey or peanut butter you used.
This estimate is based on making 12 perfectly sized balls. I always tell people to use this as a baseline, but if you really want precision, you’d have to weigh your specific batches! Honestly, for a quick snack, knowing you’re getting a good punch of protein and fiber is the main win here.
Here is a quick reference chart showing the estimated values per single serving of these delicious Protein Balls:
| Nutrient | Estimate Per Ball |
|---|---|
| Calories | 140 |
| Protein | 7g |
| Fat | 7g |
| Carbohydrates | 14g |
Share Your Homemade Protein Balls Experience
I’ve shared all my secrets now—from the necessity of using natural peanut butter to the crucial chilling time that transforms the mixture into amazing little snacks. But the best part of cooking is seeing what you all create in your own kitchens!
I genuinely want to know how these turned out for you. Did you stick with the chocolate, or did you try a vanilla protein swap? Were they perfectly firm right out of the fridge, or did you have to add an extra tablespoon of oats? Don’t keep it a secret! Chocolate peanut butter truffles are another great option if you want to try something similar.
Drop a comment below and let me know how many stars you’re giving these Protein Balls out of five. I love hearing about your successes—or even if you had a little dough drama that you managed to fix! Tell me what you’re eating them with. Are they a pre-workout boost, or are they just sitting on your desk waiting for that afternoon sugar craving? Your feedback helps me keep making my favorite recipes even better!


