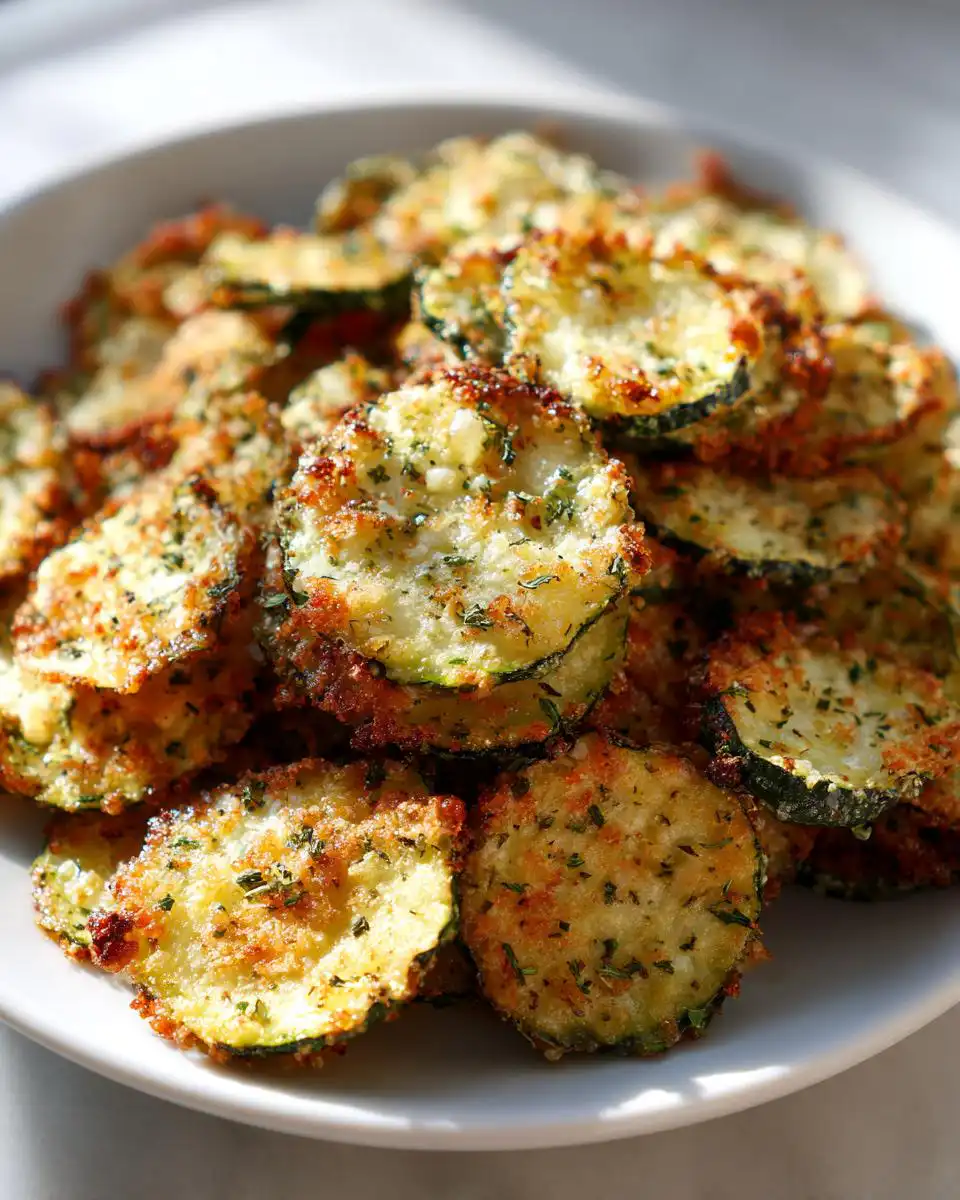
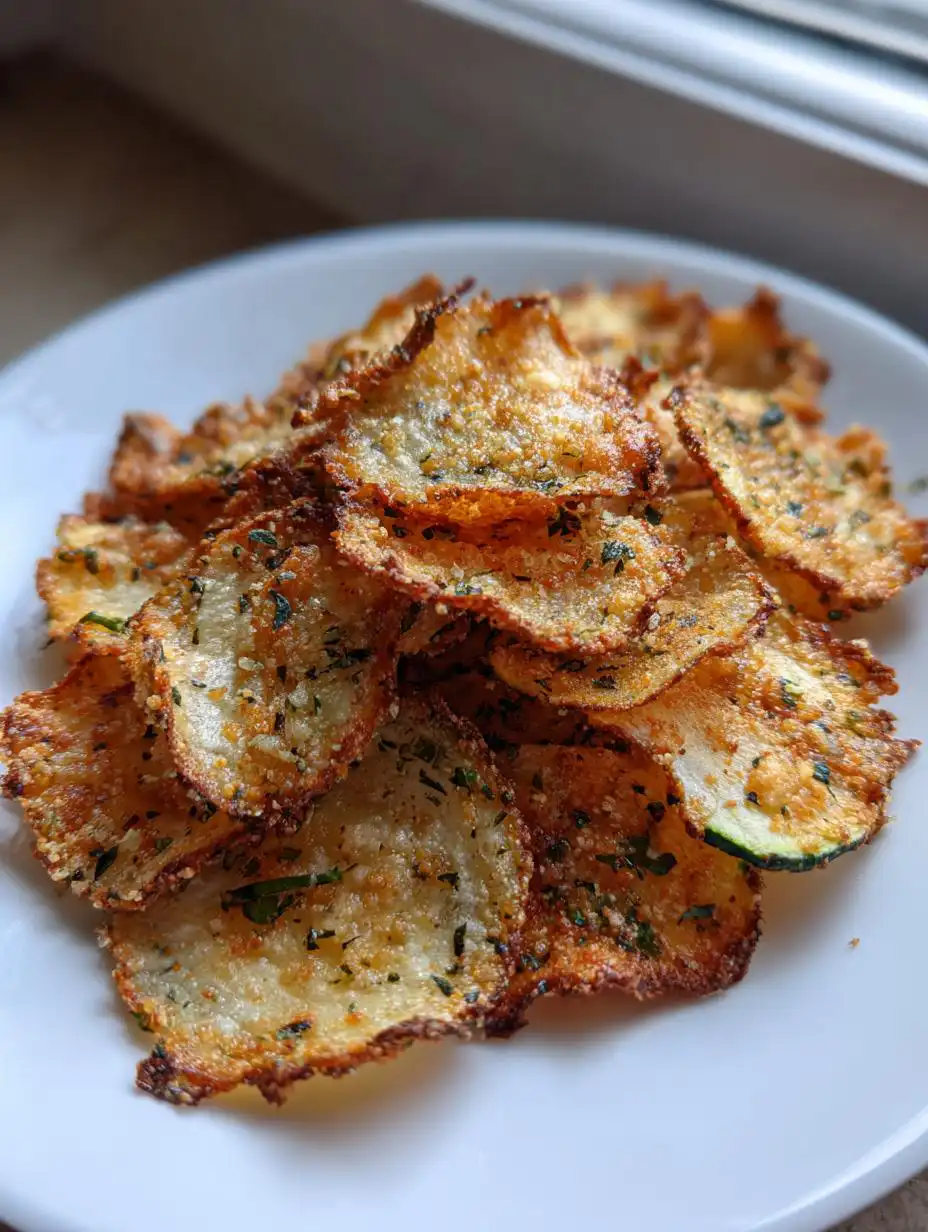
Okay, listen up! If you thought cucumbers were just for spa days and watery salads, you are about to have your mind blown. Forget those sad, soggy veggie slices! We are talking about the crispiest, zestiest, most addictive Cucumber Snack Chips you will ever make. Seriously, these are dangerous—I made a batch last week and they vanished before dinner.
The real game-changer here is the Zesty Ranch flavor combo. It hits all those savory, tangy notes you crave in a potato chip, but you get that wonderful, light crunch from the oven. I spent ages trying to figure out the perfect temperature because these are delicate, but I finally nailed the low-and-slow method that keeps the moisture out and the crunch in. Trust me, once you try these baked chips, you won’t look back!
Gathering Your Ingredients for Homemade Cucumber Snack Chips
Making these savory chips is surprisingly simple ingredient-wise, but precision matters a lot here. Because we are driving out moisture, we need the right balance of oil to help crisp things up and the perfect blend of herbs to get that authentic ranch taste. Don’t skimp on the oil, but don’t drown the slices either! Also, remember we are using three large cucumbers, so make sure yours are firm and fresh—no soft ones allowed.
The spices are where the magic happens. You’ll notice we use several dried herbs. Make sure your dried dill, parsley, and chives are relatively fresh; old spices won’t give you that punch you need when baked low and slow.
Essential Components for Zesty Ranch Cucumber Snack Chips
Here is exactly what you need to pull this off. I always measure my spices out into separate little bowls before I even start slicing the cucumbers. It keeps things organized when you are working fast!
| Ingredient | Amount |
| Large Cucumbers | 3 |
| Olive Oil | 2 teaspoons |
| Garlic Powder | 1 teaspoon |
| Onion Powder | 1 teaspoon |
| Dried Dill | 1 teaspoon |
| Dried Parsley | 1 teaspoon |
| Dried Chives | ½ teaspoon |
| Paprika | ¼ teaspoon |
| Sea Salt | ½ teaspoon |
| Black Pepper | ¼ teaspoon |
When measuring the herbs, try to use level teaspoons. Too much salt, and they might get bitter when concentrated during baking. Too little dill, and you lose that classic ranch profile. It’s all about that careful measurement!
Equipment Needed for Perfect Cucumber Snack Chips
You don’t need fancy gadgets for these chips, thankfully! The most important thing is having enough flat space to bake them. Since you can’t overlap the slices, you’ll need at least two large baking sheets. Don’t try to cram them onto one pan—you’ll end up with steamed cucumbers, not crispy chips!
- Two large, rimmed baking sheets
- Parchment paper (this is a must!)
- A sharp knife or mandoline (if you’re brave)
- A large mixing bowl
- A small bowl for the seasonings
- Paper towels for drying
Parchment paper is your best friend here. It stops any little bit of moisture or oil from sticking to the metal, which makes cleanup a breeze, too. Trust me, you want that easy release!
Step-by-Step Guide to Making Cucumber Snack Chips
This is where the transformation happens! We are taking watery vegetables and turning them into something light and crunchy, but you have to respect the process, especially the low oven temperature and the drying time. If you rush the moisture removal, you end up with sad, limp chips, and nobody wants that. We are aiming for perfection here!
First things first: get that oven preheated to 225°F. I know, it seems crazy low, but we are slow-roasting these babies to dehydrate them without burning the herbs. Line both of your baking sheets with parchment paper right away. Getting organized before you slice is half the battle.
Preparing the Cucumbers for Optimal Crispness
This step is non-negotiable, folks. If you take away only one piece of advice from this whole recipe, let it be this one: you must get the water out! Wash those cucumbers well, and then slice them as thinly as you possibly can—think about 1/8 of an inch thick. If you have a mandoline slicer, now is the time to use it, but be super careful! If you slice too thick, they will never get truly crispy.
Once they are sliced, grab a big stack of paper towels. Lay the slices out in a single layer on the towels, and then put another layer of towels on top. Now, press down—firmly! You need to press out as much of that clear liquid as you can. If the towels get soaked through, swap them out for dry ones and press again. This effort is what separates good Cucumber Snack Chips from soggy failures.
Seasoning and Arranging Your Cucumber Snack Chips
While your cucumbers are drying (or right after you’ve pressed them), mix up your seasoning blend. In that small bowl, combine the garlic powder, onion powder, dill, parsley, chives, paprika, salt, and pepper. Give it a good whisk so the salt gets distributed evenly.
Toss the dried cucumber slices with just two teaspoons of olive oil in your large bowl—just enough to give the seasoning something to cling to. Then, sprinkle that beautiful spice mix over everything and toss gently until every slice has a light coating. Now, here’s the arrangement rule: place them on the prepared baking sheets in a single layer. I mean it—no overlapping whatsoever! If they touch, they steam instead of crisping up.
Baking and Cooling for Crunchy Cucumber Snack Chips
Pop those trays into the 225°F oven for a full hour. After 60 minutes, you need to check them. Carefully flip every single slice over. This ensures both sides get that lovely dry heat. Then, slide them back in for another 45 to 60 minutes. You’re looking for edges that are starting to brown slightly and a texture that feels firm when you gently tap them.
The final secret to amazing Cucumber Snack Chips happens after they come out of the oven. Do NOT move them! Let them cool completely right there on the baking sheets. As they cool down, that last bit of residual heat helps suck out the final traces of moisture, making them snap when you bite them. If you try to eat them hot, they will feel chewy, so patience is key here!
Tips for Achieving Expert-Level Cucumber Snack Chips
I’ve made so many batches of these that I practically dream in ranch seasoning. If you want your Cucumber Snack Chips to be truly next level, pay attention to three things that always trip people up. First, oven consistency is everything. Since 225°F is so low, your oven calibration matters. If your oven runs hot, check them closer to the one-hour mark when you flip them, just in case those edges are browning too fast.
Second, I cannot stress this enough: do not overlap! If you see two slices touching, separate them. They might look lonely on the tray, but they need that space to breathe and dry out evenly. Overlapping traps steam right in the middle, and that steam turns into chewiness.
Third, use firm, fresh cucumbers, obviously, but also consider how you slice them. If you’re using a mandoline, use the thinnest setting possible. If you’re using a knife, try to keep your thickness as uniform as possible across the whole batch. Uneven slices mean some are done while others are still damp, which ruins the whole snacking experience. Stick to these rules, and you’ll have the crunchiest chips!
Storing and Reheating Your Savory Cucumber Snack Chips
The bad news is that these chips are best eaten the day you make them, because they are so fresh and light. The good news is that if you follow the cooling instructions perfectly, they store pretty well for a few days! The absolute key is making sure they are 100% cool before they ever see the inside of a container. Any residual warmth will create condensation, and condensation means soggy chips again.
Keep them in a truly airtight container at room temperature. Don’t put them in the fridge; that humidity is the enemy! If you find they have lost some of their snap after a day or two, don’t panic. You can perk them right back up with a quick trip back into the oven. If you are looking for more healthy snack ideas, check out my low calorie charcuterie chips recipe.
| Action | Method |
| Storage | Airtight container, room temperature |
| Reheating (Revival) | 350°F for 5-7 minutes |
| Shelf Life | 3 to 4 days maximum |
When reheating, spread them back out on a clean baking sheet—don’t pile them up! A few minutes at 350°F will dry out any moisture they’ve absorbed. They should crisp up nicely again, ready for snacking!
Nutritional Snapshot of These Baked Cucumber Snack Chips
I always feel so much better making these Cucumber Snack Chips because I know exactly what’s going into them—no weird fillers or excessive frying! Since we are using low-fat olive oil and the base is mostly water from the cucumbers, these are incredibly light compared to your standard store-bought crisps. It’s a snack I feel good about keeping around the house for when the munchies hit. If you enjoy light snacks, you might also like my recipe for cottage cheese tuna salad.
The numbers below are based on one serving, so if you’re like me and eat half the batch yourself, you’ll need to adjust! But honestly, the best part is how low-carb they are, which is fantastic when you’re trying to keep things light.
| Nutrient | Amount Per Serving |
| Calories | 60 |
| Fat | 2g |
| Protein | 2g |
| Carbohydrates | 10g |
Understanding the Health Benefits of Cucumber Snack Chips
This recipe is naturally low in fat, which is a huge win for a chip alternative. Because we bake them instead of frying them in gallons of oil, we keep that fat content super minimal. Also, they clock in at only 10 grams of carbohydrates per serving, making these a wonderful low-carb snack option when you need something savory and crunchy.
The bulk of the chip is, of course, cucumber, which means you’re getting hydration along with your savory flavor fix. It’s just a simple, clean way to satisfy that chip craving without all the guilt!
Common Questions About Making Cucumber Snack Chips
I know when I first started tinkering with dehydrating vegetables, I had a million questions running through my head. It’s tricky getting that perfect snap! Here are a few things I hear often from folks trying out these savory Cucumber Snack Chips for the first time. You can also find more tips and inspiration on my Pinterest page.
If you follow the low temperature and the drying steps religiously, you should be golden. But sometimes the questions pop up anyway!
Can I Use Different Seasonings on My Cucumber Snack Chips
Absolutely! This recipe is just a template for deliciousness. If you aren’t feeling the Zesty Ranch vibe, go wild! You can swap out the herbs for something smoky like smoked paprika and a little cumin for a southwestern flavor. Or, use garlic powder and a pinch of cayenne for a little kick. The key is to keep the ratio of dry seasonings similar to the oil coating so it sticks well. Just keep that salt measurement in check!
Why Are My Cucumber Snack Chips Not Crispy
If your Cucumber Snack Chips come out chewy instead of crisp, I can tell you exactly why 99% of the time: moisture! You didn’t pat them dry enough before oiling them, or you overlapped them on the baking sheet, trapping steam. It sounds dramatic, but you cannot over-dry those slices before they hit the oven. If they aren’t dry going in, they won’t be crisp coming out. Also, make sure you are letting them cool completely on the pan; that’s the final drying stage! For more recipe ideas, see what I’m writing about on Medium.
Share Your Zesty Ranch Cucumber Snack Chips Experience
Well, there you have it—my absolute favorite way to turn a humble cucumber into an addictive, savory treat. I hope you love these baked Cucumber Snack Chips as much as my family does! Please let me know in the comments if you tried them and what you thought of that Zesty Ranch kick. If you are looking for other savory snacks, check out my recipe for roasted smoky chickpea snack mix.
Did you manage to keep your hands off them until they cooled completely? Did you try a different seasoning blend? Drop a rating below so others know how amazing these are!
Print
Divine 60-Minute Cucumber Snack Chips
- Total Time: 2 hours 0 minutes
- Yield: 4 servings
- Diet: Low Fat
Description
Crispy zesty ranch cucumber snack chips baked to perfection with bold seasonings making a refreshing, healthy snack that’s savory, tangy, and addictive. A light, crunchy alternative to traditional chips.
Ingredients
- 3 large cucumbers
- 2 teaspoons olive oil
- 1 teaspoon garlic powder
- 1 teaspoon onion powder
- 1 teaspoon dried dill
- 1 teaspoon dried parsley
- ½ teaspoon dried chives
- ¼ teaspoon paprika
- ½ teaspoon sea salt
- ¼ teaspoon black pepper
Instructions
- Preheat oven to 225°F.
- Line 2 baking sheets with parchment paper.
- Wash cucumbers and slice very thinly about 1/8 inch thick.
- Pat cucumber slices dry with paper towels to remove excess moisture.
- In a large bowl, toss cucumber slices with olive oil until lightly coated.
- In a small bowl, mix garlic powder, onion powder, dill, parsley, chives, paprika, salt, and pepper.
- Sprinkle seasoning mix over oiled cucumber slices and toss to coat evenly.
- Arrange seasoned slices in a single layer on prepared baking sheets without overlap.
- Bake for 1 hour, then flip slices and bake another 45–60 minutes until edges are crisp and browned.
- Let chips cool completely on the baking sheets to crisp up further.
- Serve immediately or store in an airtight container once fully cooled.
Notes
- Patting the cucumbers very dry is key for crisp chips.
- Do not overlap slices during baking for best results.
- Cooling time allows the chips to fully crisp.
- Prep Time: 15 minutes
- Cook Time: 1 hour 45 minutes
- Category: Snack
- Method: Baking
- Cuisine: American