Forget those runny, overly sweet mousses you sometimes get at restaurants! I’m going to let you in on the secret to a truly luxurious, cloud-like dessert that tastes like it came straight from a Parisian patisserie, but honestly, it’s super simple. This recipe delivers unbelievable richness without being heavy—that’s the magic trick here.
My journey to the perfect chocolate mousse was a bit bumpy, I’ll admit. My first few attempts were either grainy or collapsed into a sad puddle after five minutes in the fridge. But after testing what felt like a thousand variations, I nailed the technique that guarantees that signature airy texture every single time. It’s all about folding, folks! This is the dessert I always bring to potlucks because it makes people gasp when they take that first bite. Trust me, once you master this, you’ll never go back to the quick-mix stuff.
Essential Ingredients for Your Chocolate Mousse Recipe
When you are aiming for true decadence, you simply cannot skimp on the ingredients here. This isn’t a recipe where you can hide cheap components; everything shines through in the final taste. Because there are so few things going into this, quality is everything. We want that deep, slightly bitter complexity that only good chocolate provides. This recipe is designed to let the chocolate flavor dominate, so pay attention to what you buy!
For the best possible result in this incredible Chocolate Mousse, you’ll need just a handful of items. I’ve laid them out below so you can check your pantry. If you have these on hand, you are halfway to dessert heaven!
| Ingredient | Quantity |
|---|---|
| Dark Chocolate (60% Cocoa) | 8 ounces |
| Unsalted Butter | 2 tablespoons |
| Heavy Whipping Cream (initial) | 1/4 cup |
| Heavy Whipping Cream (cold, for whipping) | 1 1/2 cups |
| Powdered Sugar | 1/4 cup |
| Vanilla Extract | 1 teaspoon |
Selecting the Best Dark Chocolate
Listen, if you use cheap chocolate chips, your mousse will taste like cheap chocolate chips, and we are not aiming for that! I insist on 8 ounces of good quality dark chocolate that is around 60% cocoa. Why 60%? It hits that perfect sweet spot. It’s rich enough to taste deeply chocolatey, but not so bitter that it overpowers everything else. This quality chocolate melts beautifully and gives your Chocolate Mousse that smooth, glossy base we need before we start adding air.
Dairy Components Explained
We use heavy whipping cream twice, and they have totally different jobs! The first, small amount—just a quarter cup—is heated up to melt the chocolate and butter smoothly. The second batch, the big 1 1/2 cups, is the real star for texture. It has to be ice cold because that’s what allows it to whip up into stiff, stable peaks. Those stiff peaks are literally trapping all the air that makes this dessert so wonderfully light and airy!
Equipment Needed to Create Perfect Chocolate Mousse
You don’t need a ton of fancy gear for this; honestly, I usually just grab what’s already dirty in the sink! But to get that amazing airy texture for your Chocolate Mousse, you do need a couple of specific things. Don’t stress about having a stand mixer; your arm strength is totally fine for the whipping part!
- A small saucepan for gently heating the initial cream.
- A medium bowl for melting the chocolate base.
- A large, very clean bowl for whipping the main batch of cream.
- A whisk or, preferably, an electric hand mixer for fast whipping.
- A rubber spatula—this is crucial for the gentle folding later on!
- Individual dessert glasses or small ramekins for chilling.
Step-by-Step Instructions for Heavenly Chocolate Mousse
Okay, now for the fun part! This is where we take those beautiful ingredients and transform them into something truly spectacular. The key here is timing and being gentle when we introduce the air. Follow these steps exactly, especially the cooling parts, and you end up with the best Chocolate Mousse you’ve ever tasted.
Preparing the Chocolate Base
First things first: get that 8 ounces of dark chocolate chopped up into tiny, uniform pieces. Seriously, chop it small! Faster melting means less chance of burning or overheating. Next, pour that quarter cup of heavy cream into your small saucepan and heat it just until you see steam rising around the edges—don’t let it boil! Pull it right off the heat immediately.
Toss in your chopped chocolate and the two tablespoons of butter. Now, stir, stir, stir! You need to be patient here until everything melts down into a mixture that is unbelievably smooth and glossy. If it looks grainy, don’t panic yet; keep stirring gently. Once it’s all combined and shiny, set this bowl aside. It absolutely must cool down to room temperature before we move on, or it will melt all the whipped cream we work so hard to make later!
Whipping the Cream for Your Chocolate Mousse
While that chocolate base is cooling off—which takes about 20 minutes, use that time wisely—we attack the main aeration step. Grab your large, clean bowl and pour in the 1 1/2 cups of ice-cold heavy cream. Add your powdered sugar and vanilla extract. Now, start whipping! If you’re using a hand mixer, start slow so you don’t splash sugar everywhere. Speed it up gradually.
You are looking for stiff peaks. This means when you lift the whisk out, the cream holds its shape perfectly and the tip stands straight up without flopping over. This is the structure holding up our entire Chocolate Mousse! Don’t over-beat it into butter, though; stop right when those peaks get firm.
The Folding Technique: Preserving Air in Your Chocolate Mousse
This is the make-or-break moment. We have to introduce the heavy chocolate base to the light whipped cream without knocking out all that trapped air. Take about one-third of your stiff whipped cream and gently fold it into the cooled chocolate base. Don’t stir aggressively; use your spatula to cut down the middle and sweep up the side of the bowl. This first addition lightens the heavy chocolate mixture.
Once that first third is blended in and the chocolate mixture looks smoother, take the remaining whipped cream and fold it in two more additions. Be very gentle! You want streaks of white cream to disappear completely, but you must work quickly and lightly. The goal is an evenly colored, light, and fluffy mixture—that is your perfect Chocolate Mousse batter!
Chilling and Setting the Final Chocolate Mousse
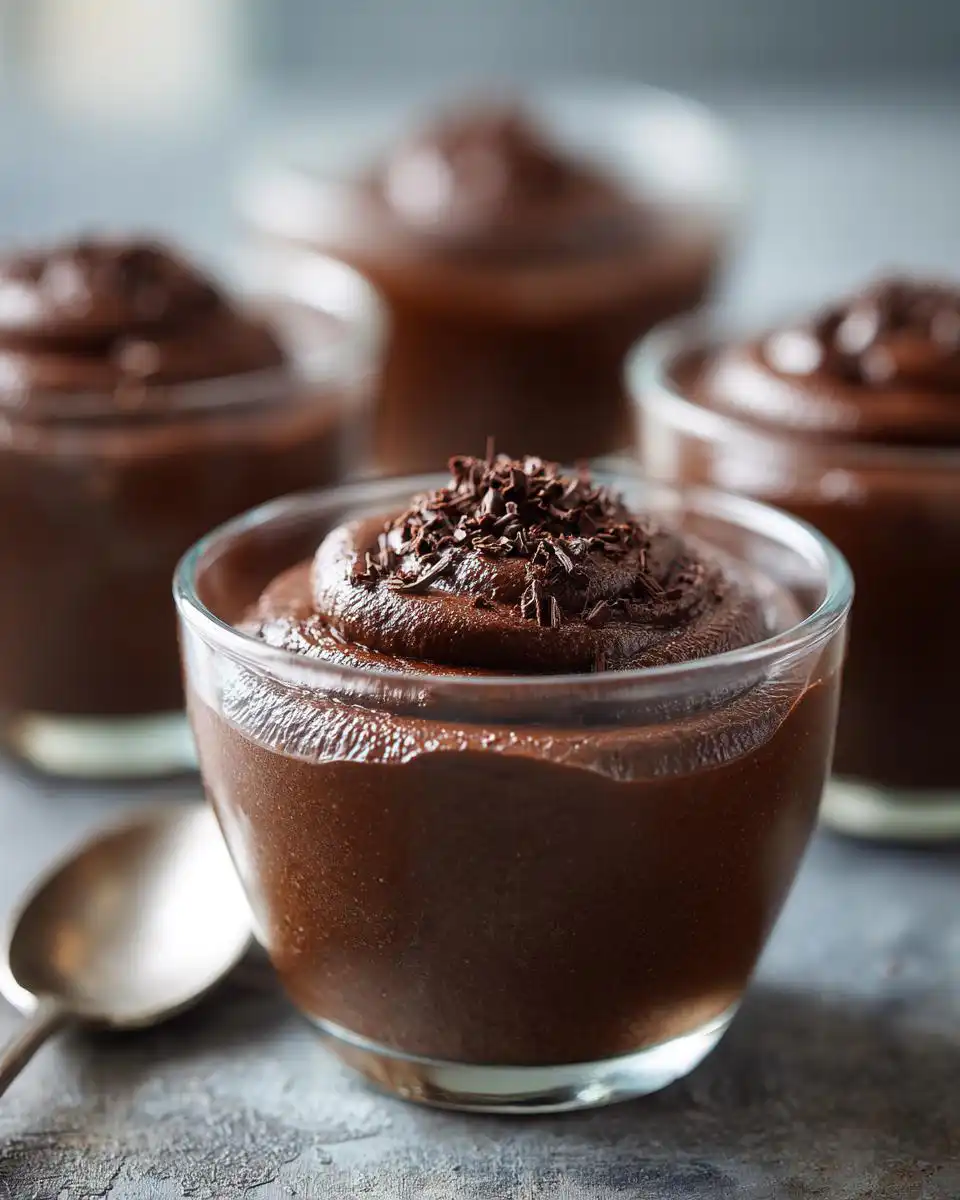
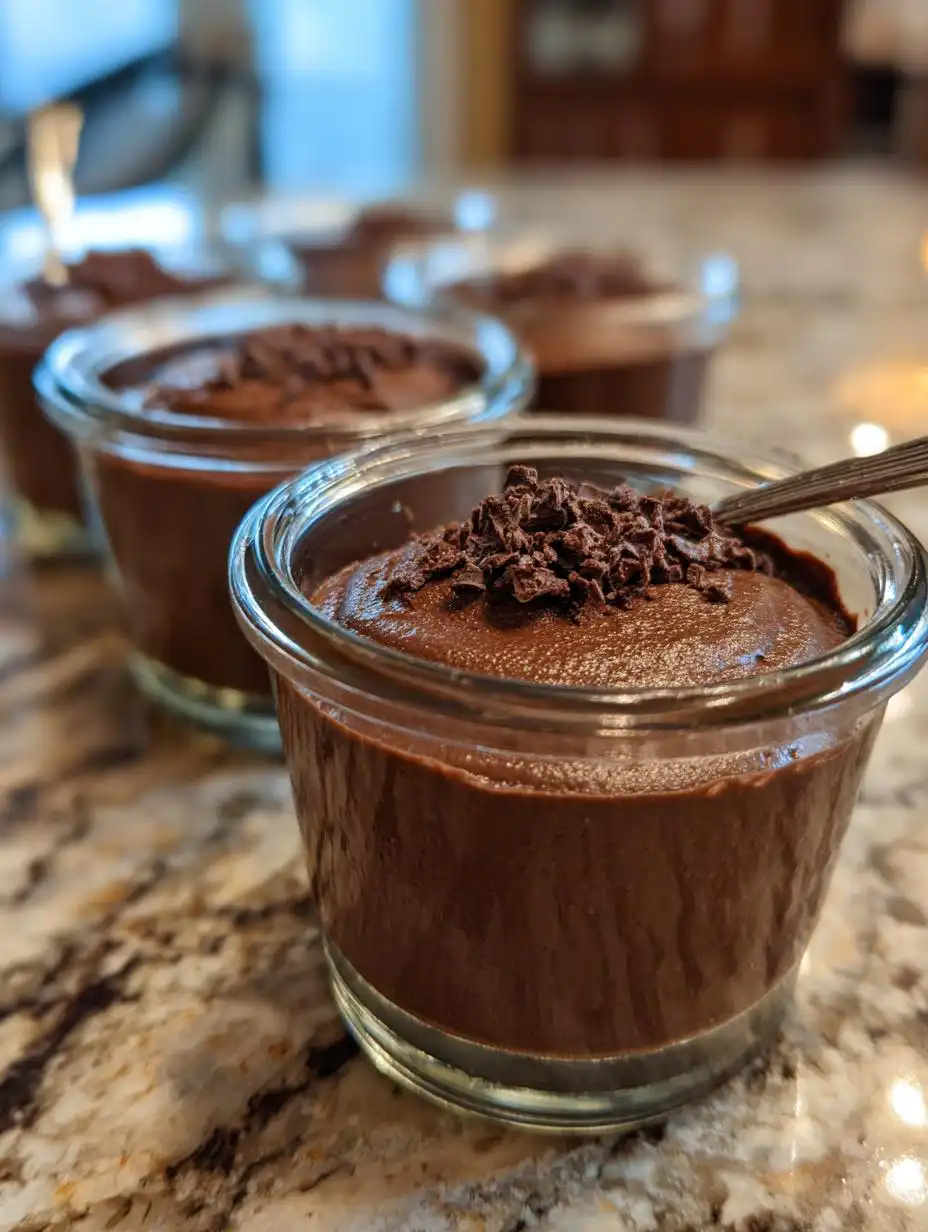
Spoon the mixture carefully into your six waiting ramekins or pretty glasses. Try not to deflate the batter as you scoop it. Smooth the top lightly with the back of a spoon. Now, cover them loosely—plastic wrap works fine—and pop them into the refrigerator. You absolutely must chill this for a minimum of two hours. Honestly, four hours is better. This chilling time is essential for the mousse to fully set up and achieve that signature, melt-in-your-mouth texture.
Tips for Success with Your Homemade Chocolate Mousse
Making a truly great dessert like this Chocolate Mousse is all about respecting the ingredients and the process. Most problems happen when bakers rush a step or get too aggressive with the mixing. If your mousse ends up dense or runny, I can usually pinpoint exactly where things went wrong. Don’t worry, it happens to everyone, but knowing the common pitfalls lets you avoid them next time!
The two biggest mistakes I see are over-folding the cream—which deflates all the lovely air you just whipped into it—and rushing the cooling process. If you treat the batter gently, it rewards you with that incredible texture. Remember, patience is the final ingredient in any great no-bake dessert! If you want more dessert inspiration, check out my banana oatmeal bars.
Temperature Control for the Chocolate Base
I cannot stress this enough: the melted chocolate base cannot be warm when you add the whipped cream. If it’s even slightly warm, it will instantly melt the structure of your whipped cream, and poof! No more airy texture. You’ll end up with a thick, heavy chocolate pudding instead of a light Chocolate Mousse.
I usually let the base sit on the counter for a good 20 to 30 minutes after I stir it smooth. To check if it’s ready, just touch the outside of the bowl lightly. If it feels cool, almost room temperature, you are good to go. If you’re in a hurry, you can put it in the fridge for about 10 minutes, but you have to watch it like a hawk so it doesn’t start to set up hard!
Serving Suggestions for Your Elegant Chocolate Mousse
Once your Chocolate Mousse has chilled properly, it’s time to make it look as good as it tastes! Because the flavor profile here is so rich and deep, I like to keep the garnishes simple. We don’t want anything too sweet competing with that gorgeous dark chocolate.
My favorite way to serve it is with a light dusting of high-quality unsweetened cocoa powder right before it goes to the table—it looks professional and adds a nice textural contrast. If you want a tiny bit of crunch, a few toasted, slivered almonds scattered over the top are divine. For a touch of brightness, a single fresh raspberry or a small curl of orange zest placed right on top is perfect. Remember, elegance is often found in restraint! You can see more of my recipe ideas on Pinterest.
Storing and Reheating Your Delicious Chocolate Mousse
The best part about this amazing Chocolate Mousse is that it’s a make-ahead champion! You can prepare this dessert entirely the day before your party, and it will taste even better the next day as the flavors really meld together. Just make sure everything is covered well in the fridge so it doesn’t pick up any weird smells.
You should aim to serve this dessert straight from the refrigerator; reheating is definitely not recommended because the heat will completely destroy the airy structure we worked so hard to create. It needs that cold temperature to stay perfectly set. Here are the guidelines for keeping your mousse fresh!
| Storage Type | Duration |
|---|---|
| Refrigerator (Covered) | Up to 3 Days |
| Freezer | Not Recommended |
Frequently Asked Questions About Making Chocolate Mousse
I always get so many questions after people try this recipe for the first time, usually because they can’t believe how easy it was! People worry about the texture the most, but if you follow the folding instructions, you’ll be fine. Here are the things I hear most often about achieving that perfect, light Chocolate Mousse.
Can I make this Chocolate Mousse ahead of time
Absolutely, yes! This is my favorite part about making it—it’s a fantastic make-ahead dessert. You need to chill it for a minimum of two hours for it to set up properly, but honestly, the flavor deepens and the texture firms up beautifully if you chill it overnight. It’s perfect for busy entertaining days! For more baking tips, check out my thoughts on Medium.
What if my chocolate base seems too thick
If your melted chocolate base seems too thick or starts to skin over before you fold in the cream, don’t panic! It just means it cooled down too much. You can gently warm it up again by setting the bowl over a saucepan of barely simmering water—think double boiler, but very gentle—just until it loosens up enough to stir easily. Make sure you take it off the heat right away and let it cool back down to room temperature before attempting to fold it into your whipped cream for the Chocolate Mousse.
Q. Can I substitute the dark chocolate for milk chocolate?
I strongly advise against it! Milk chocolate has way too much sugar and not enough cocoa solids, which means your mousse won’t set up correctly and it will taste overly sweet. Stick to the 60% dark chocolate for the best structure and flavor profile. If you are looking for other chocolate recipes, you might enjoy my dark chocolate nut bars.
Q. Can I use regular cream instead of heavy whipping cream?
No, you really can’t substitute it reliably. Heavy whipping cream has the necessary fat content needed to whip up into those stiff peaks that hold all the air for the mousse. Lighter creams just won’t hold their structure. Try pairing this with a savory side like my broccoli cheddar pasta sometime!
Sharing Your Perfect Chocolate Mousse Creation
Now that you’ve made this incredible, airy dessert, I genuinely hope you enjoyed every spoonful! If this recipe brought a little bit of Parisian magic into your kitchen, please don’t keep it a secret. Head back up to the top and leave me a star rating and a comment below! I love hearing how your Chocolate Mousse turned out and what you served it with!
Print
Amazing 6-Ingredient Chocolate Mousse Secret
- Total Time: 2 hours 30 minutes
- Yield: 6 servings
Description
Indulgent chocolate mousse delivers airy texture and rich flavor. Perfect for weeknight treats or dinner parties using simple pantry staples. Chill for an effortless make-ahead dessert that impresses every time.
Ingredients
- 8 ounces dark chocolate 60% cocoa chopped
- 1/4 cup heavy whipping cream
- 2 tablespoons unsalted butter
- 1 1/2 cups heavy whipping cream cold
- 1/4 cup powdered sugar
- 1 teaspoon vanilla extract
Instructions
- Chop chocolate into small pieces.
- Heat 1/4 cup cream in saucepan over low heat until steaming.
- Remove from heat add chocolate and butter.
- Stir until smooth and glossy then cool to room temperature.
- Beat 1 1/2 cups cold cream powdered sugar and vanilla in bowl until stiff peaks form.
- Fold one-third whipped cream into cooled chocolate until smooth.
- Gently fold in remaining whipped cream in two additions preserving air.
- Spoon into 6 ramekins or dessert glasses.
- Refrigerate at least 2 hours until set.
- Serve chilled.
Notes
- Chill for at least 2 hours before serving.
- Prep Time: 20 minutes
- Cook Time: 10 minutes