Miracle No Knead Bread is about to change your life, trust me! If you’re like me—Jordan Bell, based right here in Asheville, NC—you love that comforting, hearty taste of Southern food, but you also need recipes that fit into a busy, clean-eating lifestyle. After my own journey involving an 80-pound weight loss, I learned that “easy” doesn’t mean sacrificing flavor. That’s why I’m obsessed with this loaf. This recipe is the absolute definition of minimal effort yielding maximum reward.
Forget spending an hour kneading dough until your arms ache! This bread practically bakes itself. You mix it up, walk away for a whole day, and come back to the most stunning, bakery-worthy crust you have ever seen. It’s proof that the best things in life—and the best bread—often require just a little patience and the right technique, not brute force. I promise, once you smell this baking, you’ll never look back.
Gathering What You Need for Miracle No Knead Bread
Okay, so this is the easy part, which is why I love it so much! Unlike sourdough starters that need constant attention, this Miracle No Knead Bread requires just four simple things you probably already have in your pantry. Seriously, that’s it! The magic isn’t in a long grocery list; it’s in the time you let the ingredients hang out together.
Don’t be tempted to run out and buy fancy new flours or specialized yeast for this one. Keep it simple, and you’ll get that perfect crust every single time. Let’s make sure you have the right stuff ready before you mix.
Essential Ingredients for Miracle No Knead Bread
- All-Purpose Flour: You’ll need three full cups. Make sure it’s properly fluffed up before measuring!
- Salt: Just a teaspoon and a half. Don’t skip this; it really impacts the flavor development during that long rest.
- Instant Yeast: Half a teaspoon is all it takes. This is the only kind I use for this recipe because it mixes right in.
- Water: One and a half cups of water, and this is important—it needs to be room temperature. Not cold, not warm, just neutral.
Recommended Equipment for Perfect Results
You’ll need a decent-sized bowl for mixing, preferably one you can cover tightly. The most crucial piece of equipment, though, is a heavy pot with a lid. I use my 6-quart cast iron Dutch oven because it holds heat like a dream. You will also need parchment paper to safely transfer the dough into that screaming hot pot!
Step-by-Step Instructions for Your Miracle No Knead Bread
This is where the real magic happens, and honestly, it’s mostly waiting! The beauty of this Miracle No Knead Bread is that your hands are only busy for about fifteen minutes total. The oven and time handle the rest of the heavy lifting. Just follow these steps, and prepare for the best crust of your life.
Mixing the Dough and the Long Rest
First, grab your large mixing bowl. Whisk together your dry ingredients—that’s the flour, salt, and instant yeast—just until everything looks evenly distributed. Now, pour in your room temperature water. Don’t use a mixer here; grab a wooden spoon or a spatula and stir until you have a shaggy, thick blob of dough.
I mean it when I say shaggy! It won’t look like normal bread dough. If it seems too dry and you can’t stir it anymore, add a couple more tablespoons of water. You want it to be slightly wet and sticky all over. Cover that bowl up tightly with plastic wrap. Now, put it somewhere out of the way—like the back of your counter—and let it sit for 12 to 18 hours. Yes, that long! Don’t touch it. That long, slow fermentation is what builds all the deep flavor and amazing structure.
Preparing the Oven and Shaping the Dough
About 30 minutes before you are ready to bake, crank that oven up to 450 degrees Fahrenheit. You absolutely must preheat your cast iron Dutch oven inside the oven while it heats up. We need that iron scorching hot! Thirty minutes in the oven should get it there.
While that’s happening, uncover your dough. Wow, it’s going to look completely different—puffy, loose, and probably covered in bubbles. Gently scrape that dough out onto a surface you’ve dusted generously with flour. Resist the urge to punch it down or knead it! Just gently pull the edges toward the center a few times to form a rough ball. You want that flour coating on the outside to protect it. Place your newly formed ball onto a piece of parchment paper. Cover it loosely with plastic wrap again while the pot finishes heating.
Baking the Miracle No Knead Bread to Perfection
Time to move fast! Carefully take the hot Dutch oven out of the oven—use those heavy mitts! Lift your dough using the parchment paper like a sling and gently lower the whole package right into the hot pot. Put the lid back on immediately. Bake it covered like this for exactly 30 minutes. This traps the steam released by the dough, which is essential for that crackly crust!
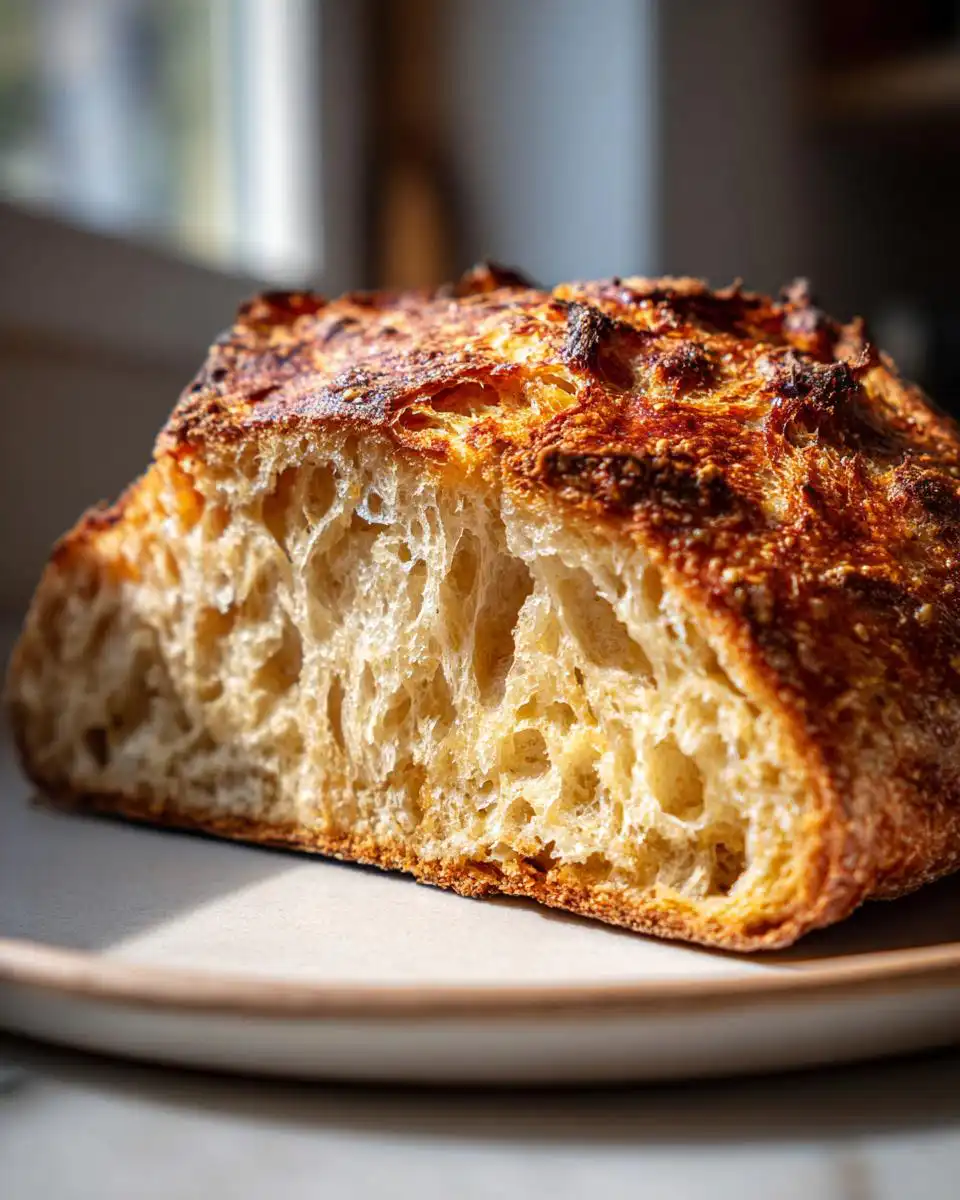
After those 30 minutes are up, take the lid off. Be careful of the steam! Let it bake uncovered for another 10 to 15 minutes. You are looking for a deep, rich golden brown color on the crust. If it looks pale, give it a few more minutes until it’s crisp when you tap it. Then, pull it out and let it cool slightly on a wire rack. The smell alone will make you cheer!
Tips for Success with Miracle No Knead Bread
Even though this is called Miracle No Knead Bread, there are a few little things I learned over the years that make the difference between a good loaf and a showstopper. Don’t stress if your dough doesn’t look pretty after resting—that’s part of the charm! Trust the process, even when it feels weird. If you want to see more of my kitchen tips, check out my thoughts on Medium.
Understanding Dough Texture Before Baking
When you uncover that bowl after 18 hours, you might think you’ve made a sticky mess, but you haven’t! The dough should look rough, almost like wet cement that’s started to ferment. It will be puffy and loose, and you’ll see lots of small bubbles on the surface. Those bubbles are flavor and structure being created by the yeast working slowly. If your dough looks perfectly smooth, you probably didn’t use enough water, or maybe your kitchen was too cold. Don’t worry about shaping it perfectly; just gently nudge it into a ball. It’s supposed to look irregular!
Achieving the Best Crust
If you want that bakery-quality, shatteringly crisp crust, the preheated Dutch oven is non-negotiable. But here’s a pro tip I picked up: after you put the dough in the hot pot and replace the lid, you can actually turn the oven temperature down slightly—maybe to 425 degrees—after the first 10 minutes. This helps prevent the bottom from burning while still allowing that trapped steam to work its magic on the top crust during the covered bake. That steam equals maximum crunch!
Ingredient Notes and Possible Swaps
Because this recipe relies on such few ingredients, quality and type really matter! Make sure you are using instant yeast. Active dry yeast will work, but you have to wake it up in a little warm water first, and honestly, that defeats the purpose of this super simple method. Don’t try to substitute the flour right away; all-purpose flour gives you the perfect balance of structure and elasticity needed for this wet dough.
Now, about the water temperature—if your house is really cold, say below 68 degrees, you might want the water to be slightly warmer than room temperature, just to encourage the yeast. But if your kitchen is warm, use tap water straight from the faucet. Also, I know people ask about whole wheat, but for your first few tries, stick to white flour. You need that gluten development for the best results! If you are looking for other simple baking projects, check out my simple homemade bread recipe.
Understanding the Nutrition of Miracle No Knead Bread
Since this Miracle No Knead Bread is so simple, the nutrition profile is straightforward, mostly coming from the flour. Please remember that these values are just estimates based on the standard ingredients listed. They can change depending on how thick you slice it! If you want to see how I approach nutrition in other recipes, take a look at my white chicken chili recipe.
| Nutrient | Estimate Per Slice |
| Calories | N/A |
| Carbohydrates | N/A |
| Protein | N/A |
| Fat | N/A |
Storing and Serving Your Miracle No Knead Bread
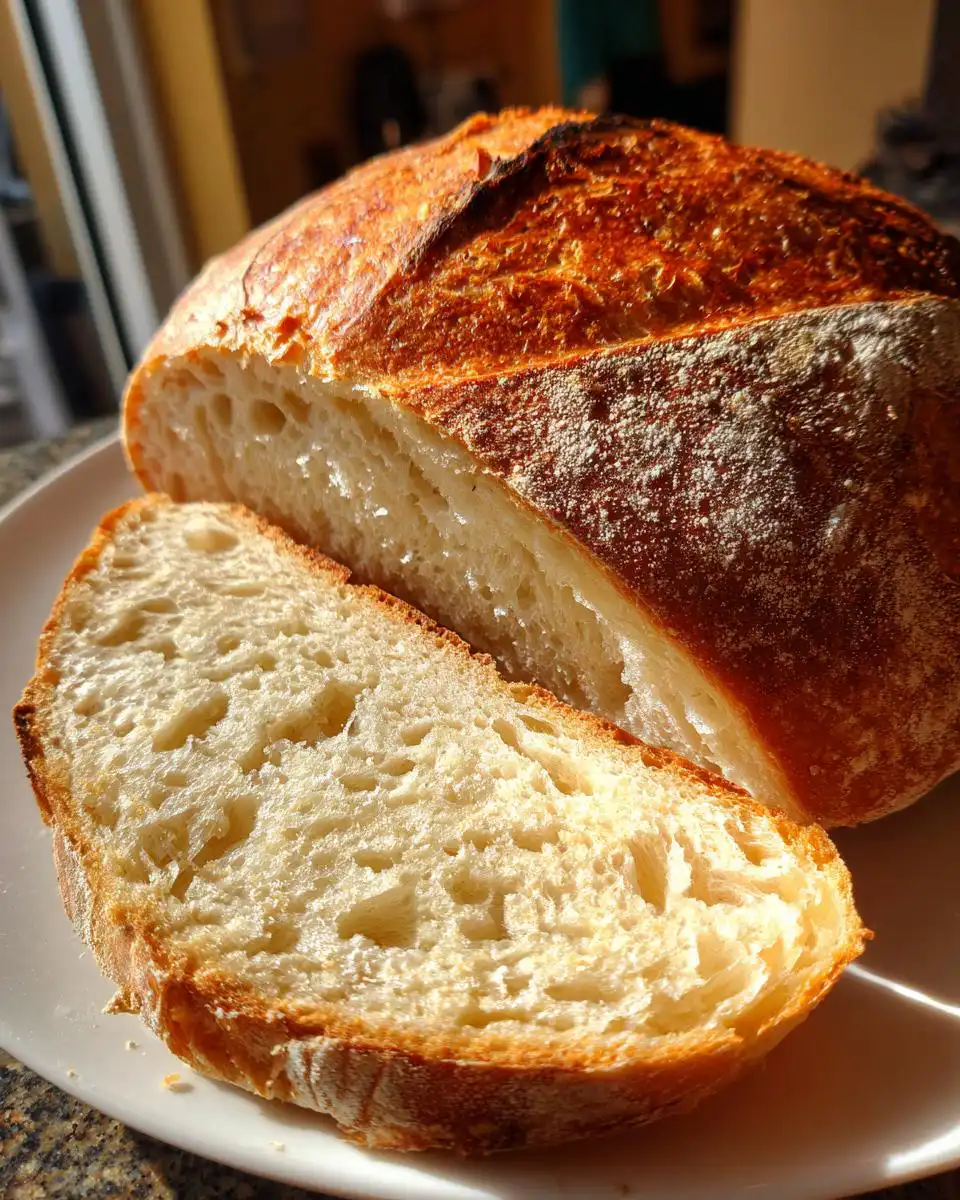
Once you pull that beautiful, crusty loaf of Miracle No Knead Bread out of the oven, you’ll want to guard it with your life! Resist the urge to slice it immediately; let it cool on a wire rack for at least an hour. Slicing it hot traps steam inside, which makes the inside gummy. When it comes to storing, this bread is best eaten the day it’s baked, but it keeps well for a couple of days.
Don’t put it in the fridge; that makes the crust go soft! Keep it at room temperature, either in a paper bag or tucked into a bread box. That keeps the crust from getting soggy while keeping the crumb soft.
Simple Serving Suggestions
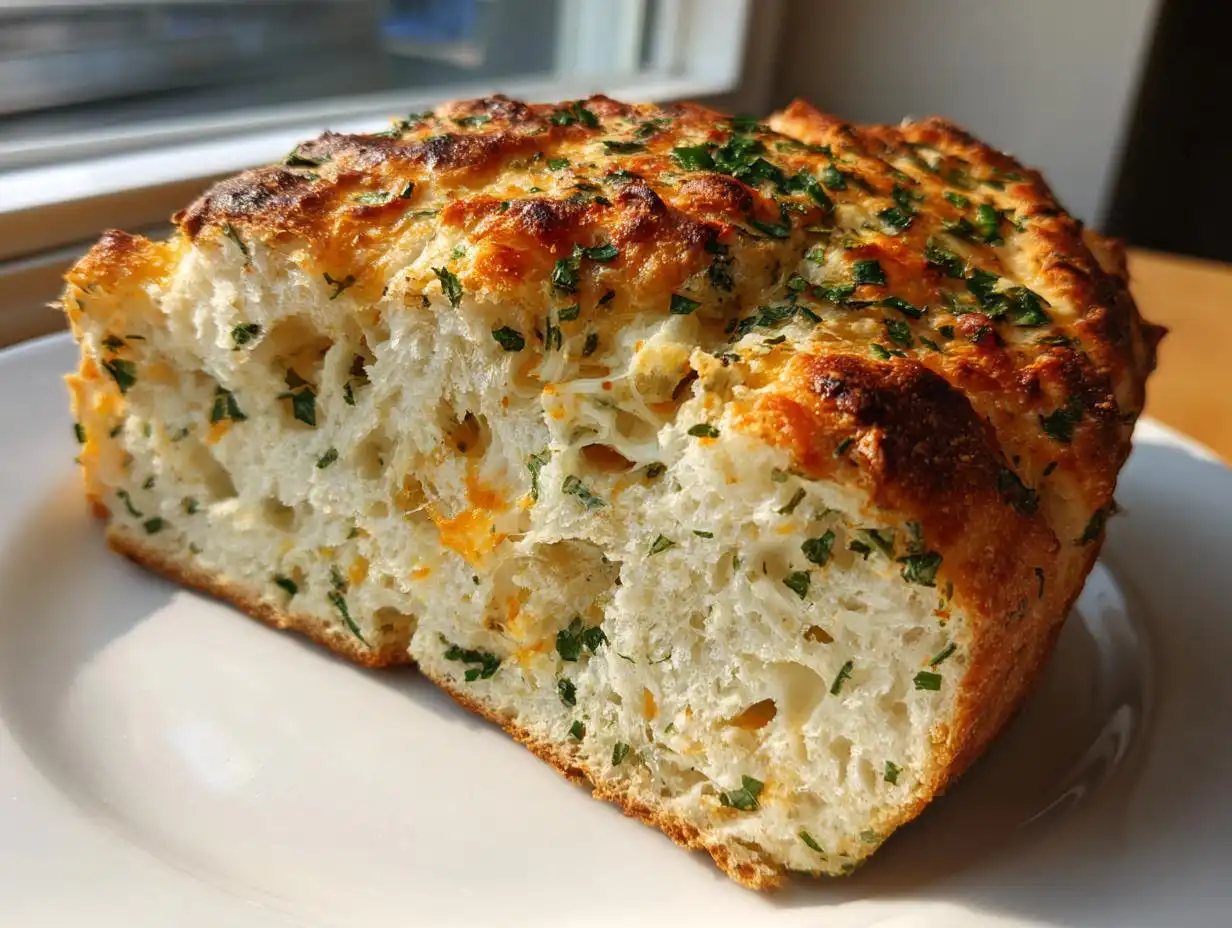
Since I focus on clean Southern comfort food, I love serving this with something hearty but simple. It’s fantastic dipped into a big bowl of my clean white bean chili. If you’re having it for breakfast, skip the sugary jams and try topping thick slices with avocado and a sprinkle of smoked paprika. It’s also perfect just slathered with real butter while it’s still slightly warm. The open crumb soaks up everything beautifully!
Frequently Asked Questions About No Knead Bread
I get so many questions about this loaf because it seems too easy to be true! Here are the most common things folks ask when they first try the Miracle No Knead Bread method.
Q1. Can I make this easy bread recipe faster than 18 hours?
You can try shortening the rest time to 12 hours, especially if your kitchen is warm, but you’ll sacrifice some of that deep, complex flavor. The point of this recipe is the long, slow fermentation that develops flavor without you doing any work. Don’t rush the rest!
Q2. My crust isn’t as crusty as yours. What gives?
This almost always comes down to steam! Make sure your Dutch oven is preheated for a full 30 minutes at 450 degrees. Also, ensure you are baking it covered for the first 30 minutes; that trapped moisture is what puffs up the crust before you uncover it to brown it.
Q3. My dough looked like soup after 18 hours. Is that normal?
Yes, absolutely! That’s exactly what you want. If your dough looks thick and stiff, you didn’t add enough water. It should be very wet, sticky, and almost liquidy when you scrape it out. That wetness is the secret to a soft interior! You can find more visual guides on my Pinterest boards.
Q4. Can I use whole wheat flour instead of all-purpose?
For your first attempt at this Miracle No Knead Bread, stick to all-purpose flour. Whole wheat doesn’t develop gluten the same way, and it absorbs more water, which will throw off the balance of this very specific recipe. Try it once you’ve mastered the original!
Share Your Experience Making Miracle No Knead Bread
I truly hope you enjoyed this journey into effortless baking! Seeing your creations makes my day here in Asheville. Did this Miracle No Knead Bread live up to the hype for you? I’d love to hear how your crust turned out!
Drop a rating below, leave a comment telling me what you paired it with, and don’t forget to snap a picture and tag me on social media. Happy baking, friends!
Print
Amazing Miracle No Knead Bread In 1 Step
- Total Time: 18 hours 40 minutes
- Yield: 8 servings
- Diet: N/A
Description
This Miracle No Knead Bread recipe delivers a crusty exterior and a soft, chewy interior with minimal effort. You only mix the ingredients and let time do the work.
Ingredients
- 3 cups all-purpose flour
- 1 1/2 teaspoons salt
- 1/2 teaspoon instant yeast
- 1 1/2 cups room temperature water
Instructions
- In a large mixing bowl, whisk the flour, salt, and yeast until mixed.
- Stir in the water until a chunky, thick dough forms. Add a few tablespoons more water if needed to make it slightly wet throughout.
- Cover the mixing bowl with plastic wrap and let the dough rest for 12–18 hours at room temperature.
- Preheat your oven to 450°F (232°C). Place a 6-quart enamel-coated cast iron Dutch oven in the oven for about 30 minutes to heat.
- Gently scrape the puffy dough onto a well-floured surface and shape it lightly into a ball with flour on the outside.
- Set the dough on a piece of parchment paper and cover it with plastic wrap while the pan heats.
- Remove the plastic wrap from the dough.
- Carefully lift the dough with the parchment paper and place it into the hot Dutch oven.
- Bake covered for 30 minutes.
- Remove the cover and bake for another 10–15 minutes until the crust is golden brown and crisp.
Notes
- The dough will look rough and irregular; this is correct.
- The dough should be puffy and loose with small bubbles before baking.
- Store the bread at room temperature in a paper bag or bread box for up to 2 days.
- Prep Time: 15 minutes
- Cook Time: 40 minutes
- Category: Bread
- Method: Baking
- Cuisine: American