Right then, let’s talk about something truly special: a proper homemade Chicken Liver Pate Inspired by Jamie Oliver. I remember the first time I whipped this up, I was aiming for something a bit fancy for unexpected guests, and honestly, it knocked everyone’s socks off! It’s got that incredible richness you’d expect from a proper deli, but it’s so ridiculously easy to make at home. Forget those supermarket tubs, this is the real deal – smooth, flavourful, and ready in a flash. It’s the sort of thing that makes you feel like you’ve really nailed it in the kitchen, even if you only spent about twenty minutes actually cooking!
Why You’ll Love This Chicken Liver Pate
- It’s seriously quick – you can have this on the table in under 30 minutes!
- Incredibly smooth and luxurious texture that just melts in your mouth.
- Packed with rich, savoury flavour that’s miles better than shop-bought.
- Perfect for entertaining, a speedy lunch, or just a posh snack!
Ingredients for Your Chicken Liver Pate
Gathering your bits and bobs is half the battle, isn’t it? For this beauty, you don’t need anything too mad. Just good quality chicken livers, some lovely butter, a bit of garlic and shallot for depth, and a splash of apple juice to keep things interesting. Trust me, these simple ingredients sing together for a really brilliant flavour.
- 400g chicken livers, all cleaned up and trimmed
- 2 lovely shallots, finely chopped
- 2 fat garlic cloves, minced
- 100g unsalted butter, you’ll use half for cooking and half for blending
- 2 tablespoons of apple juice – adds a little sweetness, you see!
- 1 teaspoon of fresh thyme leaves, or use a pinch of dried if you haven’t got fresh
- A good pinch of ground nutmeg (about 1/4 teaspoon)
- 1 teaspoon of salt – season to taste, of course!
- 1/2 teaspoon of black pepper, freshly ground is best
- Plenty of toast or crackers for serving, obviously!
Crafting the Perfect Chicken Liver Pate: Step-by-Step Instructions
Right, let’s get stuck in and make this amazing chicken liver pate. It really is super straightforward, so don’t be intimidated at all. You’ll be scoffing it down before you know it!
Step 1: First things first, make sure those chicken livers are all prepped. Give them a good rinse under cold water and then pat them completely dry with some kitchen paper. You really want them dry – it makes a difference to how they cook. Have a good look and trim away any little bits of connective tissue you don’t want in there. Honestly, a minute’s work for a much smoother pate!
Step 2: Get a decent-sized frying pan over medium heat and pop in about half of your butter – that’s 50g. Let it melt and get a bit frothy, then add your chopped shallots. Give them a good stir and let them soften off for about 3 minutes. You’re not looking for colour here, just a nice gentle cook until they’re looking a bit see-through.
Step 3: Now, throw in your minced garlic. Give it a quick stir for about 30 seconds until you can really smell it. Be careful not to burn it, though – burnt garlic is never a good thing!
Step 4: Time for the stars of the show! Add your prepared chicken livers to the pan, making sure they’re in a single layer. Don’t crowd the pan, or they’ll steam instead of fry. Cook them for about 3 to 4 minutes on the first side. You want them to get a lovely brown colour on the outside. Then, carefully turn them over with a spatula and cook for another 2 to 3 minutes. The trick here is to have them nicely browned on the outside but still a little bit pink in the very centre. That’s what makes them super tender and moist.
Step 5: Pour in the apple juice. It’ll sizzle straight away! Let it bubble away for about a minute, scraping up any lovely bits from the bottom of the pan. This just adds another layer of flavour and helps deglaze it.
Step 6: Now, add your fresh thyme leaves, ground nutmeg, salt, and pepper. Give everything a gentle stir so all those gorgeous flavours coat the livers. Take the pan off the heat.
Step 7: Carefully tip the entire contents of the pan – the livers, shallots, garlic, and all those lovely juices – into your food processor. Add the remaining 50g of cold butter. Now, blitz it all up! Keep going until it’s super smooth and creamy. You might need to scrape down the sides a couple of times to make sure it’s all blended in properly. It should look like velvety smooth pate.
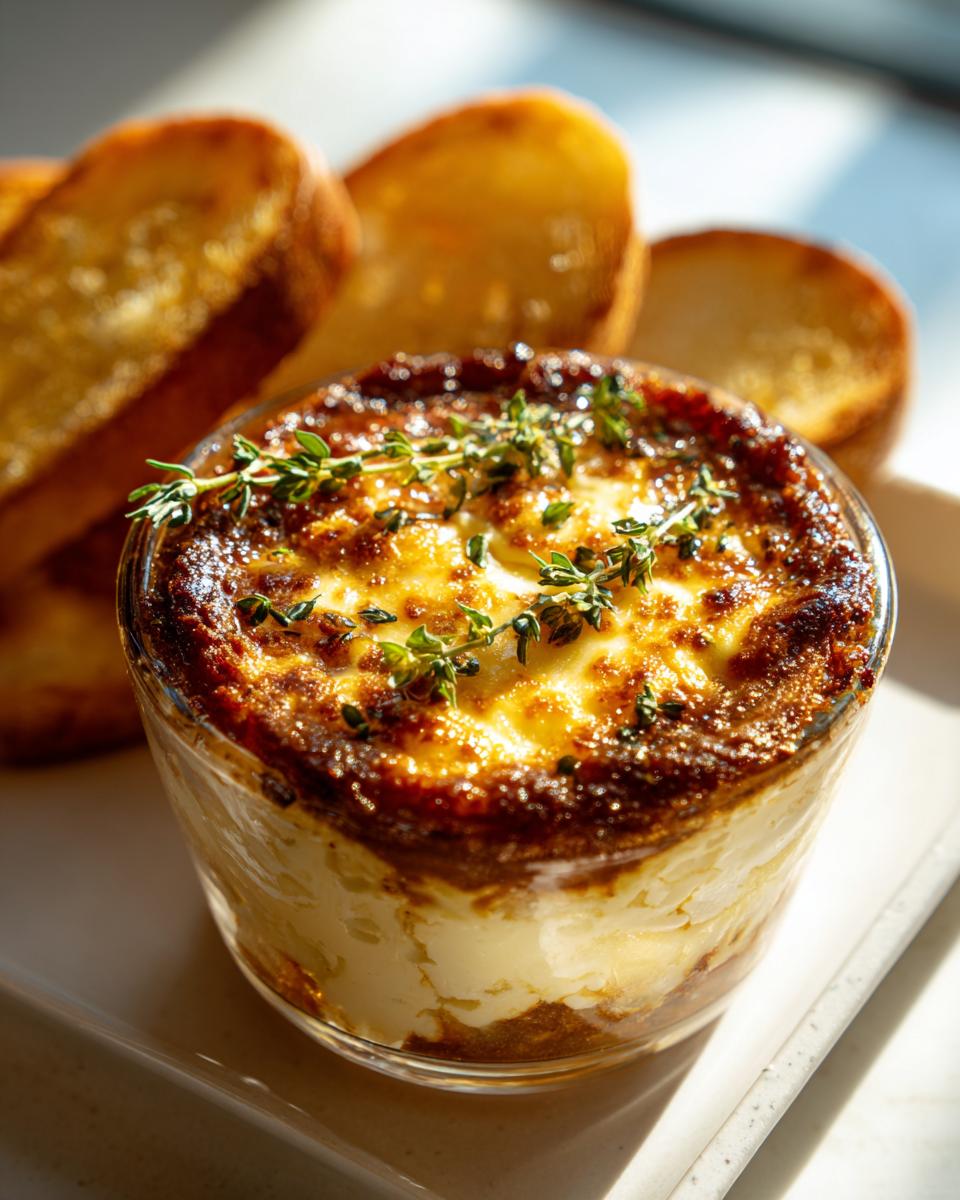
Step 8: Spoon your beautifully smooth pate into your ramekins or a nice serving dish. Use the back of a spoon to smooth the top. If you fancy, you can even pour a little bit of melted butter over the top to seal it – it looks proper fancy and helps it keep longer. Or, if you’re serving it soon, just smoothing the top is fine.
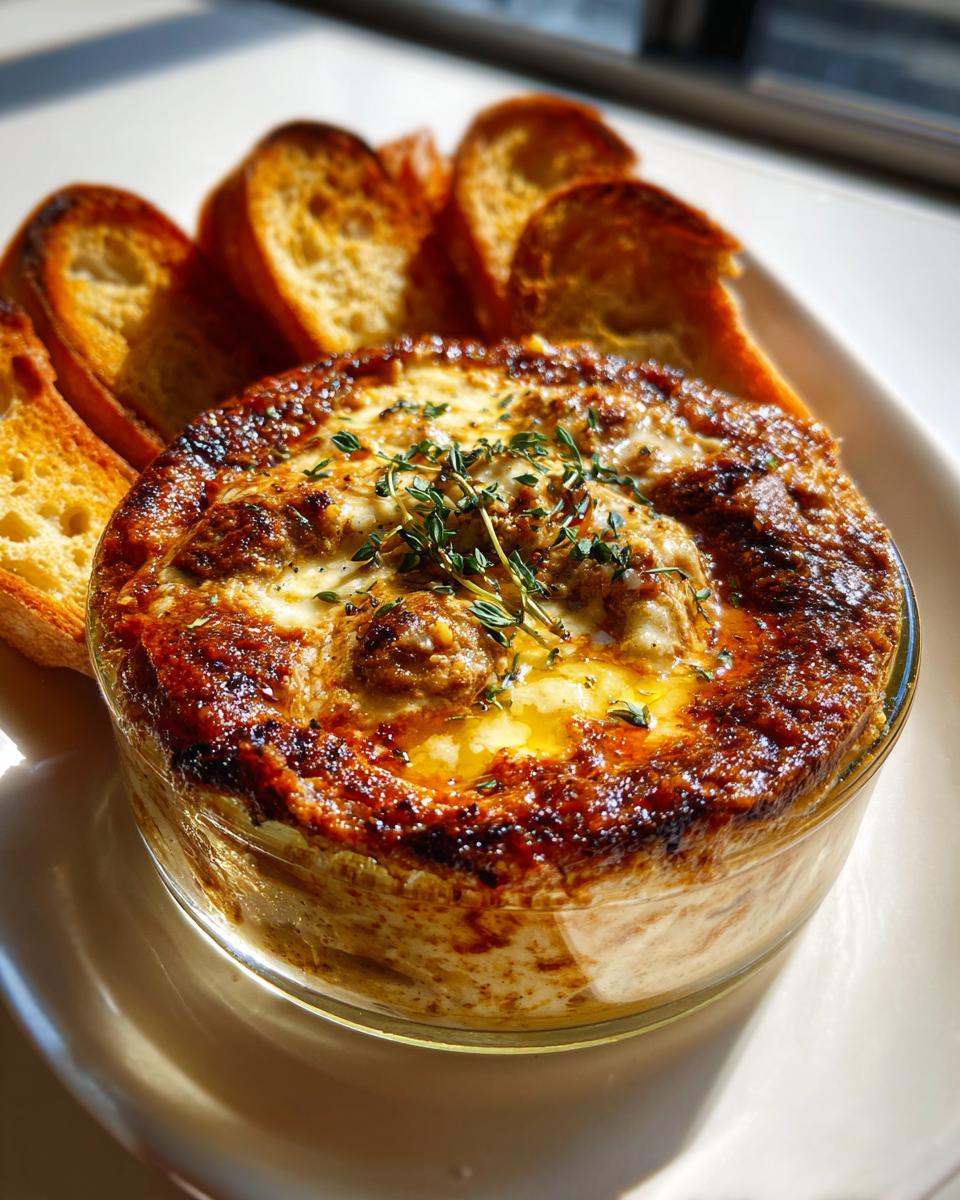
Step 9: Pop a lid on your ramekins or cover the dish tightly with cling film. Now, pop them in the fridge to chill out for at least 2 hours. This is crucial! It needs time to firm up properly and for all those flavours to meld together. Honestly, the patience is worth it.
Step 10: Once it’s nice and chilled, serve your glorious chicken liver pate with some lovely crusty toast (or maybe some of that homemade pita bread if you’re feeling ambitious!) or your favourite crackers. Bon appétit!
Serving Your Jamie Oliver-Inspired Chicken Liver Pate
Right then, you’ve gone and made the most fantastic chicken liver pate, what next? Serving it is almost as important as making it, if you ask me! Here are a few ideas:
Crusty Toasted Sourdough: You absolutely can’t go wrong with a good slice of sourdough, toasted just right so it’s got that lovely crunch. The tanginess of the sourdough cuts through the richness of the pate beautifully. It’s a classic for a reason, you know!
Warm, Fluffy Scones: Imagine warm, homemade scones – perhaps some easy wholemeal scones? Spreading a generous dollop of this silky pate on a still-warm scone is pure heaven. It’s a bit decadent, but oh-so-worth-it for a special treat.
Sharp Pickles or Chutney: A little pot of something sharp, like cornichons or a tangy onion chutney, is brilliant alongside. It gives your palate a break from the richness and adds a lovely zing. It just balances everything out perfectly!
Storing and Reheating Your Chicken Liver Pate
Once your glorious chicken liver pate has had a good chill and firmed up, it’s ready to be tucked away or served. Storing it is dead simple. Just make sure it’s covered tightly – either with a lid on your dish or some cling film pressed right down onto the surface. This stops it from picking up any funny smells from the fridge and keeps it looking lovely. It’ll keep beautifully in the fridge for up to 3 days, so you can make it ahead of time for a dinner party or just to have a little treat stashed away.
Now, about reheating – you don’t really “reheat” pate, you serve it chilled! That’s how you get that lovely, firm texture. So, just get it out of the fridge a few minutes before you’re ready to scoff it down. If you did the butter seal trick, you can just gently melt that off. If you’re planning ahead for a few days, this is the kind of thing that’s brilliant for minimal fuss when guests arrive. Just a quick mental note: remember to get it out of the fridge about 5-10 minutes before you plan to serve!
Frequently Asked Questions About Chicken Liver Pate
Got a question about this cracking chicken liver pate? You’ve probably got one I’ve answered here!
Can I use different liver types?
While this recipe is tried and tested with chicken livers for that lovely balance of flavour and texture, you could experiment with duck or even turkey livers. Just be aware that cooking times might vary slightly, as they can be a bit richer or drier. Always aim for that slightly pink centre for the best results!
My pate isn’t smooth enough, what went wrong?
Oops! Don’t worry, it happens! The key to a super smooth pate is blending for long enough. Make sure you’ve scraped down the sides of your food processor a couple of times and really let it blitz until it’s velvety. Also, using the extra butter and the apple juice really helps with that silky consistency. If it’s still a bit grainy, a quick pulse or two more should do the trick.
How long does this homemade pate really keep?
This homemade chicken liver pate is best enjoyed within 3 days when stored properly covered in the fridge. I always find it tastes even better on day two once all the flavours have had a chance to really mingle. Just remember to get it out of the fridge about 10 minutes before serving so it softens up just nicely.
Enjoy Your Delicious Homemade Chicken Liver Pate!
There you have it – a truly delicious, Jamie Oliver-inspired chicken liver pate made right in your own kitchen! I really hope you give this one a go. Let me know in the comments below how you got on, I’d love to hear your thoughts and see what lovely things you served it with! Feel free to share this recipe too – spread the pate love! You can even find more tasty ideas over on Pinterest!
Print
Chicken Liver Pate
- Total Time: 20 min
- Yield: 6 servings
- Diet: Vegetarian
Description
A smooth chicken liver pate recipe with butter, garlic, and thyme, perfect with toast or crackers.
Ingredients
- 400 g chicken livers, cleaned and trimmed
- 2 shallots, finely chopped
- 2 garlic cloves, minced
- 100 g unsalted butter, divided
- 2 tablespoons apple juice
- 1 teaspoon fresh thyme leaves
- 1/4 teaspoon ground nutmeg
- 1 teaspoon salt
- 1/2 teaspoon black pepper
- Toast or crackers, to serve
Instructions
- Pat the chicken livers dry with kitchen paper and trim away any tough connective pieces.
- Melt 50 g of the butter in a large frying pan over medium heat. Add the chopped shallots and cook for 3 minutes until softened.
- Stir in the minced garlic and cook for 30 seconds until fragrant.
- Add the chicken livers in a single layer. Cook for 3 to 4 minutes on the first side, then turn and cook for another 2 to 3 minutes. The outside should be browned while the centres remain slightly pink.
- Pour in the apple juice and cook for 1 minute until slightly reduced.
- Add the thyme, ground nutmeg, salt, and black pepper. Stir gently to combine.
- Transfer the liver mixture to a food processor. Add the remaining 50 g butter and blend until completely smooth and creamy.
- Spoon the pate into ramekins or a serving dish and smooth the tops with the back of a spoon.
- Cover and chill in the fridge for at least 2 hours before serving.
- Serve chilled with toast or crackers.
Notes
- Chicken livers should reach a safe internal temperature of 74 C while remaining slightly pink in the centre for the best texture.
- The pate can be stored covered in the fridge for up to 3 days.
- Prep Time: 10 min
- Cook Time: 10 min
- Category: Starter
- Method: Pan-Frying
- Cuisine: British