

There’s just something magical about capturing the taste of summer, isn’t there? I remember my very first time canning peaches. I was a bit nervous, honestly, but the smell of those sweet peaches simmering and filling the kitchen just felt so cozy and rewarding. Now, canning peaches is one of my favorite ways to make sure we have that sweet, juicy goodness all year round, even when it’s cold outside. This simple water bath canning method is totally foolproof, even for beginners, and it’s the easiest way to get delicious homemade canned peaches that taste way better than anything store-bought. Trust me, cracking open a jar of these beauties in the dead of winter is pure joy!
Why You’ll Love This Homemade Canned Peaches Recipe
This recipe is honestly a game-changer for canning!
- It’s SO easy: Seriously, the water bath method is surprisingly simple, perfect even if you’re a total newbie canner.
- Pure Summer Flavor: You get that incredible, natural peach taste, not overly sweet, just bright and delicious.
- Healthy & Simple: No weird stuff, just fruit the way nature intended, with minimal added sugar.
- So Rewarding: There’s nothing quite like opening a jar of your own homemade peaches when you’re craving sunshine!
Ingredients for Canning Peaches
You’ll need just a few simple things to make these beautiful homemade canned peaches. Make sure your peaches are ripe but still firm so they hold their shape!
- 17 pounds ripe yellow peaches (preferably freestone for easier pitting!)
- 7 quart jars with lids and bands, sterilized
- 2 cups granulated sugar (for a light syrup)
- 6 cups water (for the light syrup)
How To Can Peaches Step By Step
Ready to make some beautiful homemade canned peaches? This step-by-step guide makes canning peaches super easy, even if it’s your first time. We’re going to use a simple water bath method, which is perfect for this recipe. Don’t worry, I’ll walk you through every single part. You can also check out my guide on freezing peaches if you’re curious about other preservation methods!
Step 1: First things first, get your water bath canner ready if you have one. Fill a large pot of water and bring it to a boil, then reduce it down to a simmer. You’ll also want a big bowl filled with ice water nearby for the next part. This definitely helps the skins slide right off!
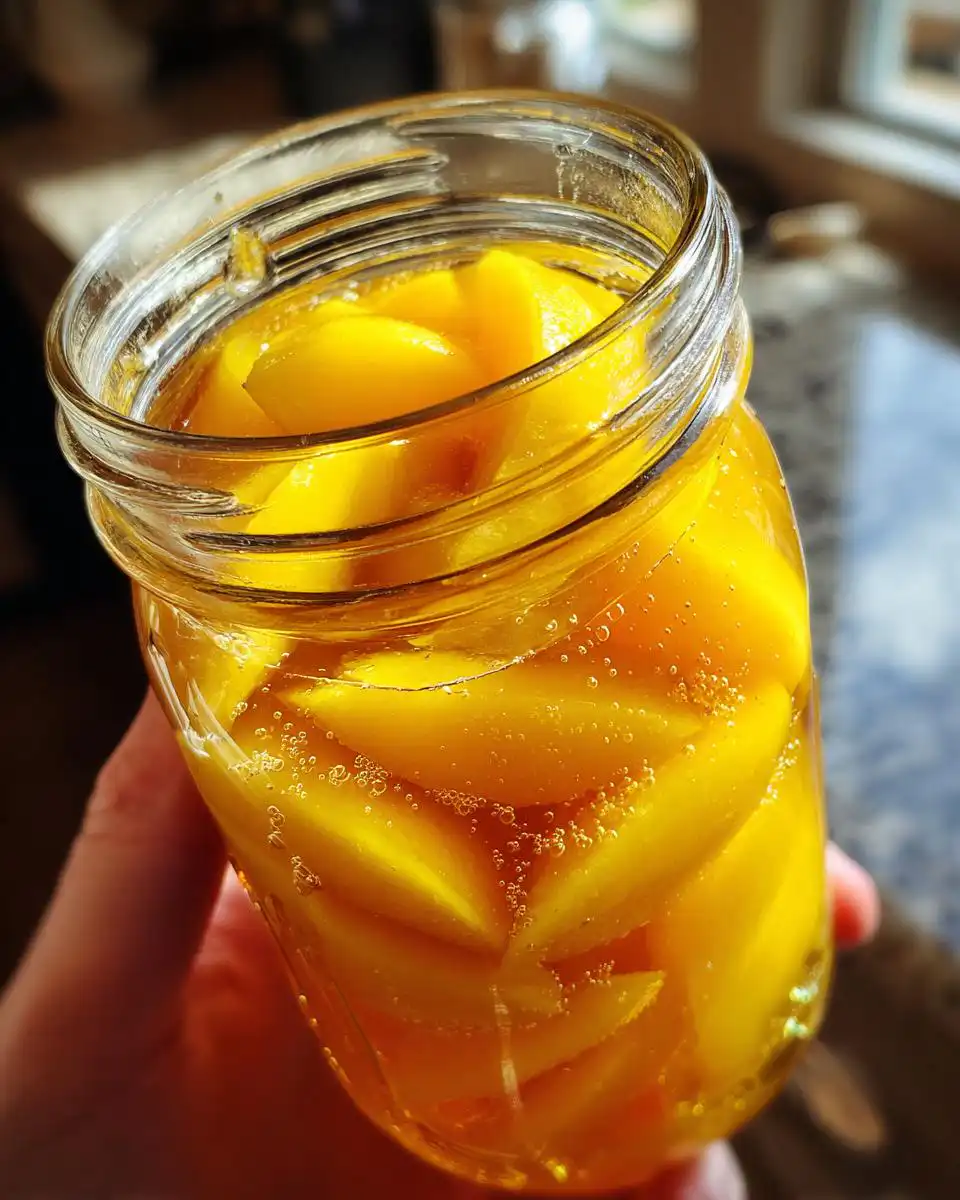
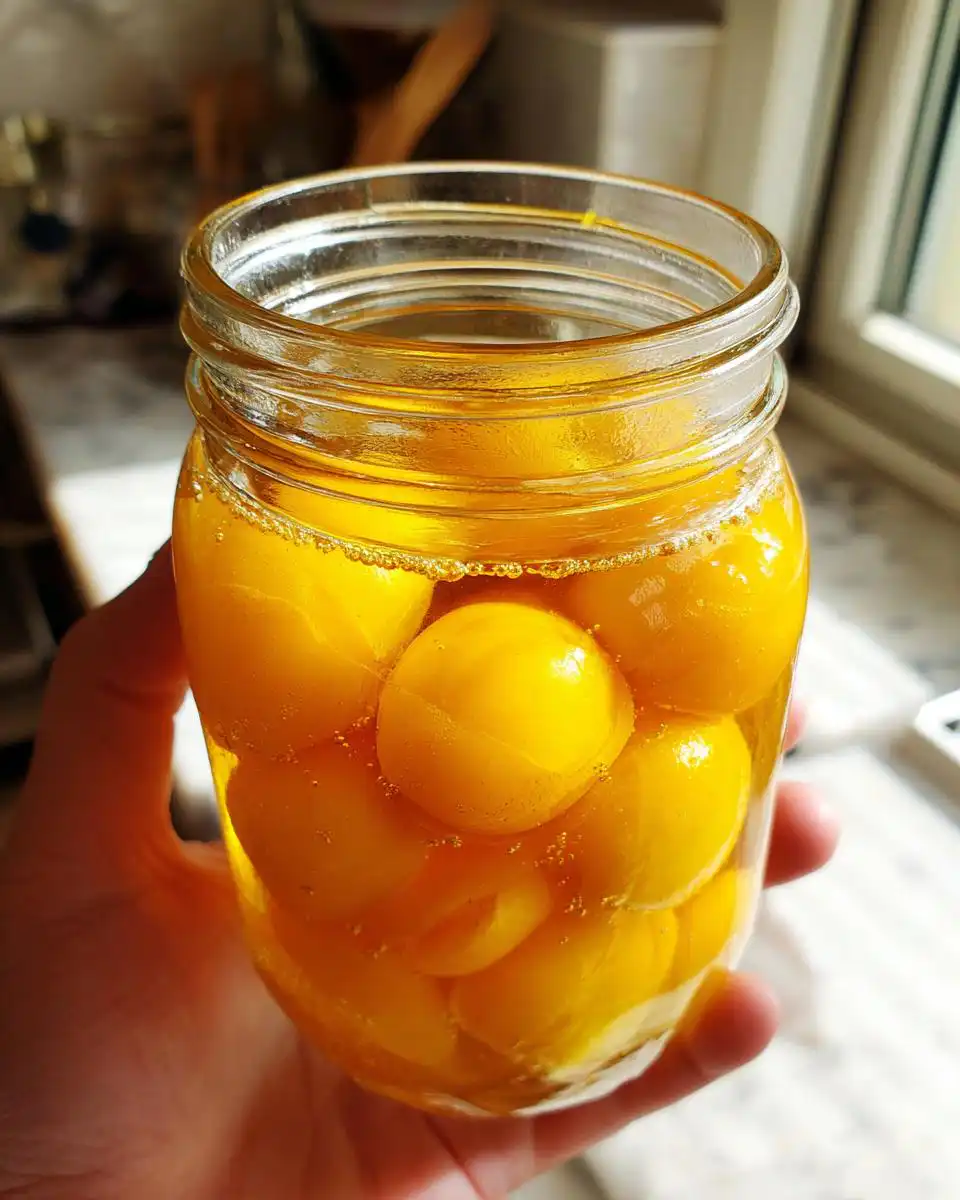
Step 2: Carefully pop your whole peaches into the simmering water for just about 30 seconds. You’ll feel them start to loosen up. Then, immediately transfer them into that ice bath you prepared. Once they’re cool enough to handle, the skins should peel right off like magic. Cut the peaches in half, take out those pits, and slice them into nice, big wedges. This is where the fruit starts really looking like something you can preserve!
Step 3: Now, pack those peach wedges tightly into your sterilized quart jars. You want to press them down a bit to get rid of any big air pockets. Think of it like Tetris, but with delicious peaches! You’re aiming for a nice, snug fit.
Step 4: While you’re packing jars, get your light syrup ready. In a separate pot, heat up your 6 cups of water and stir in the 2 cups of sugar. Keep stirring until all that sugar is completely dissolved. You want to keep this syrup hot, so just keep it on a low simmer.
Step 5: Carefully ladle that hot syrup over the peaches in each jar. Make sure you leave about a half-inch of headspace at the very top of the jar. Tap the sides of the jars gently with your hand or a spoon to release any stubborn air bubbles that might be hiding in there. This step is super important for sealing!
Step 6: Wipe the rims of your jars *really* clean with a damp cloth. Seriously, this is key to a good seal. Then, place your sterilized lids on top and screw on the bands until they’re just fingertip tight. Don’t crank them down too hard, just snug!
Step 7: Carefully place your prepared jars into your water bath canner. Make sure they are covered by at least an inch of hot water. Bring the water back up to a full rolling boil, and then let those jars process for 25 minutes. If you’re at a higher elevation, you might need to adjust this time slightly, but for most of us, 25 minutes is perfect for canning peaches.
Step 8: Once the 25 minutes are up, turn off the heat and let the jars sit in the hot water for another 5 minutes. This helps them adjust gradually. Then, using tongs, carefully remove the jars from the canner. Place them on a towel-lined counter, leaving at least an inch or two of space between them. Let them cool completely undisturbed for about 12 to 24 hours. You might hear some fun pinging noises as they seal – that’s a good sign!
Step 9: After they’ve cooled, check those seals! Press the center of each lid. If it doesn’t flex up and down, it’s sealed tight and ready for storage. If a lid is loose, pop that jar in the fridge and enjoy those homemade canned peaches soon. Store the sealed jars in a cool, dry, dark place, and they’ll be good for up to a year. How cool is that? You’ve just learned how to can peaches step-by-step!
Tips for Perfect Homemade Canned Peaches
Making sure your canned peaches turn out perfectly every time is easier than you think! A few little tricks can make all the difference, trust me.
First off, when you’re choosing your fruit, always go for ripe yellow peaches. Freestone varieties are your best friend because the pit pops right out, making your life so much easier. If you only have clingstone, that’s okay, but be prepared for a little extra work pitting them. Also, make sure they’re ripe but still firm – mushy peaches just don’t hold up well in the jar.
For that beautiful light syrup, don’t be tempted to make it too thick. The 2 cups of sugar to 6 cups of water is just right to give them a hint of sweetness without overpowering the natural peach flavor. And for avoiding that sad brown color on your beautiful peaches? A little bit of ascorbic acid (vitamin C) mixed into your packing liquid can work wonders. You can usually find it in the canning aisle. Or, for a quick fix, just work fast and get those peaches into the syrup and jars!
And that seal? It’s everything! Make sure those jar rims are squeaky clean before putting on the lids. Any little bit of syrup or peach fuzz can prevent a good seal. You’ll know they’re sealed when the lid pops down and doesn’t flex when you press it. If one doesn’t seal, don’t freak out – just pop it in the fridge and enjoy those delicious homemade canned peaches right away!
What to Serve with Your Canning Jars With Peaches
Okay, so you’ve got these gorgeous jars filled with homemade canned peaches – now what? Honestly, they’re fantastic just on their own, but here are a couple of my favorite ways to enjoy them. They’re perfect for making a simple breakfast feel fancy!
First off, spoon them over a bowl of creamy yogurt or thick overnight oats. The sweet, tender peaches are the perfect contrast to the cool yogurt or warm oats. Or, if you’re feeling breakfast-for-dinner, pile them high on some fluffy American pancakes. Seriously, it takes brunch to a whole new level!
Storage and Reheating Instructions for Peaches Canned
Alright, you’ve mastered how to can peaches, and now you have these beautiful jars! Storing them properly is key to keeping them tasting amazing for as long as possible. You want to keep your canned peaches in a cool, dark, and dry place. Think of a pantry or a cool basement cupboard – avoid fluctuating temperatures or direct sunlight, as that can mess with the seals and the quality of the fruit. Properly canned peaches can last for up to a year, though honestly, ours never last *that* long!
And remember how we checked those seals? Give them a final check before you plan to use them. Just press the center of the lid; if it’s solid and doesn’t move, it’s good to go! If, by some chance, a jar didn’t seal, just pop it in the fridge and enjoy those peaches within a week or two. Reheating isn’t usually necessary, but if you want them warmer, gently warm them in a saucepan over low heat or pop them in the microwave for a short burst. You just want to warm them through, not cook them all over again!
Frequently Asked Questions About Canning Peaches
Got a few lingering questions about making your own homemade canned peaches? That’s totally normal, especially if you’re new to canning! Let’s clear a few things up so you feel super confident with this Homemade Canned Peaches Recipe.
Can I use different types of peaches for this recipe?
While this recipe calls for yellow freestone peaches because they’re easiest to pit and hold their shape beautifully, you *can* use other types. Yellow clingstone peaches work too, but you’ll have to work a bit harder to get the pits out. White peaches can also be canned, but the color of your finished product will be different. Just remember that the texture might vary slightly depending on the peach type!
What’s this about a ‘light syrup’ and can I adjust it?
The light syrup (2 cups sugar to 6 cups water) is perfect for bringing out the natural sweetness of the peaches without making them taste like candy. It’s great for enjoying the pure peach flavor. If you prefer things a bit sweeter, you can certainly make a medium syrup by using 3 cups of sugar to 6 cups of water. Just be aware that too much sugar can sometimes affect how well the jars seal, so stick to the recommended amounts for the best results with your homemade peach preserves in jars.
My jars didn’t seal! What went wrong?
Oh no! Don’t toss them! Jars that don’t seal are perfectly safe to eat; just store them in the refrigerator and use them up first. Common reasons for not sealing include not cleaning the jar rims well enough, over-tightening the bands (which lets air escape during processing), or processing for too short a time. Sometimes, it’s just a tricky lid! Definitely check that the sealant ring on the lid is perfect before you place it on the jar.
Before You Go
I really hope you give this canning peaches recipe a whirl! It’s such a joy to have these homemade beauties all year round. Let me know in the comments how yours turn out, and feel free to share how you enjoy them! You can also rate the recipe and share it with friends on Pinterest or check out more tips on Medium!
Print
Canning Peaches
- Total Time: 1 hour 15 min
- Yield: 7 quarts
- Diet: Vegetarian
Description
A simple water bath canning method for preserving ripe peaches in a light syrup.
Ingredients
- 17 pounds ripe yellow peaches
- 7 quart jars with lids and bands, sterilized
- 2 cups granulated sugar
- 6 cups water
Instructions
- Bring a large pot of water to a boil, then reduce to a simmer. Prepare a large bowl of ice water.
- Place whole peaches in the hot water for 30 seconds. Transfer them to the ice water. Peel the skins, slice peaches in half, remove pits, and cut into large wedges.
- Pack the peach wedges tightly into the sterilized quart jars, pressing down to remove gaps.
- In a separate pot, heat the water and stir in the sugar until dissolved to make a light syrup. Keep it hot.
- Pour the hot syrup over the peaches in each jar, leaving half an inch of space at the top. Tap jars to release air bubbles.
- Wipe the jar rims clean. Place lids on top and secure with bands until fingertip tight.
- Place jars in a water bath canner filled with hot water, ensuring they are covered by at least one inch of water. Bring to a full boil and process for 25 minutes.
- Turn off the heat. Let jars sit in the hot water for 5 minutes, then remove. Place jars on a towel and let them cool undisturbed for several hours.
- Check seals by pressing the center of each lid. If it does not flex, the jar is sealed. Store sealed jars in a cool, dry place for up to 1 year.
Notes
- Use only yellow freestone peaches for best texture and safe canning. Adjust processing time for higher elevations if needed.
- Prep Time: 25 min
- Cook Time: 50 min
- Category: Preserves
- Method: Water Bath Canning
- Cuisine: American


