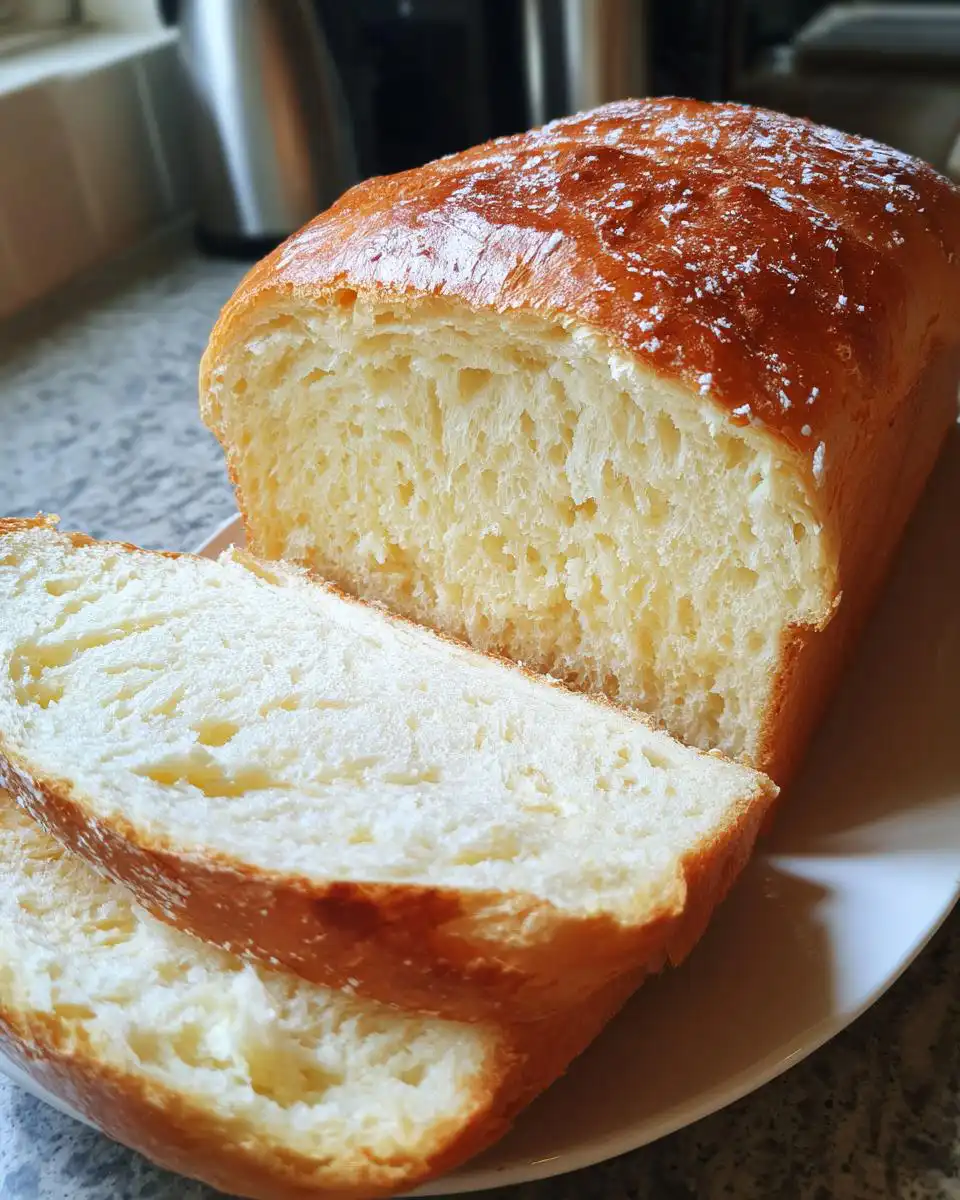
Oh, the smell of freshly baked bread! There’s truly nothing like it, is there? That heavenly aroma filling your whole house is just pure comfort. And guess what? Making your own homemade white bread is *so* much simpler than you might think. Forget complicated techniques; this recipe uses just a handful of basic ingredients you probably already have in your pantry. It’s perfect for those everyday moments – think buttery toast in the morning or making your kids’ favorite sandwiches for school. I remember the first time I pulled a golden loaf out of the oven, and the whole family came running to the kitchen. It’s one of those simple joys that makes a house feel like a home.
Why You’ll Love This Homemade White Bread
This recipe is a total winner because it’s just SO easy to whip up. You get that incredible, melt-in-your-mouth soft and fluffy texture that just screams comfort food. Plus, it’s your new best friend for everything from killer ham and cheese sandwiches to just-perfectly-toasted slices. Honestly, the sheer joy of pulling *your own* homemade white bread out of the oven is unbeatable!
Ingredients for Your Homemade White Bread
- 2 cups warm water (think lukewarm, not hot – we don’t want to hurt the yeast!)
- 1 tablespoon active dry yeast
- 1/4 cup sugar (or honey, if you prefer a slightly different sweetness – both work beautifully!)
- 2 teaspoons salt
- 2 tablespoons vegetable oil (or any neutral oil you have on hand)
- 4 to 5 1/2 cups all-purpose flour (start with 4 cups and add more as needed)
Step-by-Step Instructions for Perfect Homemade White Bread
Step 1: Let’s get that yeast happy! Grab a big bowl, pour in your warm water – it should feel pleasantly warm on your wrist, not hot. Sprinkle in the active dry yeast and about a teaspoon of your sugar (grab that from the ¼ cup). Give it a gentle stir and just let it hang out for about 5 to 10 minutes. You’ll know it’s ready when it gets all foamy and bubbly, like a tiny yeast party has started. If nothing happens, your yeast might be old, or the water was too hot, darn it!
Step 2: Now for the good stuff! To that foamy yeast mixture, add the rest of your sugar (or honey!), the salt, and the vegetable oil. Pour in 3 cups of your all-purpose flour. Mix it all up until it’s just combined. It’ll look pretty shaggy and messy at this stage, and that’s totally okay! If you’re thinking about making pizza dough sometime, this is where the magic starts, kind of like this pizza dough recipe.
Step 3: Time to build the dough! Start adding the remaining flour, about half a cup at a time, gently mixing as you go. You’re aiming for a dough that’s soft and slightly tacky, but it should start pulling away from the sides of the bowl. Trust your instincts here; sometimes you might need a tiny bit more flour, or maybe a splash less. The goal is a dough that feels lovely and manageable, not sticky like glue.
Step 4: Let’s knead this beauty! Turn your dough out onto a lightly floured surface. Now, get your hands in there and start kneading! Push the dough away from you with the heel of your hand, then fold it back over itself. Rotate, push, fold, repeat! You want to do this for about 5 to 8 minutes. It’s like a mini workout for your hands, but you’ll feel the dough transform – it’ll become smooth, elastic, and wonderfully soft. You can also use a stand mixer with a dough hook for about 5 minutes on medium speed.
Step 5: Give your dough a cozy spot to rest. Lightly grease a large bowl with a little oil. Pop your kneaded dough ball into the bowl, turning it once so the whole thing gets a little oaf of oil. Cover the bowl snugly with plastic wrap or a clean kitchen towel. Place it in a warm, draft-free spot for about 1 ½ hours. It needs to double in size, so be patient – good things come to those who wait!
Step 6: Ready for the final shape! Once your dough has puffed up like a cloud, gently punch it down to release the air. Turn it out onto your lightly floured surface again and divide it into two equal pieces. Shape each piece into a loaf – I like to gently roll them into a rectangle and then tuck the ends under. Grease your two loaf pans, and nestle each dough loaf inside.
Step 7: Let it rise again! Cover those pans loosely with plastic wrap or a tea towel and let them rise for another 45 to 60 minutes. You want the dough to puff up nicely and reach about 1 inch above the rim of the pans. Preheat your oven to 350°F (175°C) during this second rise.
Step 8: Bake your masterpiece! Carefully place the loaf pans into your preheated oven. Bake for 30 to 33 minutes. You’ll know they’re done when they’re gorgeously golden brown on top and sound hollow when you gently tap the bottom. If you have an instant-read thermometer, the internal temperature should be around 195-200°F.
Step 9: The grand finale! As soon as the loaves come out of the oven, turn them out of the pans onto a wire rack. While they’re still warm and glorious, brush the tops with a little melted butter. It gives that perfect sheen and adds a lovely flavor. Let your beautiful homemade white bread cool completely before slicing. This is crucial for that perfect soft crumb, trust me!
Tips for the Best Homemade White Bread
Okay, so for the absolute softest crust on your homemade white bread, I have a little trick! Right when the loaves come out of the oven, I brush them with melted butter, just like I mentioned. But then, I sometimes cover them super loosely with a clean kitchen towel for about 10 minutes while they’re still warm. It traps just enough steam to keep that crust tender and delightful. Also, be super careful not to add too much flour when you’re kneading or shaping. A slightly tacky dough is what you want – too much flour makes it dense. Trust me, it’s a game-changer!
What to Serve with Your Homemade White Bread
This lovely loaf is just begging for some delicious company! It’s fantastic alongside a hearty bowl of creamy fish pie – that crusty bread is perfect for soaking up every last drop of that divine sauce. It’s also a natural partner for a spicy chilli con carne, helping to balance out the heat. And of course, don’t forget the classics: a generous schmear of butter, maybe some homemade jam, or even just dipped into a good quality olive oil. It’s simple, delicious, and totally satisfying!
Storing and Reheating Your Homemade White Bread
Alright, so you’ve baked this gorgeous loaf of homemade white bread – yay you! To keep it tasting fresh, I like to store it at room temperature in a bread box or wrapped in a clean kitchen towel. It’s usually best eaten within 2 to 3 days for that perfect soft texture. If you happen to have any leftovers (which is rare in my house!), you can pop slices into a toaster or briefly under the broiler to bring back a little warmth and crispness. It’s not quite the same as fresh-from-the-oven, but it’s a super tasty second act!
Frequently Asked Questions About Homemade White Bread
Let’s tackle a few bread-making questions, shall we? People often ask if they can swap out the all-purpose flour for bread flour in this homemade white bread recipe. You absolutely can! Bread flour has a higher protein content, which can give you a slightly chewier texture and a better rise, but all-purpose works perfectly for that classic soft crumb we’re aiming for here. If your dough didn’t rise like you expected, don’t fret! It could be a few things: the yeast might have been inactive, the water too hot or too cold, or maybe the spot you chose for rising wasn’t warm enough. Double-check your yeast’s expiration date and try again. And for that perfectly soft crust we all adore? Avoid over-flouring during kneading and shaping. Also, for more fun with yeast doughs and unique ideas, you might want to check out these zucchini bagels – they’re surprisingly simple!
Before You Go
So, have I convinced you to give this amazing homemade white bread a whirl? I really hope so! Bake it, love it, and please, pretty please, leave me a comment below about how it turned out. And if you snapped a pic, sharing it on Pinterest would make my whole day! Happy baking, friends! Pin it for later!
Print
Homemade White Bread
- Total Time: 2 hours 45 min
- Yield: 24 slices
- Diet: Vegetarian
Description
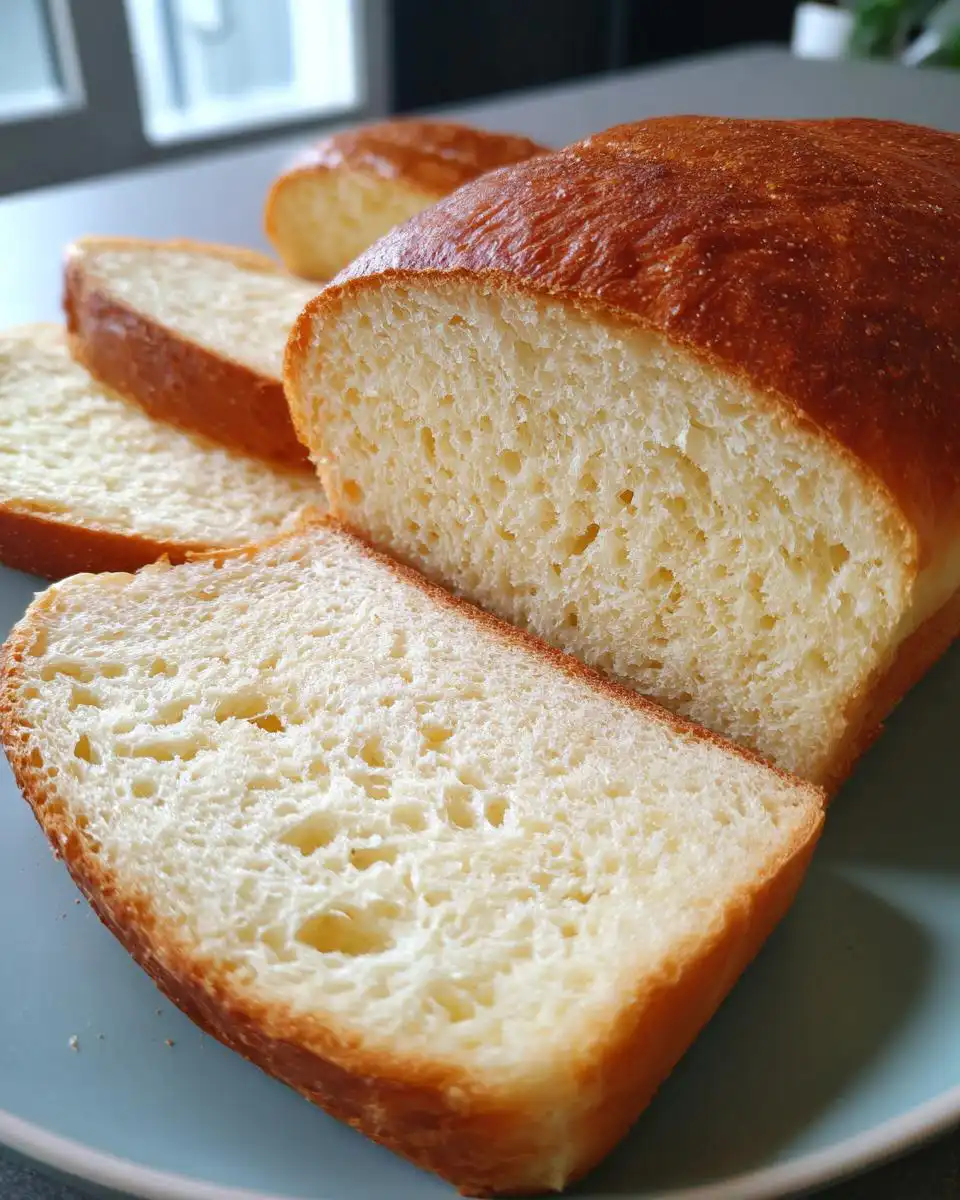
A soft, fluffy white bread made with simple ingredients, perfect for sandwiches and toast.
Ingredients
- 2 cups warm water
- 1 tablespoon active dry yeast
- 1/4 cup sugar or honey
- 2 teaspoons salt
- 2 tablespoons vegetable oil
- 4 to 5 1/2 cups all-purpose flour
Instructions
- Combine warm water, yeast, and a small pinch of sugar in a large bowl. Let sit for 5 to 10 minutes until foamy.
- Add the remaining sugar or honey, salt, oil, and 3 cups of flour. Mix until combined.
- Gradually add more flour, about 1/2 cup at a time, until a soft dough forms and pulls away from the bowl sides.
- Knead the dough for 5 to 8 minutes until smooth and elastic. The dough should be soft and slightly tacky.
- Place dough in a greased bowl, turning to coat. Cover and let rise in a warm place for about 1 1/2 hours until doubled.
- Punch down the dough and divide into two equal portions. Shape each into a loaf and place into greased loaf pans.
- Cover and let rise again for 45 to 60 minutes until the dough rises about 1 inch above the pans.
- Preheat your oven to 350°F. Bake for 30 to 33 minutes until golden brown and the tops sound hollow when tapped.
- Remove from pans and brush the tops with butter. Cool before slicing.
Notes
- Avoid adding too much flour for the best texture.
- Allow the bread to cool before slicing to keep the crumb soft and even.
- Prep Time: 15 min
- Cook Time: 30 min
- Category: Baking
- Method: Baking
- Cuisine: American